Mom's Best Recipes
Recipe

Gluten-Free Pizza Dough

Crisp edges, a chewy center, and a dough you can actually shape without tears or drama.

Author By Matt Campbell
4.8
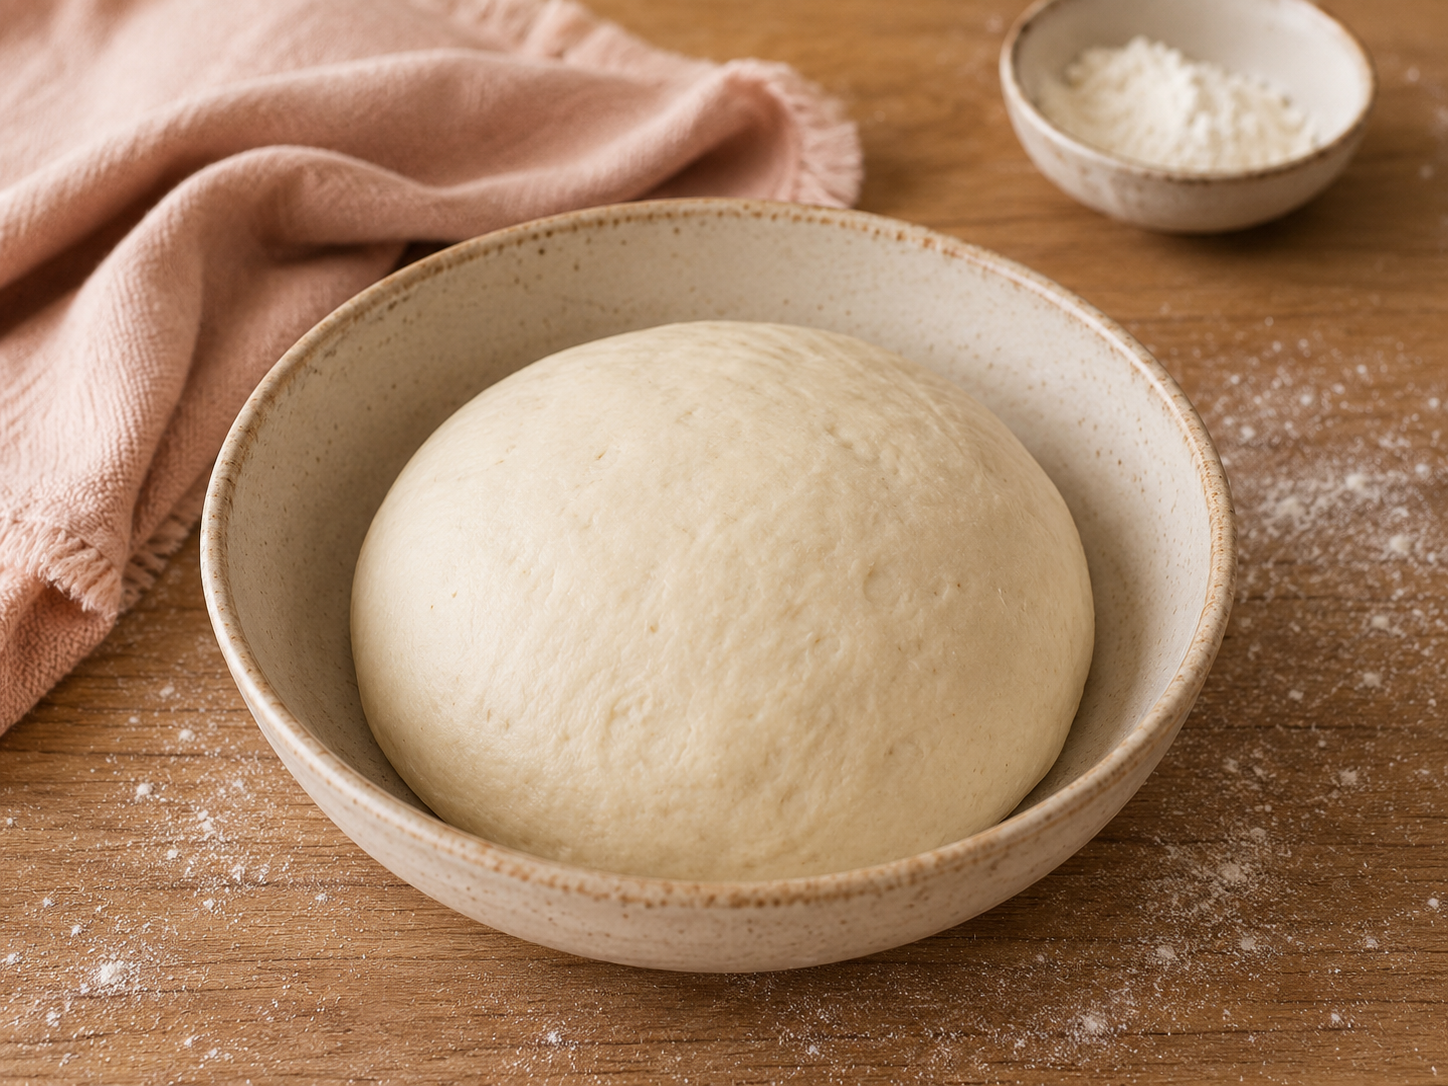
A single gluten-free pizza dough ball resting in a lightly oiled glass bowl on a kitchen counter, covered with a towel, soft natural window light

Gluten-free pizza dough has a reputation. Sometimes it is gummy. Sometimes it cracks like dry clay. Sometimes you end up with a sad pile of toppings on a cracker and call it dinner anyway.

This dough is my fix for all of that. It bakes up with crisp edges, a chewy, bread-like bite, and it holds toppings without turning into a wet sponge. The not-so-secret secret is a reliable gluten-free flour blend, enough hydration, and a short rest so the flour can actually drink the water (and the yeast can start doing its thing).

We are keeping it accessible, low drama, and very pizza-night friendly. You can do this on a sheet pan, a pizza stone, or a steel if you have one. And yes, you should taste your sauce as you go.

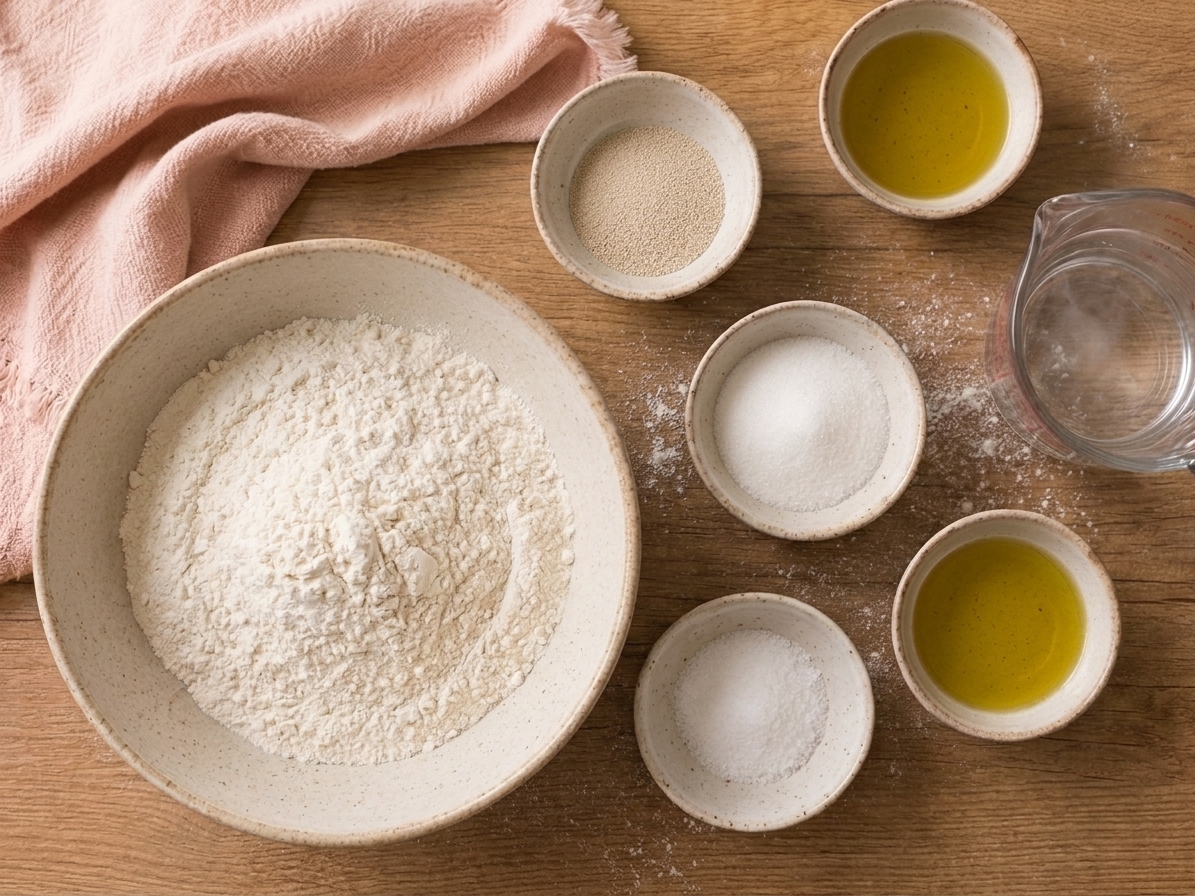
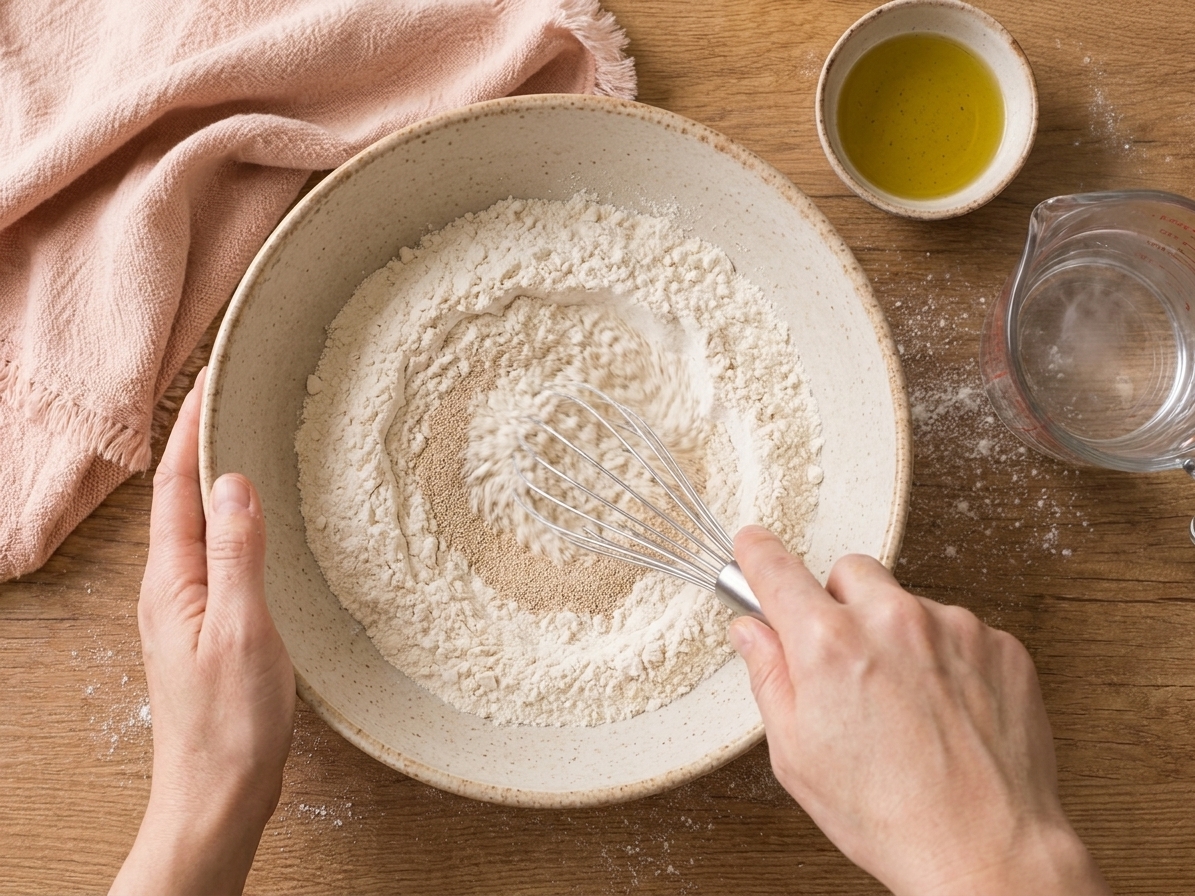
Bowls of gluten-free flour blend, instant yeast, sugar, salt, olive oil, and a measuring cup of warm water laid out on a clean kitchen counter

Why It Works

  • Chewy, not gummy: A balanced blend plus a rest time helps the crumb set up before it hits the oven.
  • Crisp bottom: A hot oven and a quick par-bake set the crust so toppings stay on top, not inside the dough.
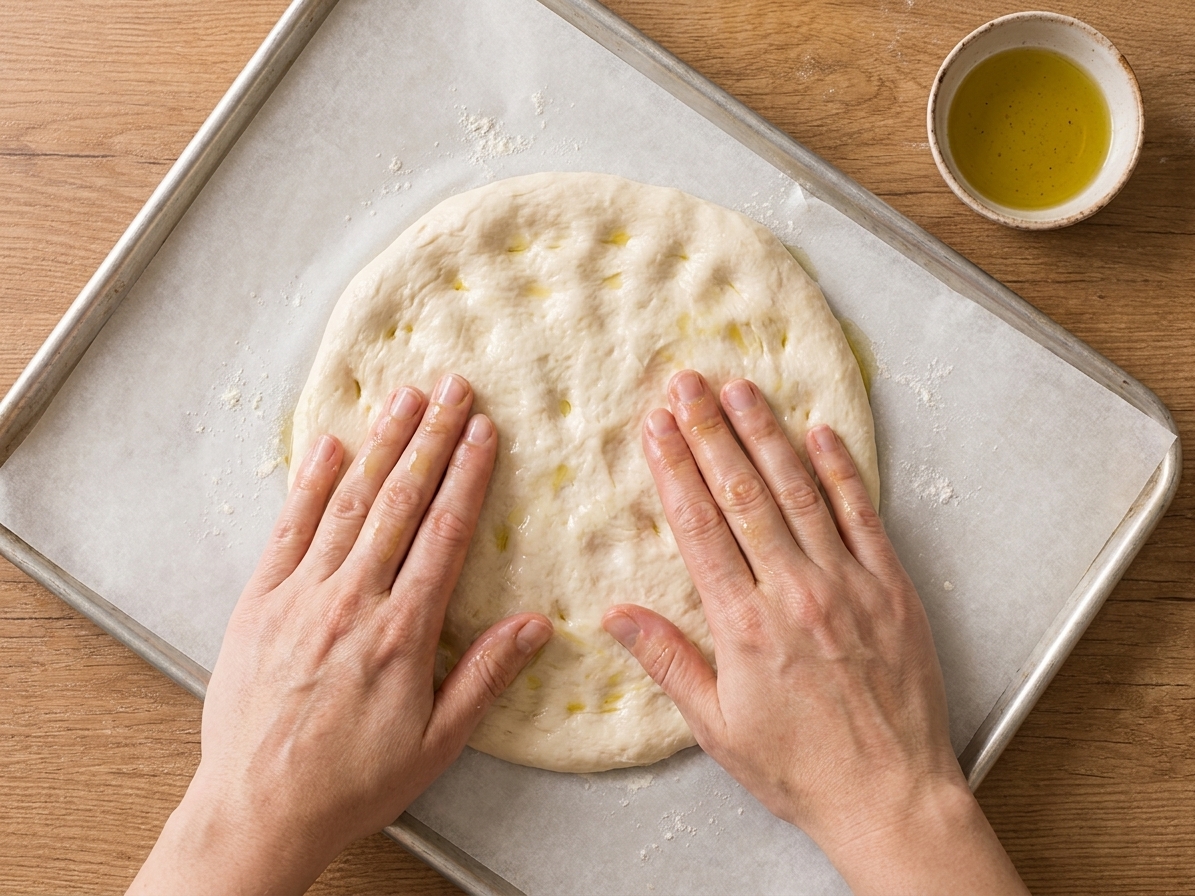
  • Easy to shape: This dough is more like a thick batter at first, then becomes spreadable and smooth. Wet hands or oiled fingers are your best friends.
  • Weeknight flexible: Make the dough, refrigerate it, then bake when you are ready.

Pairs Well With

Storage Tips

Storing baked crust or leftover pizza

  • Fridge: Store leftover slices in an airtight container for up to 4 days. Reheat in a 400°F oven or toaster oven until the bottom crisps again, about 6 to 10 minutes.
  • Freeze slices: Freeze on a sheet pan until firm, then wrap and store up to 2 months. Reheat from frozen at 400°F until hot and crisp, about 12 to 16 minutes.

Make-ahead dough

  • Refrigerate: After mixing, cover and refrigerate up to 24 hours. Let it sit at room temp 30 to 45 minutes before shaping.
  • Freeze dough: I prefer freezing par-baked crusts instead of raw dough for the most reliable texture. Par-bake, cool completely, wrap well, and freeze up to 2 months.

Common Questions

Do I need xanthan gum?

If your gluten-free flour blend already includes xanthan gum, you are set. If it does not, add it. It replaces some of the stretch gluten normally provides and helps keep the crust from crumbling.

Why is this dough sticky?

Gluten-free dough is supposed to be sticky. Think “spreadable” more than “kneadable.” Use wet hands, a bit of oil, or parchment paper to shape it. If you add too much extra flour, it will bake up dry and crackly.

Does this dough rise?

It will not rise like a traditional wheat dough with a big, puffy proof. The yeast is here for flavor and a better, more bread-like texture. During the 20-minute rest, the flour hydrates and the yeast starts waking up, which is exactly what we want before it hits a hot oven.

Can I use active dry yeast?

Yes. Bloom it first in the warm water with the sugar for 5 to 10 minutes until foamy, then continue.

What gluten-free flour blend works best?

Use an all-purpose gluten-free blend that is meant for baking (not a single flour like almond or coconut). Results vary by brand. Blends that are very bean-heavy can taste stronger and sometimes bake up denser. If you need strict gluten-free, make sure your flour blend and yeast are certified gluten-free.

What is the best pan setup?

For the crispiest bottom, use a preheated pizza stone or steel with parchment for the first few minutes. For easiest weeknight success, a sheet pan brushed with olive oil is perfect.

How thick should I make the crust?

For a 12-inch pizza, aim for about 1/4-inch thick in the center with a slightly thicker rim. If you go thicker, plan on a longer par-bake so the middle sets before you add toppings.

How do I avoid a soggy center?

  • Par-bake the crust first.
  • Use a thicker sauce and do not overload it.
  • Pre-cook watery toppings like mushrooms.
  • Finish the pizza directly on the rack for 1 to 2 minutes if your pan is holding moisture.
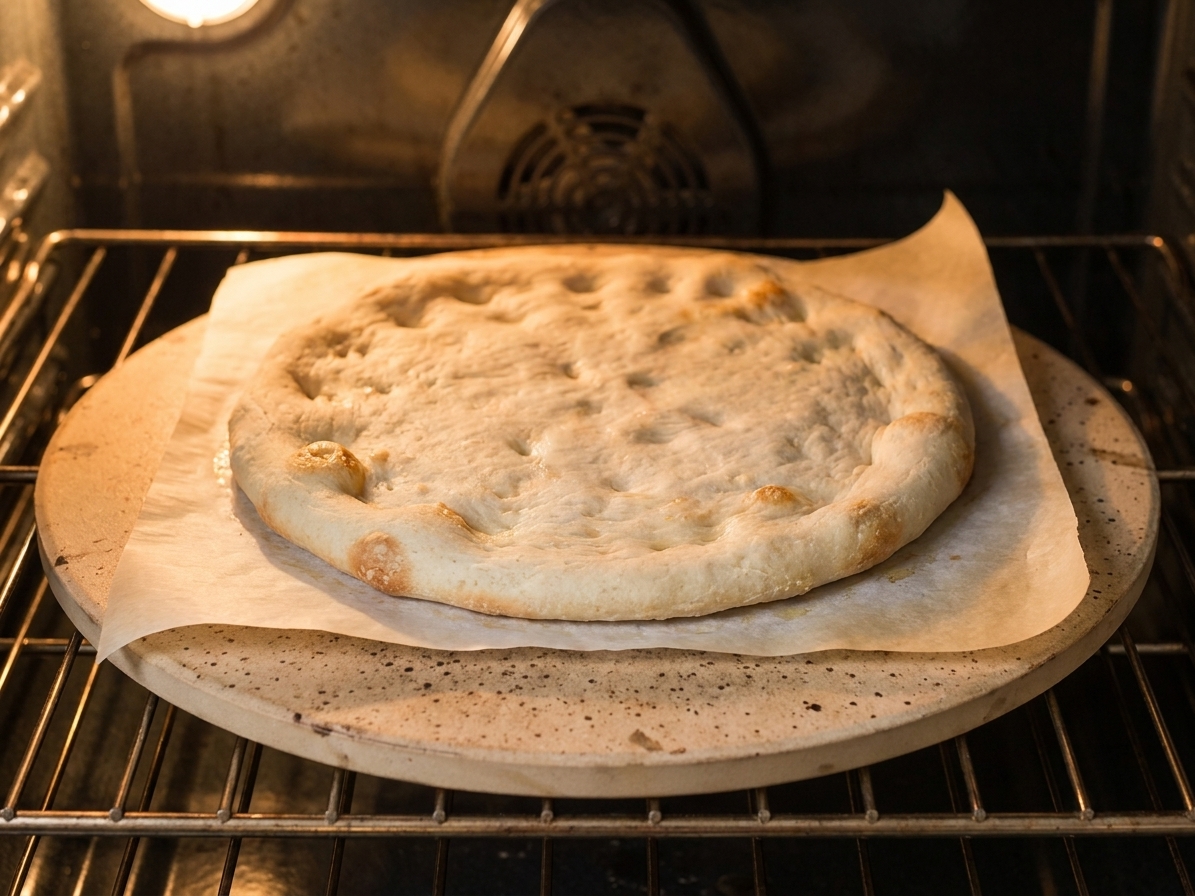
A gluten-free pizza crust on parchment paper being par-baked on a preheated pizza stone inside an oven, crust edges just starting to turn golden

The first time I tried to make gluten-free pizza at home, I treated the dough like regular dough and basically bullied it. I kept adding flour to make it “behave,” then wondered why it baked up like a dry rice cake with sauce on top. Once I stopped fighting the stickiness and started working with it, everything got better. Now I mix it, let it rest, press it out with wet hands, and let the oven do the heavy lifting. It is relaxed cooking, the kind that feels like you are making pizza with a friend who keeps reminding you to stop overthinking and just bake the thing.