Mom's Best Recipes
Recipe

Homemade Pita Chips

Baked or skillet pita chips with crisp edges, simple seasoning, and the cooling trick that keeps them crunchy for hummus.

Author By Pip
4.8
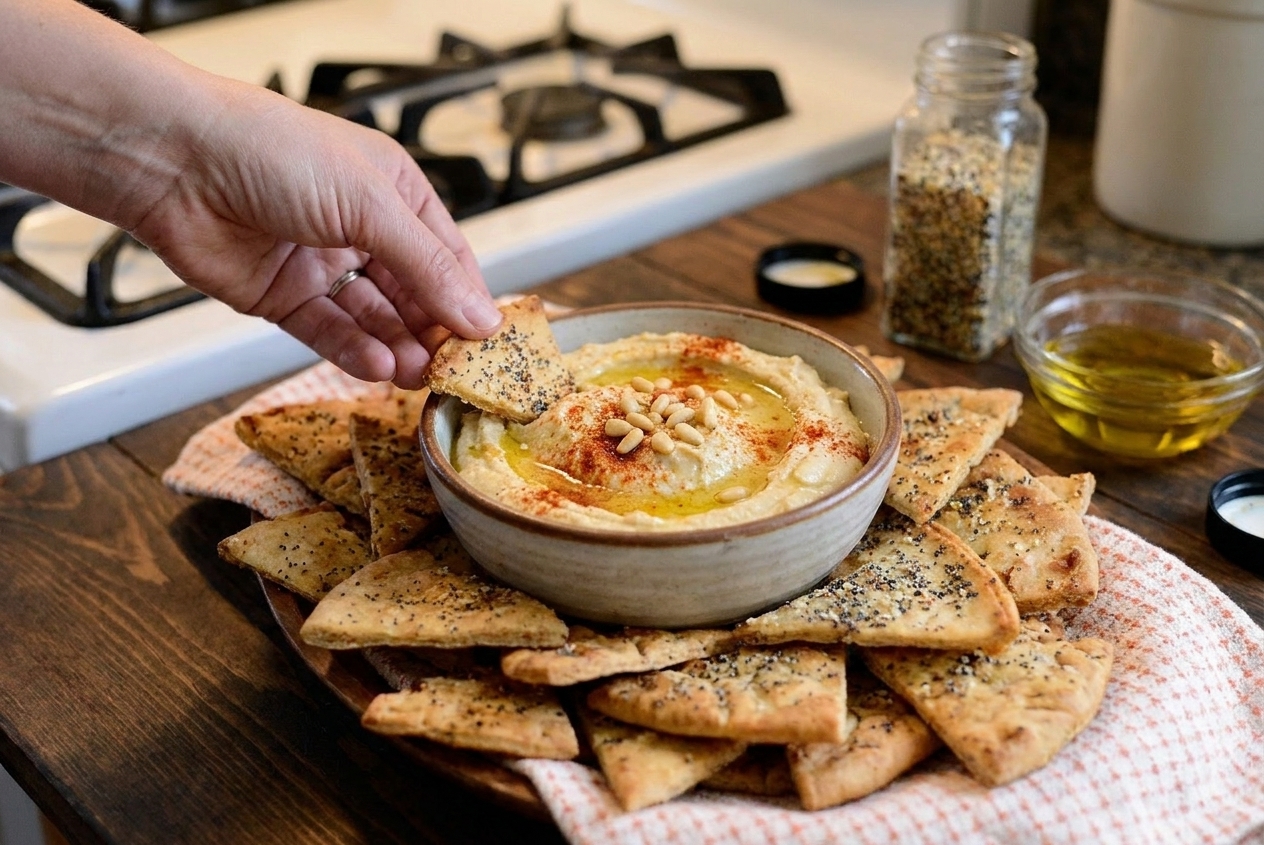
A bowl filled with golden, crisp homemade pita chips on a cozy kitchen table with a small bowl of hummus nearby

Small paws, big appetite, and a soft spot for comfort food.

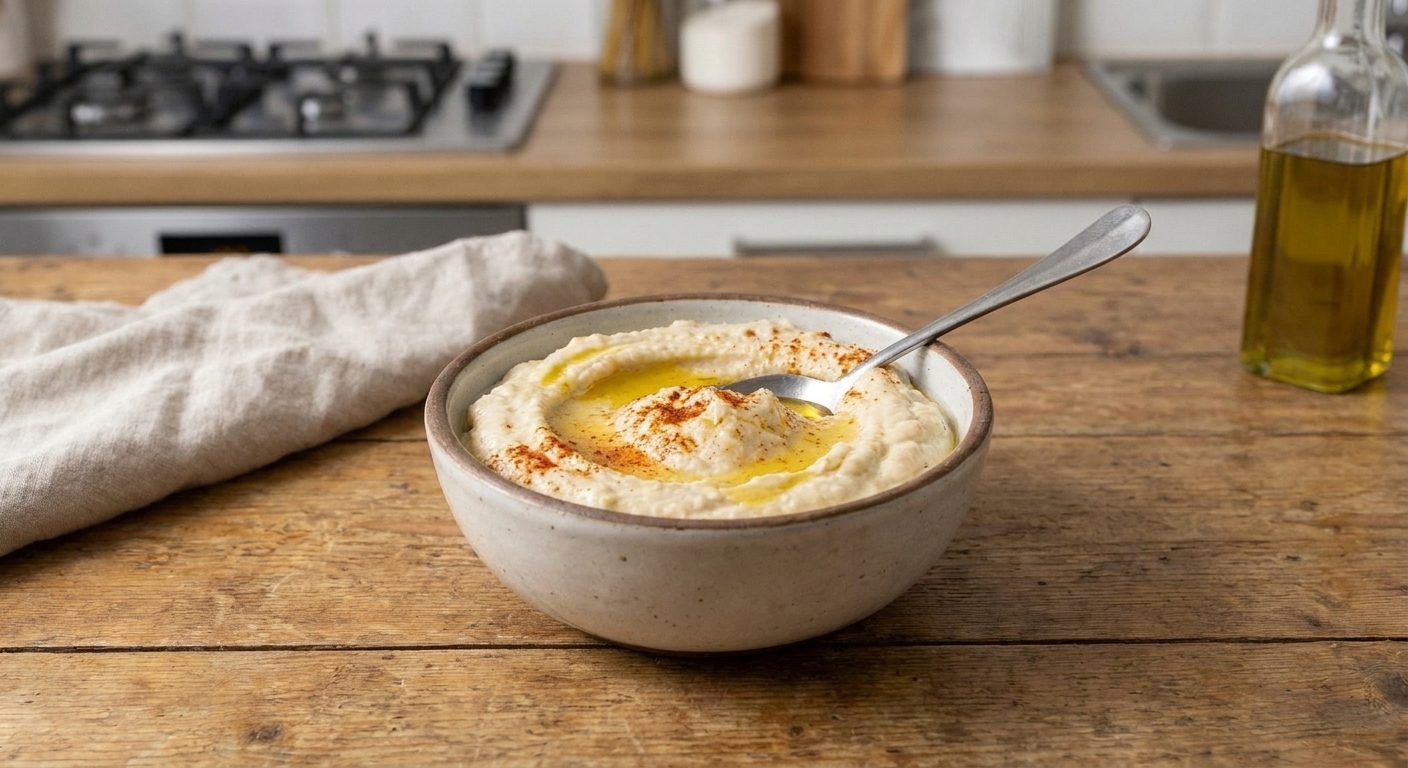
When a bowl of hummus shows up, I immediately start looking around for something crunchy to scoop with. Store-bought pita chips are fine, but homemade ones have that toasty smell, those crisp edges, and the kind of crunch that makes everyone wander into the kitchen “just to check.”

This recipe gives you two ways to make them: oven-baked for a big batch, or skillet for a quick, snacky situation. I will also nudge you toward the most important step of all: cooling them properly so they stay crunchy. (Yes, even if your small paws are impatient.)

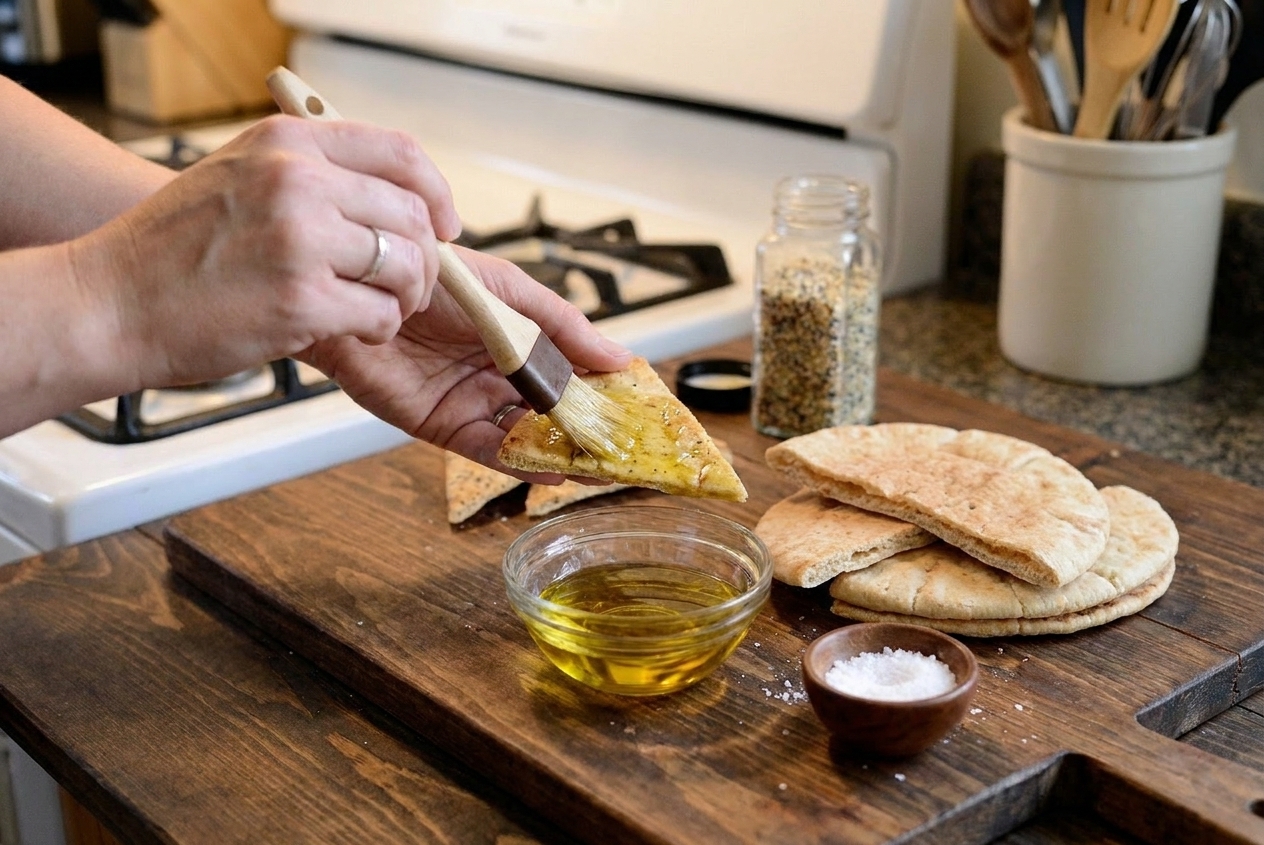
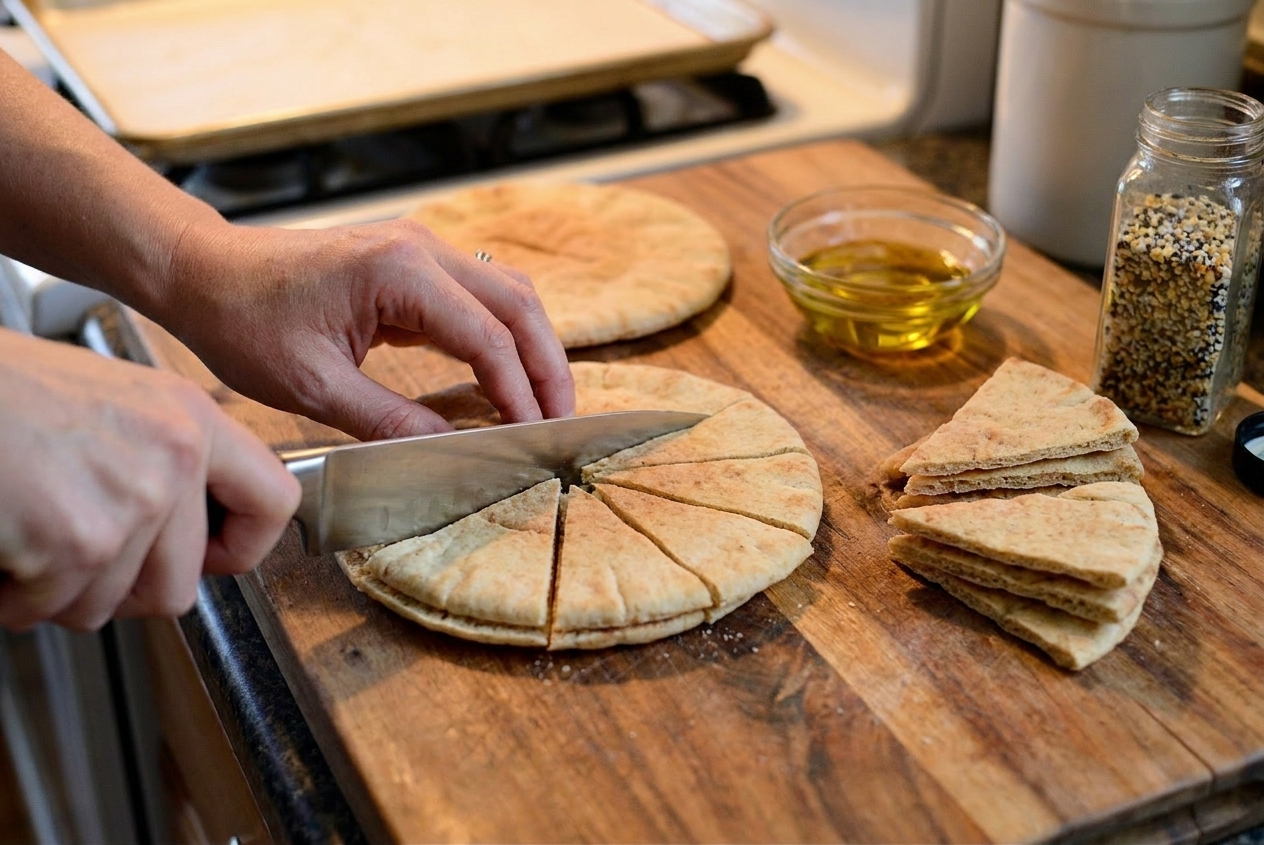
Split pita breads, a small bowl of olive oil, and a pinch bowl of salt set out on a warm kitchen counter

Why It Works

  • Consistent crunch: Cutting the pita to an even thickness helps everything crisp at the same time.
  • No scorched surprises: A quick check near the end keeps the edges from going from golden to burnt.
  • Extra crisp finish: Cooling in a single layer lets steam escape, which is the secret to chips that stay snappy for dipping.
  • Choose your method: Bake for a crowd, or skillet-toast when you want chips right now.

Pairs Well With

Storage Tips

Let them cool completely first. Any warmth trapped in a container makes steam, and steam makes chips sad and chewy.

Room temperature: Store fully cooled pita chips in an airtight container for 3 to 5 days, though they are best in the first 2 to 3 days. If your kitchen runs humid, tuck in a folded paper towel to help absorb moisture.

To re-crisp: Spread on a sheet pan and warm at 350°F for 3 to 5 minutes, then cool again.

Common Questions

How thick should pita chips be?

For the crunchiest results, split each pita into two thin rounds (top and bottom layers), then cut into wedges. Thin pieces crisp quickly and evenly. If your pita is already thin and hard to split, you can skip splitting, but expect a slightly sturdier, more bread-like crunch.

Oven or skillet, which is better?

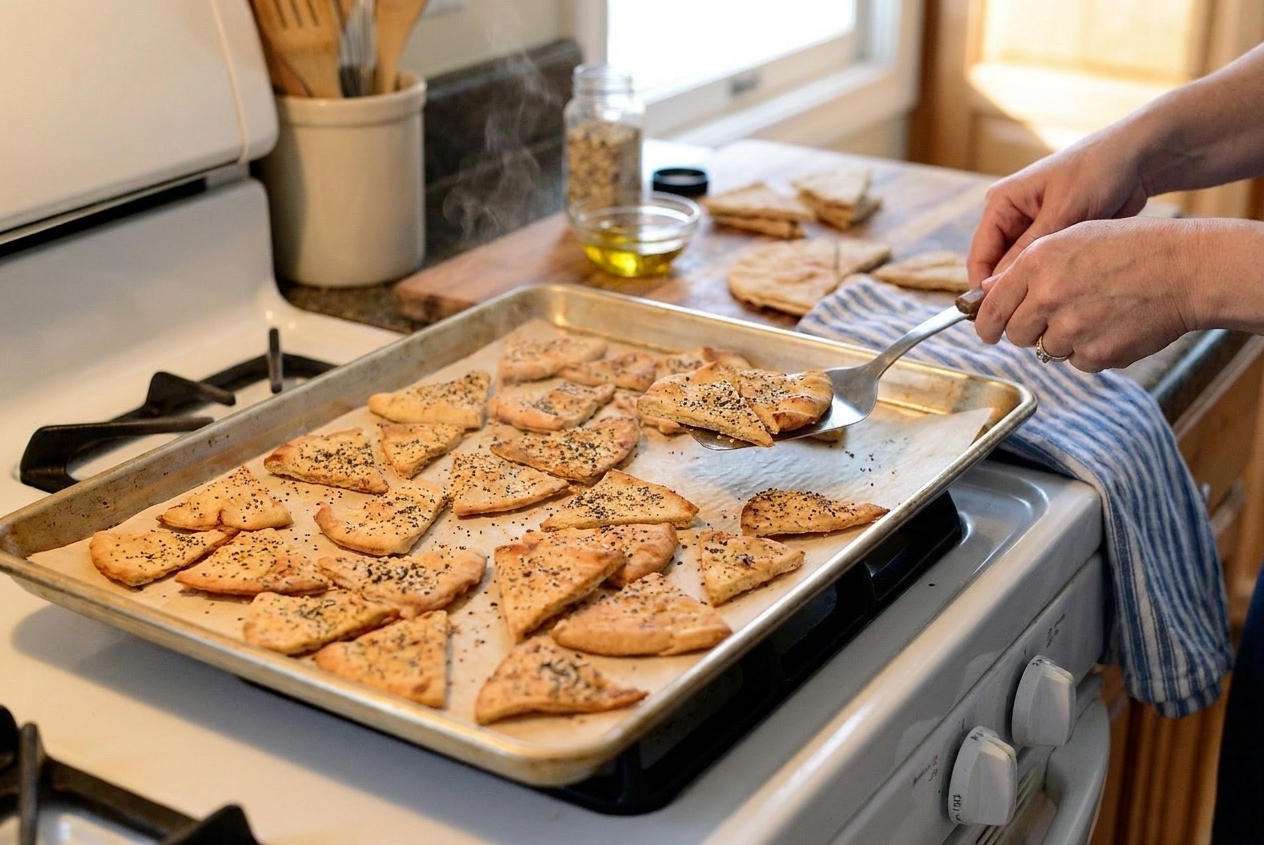
Oven: Best for bigger batches and the most even browning. You can bake a whole tray at once.

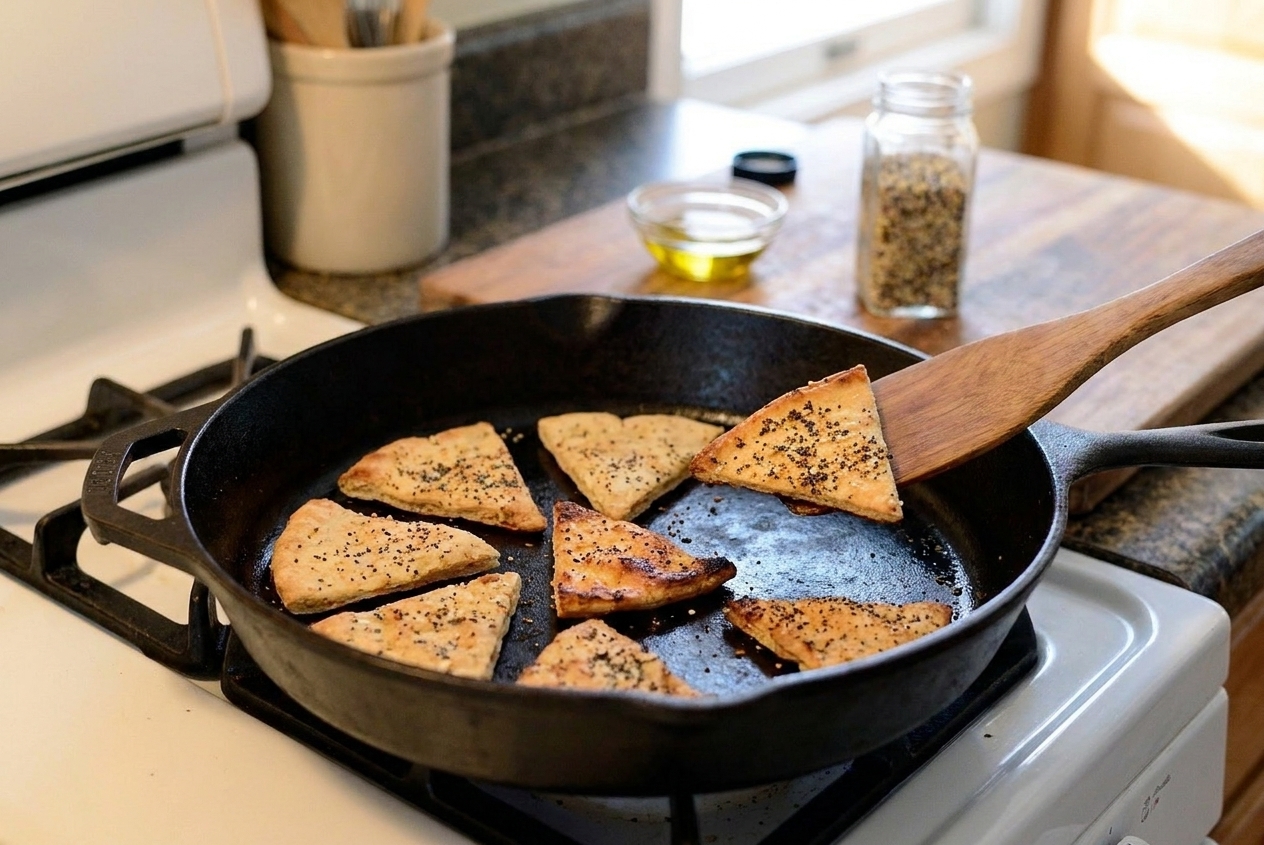
Skillet: Best when you want a small batch fast. It also gives a slightly more toasted flavor, but you have to watch closely so the edges do not scorch. Timing can vary depending on how many batches you need.

Why do my pita chips turn out chewy?

Usually it is one of three things: too much oil, overcrowding (they steam instead of crisp), or packing them away before fully cool. Let them cool in a single layer until they feel completely dry and crisp.

Can I use butter instead of oil?

You can, but butter browns faster and can burn at the edges. If you want a buttery vibe with a little more breathing room, try ghee (still keep an eye on it), or use olive oil and add seasonings for extra savory richness.

What seasoning is best for hummus?

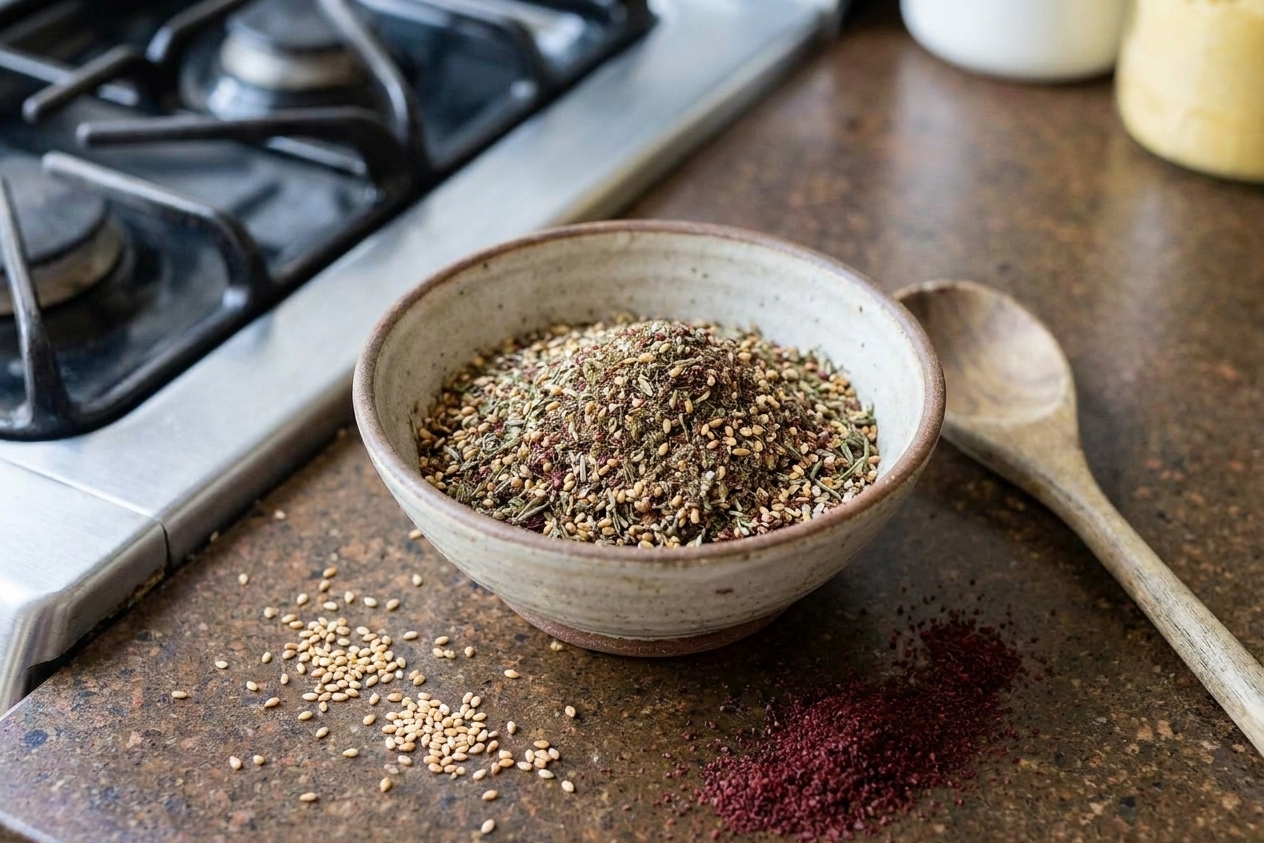
Classic salt is perfect, but my favorite easy upgrade is za’atar. It tastes lemony, herby, and toasty, and it makes hummus feel instantly extra special.

Any fun seasoning ideas?

If you want something different, try cumin plus a pinch of chili powder for a warm, smoky snack, or go sweet with cinnamon and sugar (skip garlic and paprika, obviously).
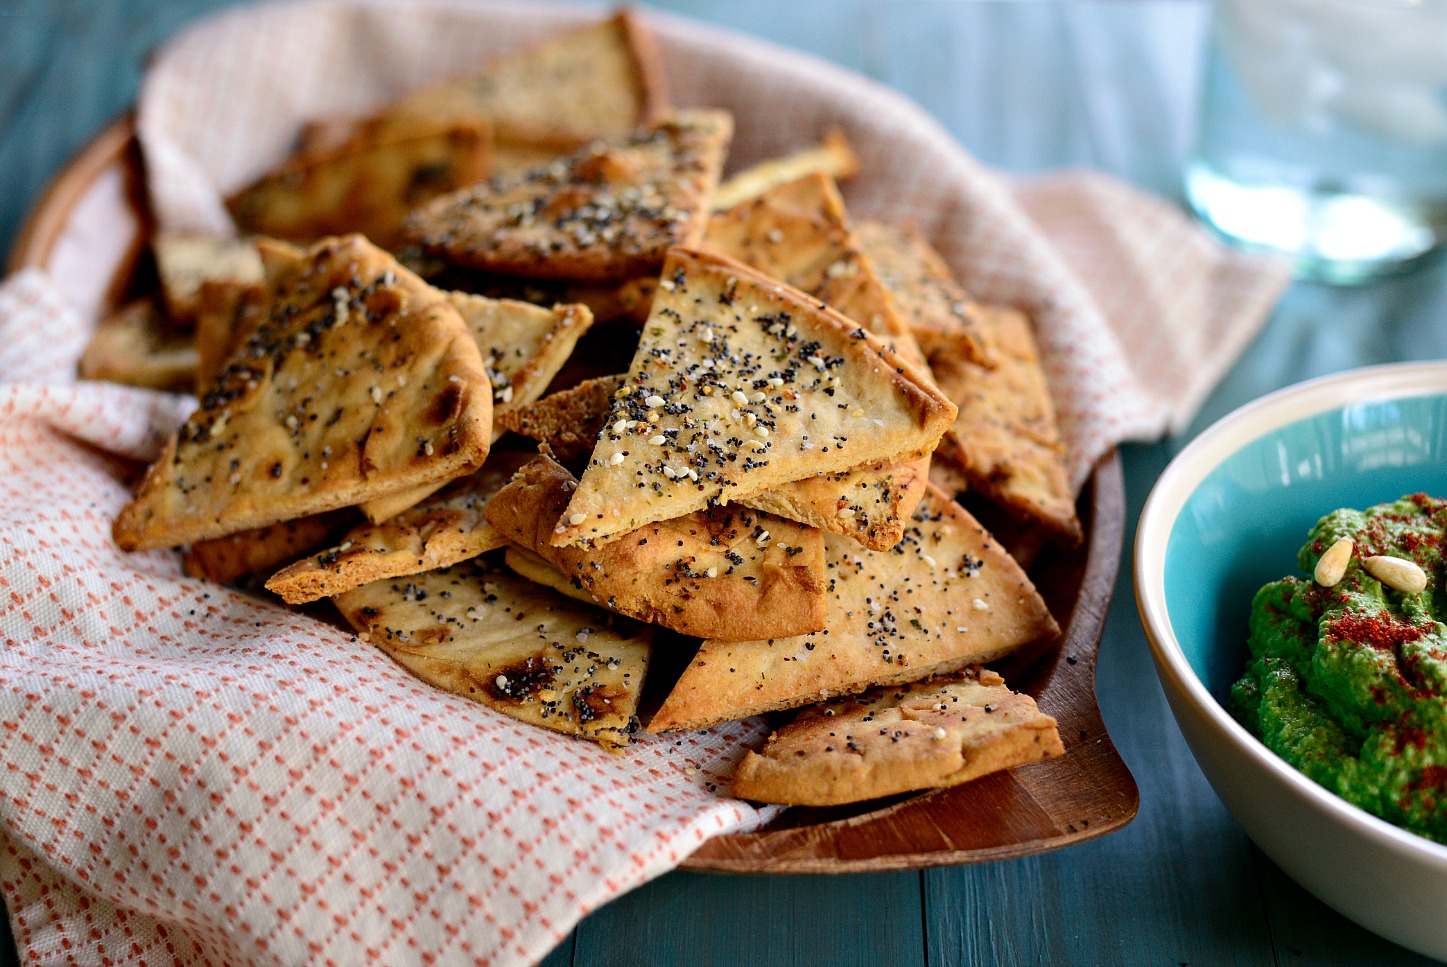
I like recipes that feel like a tiny kitchen magic trick, and pita chips are exactly that. One moment you have soft, bendy pita. The next, you have a basket of crisp little triangles that disappear the second a dip hits the table. The only real mischief is pretending you made them for sharing.