Mom's Best Recipes
Recipe

Homemade Strawberry Pop Tarts

A from-scratch version with a flaky crust, a not-too-sweet strawberry filling, and that classic vanilla glaze that sets up just right.

Author By Matt Campbell
4.8
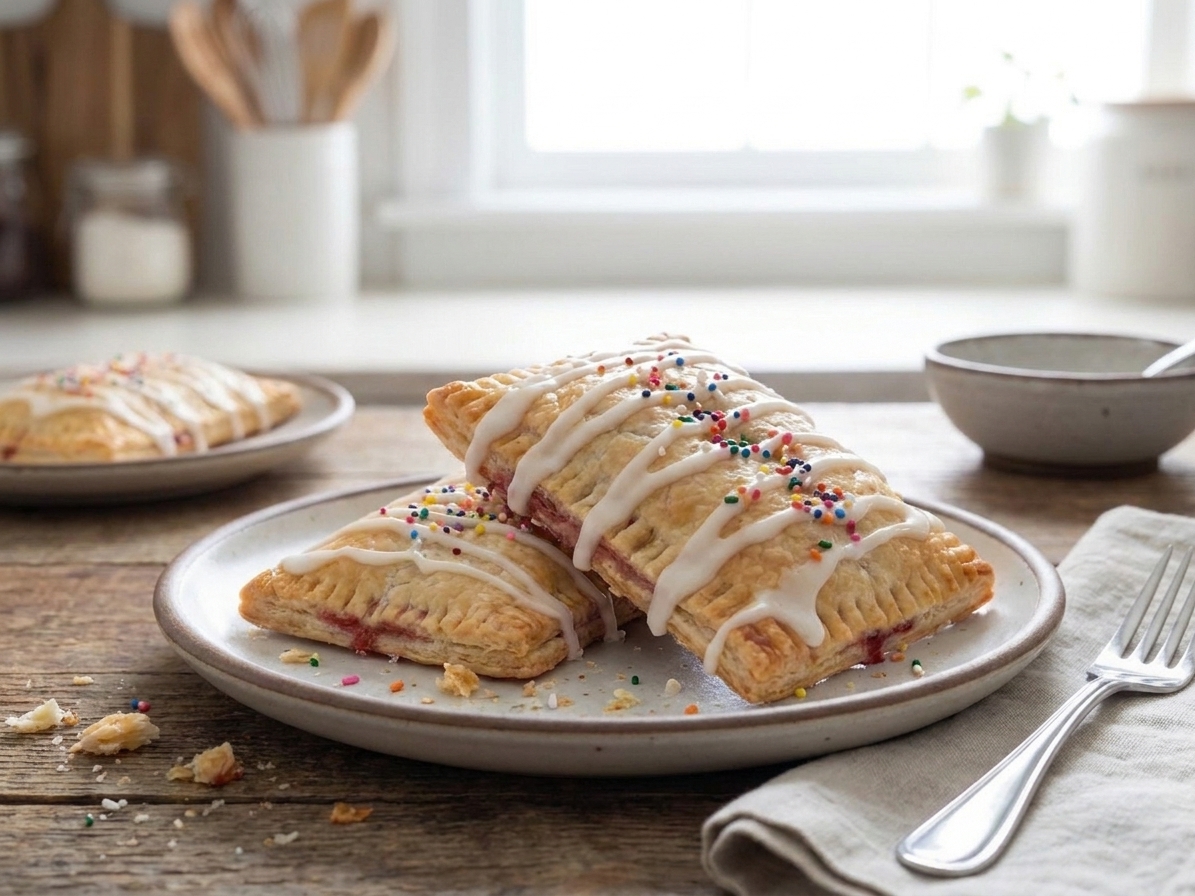
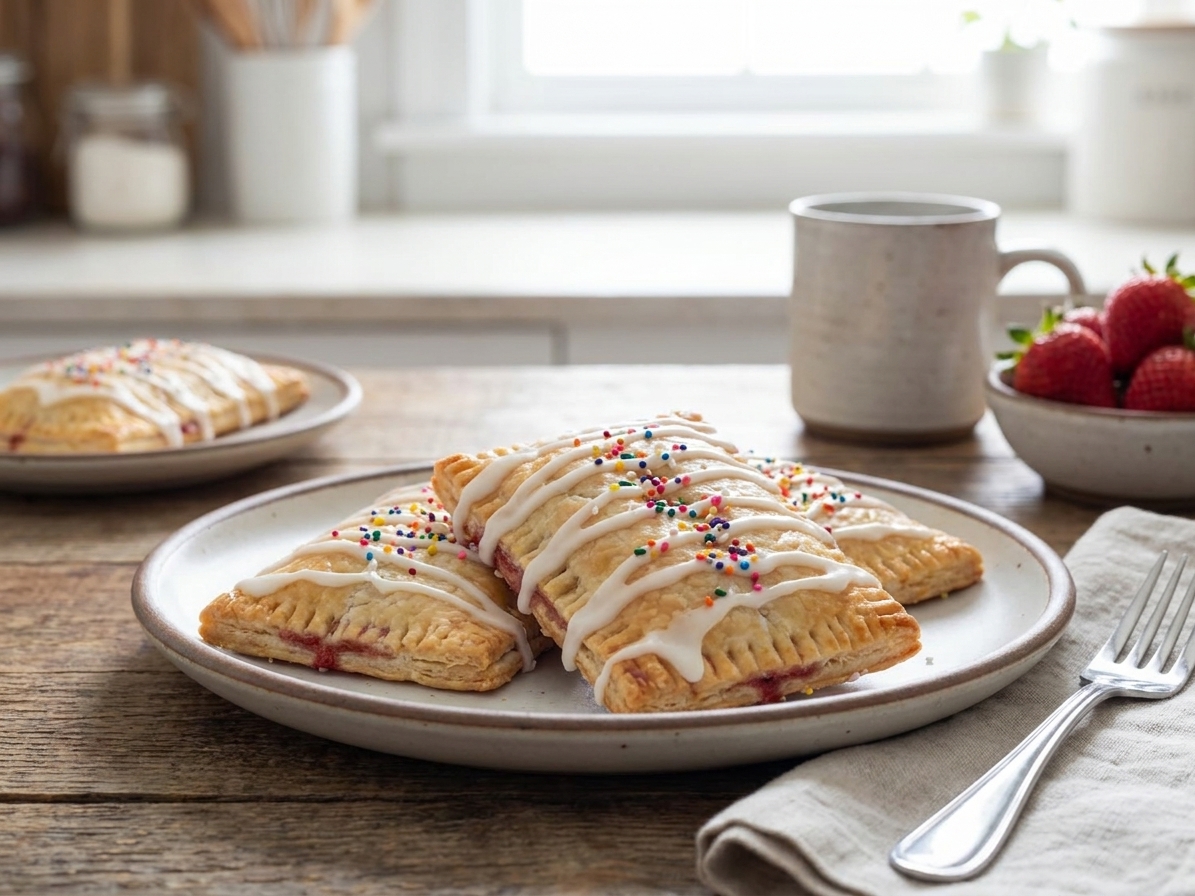
A plate of homemade strawberry pop tarts with vanilla icing and colorful sprinkles on a wooden table in a bright kitchen

Pop tarts are one of those snacks that live in a very specific part of my brain: after-school energy, zero patience, maximum frosting. This homemade version keeps the spirit but upgrades the texture and flavor in a way that feels unfair to the boxed kind.

We are talking flaky, buttery pastry, a bright strawberry filling that does not leak everywhere if you seal it like you mean it, and a simple vanilla glaze that sets up glossy and snackable. Make a batch on a weekend, freeze them, and future-you will feel personally supported on busy mornings.
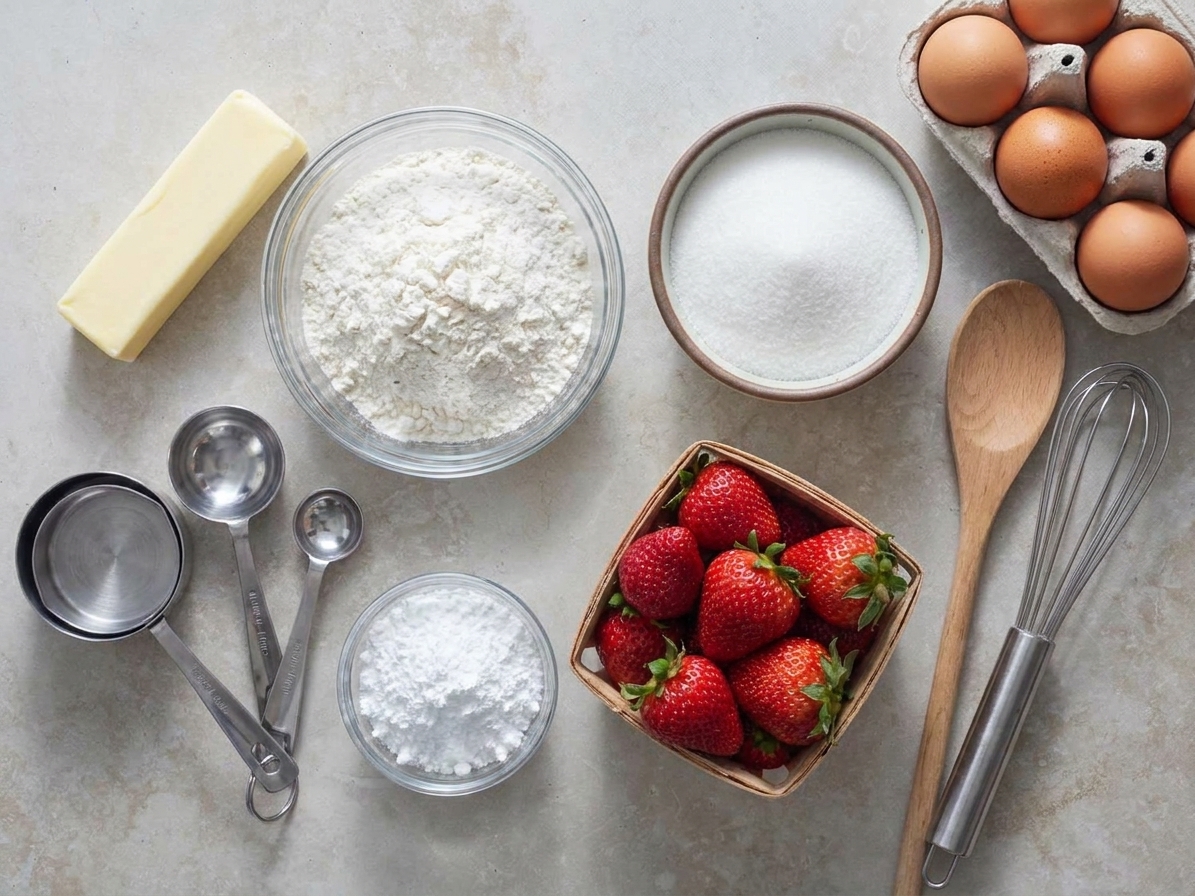
Butter, flour, sugar, strawberries, powdered sugar, and eggs arranged on a clean kitchen counter with measuring tools

Why It Works

  • Flaky crust without drama: cold butter, a quick chill, and a hot oven give you crisp edges and tender layers.
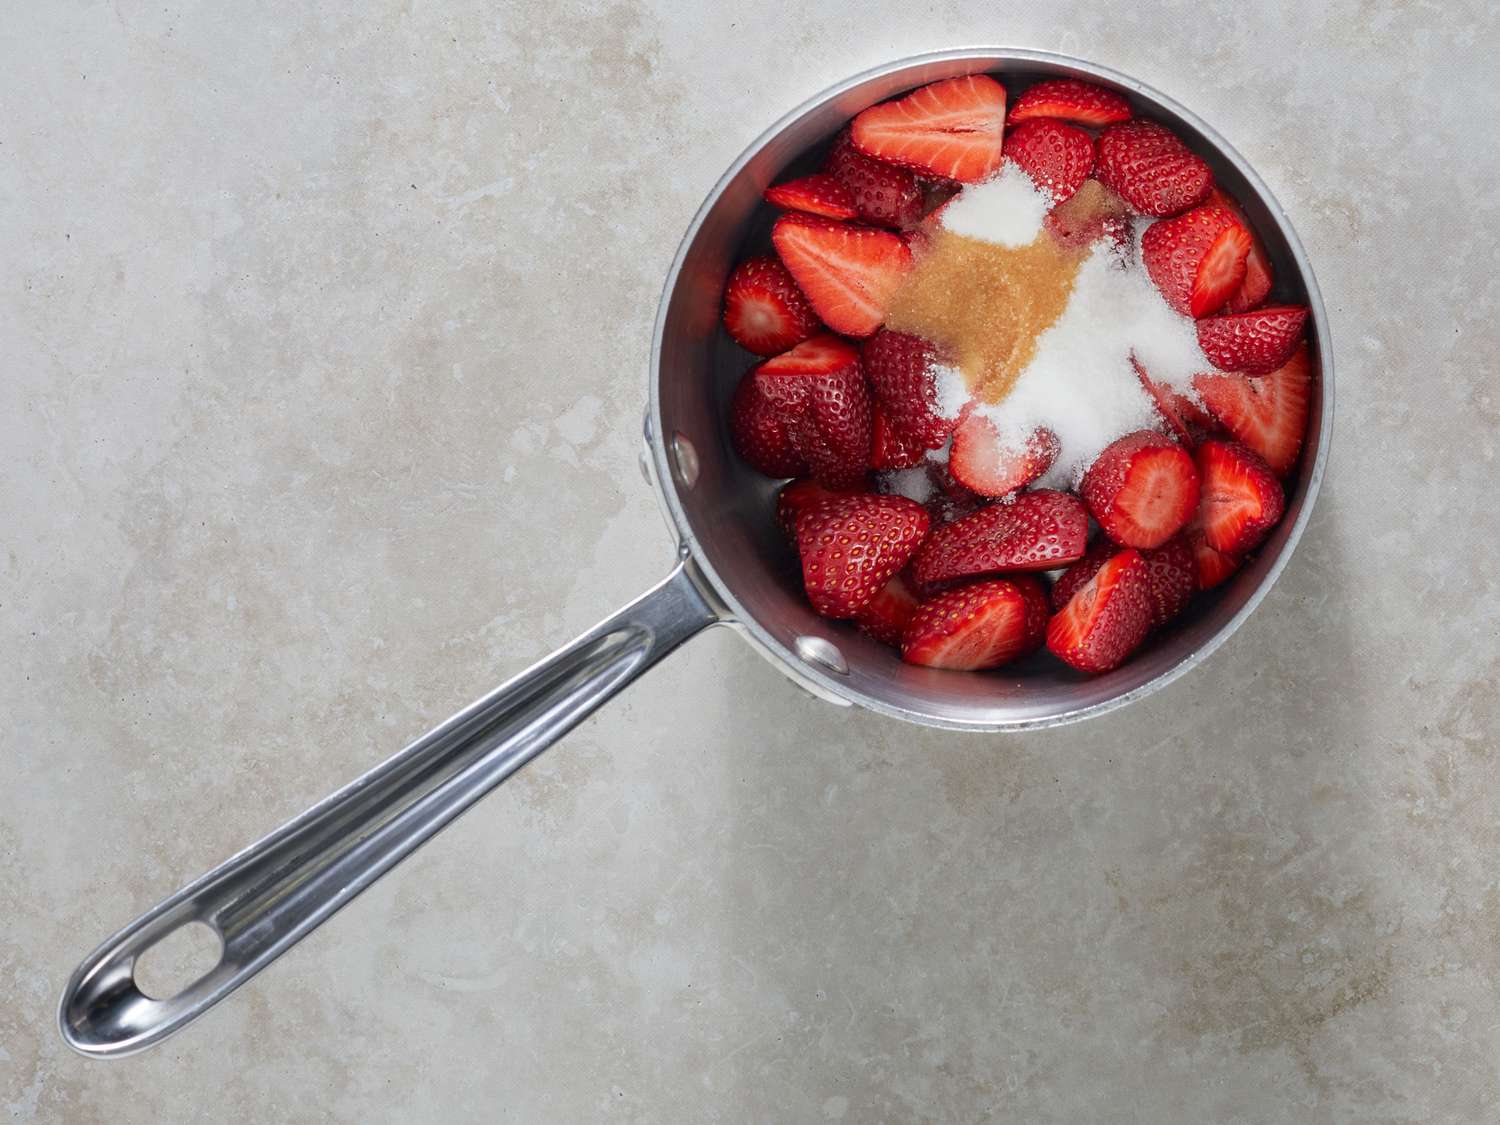
  • Jammy filling that stays put: a small amount of cornstarch thickens the strawberries so they do not run wild.
  • Freezer friendly: bake now or freeze unbaked, then toast or warm whenever you want a fresh one.
  • Customizable: swap fillings, change the glaze, or skip the sprinkles and pretend you are being “refined.”

Pairs Well With

Storage Tips

Room temperature: Store fully cooled pop tarts in an airtight container for up to 1 to 2 days if your kitchen is cool and dry. If it is warm or humid, the icing can get tacky fast, so parchment between layers helps and the fridge is the better move.

Refrigerator: Up to 5 days in an airtight container. Rewarm in a toaster oven for best texture.

Freezer (baked): Freeze unglazed or glazed pop tarts on a sheet pan until firm, then transfer to a freezer bag for up to 1 to 2 months. Reheat in a toaster oven at 325°F until hot and the edges feel crisp again.

Freezer (unbaked, best move): Assemble and freeze on a tray, then bag them. Bake straight from frozen, adding about 3 to 8 minutes to the bake time. Look for deep golden edges and a set, lightly browned bottom.

Common Questions

Do I have to make homemade dough?

No. If you are in a weeknight mood, use a good store-bought pie crust. You will lose some flake, but you will still win the morning.

How do I keep the filling from leaking?

Three things: let the filling cool completely, do not overfill (1 tablespoon is plenty), and seal with a fork like you are closing an envelope full of secrets. Keep the filling centered with a clear border, and if you want extra insurance, chill the assembled pop tarts for 10 to 15 minutes before baking. If you see cracks, patch with a tiny bit of water and pinch closed.

Can I use strawberry jam instead of fresh strawberries?

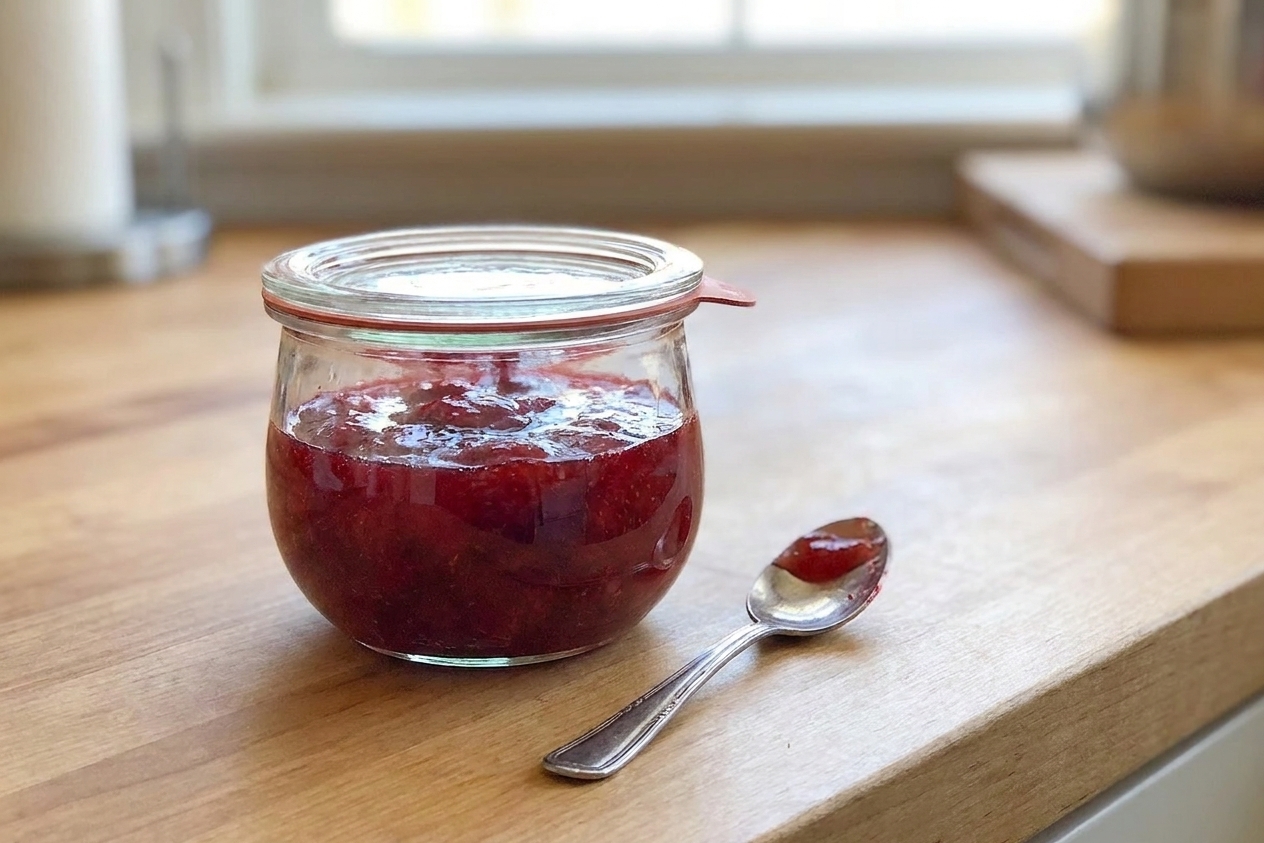
Absolutely. Use about 1/2 cup thick jam. Skip the stovetop filling step and just spoon it in once the dough is rolled.

Can I toast these like store-bought pop tarts?

Yes, but I recommend toaster oven over a pop-up toaster, especially if they are iced. In a pop-up toaster, the icing can melt, drip, and burn. For safety and less mess, toast unglazed pop tarts, then glaze after (or keep the glaze light and fully set).

What other fillings work?

Blueberry, raspberry, peach, apple butter, Nutella, cinnamon sugar, or even a peanut butter and jelly situation. Just keep the filling thick.

The first time I tried making pop tarts at home, I got cocky and overfilled them. It looked fine until the oven said, “Cute,” and the strawberry lava started bubbling out the sides. Now I keep the filling thick, the spoonful small, and the seal aggressive. The payoff is worth it: a warm, flaky pocket that tastes like nostalgia, but with better butter and zero cardboard vibes.

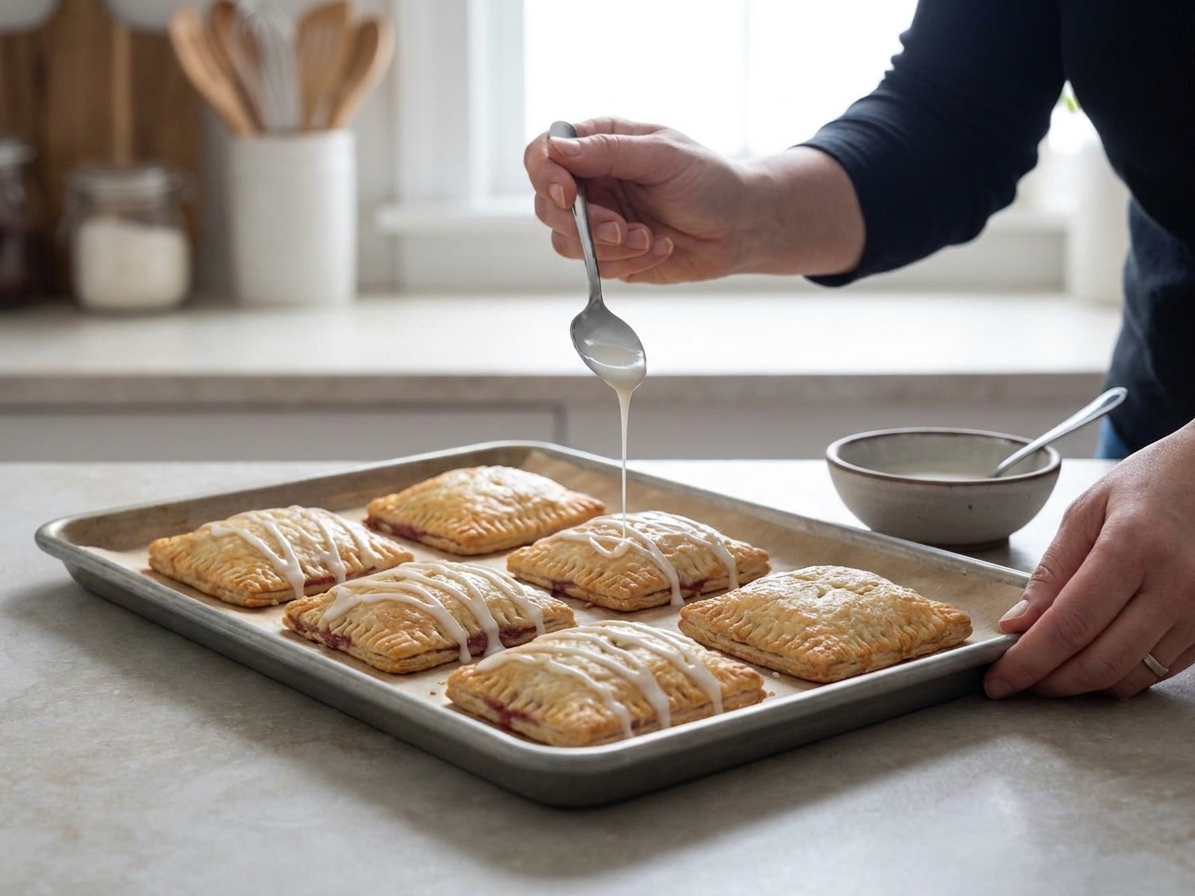
A pair of hands drizzling vanilla icing over cooled homemade pop tarts on a parchment-lined baking sheet in a home kitchen