Mom's Best Recipes
Recipe

Instant Pot Yogurt

A reliable, creamy homemade yogurt recipe using your Instant Pot, plus the small tricks that guarantee a good set every time.

Author By Matt Campbell
4.8
A row of small glass jars filled with creamy homemade yogurt on a bright kitchen counter, with a spoon and a small bowl of berries nearby

If you have ever stood in the dairy aisle holding a tub of yogurt and thought, this cannot be the best option, welcome. Instant Pot yogurt is one of those kitchen projects that feels weirdly magical the first time it works. You pour in milk, add a spoonful of yogurt, press a button, and the next day you have a tangy, creamy batch that tastes fresh and clean.

My version keeps it simple and practical: accessible ingredients, clear steps, and a couple of “do not skip this” details that make the difference between silky yogurt and sad milk soup. We will cover the classic Boil method (most consistent), how long to incubate, and how to strain it into Greek-style yogurt if you like it thick enough to stand a spoon in.

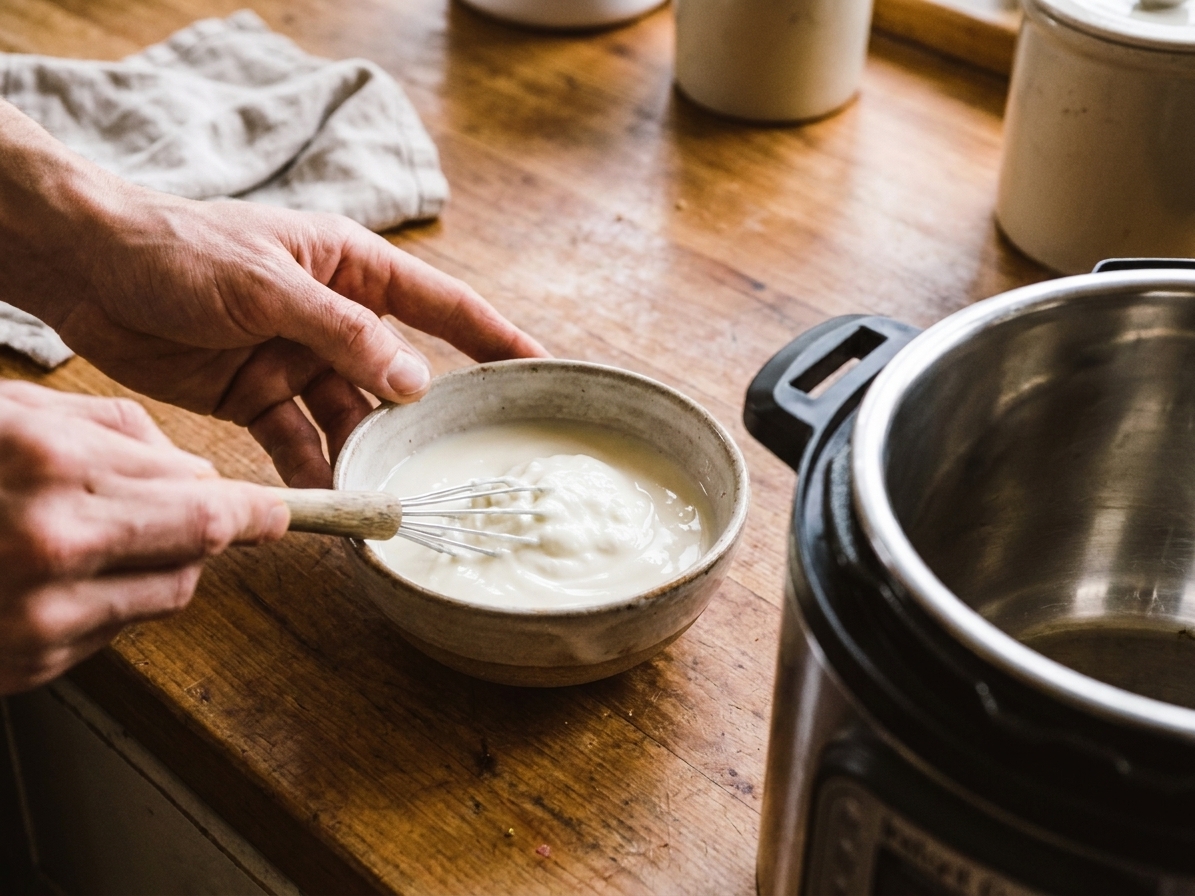
Milk, a small bowl of plain yogurt starter, a thermometer, and a whisk arranged on a clean kitchen counter

Why It Works

  • Consistent set: Heating the milk first denatures proteins, which gives you a thicker, more stable yogurt.
  • Custom tang: Incubate shorter for mild yogurt, longer for extra tangy.
  • Thick or drinkable: Strain for Greek-style, or leave it unstrained for a looser everyday yogurt.
  • Budget friendly: One small cup of plain yogurt can seed several future batches before you refresh with a new starter.

Pairs Well With

Storage Tips

Refrigerate: Store yogurt in clean, airtight containers in the fridge for up to 7 to 10 days. For best quality and peace of mind, I try to use it within 7 days, and I always do a quick smell and look check.

Keep a starter: Set aside 2 to 3 tablespoons of plain yogurt from this batch to use as your next starter. Use it within 7 days for best results. You can usually re-batch successfully for about 3 to 5 rounds before it is worth refreshing with a new store-bought starter for the strongest set.

Whey: If you strain the yogurt, save the whey in a jar for up to 1 week. It is great in smoothies, pancakes, bread dough, or to thin a sauce.

Freezing: You can freeze yogurt for up to 2 months, but the texture may separate when thawed. It is best used for smoothies or baking after freezing.

Common Questions

Do I have to boil the milk first?

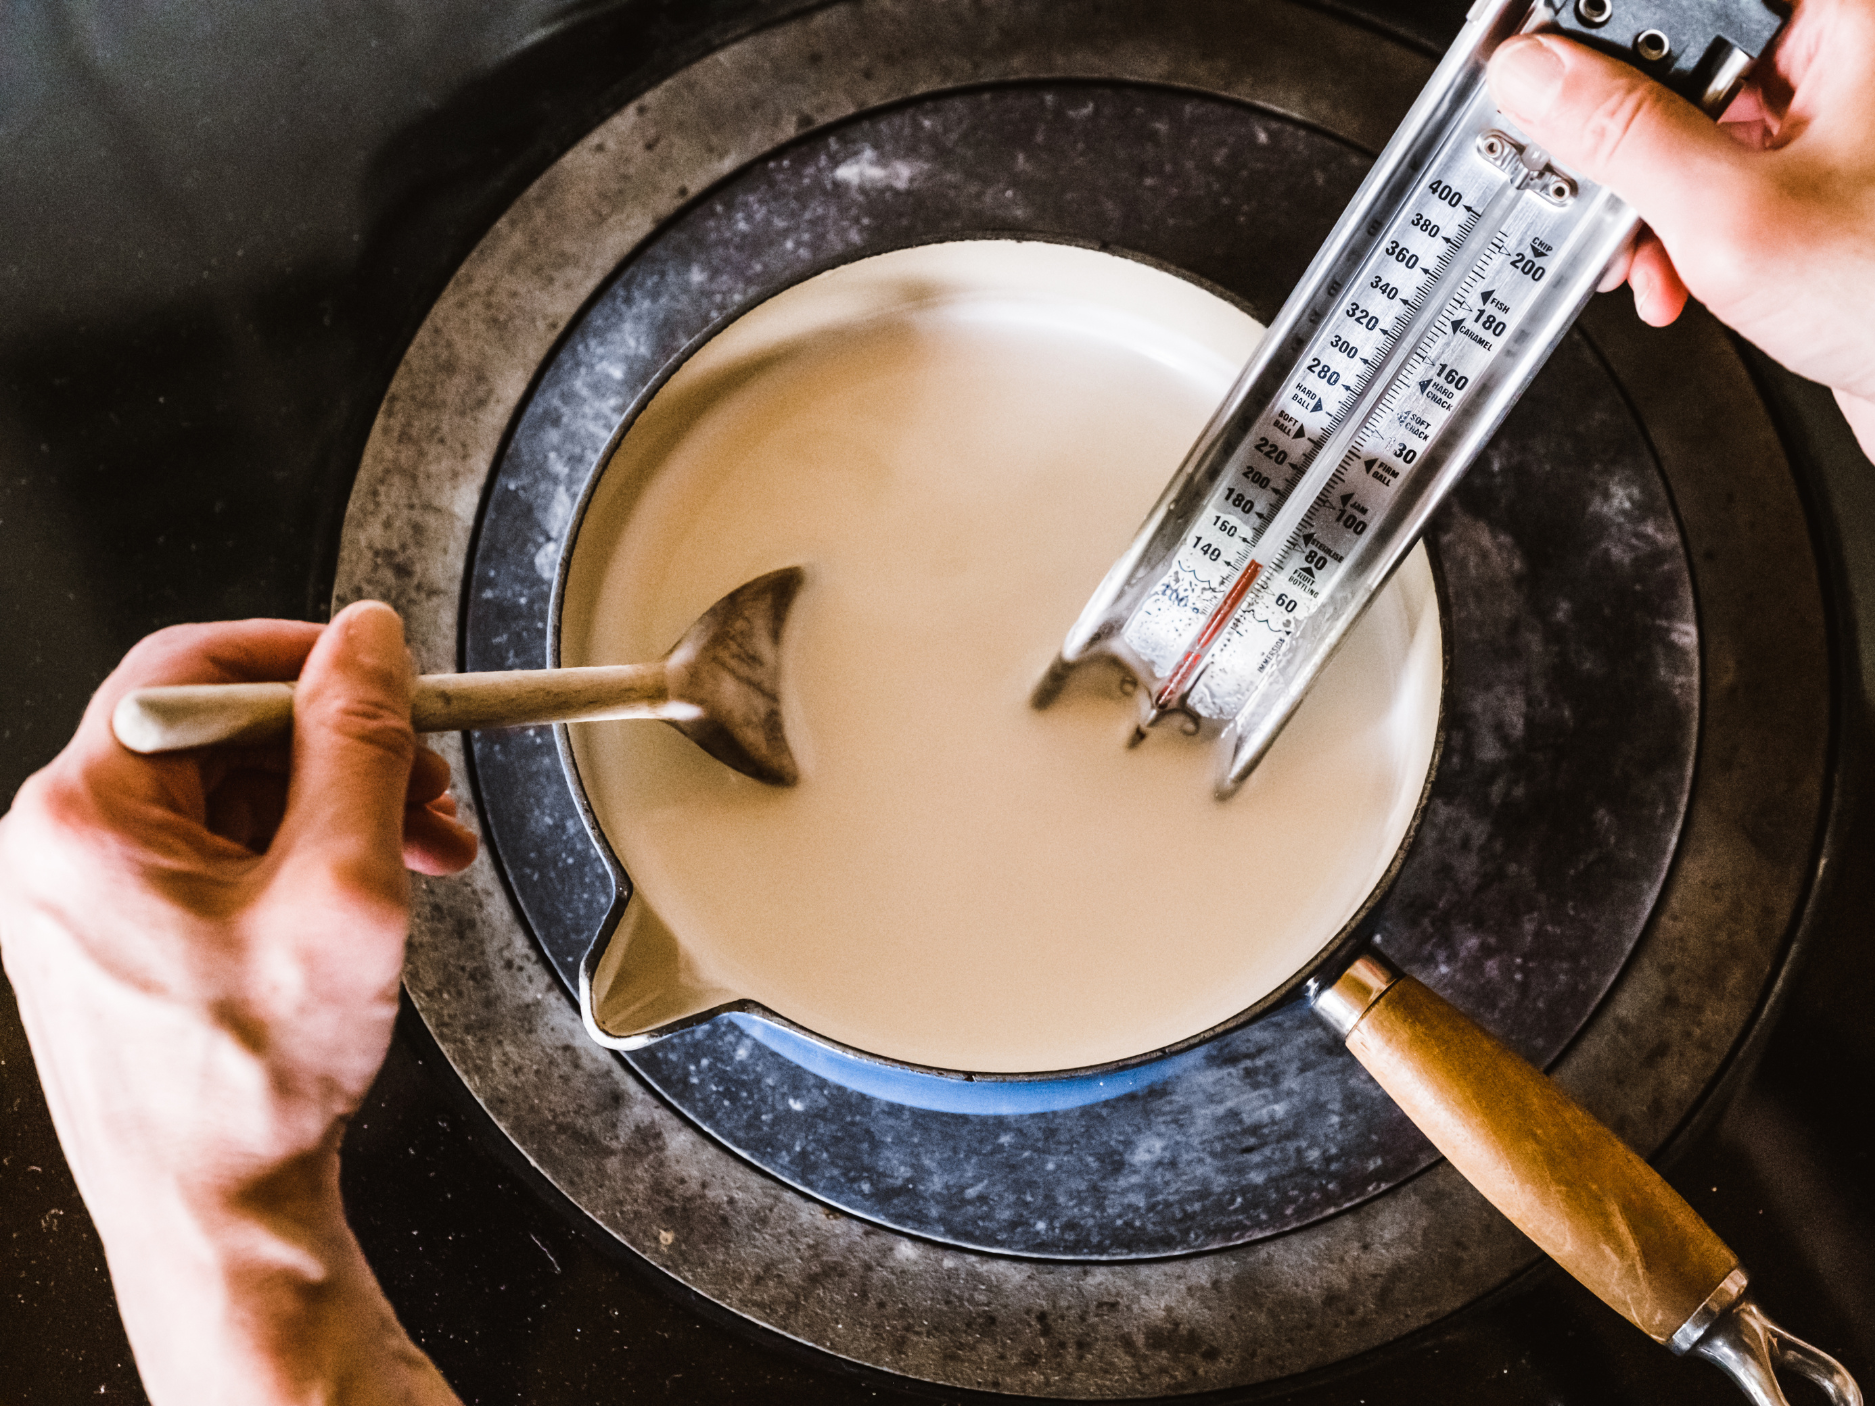
For the thickest, most reliable yogurt, yes. Heating the milk to 180°F changes the proteins so the yogurt sets up better.

If you use ultra-pasteurized milk, you can sometimes skip the boil step, but thickness is usually better if you still heat it (even though it takes a little longer). When I want the most consistent results, I do the boil method every time.

What is the best starter yogurt?

Use plain yogurt with live and active cultures. Avoid anything with thickeners, flavors, or sweeteners if you can. A small amount of whey on top is totally fine.

Which milk works best?

Whole milk gives the creamiest, thickest yogurt. 2% works great too, just a little lighter. Skim tends to be thinner unless you strain it.

Lactose-free milk usually works well, but it can taste a touch sweeter. Ultra-filtered milk (like Fairlife) can set very thick, but results can vary by brand. If you are experimenting, do the boil method first so you have one less variable.

Why did my yogurt turn out runny?

  • The milk did not get hot enough (did not reach 180°F).
  • The milk was too warm when you added starter. Aim for 110 to 112°F. Above about 115 to 118°F can lead to weaker results, and hotter temperatures can kill the culture.
  • Not enough incubation time. Try 10 to 12 hours next time.
  • Starter was old or did not have active cultures.
  • The pot got bumped or opened during incubation.

What if it did not set?

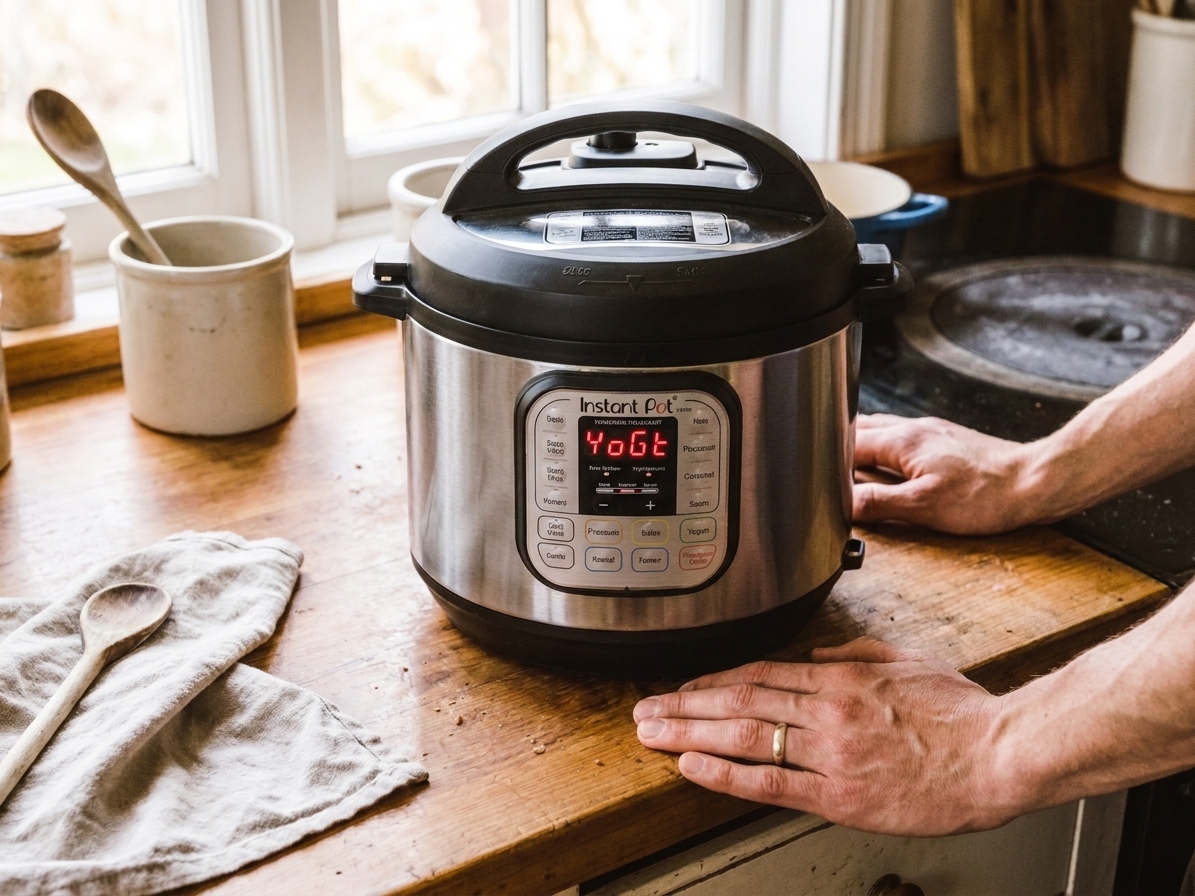
First, give it more time. Set the Yogurt program for another 1 to 3 hours and check again. If it is still thin, do not toss it. Chill it and use it in smoothies, baking, or as a tangy marinade.

For next time, check your temps, use a fresher starter, and consider adding an extra teaspoon of starter.

How do I make it thicker like Greek yogurt?

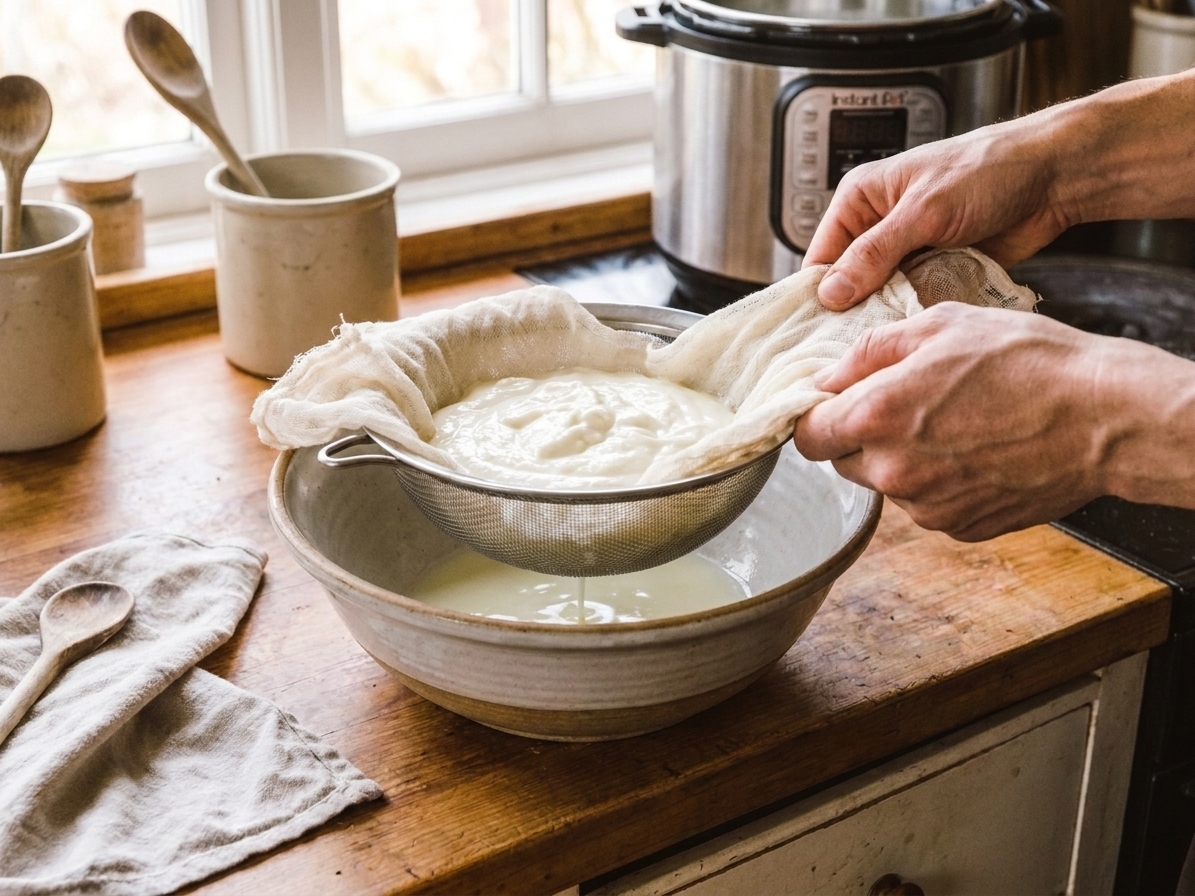
Strain it after chilling using cheesecloth or a coffee filter in a fine-mesh sieve. Strain 1 to 3 hours depending on how thick you want it.

How long should I incubate?

My sweet spot is 9 to 10 hours for a balanced tang. Go 8 hours for milder yogurt, and 12 hours for tangier.

Can I use non-dairy milk?

This exact method is written for dairy milk. Non-dairy yogurts usually need thickeners and different temperatures to set well. If you want a plant-based version, look for an Instant Pot yogurt recipe written specifically for your milk (soy, coconut, oat), since the method and add-ins can change a lot depending on the brand and protein content.

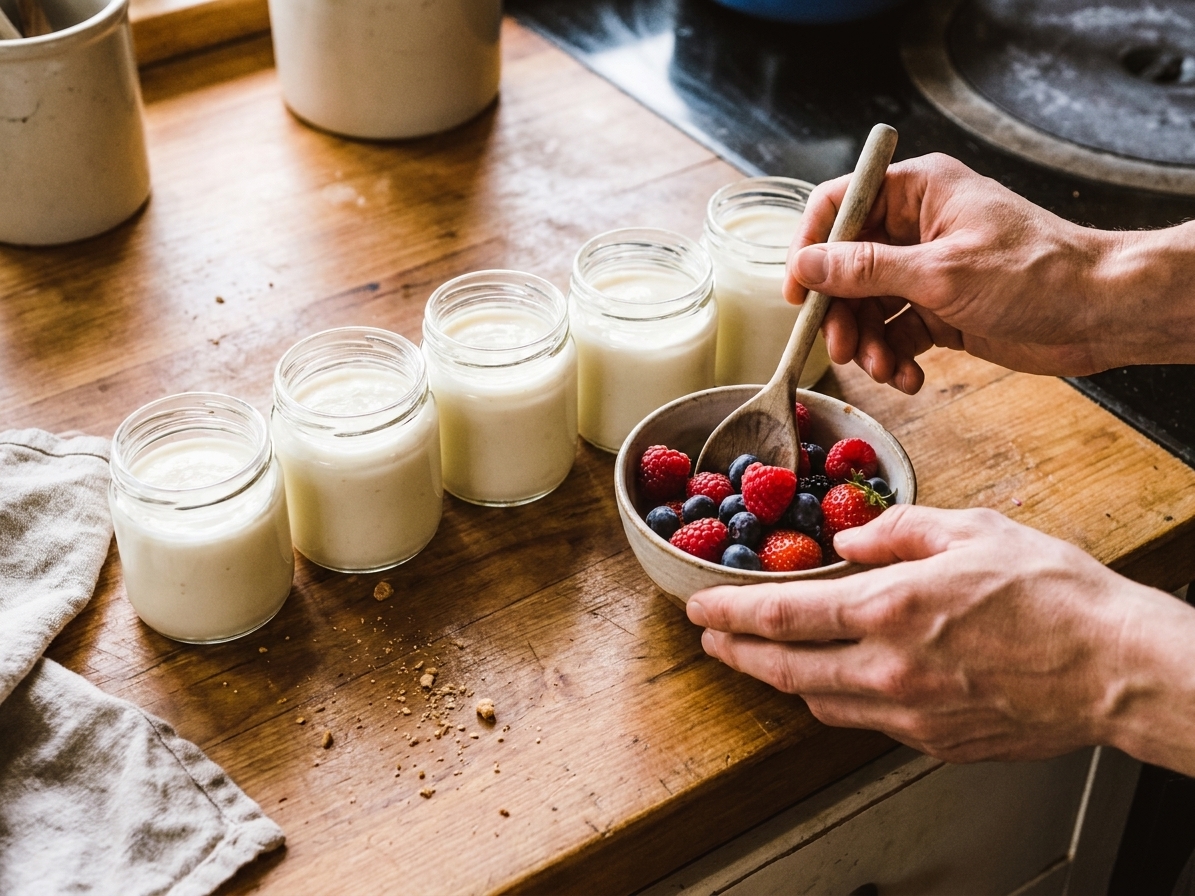
I did not go to culinary school, but I have always chased that same feeling you get in a good kitchen: turning simple ingredients into something that feels taken care of. Instant Pot yogurt hits that for me. It is low drama, a little science-y, and wildly satisfying when you lift the lid and realize you just made a whole batch of breakfast with basically two ingredients.

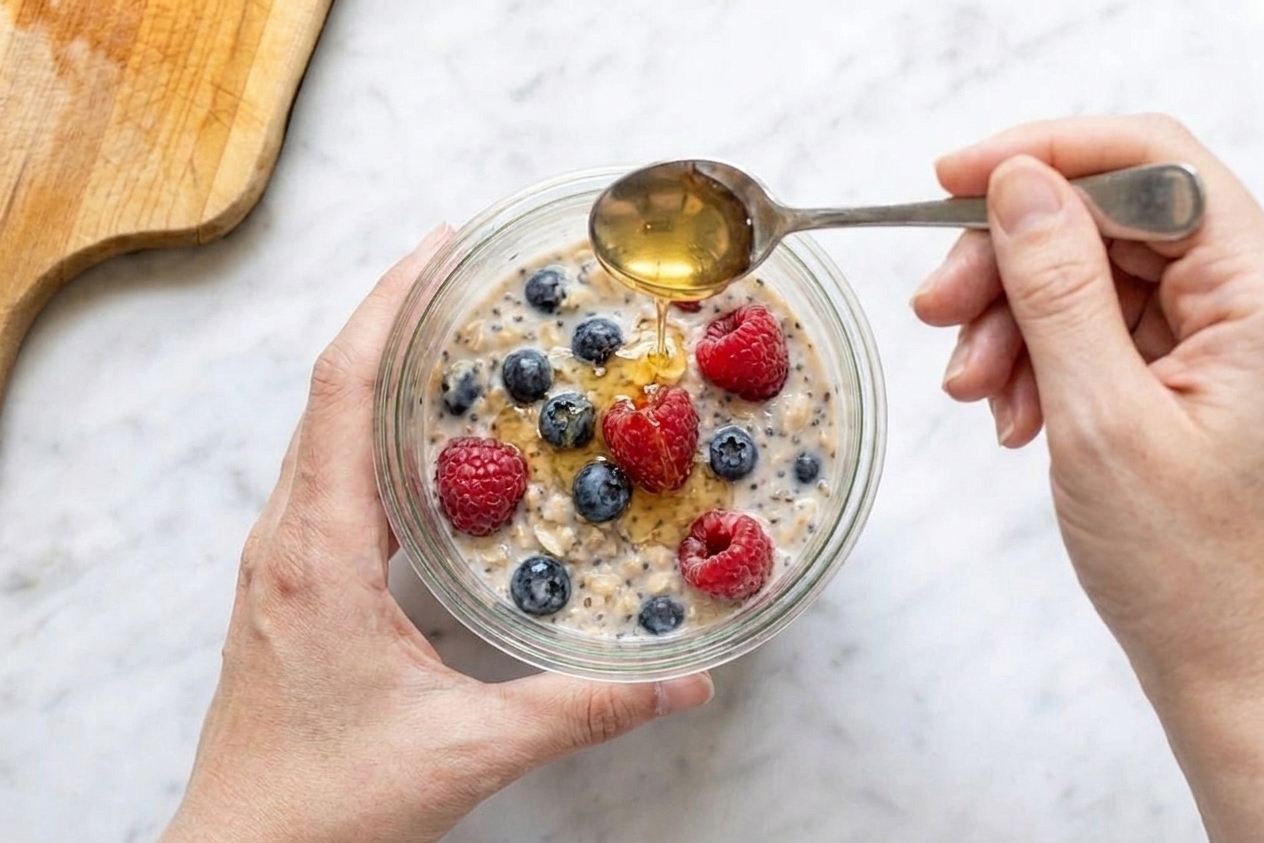
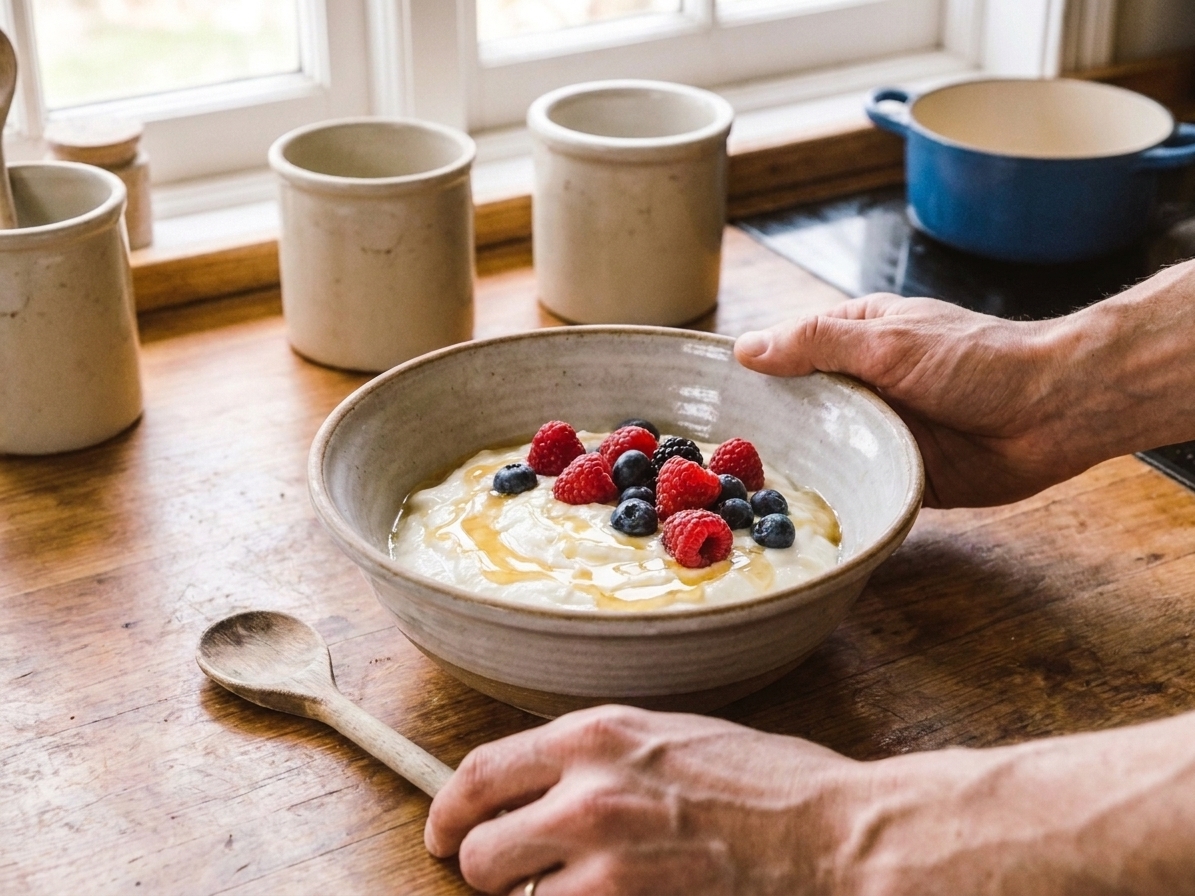
Also, I love anything that gives you options. Eat it plain with honey, fold it into a bright lemon sauce, use it to marinate chicken, or strain it thick and swipe it on toast like it is cream cheese. It is one of those “I wonder if…” projects that ends with you looking for excuses to make another batch.