Mom's Best Recipes
Recipe

Royal Icing

A simple, dependable royal icing for outlining and flooding cookies with a smooth, hard-drying finish.

Author By Matt Campbell
4.8
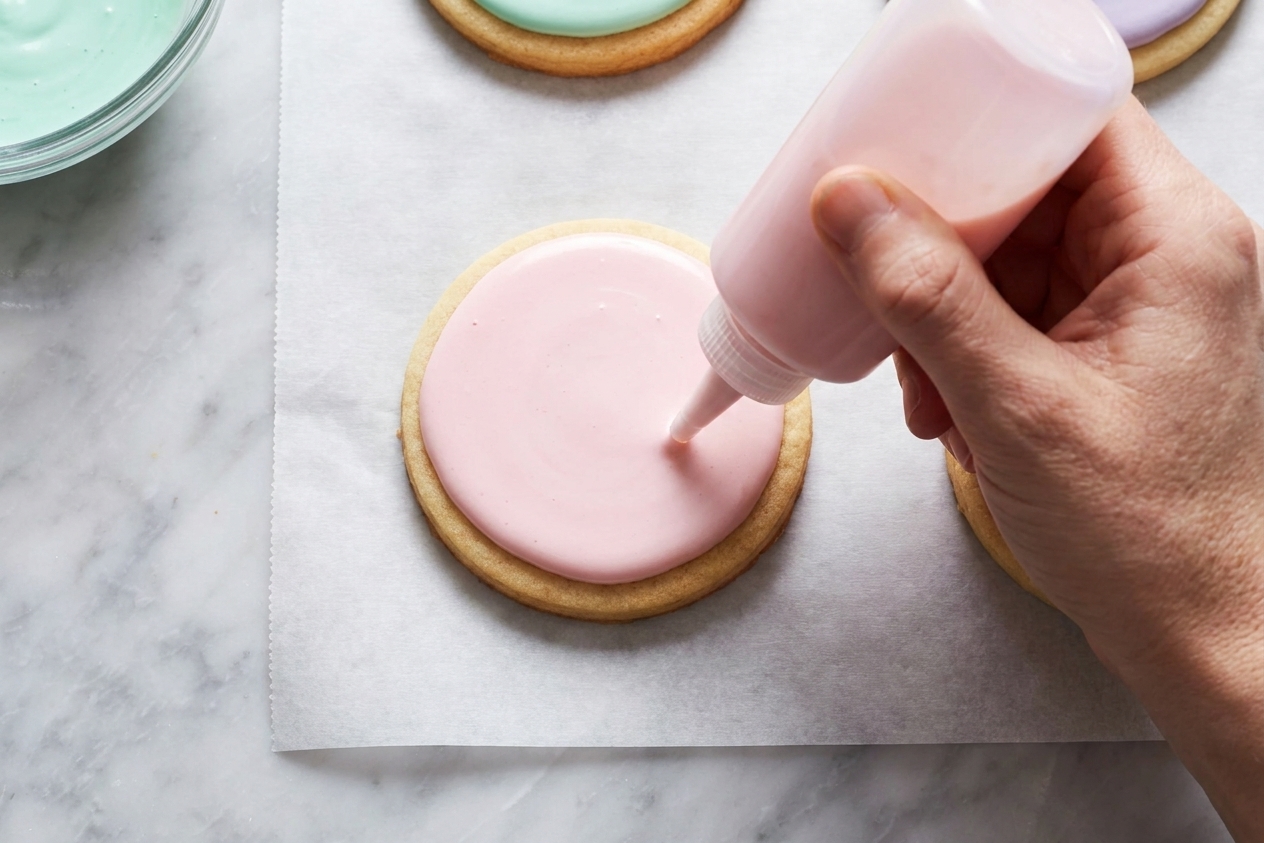
A tray of decorated sugar cookies with smooth royal icing, clean outlines, and pastel designs on parchment paper on a bright kitchen counter

Royal icing is the little miracle that turns a plain cookie into the kind of treat people take pictures of before they eat. It pipes crisp lines, it floods into that satisfying glassy smooth layer, and then it dries hard so you can stack, bag, and gift cookies without smearing your hard work into a sticky art project.

This version keeps it accessible and low drama. No obscure ingredients, no mystery steps, and no pretending you will not lick the spatula. You will. I support you.

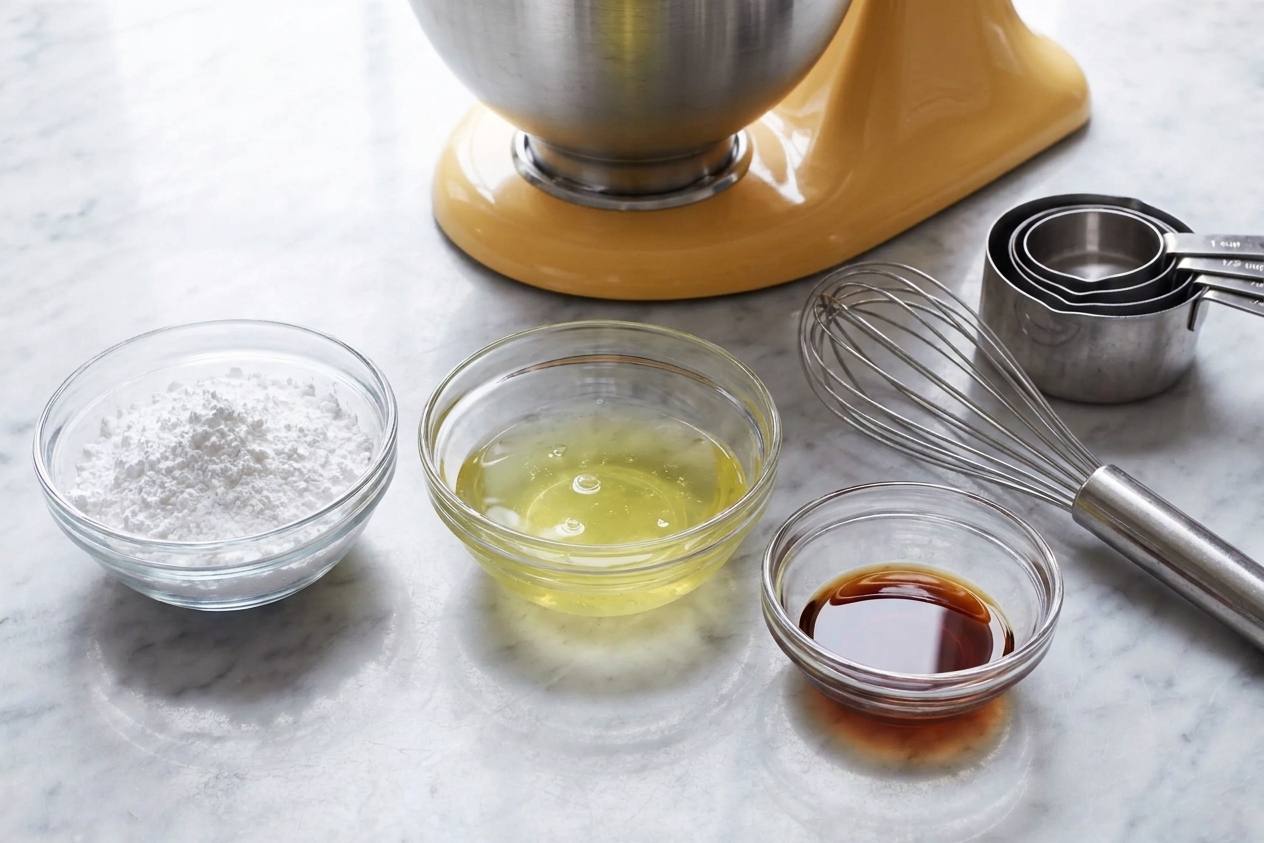
Powdered sugar, egg whites, and vanilla set out in small bowls on a clean kitchen counter with a whisk and measuring cups

Why It Works

  • Hard-drying finish: Sets firm for stacking and packaging once fully cured.
  • Three usable consistencies: You can mix one batch, then thin portions for outlining, flooding, and details.
  • Beginner friendly texture: Smooth, glossy, and pipeable without feeling like you are wrestling paste.
  • Flexible ingredients: Works with pasteurized egg whites or meringue powder for peace of mind.

Pairs Well With

Storage Tips

Short term (up to 3 days): Store royal icing in an airtight container in the refrigerator with plastic wrap pressed directly onto the surface. Bring to room temperature and re-mix briefly before using. Add a few drops of water if it thickened.

During decorating: Keep bowls covered with a damp paper towel and a loose lid. Royal icing crusts fast, and that crust becomes tiny lumps that clog piping tips.

Freezing: Not my favorite, but it can work. Freeze in a freezer bag with the air pressed out for up to 1 month. Thaw overnight in the fridge, then bring to room temp and re-mix. If it looks separated, keep mixing and add water a drop at a time.

Decorated cookies: Once icing is fully dry, store cookies in an airtight container at room temperature for 5 to 7 days. For best texture, keep them away from humidity and heat.

Common Questions

Is royal icing safe to eat with raw egg whites?

If you are using pasteurized egg whites, the risk is reduced. Many home bakers prefer meringue powder because it is shelf-stable and avoids raw egg entirely. Both work well here.

How long does royal icing take to dry?

It depends on thickness and humidity. A thin detail line can crust in 10 to 20 minutes. Flooded cookies usually feel dry to the touch in 2 to 4 hours, but for stacking, I aim for 8 to 12 hours. For fully cured, hard-through icing, think 24 hours.

Why did my royal icing crack?

Common culprits are icing that is too thick, over-drying in a very low-humidity environment, or moving cookies before the base layer is set. Try flooding slightly thinner and letting cookies dry at room temperature, uncovered, away from fans or vents.

Why are there craters or bubbles after flooding?

Air bubbles happen from mixing and from squeezing bottles. After flooding, use a toothpick or scribe tool to pop bubbles right away. Also let the icing sit 5 minutes before bagging to let bubbles rise.

Can I make royal icing without a stand mixer?

Yes. A hand mixer works great. You can whisk by hand, but it is a workout and the icing will not get as fluffy and stable.

How do I color royal icing without messing up the consistency?

Use gel food coloring so you do not add much liquid. Add a tiny amount, mix, then let it sit 10 minutes because colors deepen as they rest.

What consistency should royal icing be for outlining and flooding?

Outline icing should be thicker so it holds shape. Flood icing should slowly melt back into itself. In the recipe below I give a quick “seconds test” so you can nail it without guessing.

If I use egg whites, do I still add the water?

Nope. Egg whites bring their own liquid to the party. If you use pasteurized egg whites, start with no water, then add only a few drops at a time if you need to thin for flooding.


I used to think royal icing was only for people with color-coded piping tips and the patience of a saint. Then I tried it on a random weeknight, mostly because I wanted cookies that looked like they came from a bakery without spending bakery money. The first batch was too thick, my second batch was too thin, and by the third attempt I finally got that perfect smooth flood that made me pause and stare at a cookie like it was a tiny work of art.

Now I treat royal icing like a choose-your-own-adventure sauce. Start thick, thin it down as needed, taste nothing because it is pure sugar, and still somehow have a great time.