Mom's Best Recipes
Recipe

Salt Dough Decorations

A classic 3-ingredient dough for ornaments, handprints, gift tags, and little keepsakes that bake up sturdy and decorate beautifully.

Author By Matt Campbell
4.8
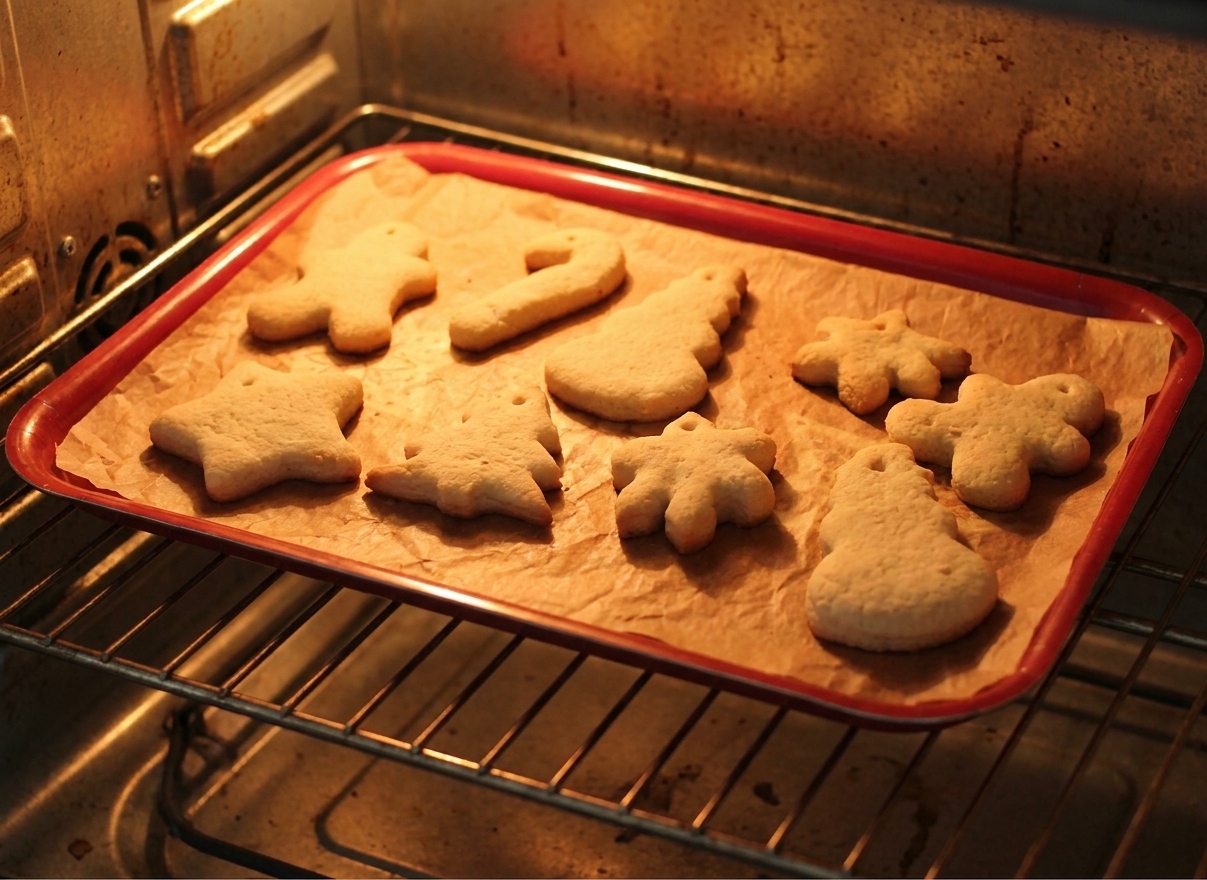
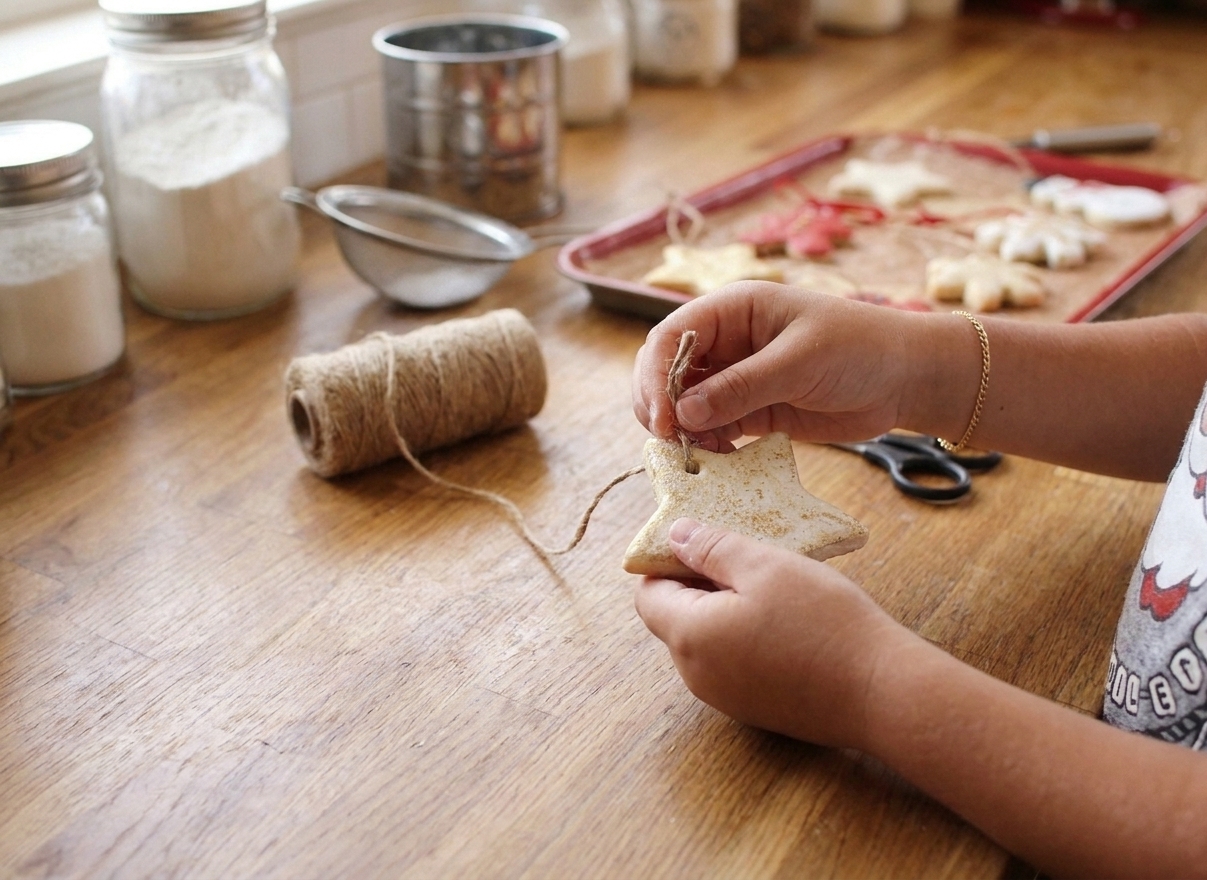
Baked salt dough ornaments cooling on a parchment-lined baking sheet on a light wood kitchen counter with soft window light

Salt dough decorations are my favorite kind of kitchen project because they sit right at the intersection of cozy, creative, and low drama. They are basically pantry staples turned into ornaments, gift tags, and handprint keepsakes that feel surprisingly special once they are painted and sealed.

This recipe keeps the dough easy to work with and less crack-prone, plus I will walk you through baking versus air-drying, how thick to roll, and how to get clean holes for hanging. Expect a little flour on the counter, a little chaos, and a final result that looks like you planned it.

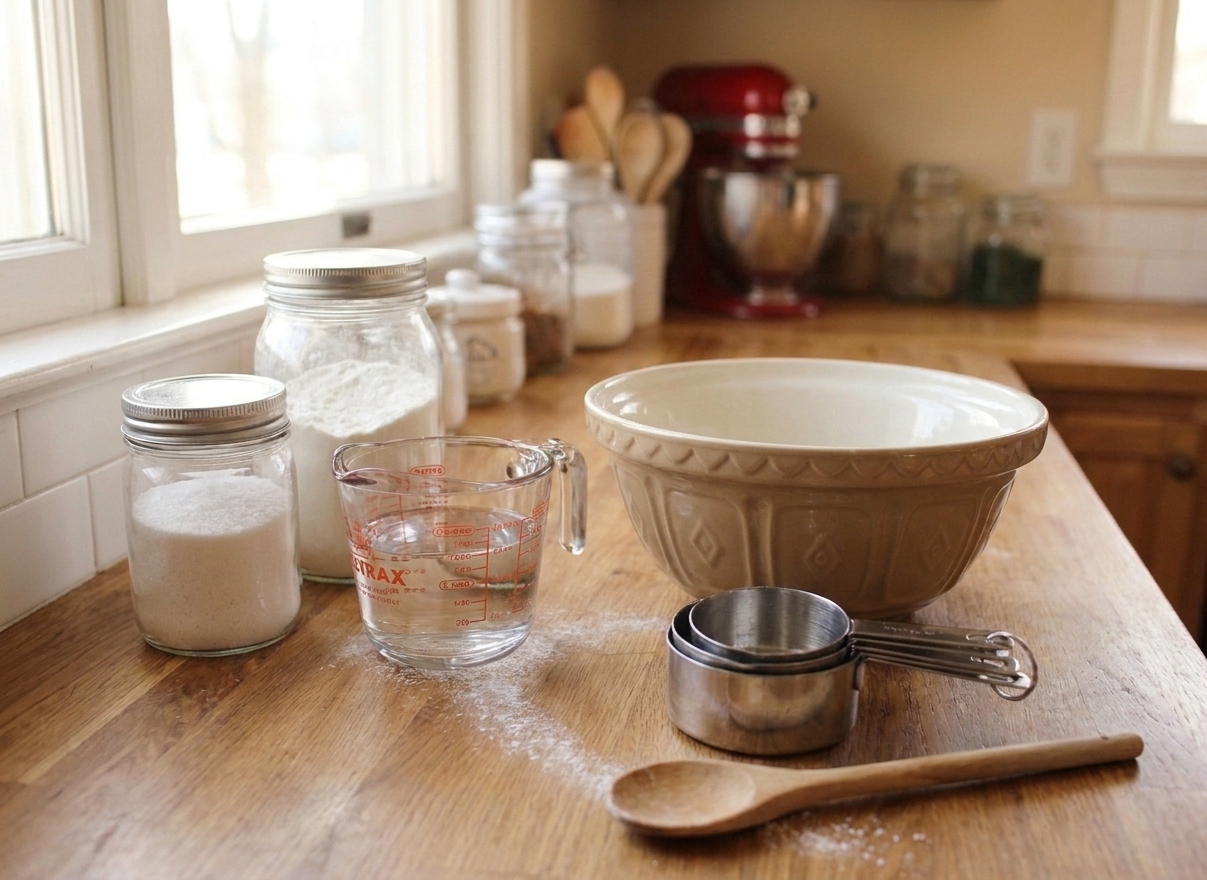
Flour, salt, and water measured out on a kitchen counter beside a mixing bowl and measuring cups in warm natural light

Why It Works

  • Simple ingredients: Just flour, salt, and water, plus optional add-ins for color and sparkle.
  • Reliable texture: A dough that rolls smoothly, holds stamped details, and is easy for little hands to press and cut.
  • Sturdy finish: Baking low and slow helps prevent puffing and keeps shapes flat.
  • Decorating-friendly: Once fully dry, it takes paint, markers, and sealers like a champ.

Pairs Well With

Storage Tips

Storing Dough and Finished Decorations

  • Unbaked dough: Wrap tightly in plastic wrap and place in an airtight bag or container. Refrigerate up to 2 days. Let it sit at room temp for 15 to 20 minutes, then knead briefly before rolling.
  • Unpainted baked pieces: Store in a dry, airtight container with parchment between layers for up to 2 weeks before decorating.
  • Finished, sealed decorations: Store in a sturdy box with tissue paper or parchment between layers. Keep away from humidity. They can last for years if sealed well and stored dry.
  • Important: Salt dough is not waterproof. Even sealed pieces can soften if exposed to moisture.

Common Questions

Common Questions

Why did my salt dough crack?

Cracking usually comes from dough that is too dry or pieces that dried too fast. Add water 1 teaspoon at a time while kneading if the dough feels crumbly (up to about 2 tablespoons total). When baking, use a low temperature and do not rush it. Let pieces cool fully on the tray.

Why did my ornaments puff up or bubble?

Oven temp was likely too high, or the pieces were rolled unevenly. Roll to an even thickness and bake low and slow. If your oven runs hot, drop the temperature by 25°F.

Is it better to bake or air-dry?

Baking is faster and helps reduce warping if you keep the temperature low. Air-drying works too, but it takes a few days. Flip pieces occasionally so the bottoms do not stay damp and curl.

How thick should I roll the dough?

For most ornaments and tags, aim for about 1/4 inch thick. For handprints, go a little thicker, around 3/8 inch, so they are sturdier. Very large or extra-thick handprints can take longer to dry fully.

How do I make the hanging hole so it does not close up?

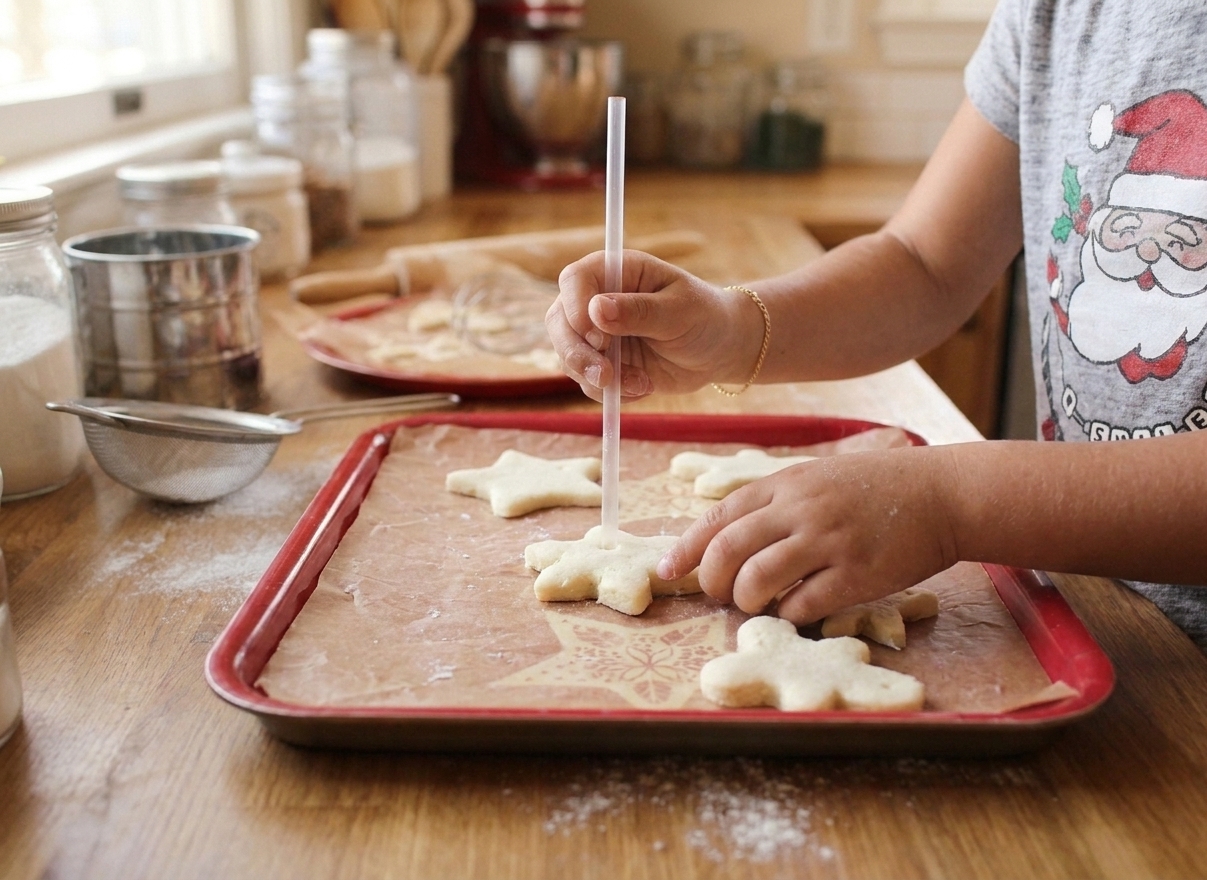
Use a straw for a clean cut, and make the hole a little larger than you think you need. Re-cut the hole after 10 to 15 minutes of baking if it starts to tighten.

Can I eat salt dough?

No. It is technically made of food ingredients, but it is extremely salty and not meant for eating. Keep it away from pets and very small kids who still taste-test everything. High salt can be dangerous for pets if ingested.

What is the best way to seal salt dough decorations?

After painting, let everything dry completely, then seal with 2 to 3 thin coats of a clear sealer (spray or brush-on). Sealing helps reduce moisture absorption and keeps colors crisp.

What kind of salt should I use?

For the most consistent results, use table salt. Fine sea salt also works, but different brands and grain sizes can pack differently, so you may need a splash more water to get a smooth, workable dough.

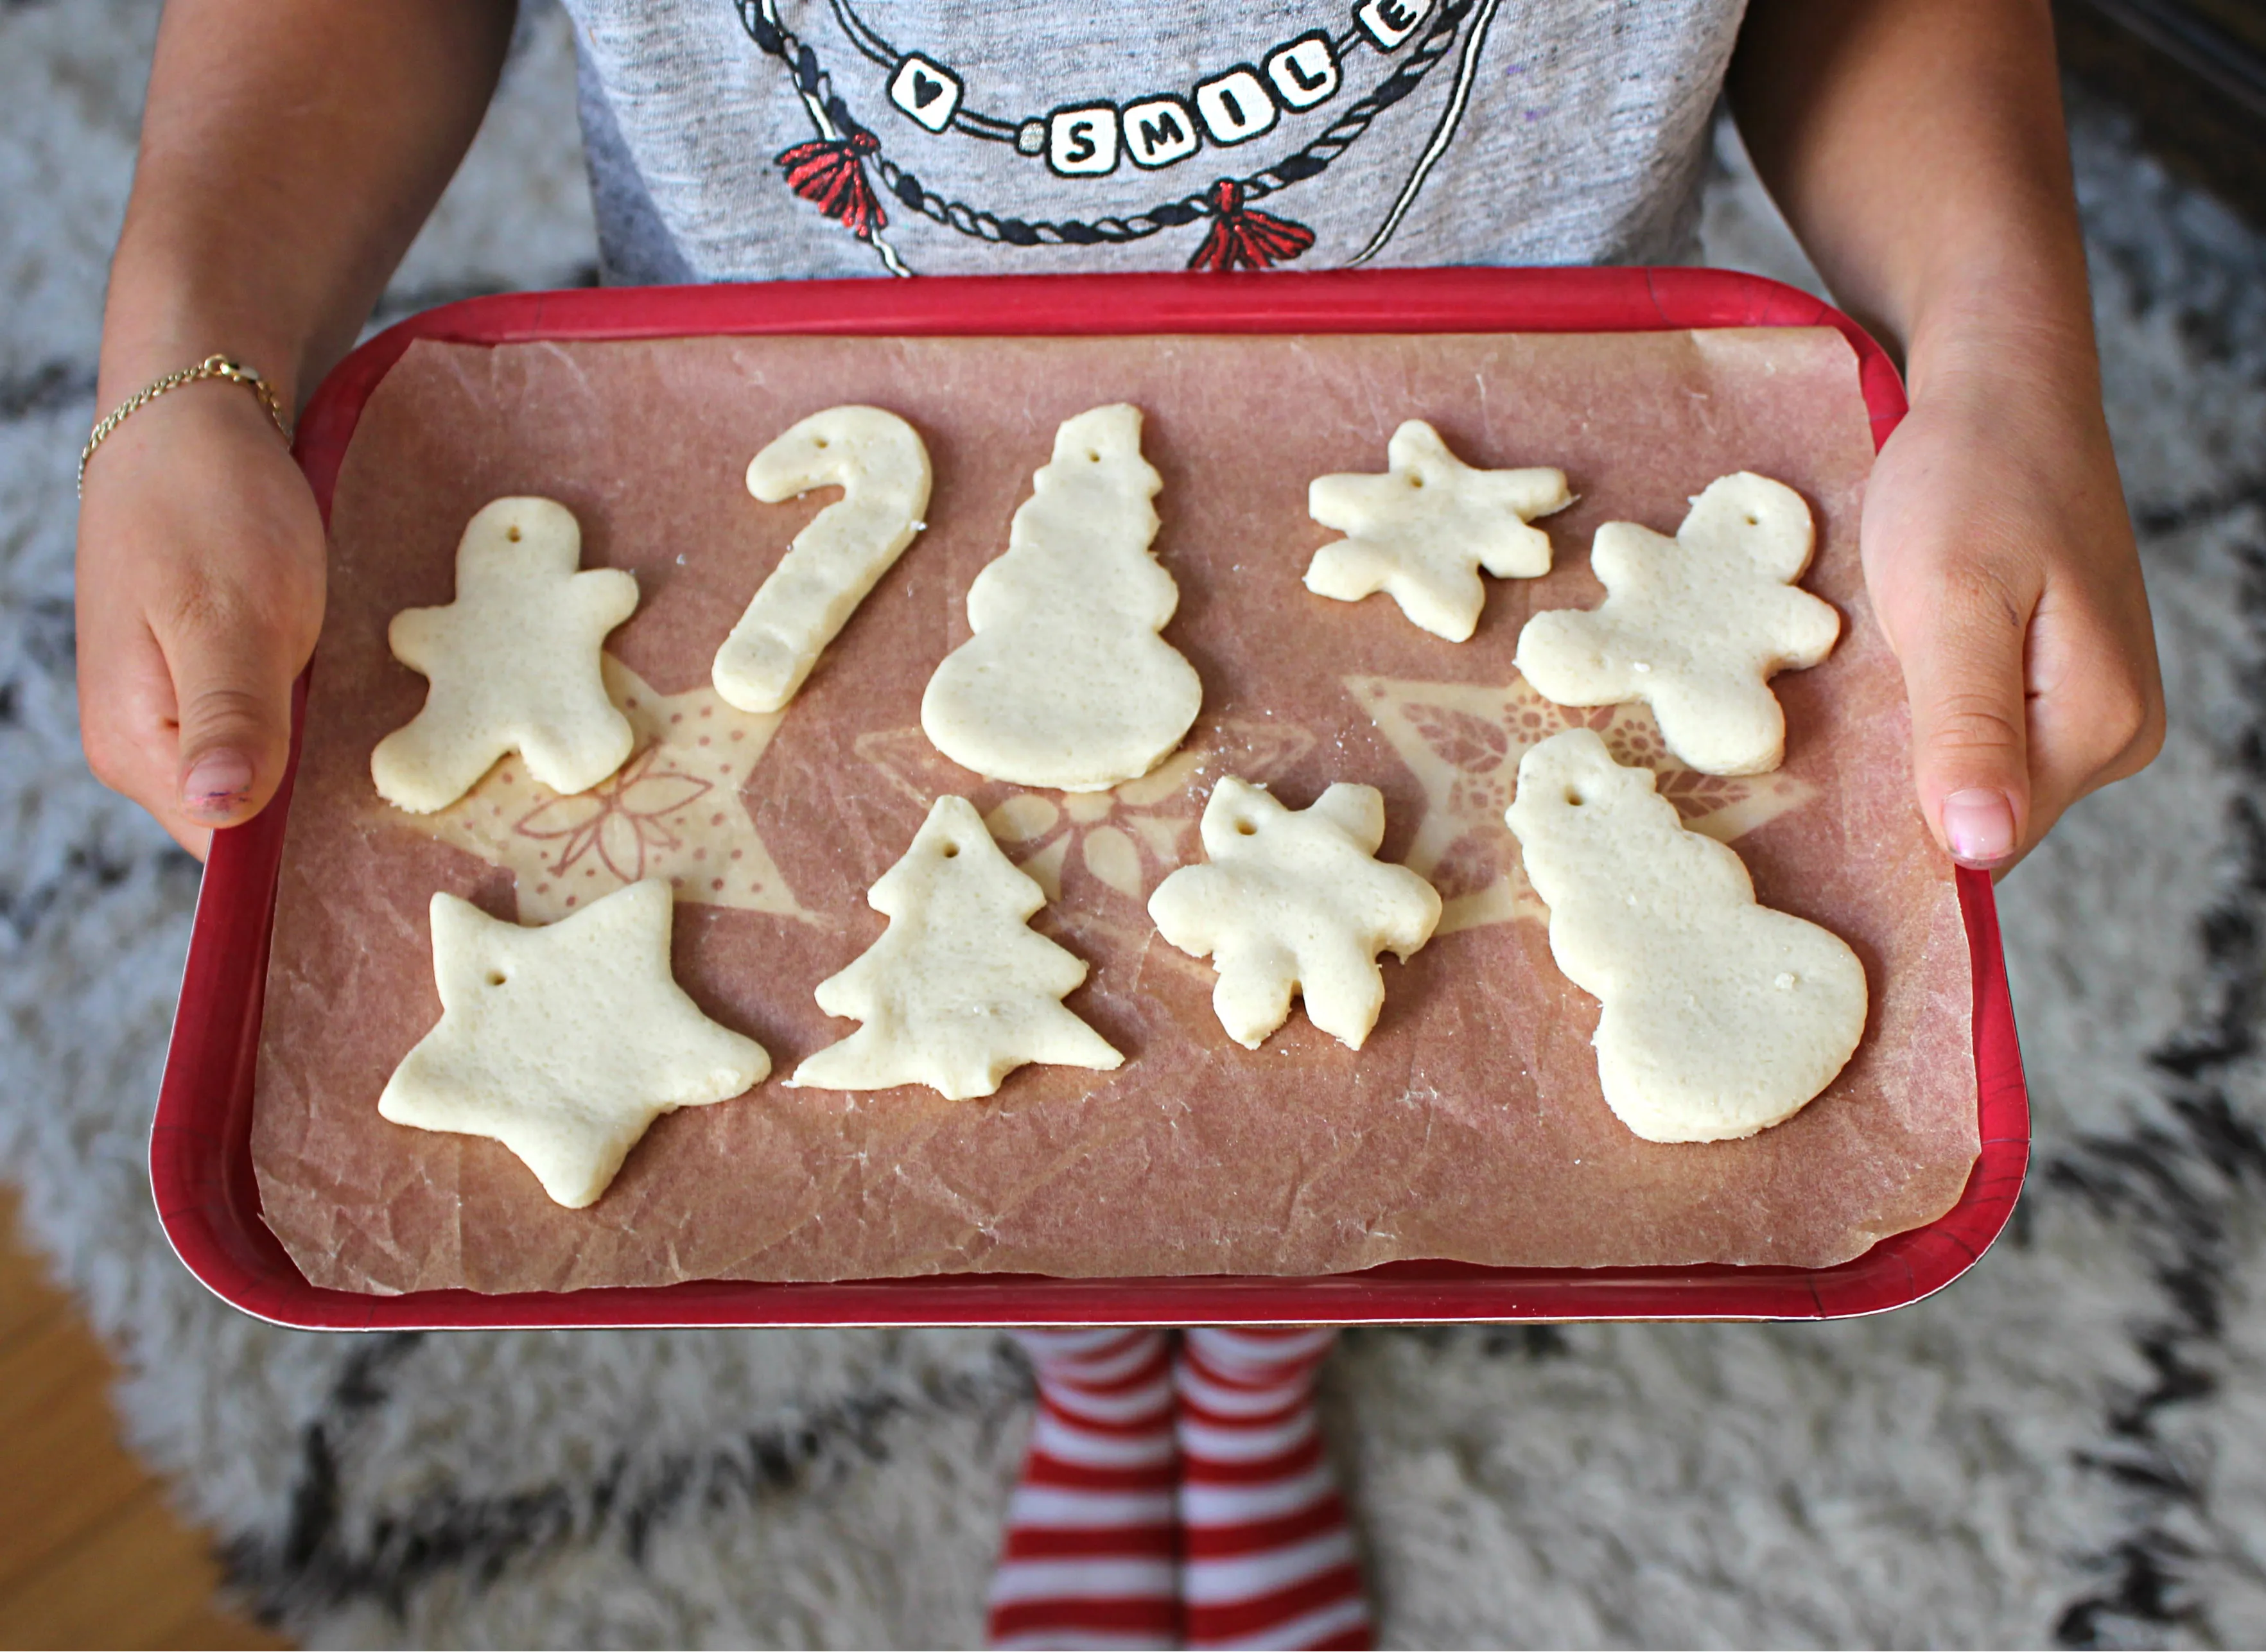
The first time I made salt dough decorations, I treated it like pizza night and went a little rogue. Flour everywhere, dough under my nails, and I absolutely forgot the hanging holes on the first batch. But once they came out of the oven and cooled, it felt kind of magical. Like, wait, we just made keepsakes out of pantry staples? Now I keep this recipe in my back pocket for rainy afternoons, last-minute gift tags, and any day that needs a small win.