Pick pulp like pasta
Before you start, decide what you want the finished sheet to do:
- Cards and folding: recycled paper + cotton or abaca for strength
- Writing and drawing: cotton linters or smooth recycled office paper, plus a little starch (and consider surface sizing for wet inks)
- Rustic gift tags: paper bags, egg cartons, or cardboard mixed with recycled paper
- Decorative sheets: recycled base with petals stirred in at the end
Make an all-purpose pulp
This is the “weeknight recipe” of handmade paper. Accessible, strong, and forgiving.
1) Sort and prep the paper
Stick to uncoated paper. Remove anything that behaves like plastic or glue: tape, labels, sticker backings, window envelope film, thermal receipt paper, glossy flyers, metallic inks.
Extra note: If you are making paper for kids, skin contact, or long-keeping stationery, skip heavily printed papers. Inks and coatings can be unpredictable.
2) Soak the fiber
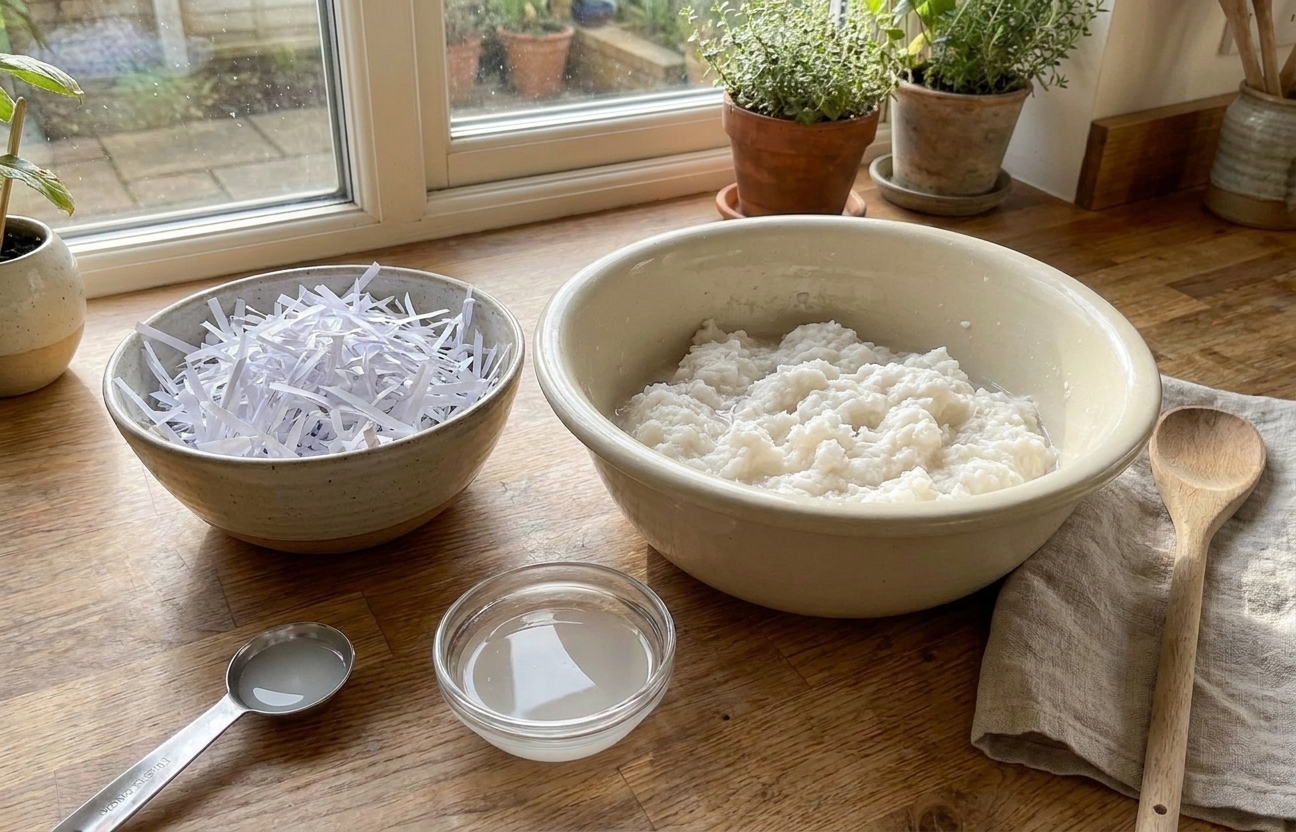
Soak shredded recycled paper in warm water for 15 to 30 minutes. Cotton linters, abaca, and hemp benefit from a longer soak, up to 1 hour, especially if they are in dense sheets. Warm water helps fibers relax. Boiling-hot water is not necessary.
3) Blend in small batches
Fill the blender about halfway with water, then add a handful of soaked fiber. Blend until the pulp looks like creamy oatmeal with minimal visible chunks, 20 to 45 seconds depending on your blender.
Blender safety tip: Keep the mix watery and give your blender breaks. Thick pulp plus a long run is how motors overheat.
Texture tip: Smoother paper comes from more beating. Stronger paper comes from long fibers plus enough beating to help them bond. If you blend for 5 seconds and call it good, your sheet will look like it has bedhead.
Over-blending note: With recycled office paper, extra blending usually just makes a more even sheet. If you go very long, you may lose some of that handmade “character” and end up with a flatter, more uniform look. Not a crisis, just a style choice.
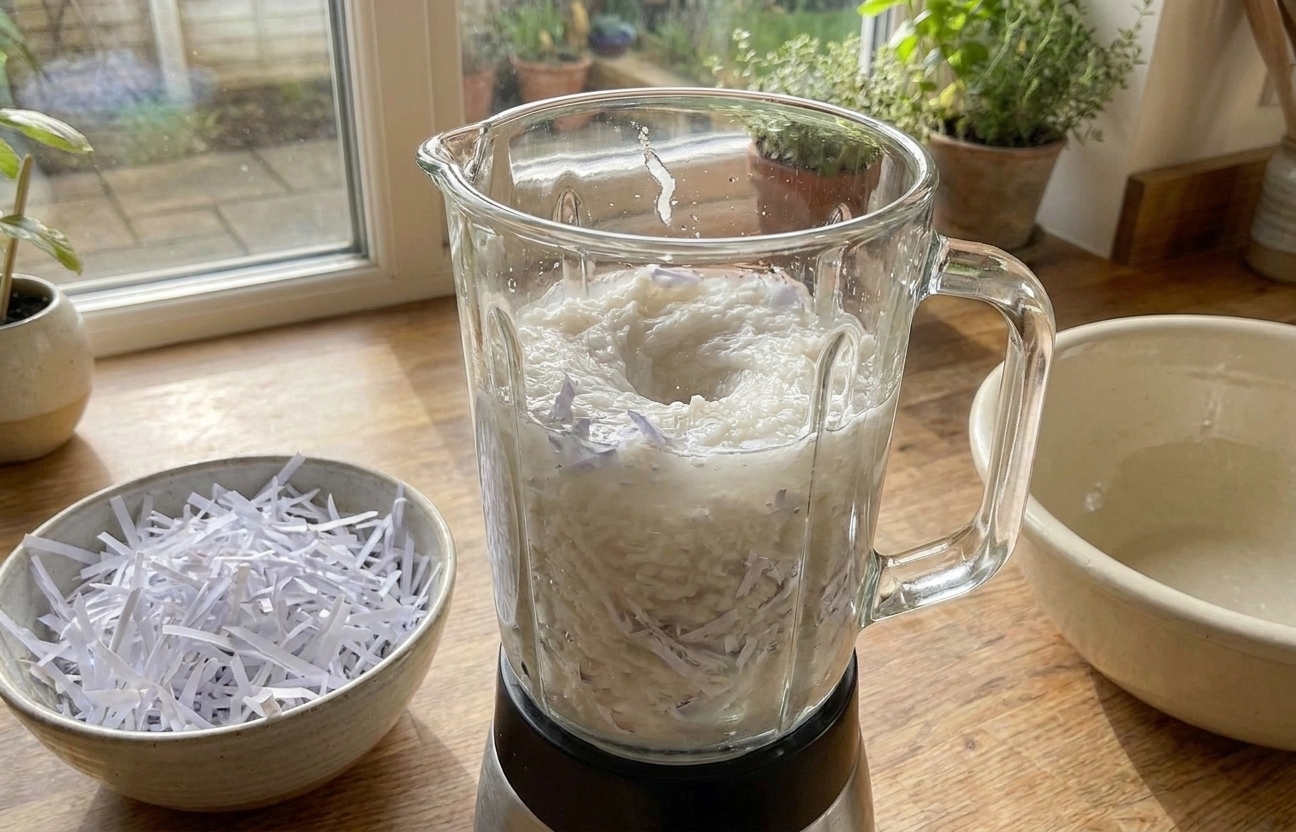
Build the vat and pull a sheet
4) Fill the vat (and add sizing if you want)
Pour blended pulp into your vat and add water until it is deep enough to submerge the mold. Stir well.
Vat concentration cue: For most beginner sheets, aim for water that looks like skim milk with floating fiber, not thick soup. If your first sheet is see-through thin, add more pulp. If it comes out chunky and heavy, add more water.
If you want a better writing surface, stir in 1 to 2 tablespoons liquid starch and mix well. This kind of internal sizing often improves pencil, ballpoint, and light ink. For fountain pen ink or watercolor washes, many paper makers rely mainly on surface sizing after the sheet dries.
5) Form the sheet
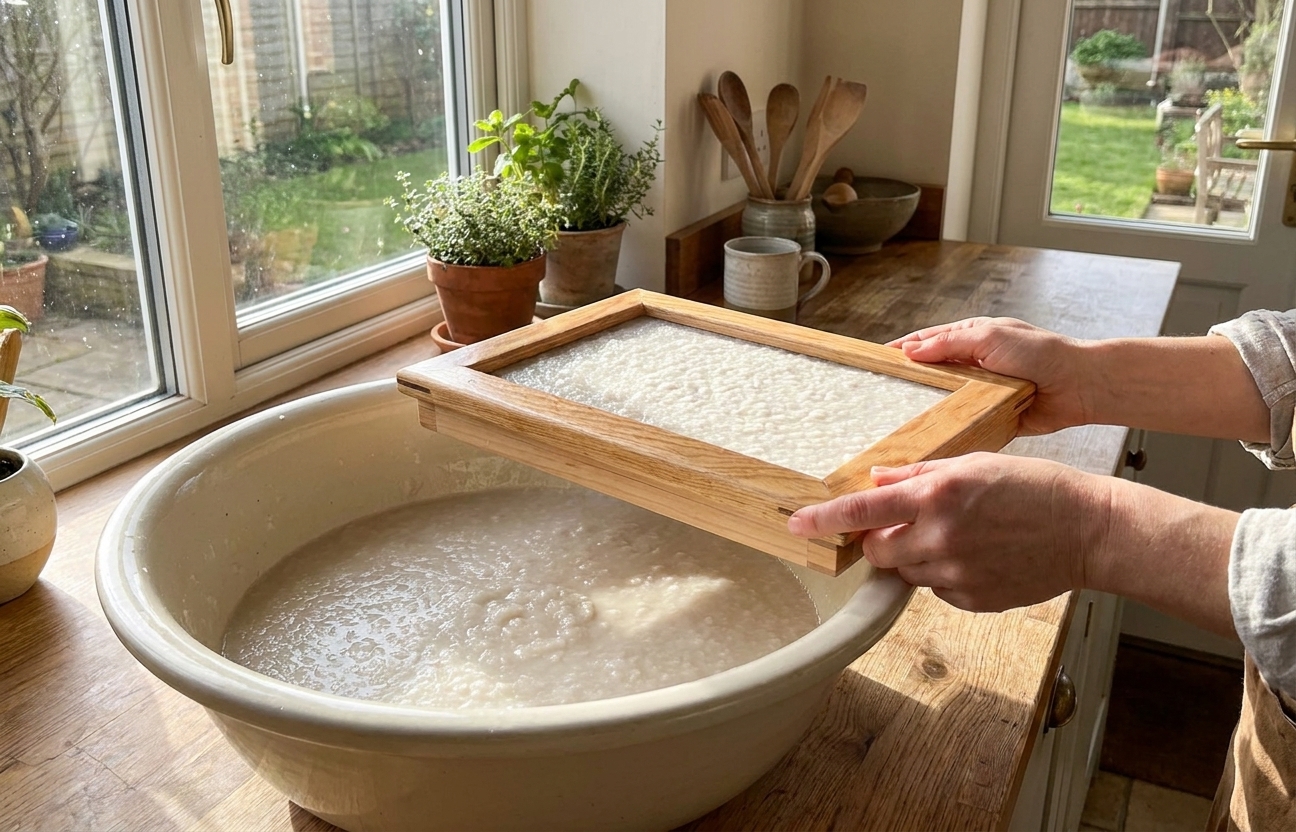
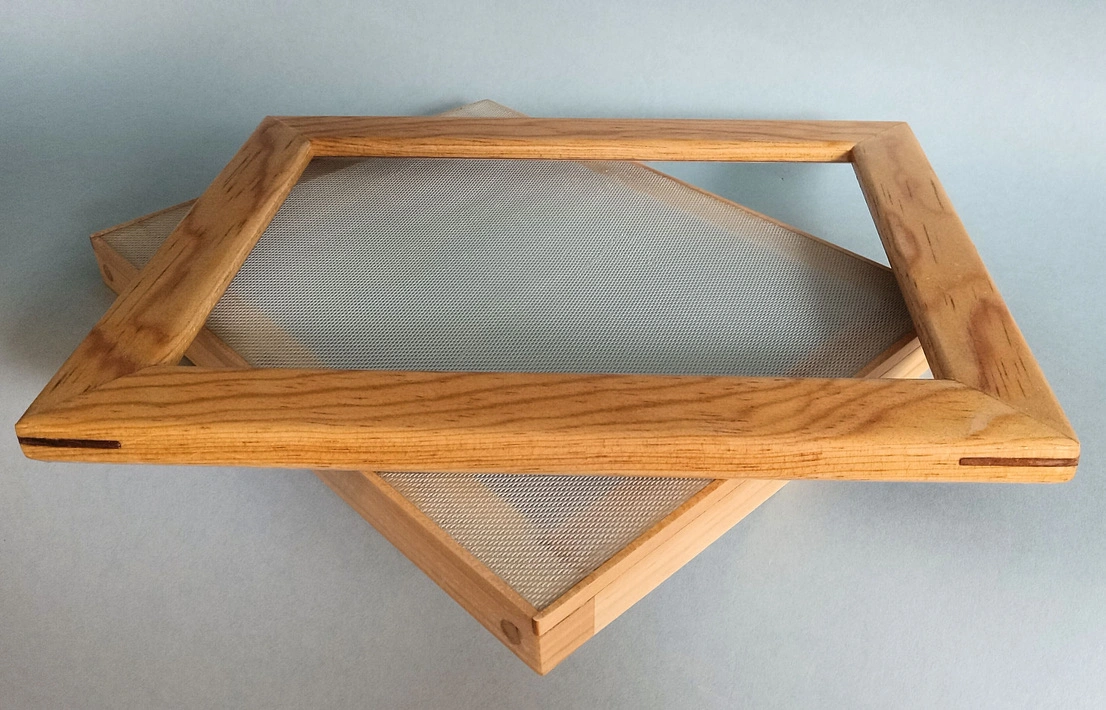
Slide the mold and deckle into the vat, level it out, then lift straight up. Give a gentle side-to-side shimmy to even the fibers. Let it drain until dripping slows.
6) Couch and press
Flip the sheet onto a damp couching cloth. For smoother paper, use smooth felt or pellon/interfacing so you do not stamp fabric texture into the sheet. Sponge the back of the screen to remove water, then lift the mold away. Stack sheets with cloth between them.
Press with boards and weights for at least 10 to 20 minutes. For flatter, denser paper, press 30 to 60 minutes, or even overnight under steady weight, especially with recycled fibers. For best results, press in stages (press, swap damp cloths, press again).
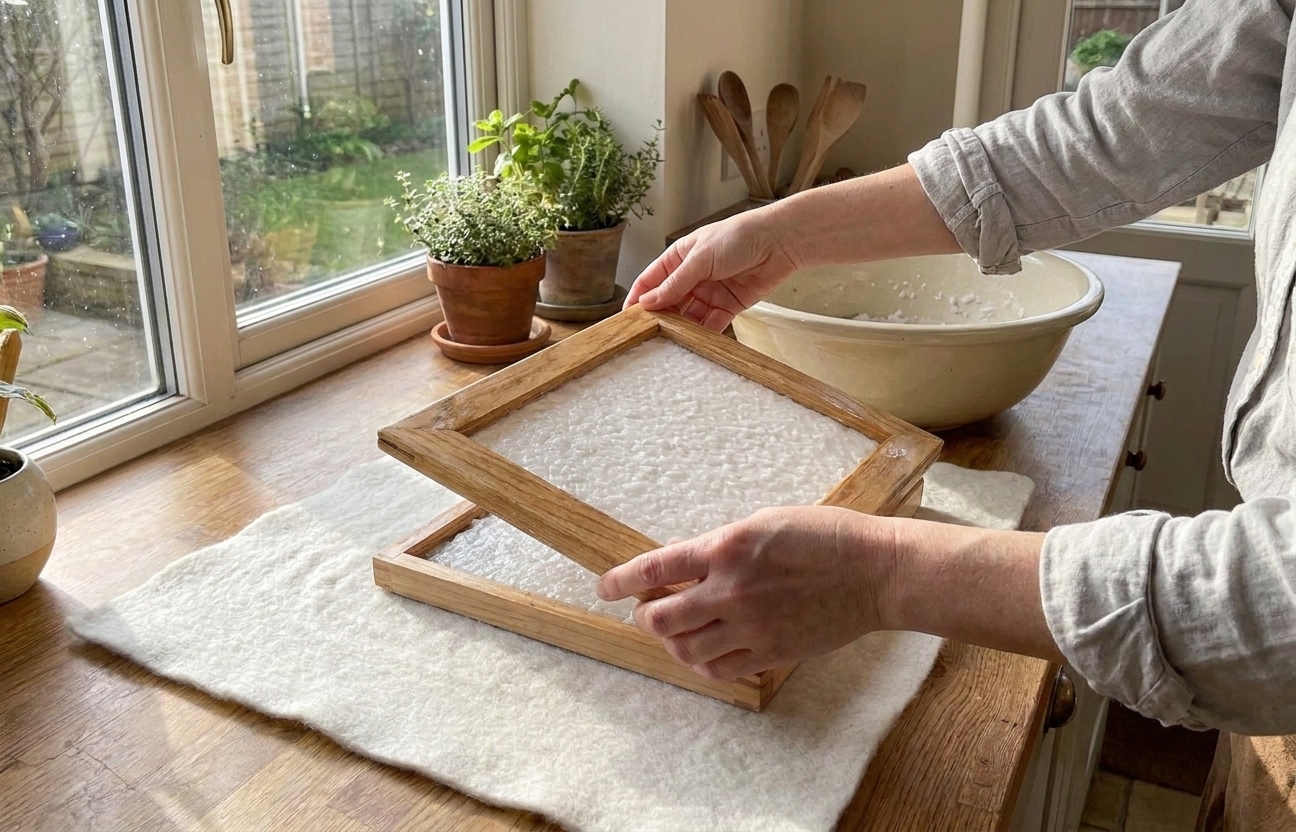
Dry and finish
7) Dry the sheets
Air-dry on a rack or lay sheets flat on smooth cloth. For extra smooth paper, dry on glass or acrylic (the sheet releases more cleanly when it is fully dry).
8) Flatten if needed
If your paper dries wavy, stack it and press overnight under heavy books. If you want it very smooth, you can iron it on low heat once fully dry, using a pressing cloth.
9) Optional: surface size for ink
If markers feather or fountain pen ink sinks in, try a quick surface sizing step: brush on a thin starch solution or gelatin size after the sheets dry, then let them dry again under light weight. Think of it as a topcoat for better ink manners.
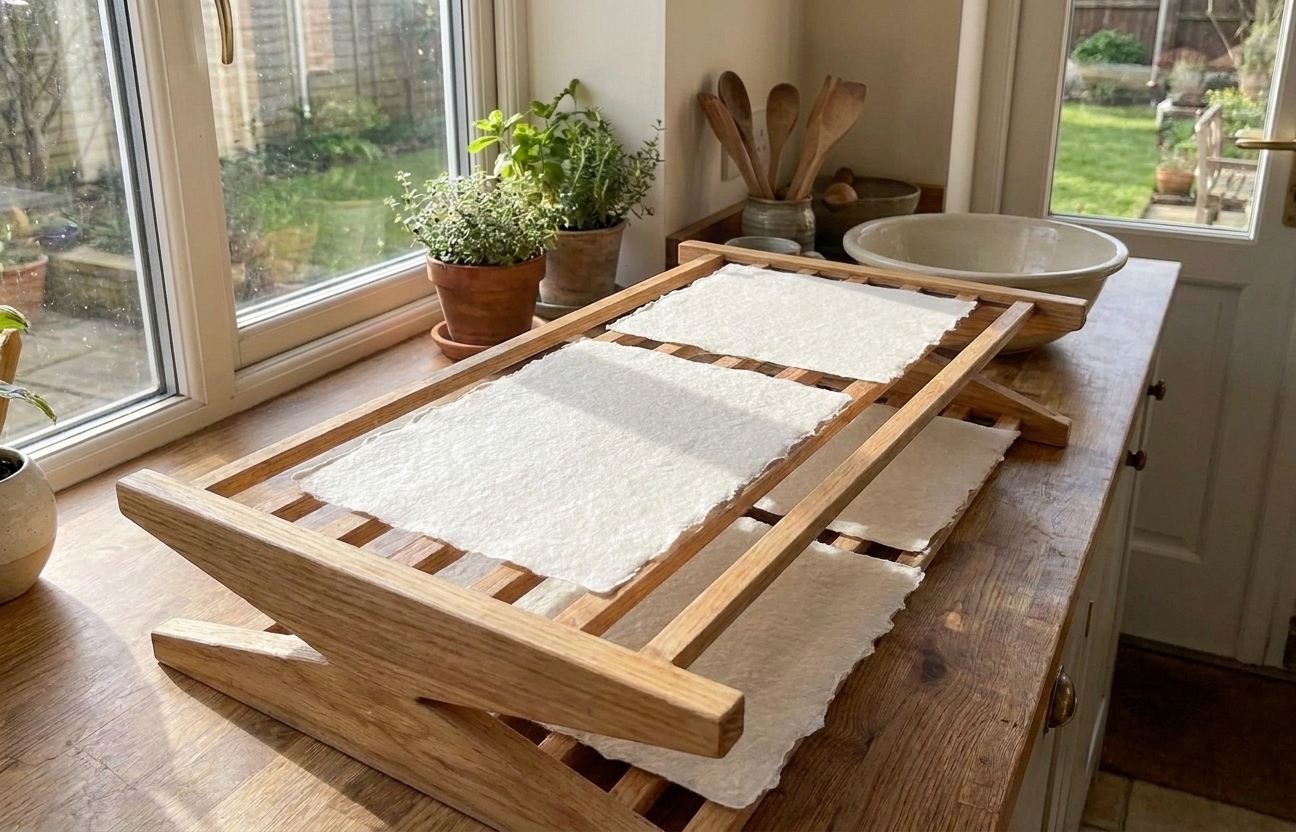
Best pulp choices
Recycled office paper
- Best for: beginners, smooth-ish writing paper, consistent results
- Look for: plain white copy paper, uncoated printer paper
- Avoid: glossy magazine pages, heavily coated flyers, sticky labels, tape, window envelopes
Cotton linters
- Best for: strong sheets, smoother surfaces, papers often used in archival work
- What it feels like: clean, soft, strong, less crumbly than most recycled pulp
- Note: Cotton can be made watercolor-friendly, but it depends on your sizing and process.
Abaca (manila hemp)
- Best for: strength, tear resistance, subtle texture
- My note: this is the “add 20% and watch everything get better” fiber
Hemp
- Best for: strong sheets with a more rustic tooth
- Heads up: can look speckled and textured, which is great for tags and art paper
Kozo (mulberry)
- Best for: thin but strong sheets, book arts, delicate paper that still holds up
- Why it is loved: long fibers that bond like they mean it
Paper towels and tissue
- Best for: soft, quick sheets and kid projects
- Heads up: often short fibers, so the paper can be weaker and fuzzier
Easy pulp blends
- Everyday strong paper: start with 70% recycled office paper + 30% cotton linters
- Rustic tags: 60% brown paper bags + 40% office paper
- Decorative confetti paper: 80% office paper + 20% cotton, then stir in petals after blending
- Extra tough sheets: start with 60% recycled office paper + 40% abaca
Quick rule: If your sheets tear easily, add more long fiber. If they are too lumpy, blend longer or strain out big bits. If they are weirdly stiff and crumbly, check for sneaky coated paper in your mix.