Mom's Best Recipes
Recipe

Bibingka

A fluffy Filipino rice cake baked hot and fast with coconut milk, crisp edges, and the classic butter, salted egg, and coconut topping.

Author By Matt Campbell
4.8
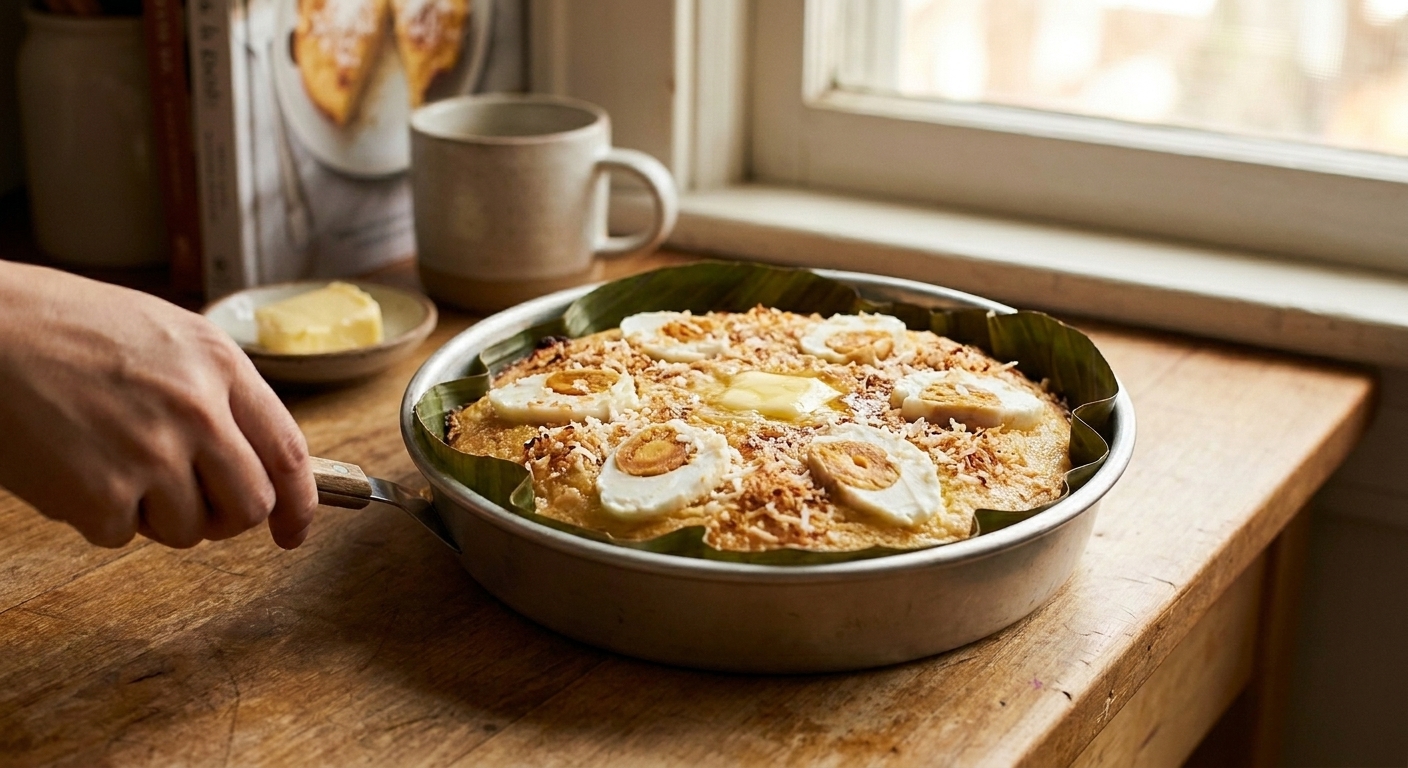
A freshly baked bibingka in a round pan lined with banana leaf, topped with melted butter, sliced salted egg, and toasted coconut on a warm wooden table

Bibingka is one of those foods that feels like a hug that also happens to taste like coconut and butter. It is a Filipino rice cake traditionally cooked in clay pots with coals above and below, which is how you get that tender center and those slightly crisp, toasty edges that make you go back for just one more corner.

This is my home-kitchen version for Moms Best Recipes. No special oven setup required, no hard-to-find ingredients, and yes, we are keeping the fun parts: the banana leaf aroma (optional but amazing), a glossy butter finish, and that salty-sweet topping situation with salted egg and coconut. If you have never made bibingka before, you are about to feel very capable.
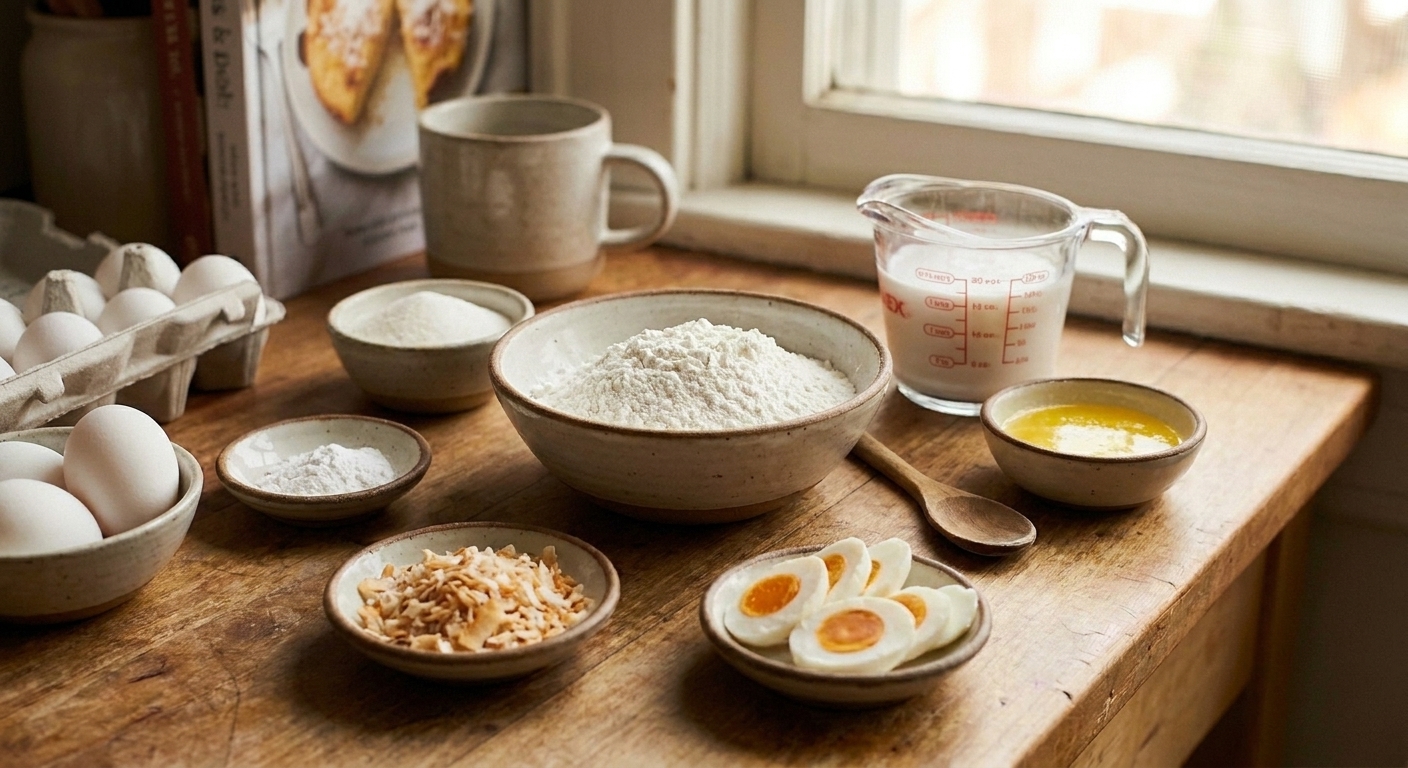
A kitchen counter with bowls of rice flour, sugar, baking powder, coconut milk, eggs, melted butter, and small dishes of toasted coconut and sliced salted egg ready for bibingka

Why It Works

  • Tender, fluffy crumb: Rice flour and coconut milk help create a soft, moist cake when baked until set (using regular rice flour, not glutinous, is the key).
  • Crisp, browned edges: Baking in a preheated pan helps the outside set quickly, which gives you that classic edge bite.
  • Big flavor with simple ingredients: Coconut, butter, and a little salt do most of the heavy lifting.
  • Flexible toppings: Go classic with salted egg and coconut, or keep it kid-friendly with a cheddar finish.

Pairs Well With

Storage Tips

Room temperature: If your kitchen is cool, bibingka is fine wrapped for up to 1 day. For best texture, move it to the fridge after that.

Refrigerator: Wrap tightly or store in an airtight container for up to 4 days (best quality is in the first 2 to 3). Rice cakes firm up and dry out when exposed to air, so seal it well.

Freezer: Slice, wrap each piece in plastic wrap, then place in a freezer bag. Freeze up to 2 months for best quality.

Reheat: My favorite is a toaster oven at 325°F for 8 to 12 minutes until warm, then add fresh butter on top. Microwave works too, 15 to 30 seconds per slice, but the edges will be softer. If reheating from frozen, thaw in the fridge overnight or microwave gently, then toast to bring back a little edge.

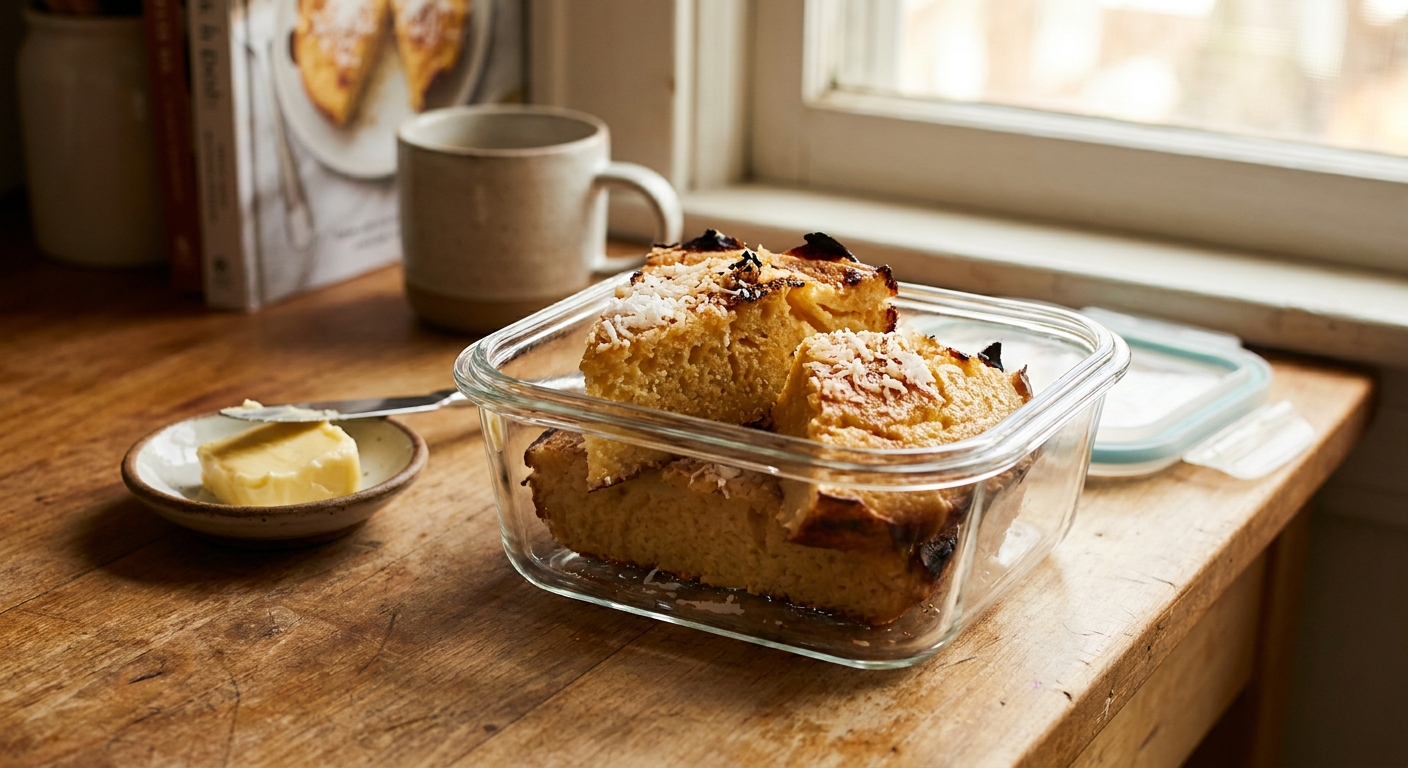
Sliced bibingka pieces stored in an airtight container on a kitchen counter with a small dish of butter nearby

Common Questions

Is bibingka gluten-free?

It can be. This recipe uses rice flour (naturally gluten-free), but always check your baking powder, toppings, and any packaged coconut for gluten-free labeling if you are cooking for someone with celiac or high sensitivity. Also consider cross-contamination from shared utensils, cutting boards, and baking pans.

Do I need banana leaves?

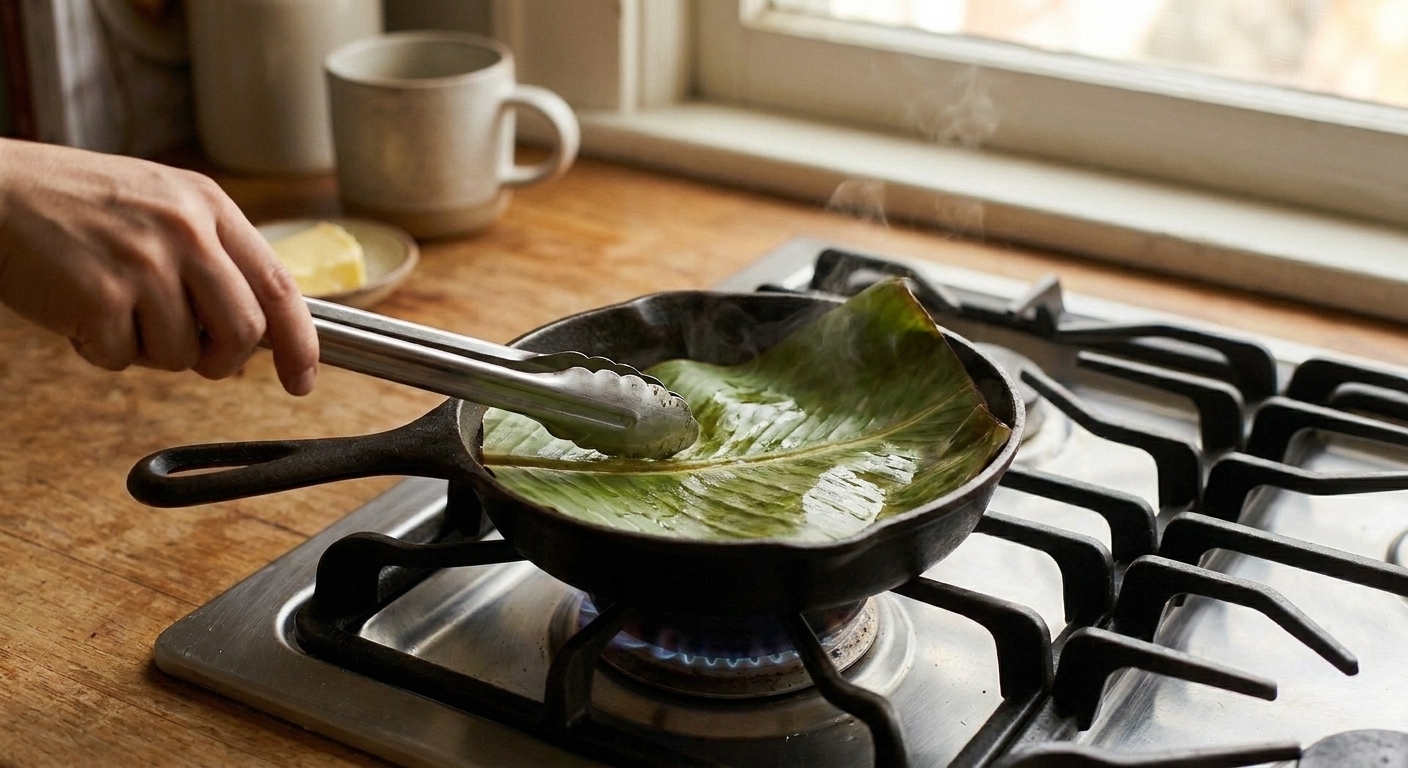
No. Banana leaves add aroma and help prevent sticking, but parchment paper works great. If you find banana leaves frozen at an Asian market, grab them. It is the easiest way to make your kitchen smell like something special.

What can I use instead of salted egg?

You can skip it, or swap in a sprinkle of flaky salt plus extra butter to keep that salty pop. Some people top bibingka with sharp cheddar for a salty finish too.

Why is my bibingka dense or gummy?

Usually it is one of a few things: (1) using glutinous (sweet) rice flour instead of regular rice flour, (2) old baking powder, (3) overmixing, or (4) underbaking. Use regular rice flour, mix just until smooth, bake until the center is set, and let it cool for 10 minutes before slicing.

Can I make this without an oven?

You can, but it is trickier. Bibingka is traditionally cooked with heat above and below. At home, the closest no-oven option is a covered stovetop setup with a heavy pan and very low heat, but results vary. If you want reliable, bake it.

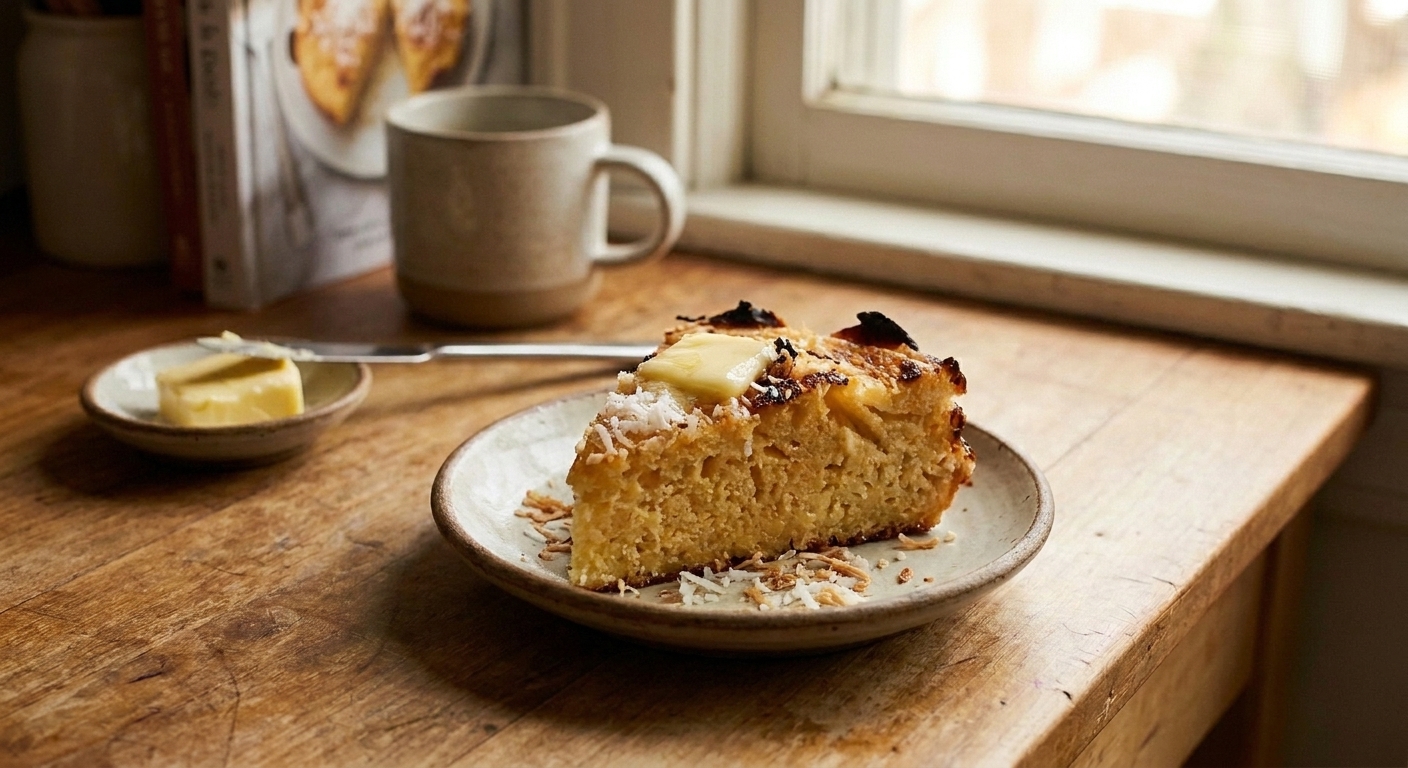
The first time I had bibingka, I remember thinking: this is dessert energy, but also breakfast energy, and somehow it works at any hour. The toppings sealed it for me. Butter melting into a warm rice cake is already a yes, but add coconut and that salty bite from salted egg and it gets interesting fast. This is the kind of recipe I love sharing because it feels like a project, but it is actually very chill once you know the rhythm: hot pan, quick whisk, big butter finish, and absolutely no shame in eating the crispiest edge piece first.