Mom's Best Recipes
Recipe

Classic Hard Candy

Glossy, crisp hard candy with a clean snap and customizable flavors, made with pantry staples and one thermometer.

Author By Matt Campbell
4.8
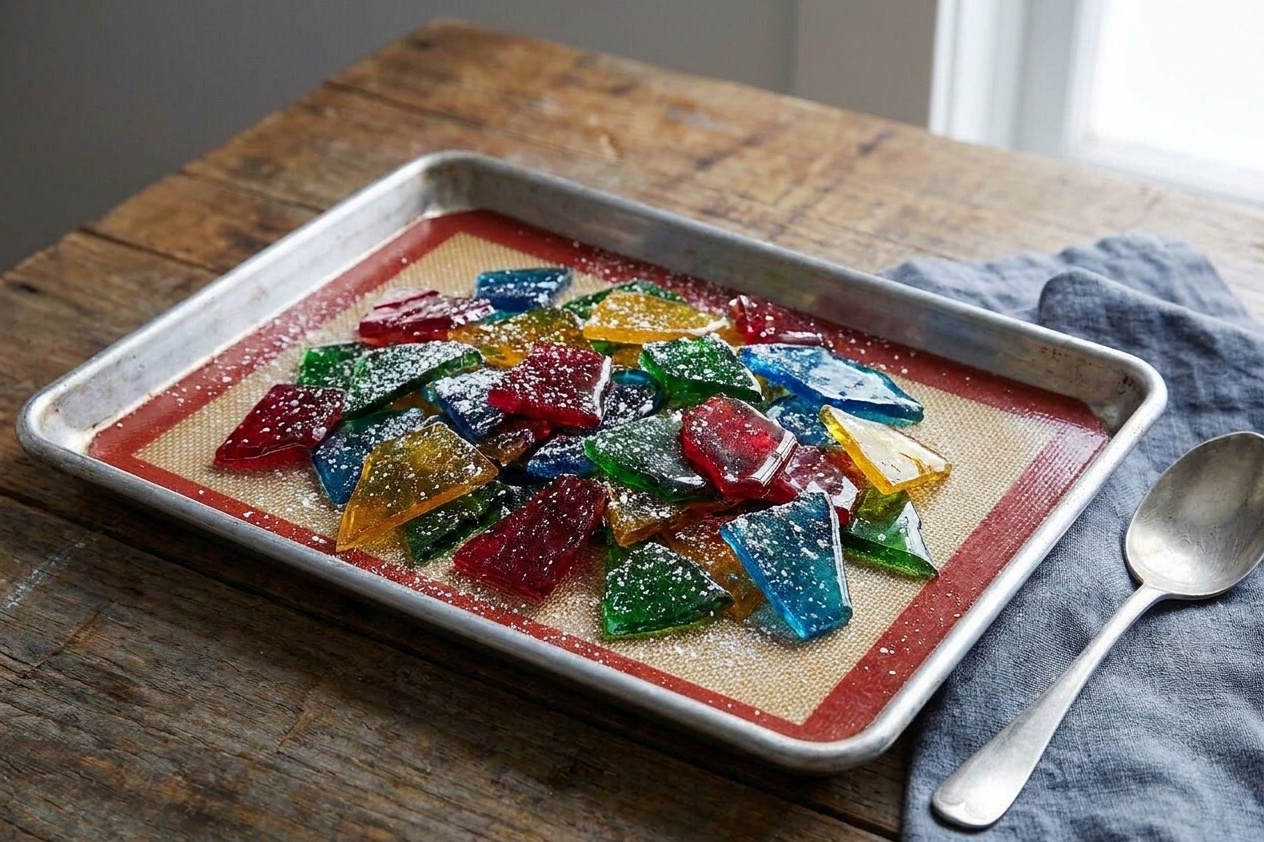
A pile of glossy, jewel-toned hard candy pieces dusted lightly with powdered sugar on a parchment-lined baking sheet on a warm kitchen counter

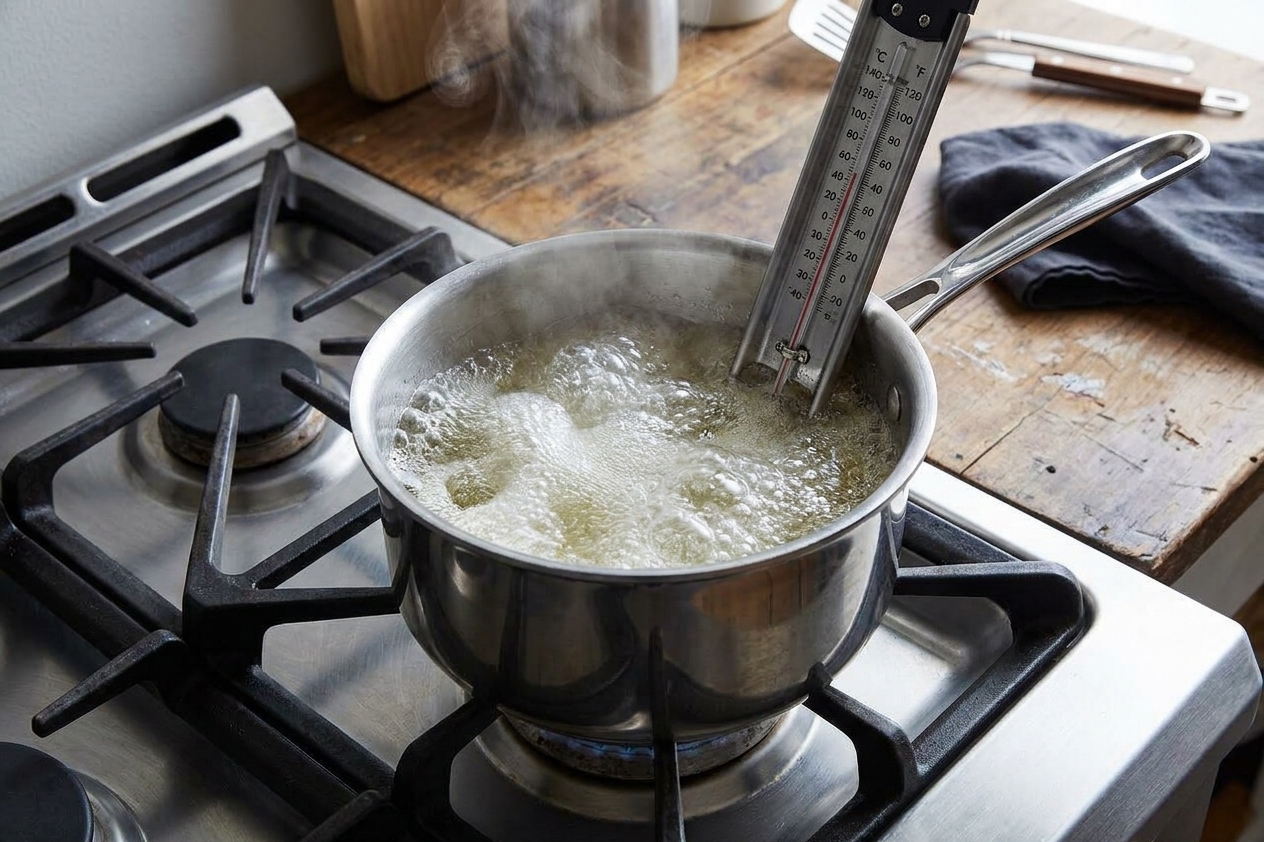
Hard candy is one of those kitchen projects that feels like a science experiment and a magic trick at the same time. Sugar looks calm, then suddenly it is boiling like a tiny hot spring, then a few minutes later you have glassy, crackly candy that snaps clean and tastes like whatever flavor mood you are in.

This recipe keeps it classic and beginner-friendly: sugar, corn syrup, water, and flavor. No fancy molds required. You just need a heavy pot, a thermometer, and a little patience while the sugar does its thing. I will walk you through the temperatures, the visual cues, and the small saves that keep your candy from turning sticky, grainy, or mysteriously burnt.

Humidity tip: If your kitchen is very humid or it is a rainy day, hard candy can turn tacky faster. If you can, run a dehumidifier or AC while it cools and while you store it.
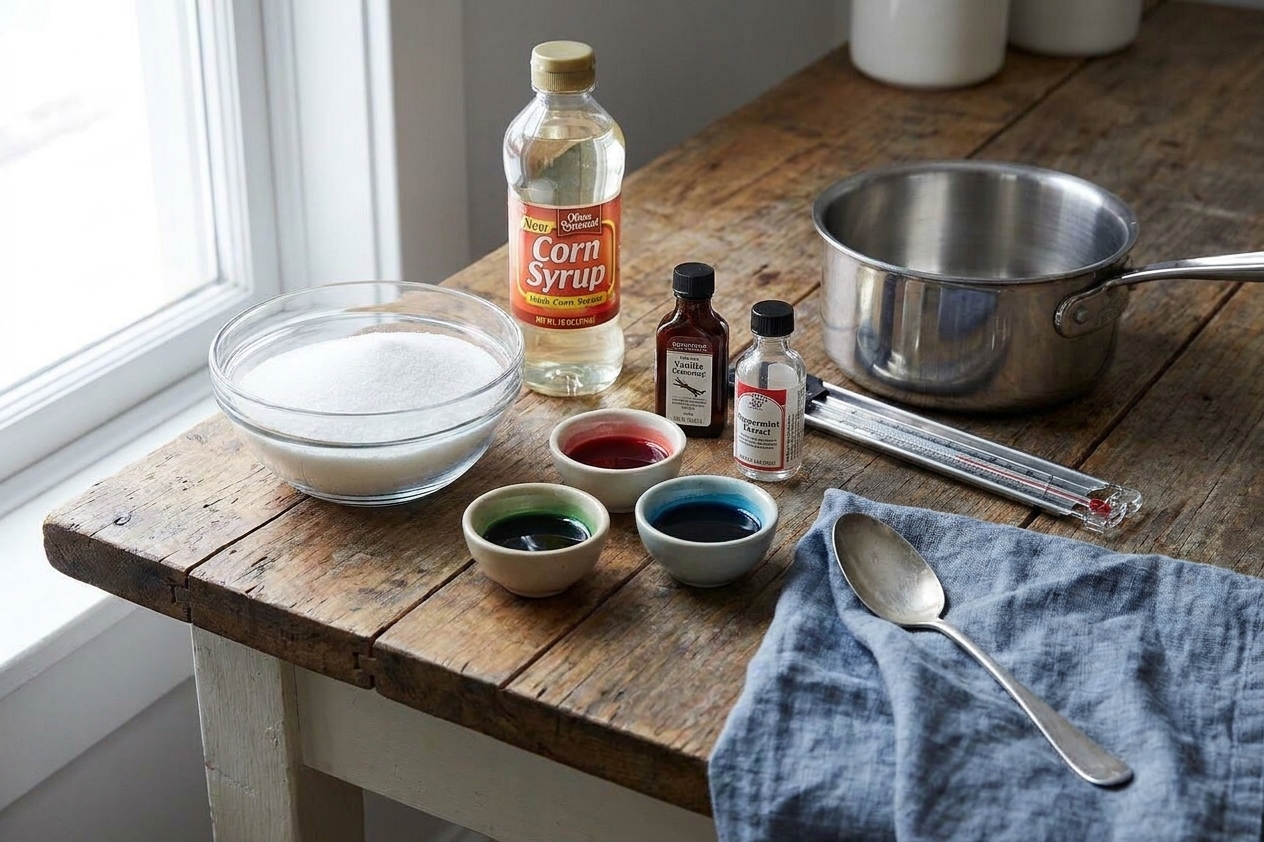
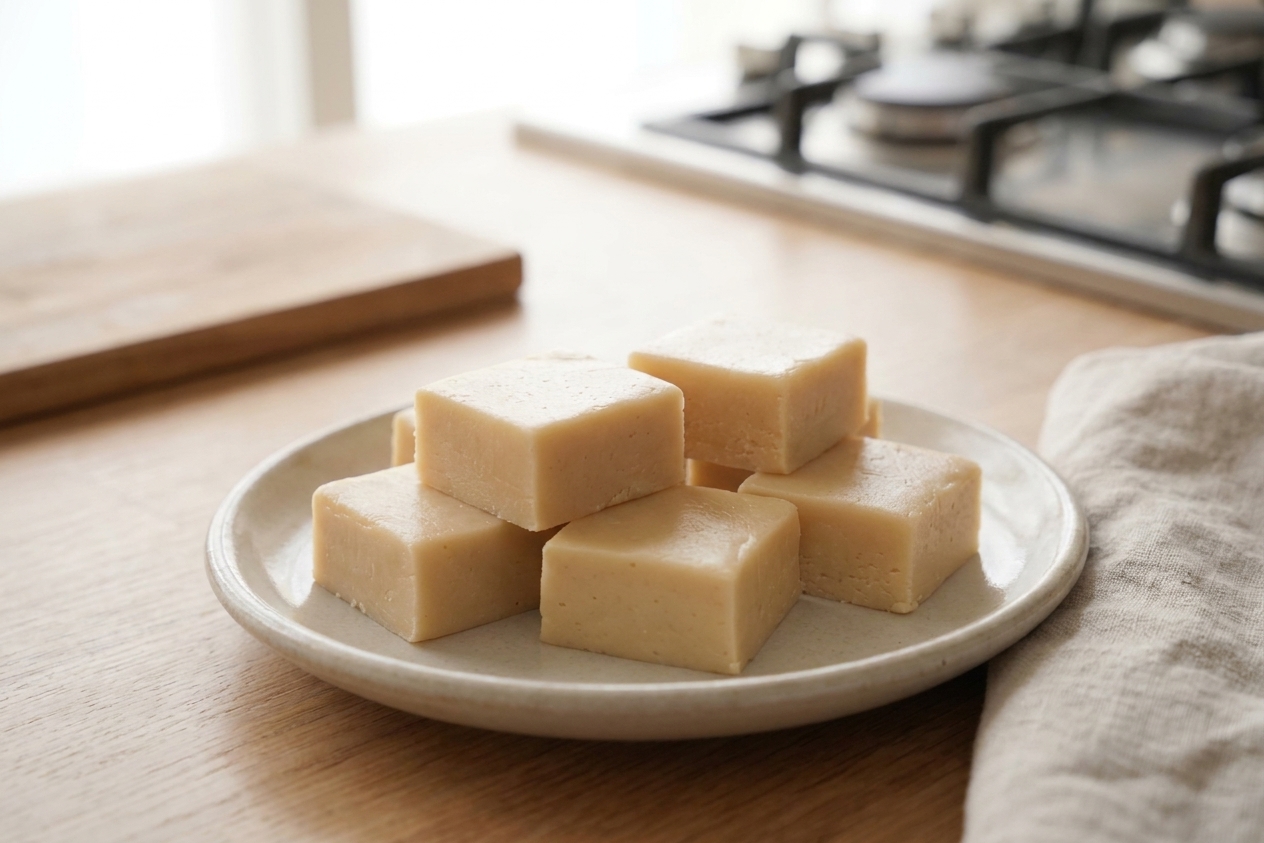
Granulated sugar, light corn syrup, small bowls of flavoring and food coloring, and a candy thermometer arranged on a tidy kitchen counter

Why It Works

  • True snap, not sticky. Cooking to the right temperature drives off enough water so the candy sets hard and is less likely to turn tacky, especially with good storage.
  • Clear instructions with two safety nets. You get temperature targets and visual cues, so you are not guessing if your thermometer is being dramatic.
  • Flavor stays bright. Flavoring goes in off-heat so it tastes fresh instead of cooked out.
  • Easy to customize. Change extracts, add citric acid for tang, or make striped colors without buying special equipment.

Pairs Well With

Storage Tips

Hard candy is basically allergic to humidity, so storage is everything.

Best storage

  • Airtight container at cool room temperature, with parchment between layers.
  • Add a food-safe desiccant packet if you have one. If you go the DIY route, you can tie a tablespoon of dry rice in a small piece of cheesecloth as a moisture buffer. Keep it fully contained so it cannot spill into the candy.

How long it lasts

  • Often 2 to 4 weeks for best texture in a dry kitchen.
  • In humid climates, it can get tacky sooner, even when stored well.

What not to do

  • Do not refrigerate. The fridge adds moisture and can make candy sweat.
  • Do not store uncovered. It will absorb moisture and get sticky.

Common Questions

Do I really need a candy thermometer?

It is the easiest path to consistent results. Hard candy needs the hard crack stage, which begins around 300°F. If you do not have a thermometer, you can use the cold water test, but it takes practice.

What is the hard crack stage?

It is when the sugar syrup has cooked enough that, when cooled, it becomes hard and brittle. Under that range, candy can turn bendy or sticky. Much over it, you risk a burnt flavor and darker color.

Why did my hard candy turn cloudy or grainy?

Usually crystallization. Common causes: stirring after the mixture starts boiling, sugar crystals on the side of the pot, or skipping an interfering sugar like corn syrup. Use a wet pastry brush to wash down the sides early on, and avoid stirring once it is boiling.

Can I make this without corn syrup?

Corn syrup helps prevent crystallization. You can try replacing it with glucose syrup. Honey can work but it adds strong flavor and can darken faster.

How do I make sour hard candy?

Add citric acid (or malic acid) after cooking, off heat. Start small, about 1/4 teaspoon per batch, taste the cooled shards, then adjust next time.

Is hard candy safe around kids?

The finished candy is fine, but the cooking stage is serious hot sugar. Keep kids and pets out of the kitchen while the syrup is boiling and while you pour it.

I did not grow up making hard candy, which means I learned it the fun way: by getting overconfident, stirring when I should not, and ending up with a pot of sugar sand that looked like beach vacation and tasted like regret. Once I treated it like cooking instead of chaos, it clicked. Now it is one of my favorite “quiet kitchen” projects. You babysit a bubbling pot for a few minutes, you pour, you wait, and suddenly your counter looks like a candy shop. It is oddly satisfying, like making your own little edible stained glass.