Mom's Best Recipes
Recipe

Handmade Vanilla Fudge

Creamy, old-school vanilla fudge made the classic way: simmer, cool, beat, and slice. Smooth texture, clean edges, and big cozy flavor.

Author By Matt Campbell
4.8
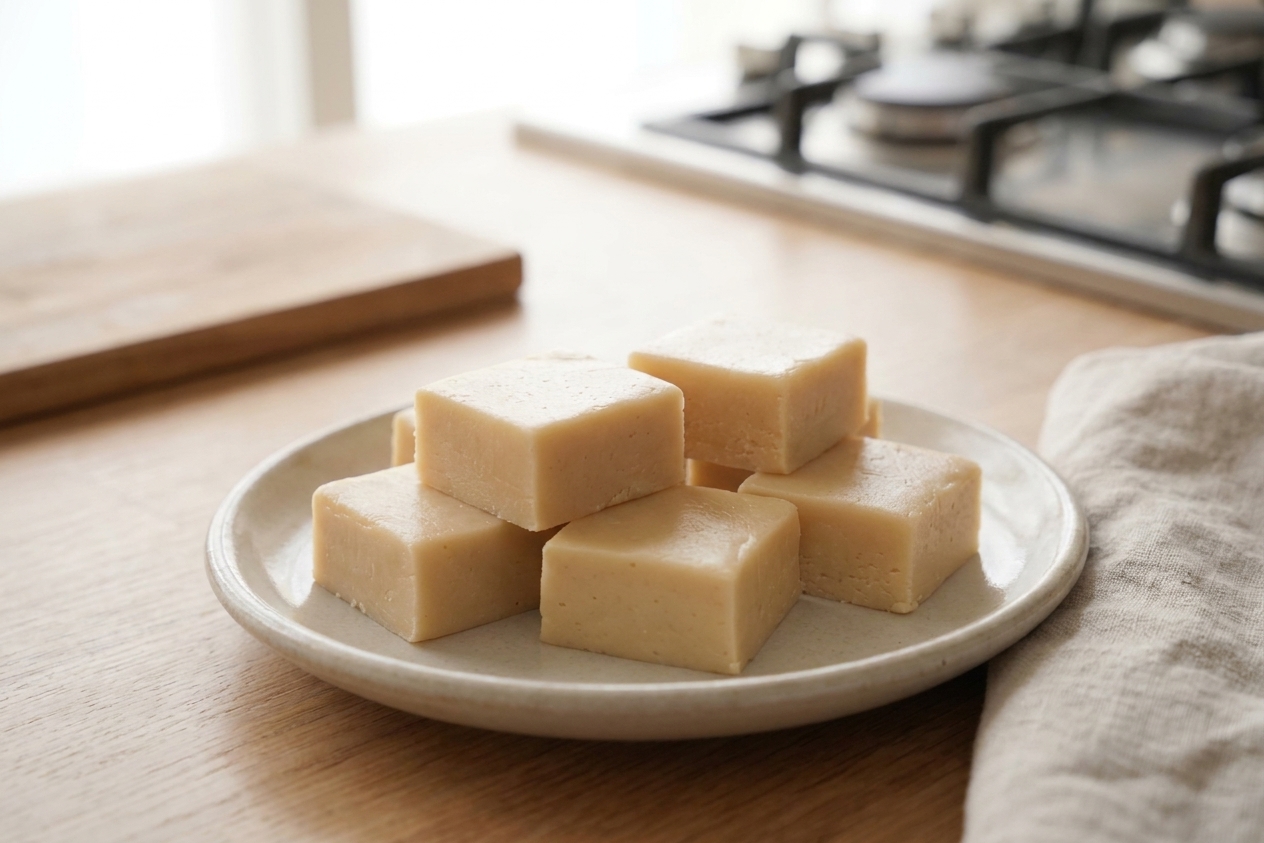
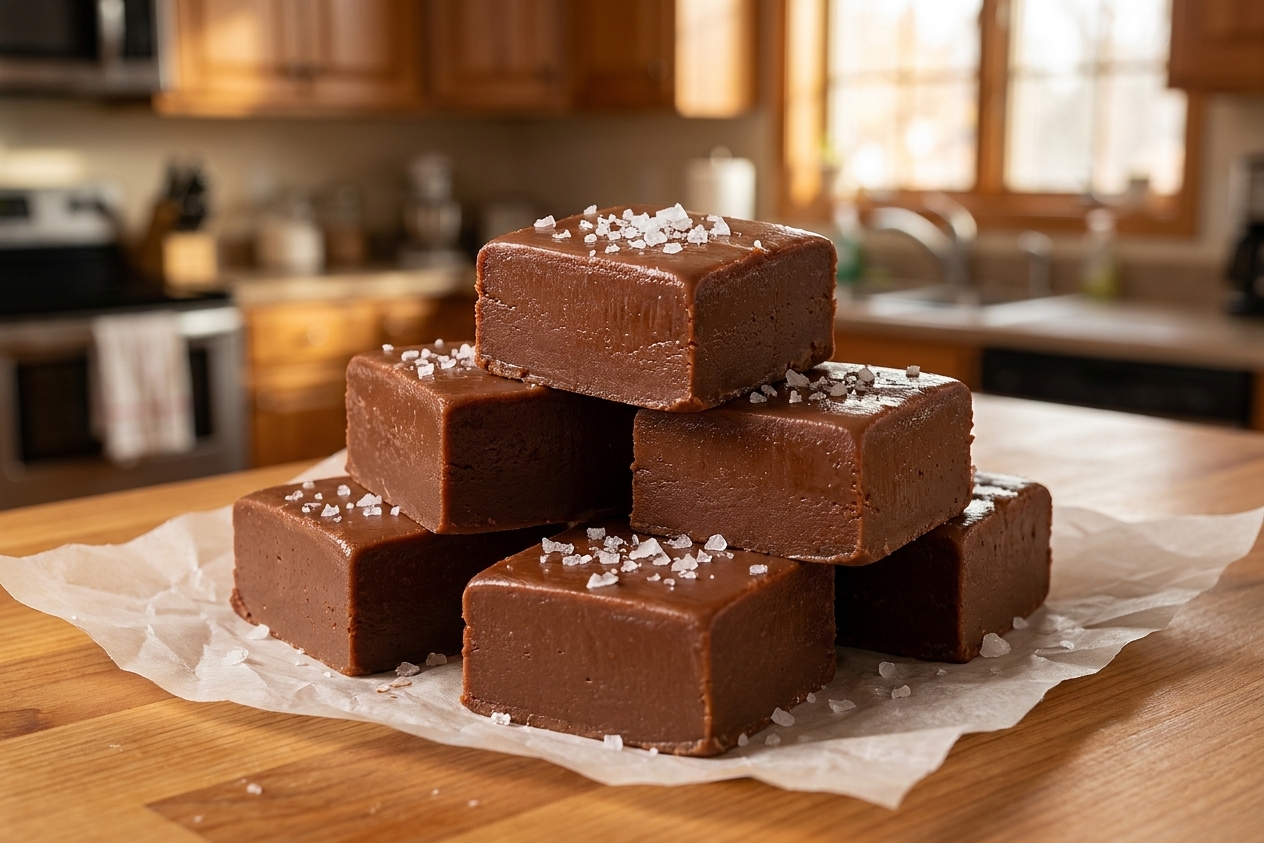
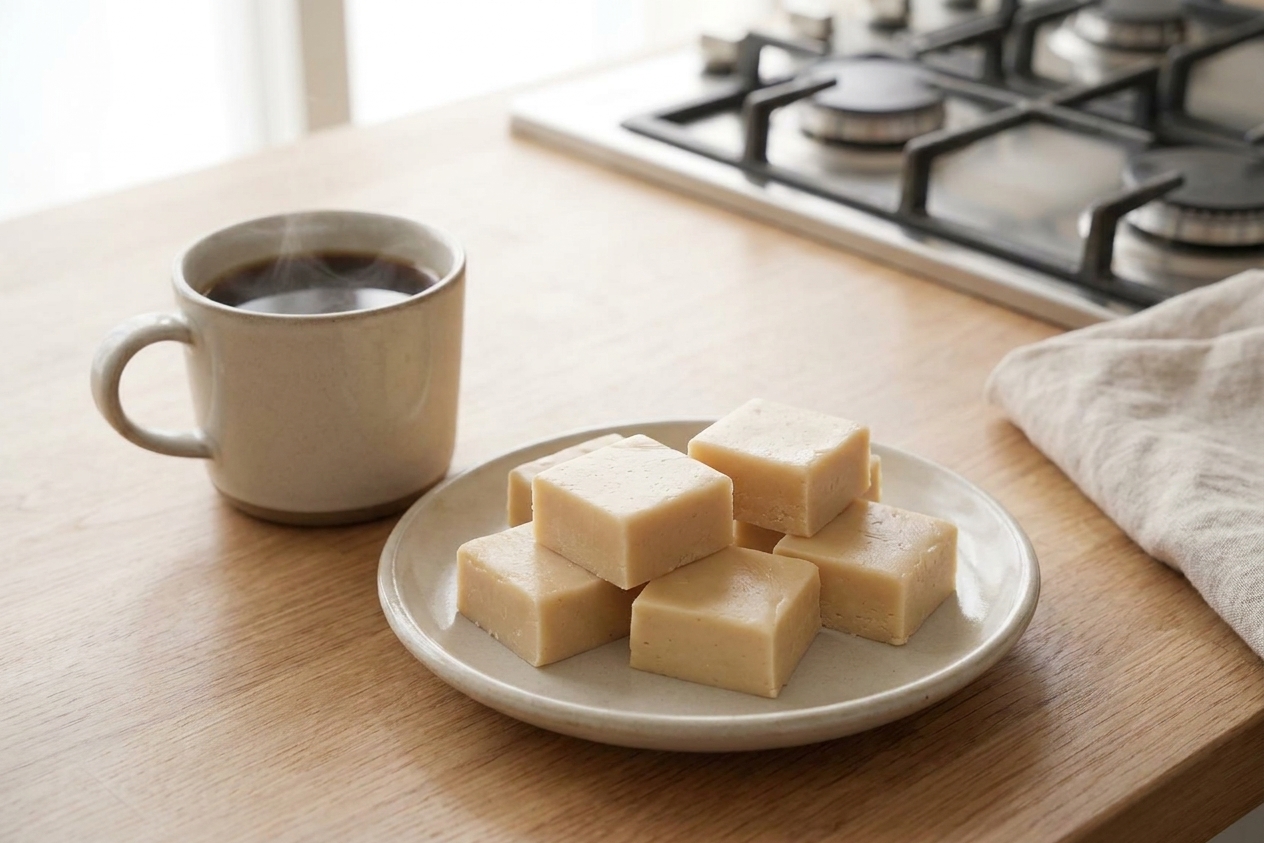
Neatly cut squares of creamy vanilla fudge stacked on a small ceramic plate on a warm-toned kitchen table with soft natural window light

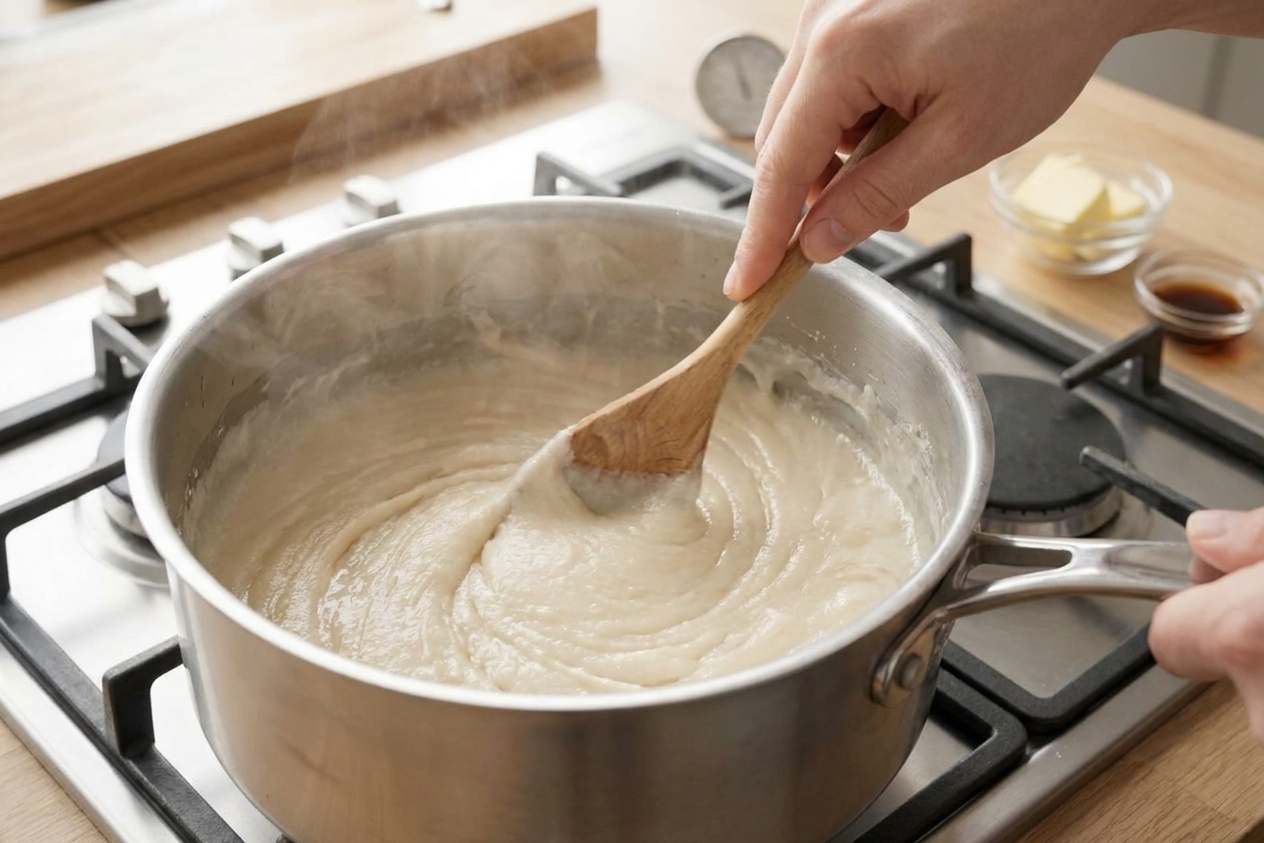
Handmade fudge is one of those throwback sweets that feels like a magic trick. You stir a few basic pantry ingredients, simmer them into a glossy caramel-colored potion, then beat it into a thick, matte cloud that sets up into perfect little squares.

This recipe is the classic, stovetop, candy-thermometer method. No shortcuts, no weird ingredients, no hope-and-pray texture. Just the real deal: creamy, rich, and sliceable, with the kind of vanilla flavor that makes you stop mid-bite and go, “Okay, wow.”

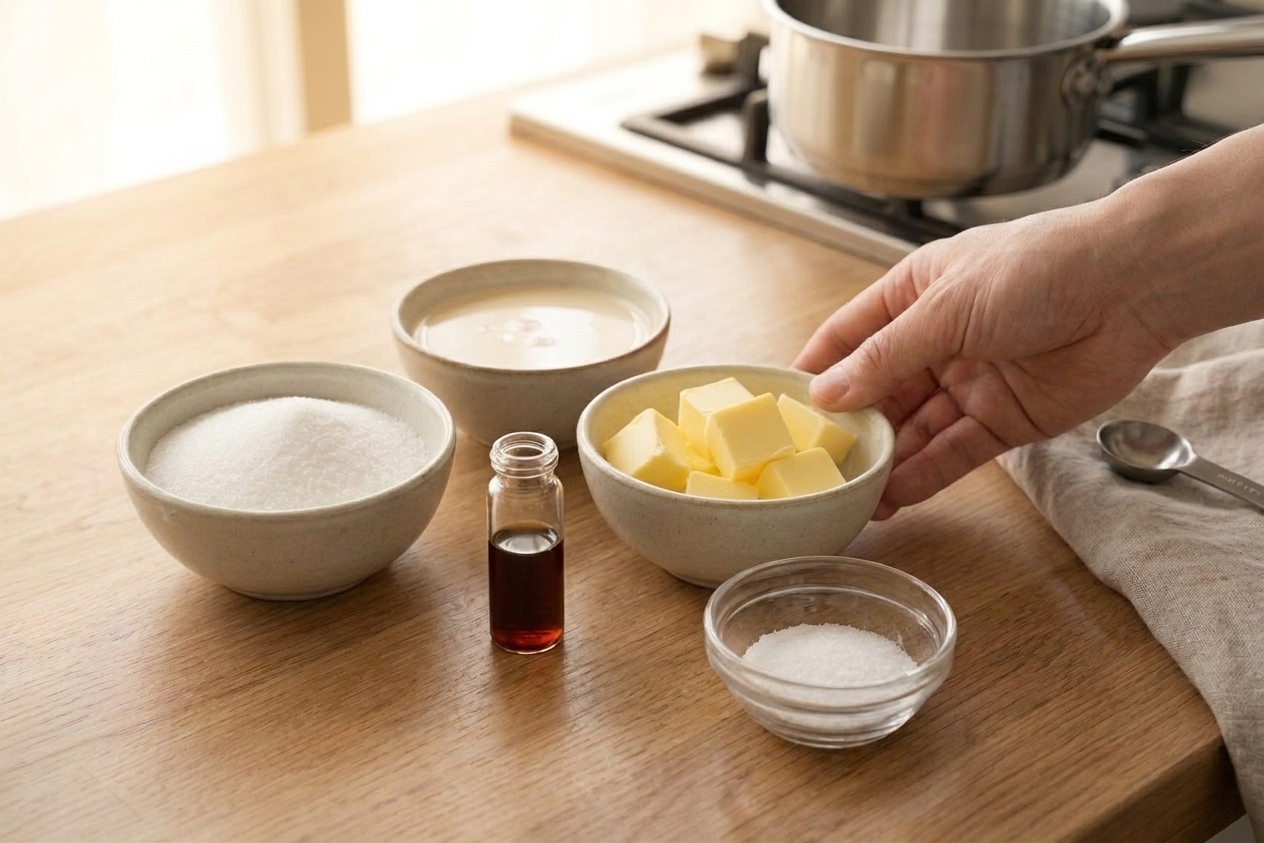
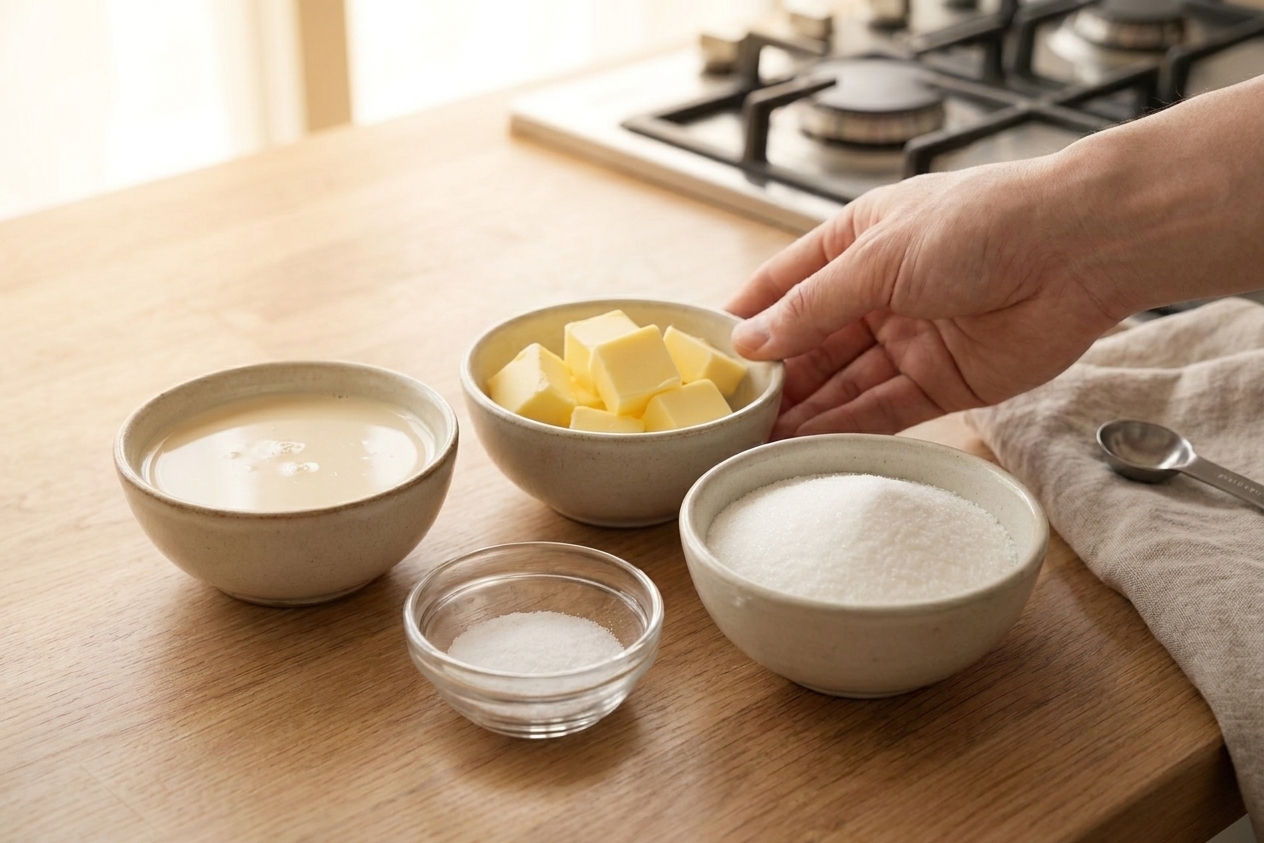
A neat arrangement of fudge ingredients including sugar, evaporated milk, butter, vanilla extract, and salt on a light kitchen counter

Why It Works

  • Classic texture without graininess: Cooking to soft-ball stage, then cooling before beating, keeps the crystals tiny so the fudge tastes smooth.
  • Reliable set: A thermometer takes the guesswork out, so you get fudge that slices cleanly instead of slumping.
  • Big flavor from simple stuff: Butter, vanilla, and a little salt do the heavy lifting, then we lock it in with the right finish.
  • Friendly to add-ins: Nuts, flaky salt, and chocolate are all welcome if you want to get a little chaotic.

Pairs Well With

Storage Tips

Room temperature: Store fudge in an airtight container with parchment between layers for up to 7 days, with best texture in the first few days. Keep it cool and out of sunlight.

Refrigerator: It will keep for up to 2 weeks, but it firms up. Let pieces sit at room temp for 15 to 20 minutes before serving for the best texture.

Freezer: Wrap the slab or individual squares tightly in plastic wrap, then foil, and freeze up to 3 months. Thaw overnight in the fridge or a couple hours at room temp.

Pro tip: If your fudge is extra soft after slicing, it likely just needs more time to set. Pop the container in the fridge for 30 minutes, then slice again with a warm knife.

Common Questions

Do I really need a candy thermometer?

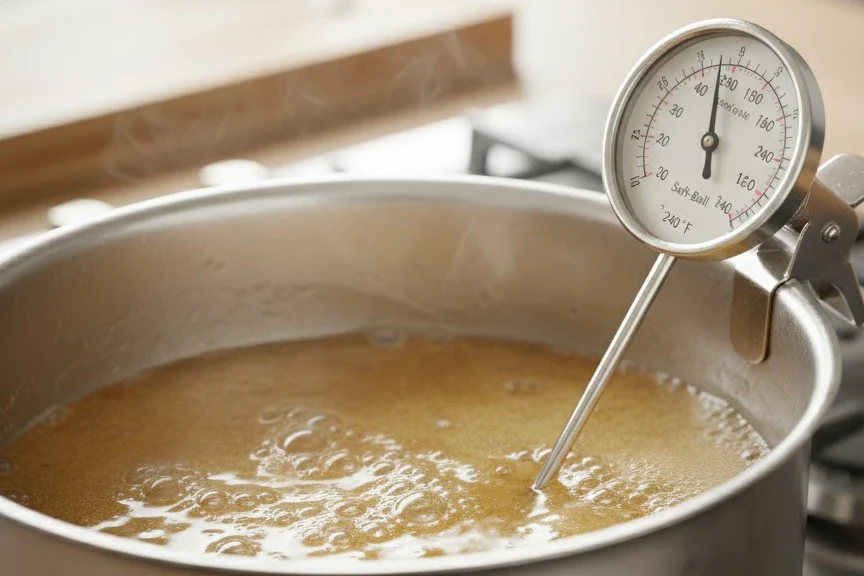
I strongly recommend it for handmade fudge. You can do the cold-water test, but a thermometer gets you to the soft-ball stage (234°F to 238°F) without second-guessing. If you make fudge more than once a year, the thermometer earns its keep.

Why did my fudge turn grainy?

Graininess is usually from sugar crystals forming too early, often because the syrup was stirred or disturbed while it was still very hot, or because crystals on the sides got mixed back in. Once you hit 234°F to 238°F, take the pot off the heat and let it cool undisturbed to about 110°F before you beat it.

If you see crystals on the pot walls while it boils, you have two good options: avoid scraping the sides, and if needed, use a clean, damp pastry brush to gently wash down the sides above the boiling line.

Why did my fudge not set?

Most often it was undercooked and did not reach the right temperature. Humidity can also mess with candy making. If it is soft but not runny, refrigerate it longer and slice cold. If it is truly syrupy, you can reheat it gently, bring it back to 234°F to 238°F, cool again, then beat again.

Can I make this without marshmallow creme?

This version is a true classic beaten fudge, so it is already marshmallow-free. If you are looking for the marshmallow creme style (fast set, no beating), that is a different method with different steps.

Can I add chocolate or mix-ins?

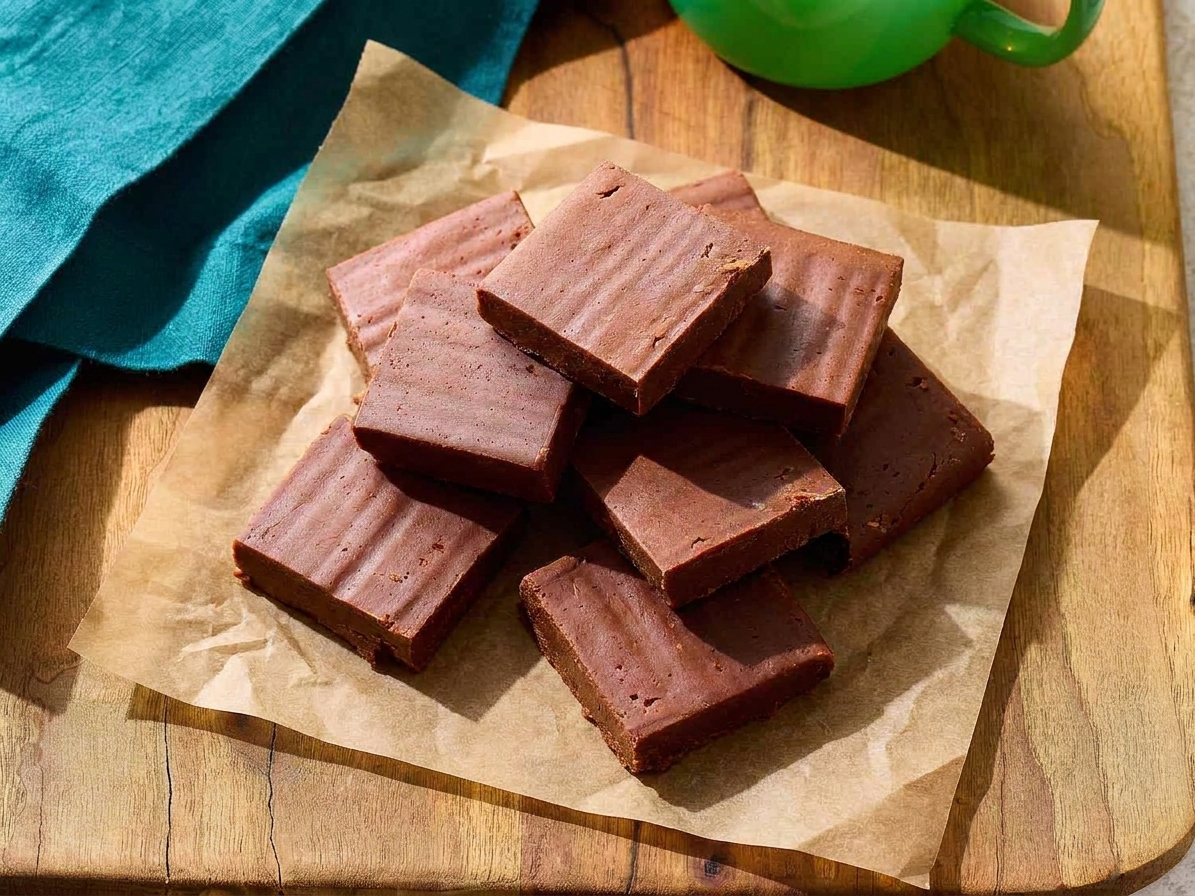
Yes. For chocolate, add 3 to 4 ounces chopped semisweet chocolate along with the vanilla once the mixture has cooled to about 110°F, right before you start beating. For mix-ins, fold in 1 cup toasted nuts right when the fudge turns thick and starts to lose its shine, just before you pan it.

How do I get clean slices?

Chill the slab for 30 minutes, then use a long knife warmed under hot water and wiped dry. Cut straight down, wipe between cuts, repeat.
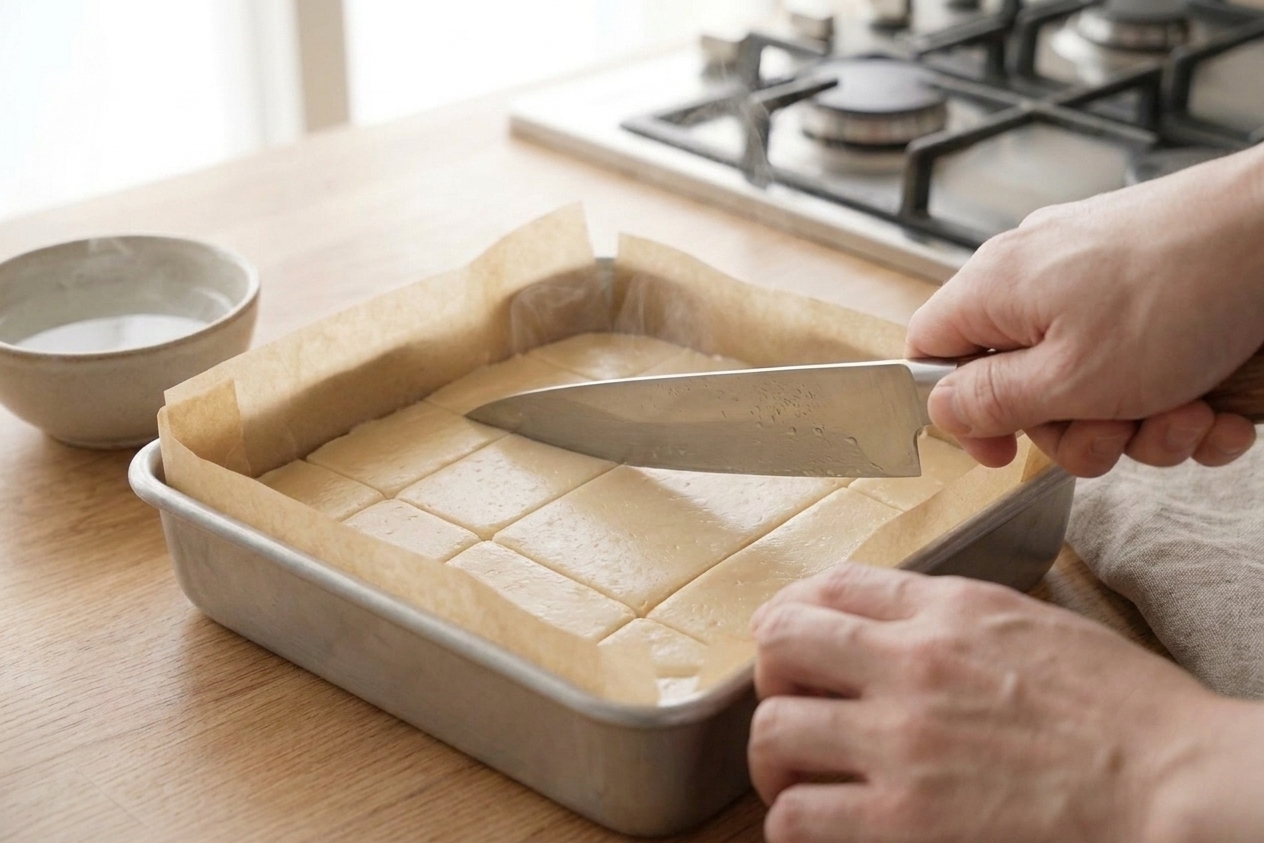

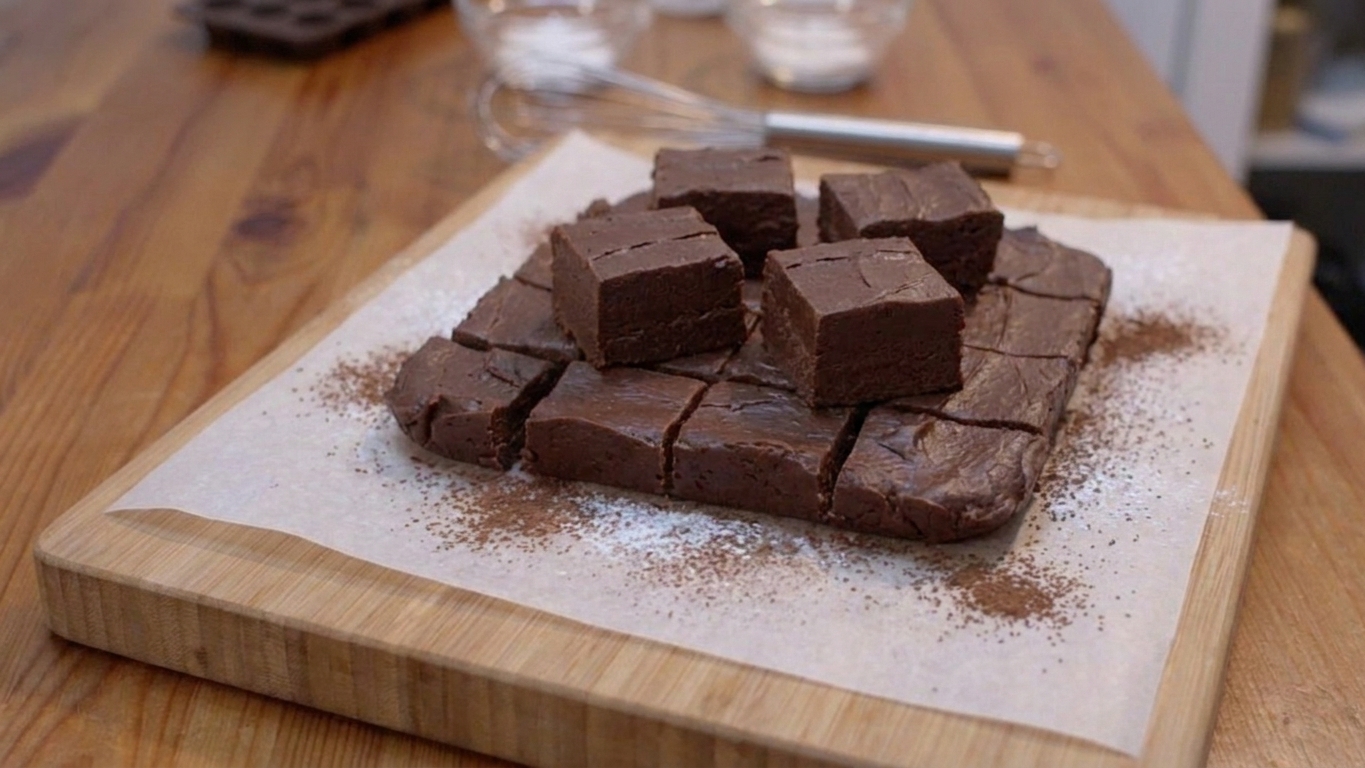
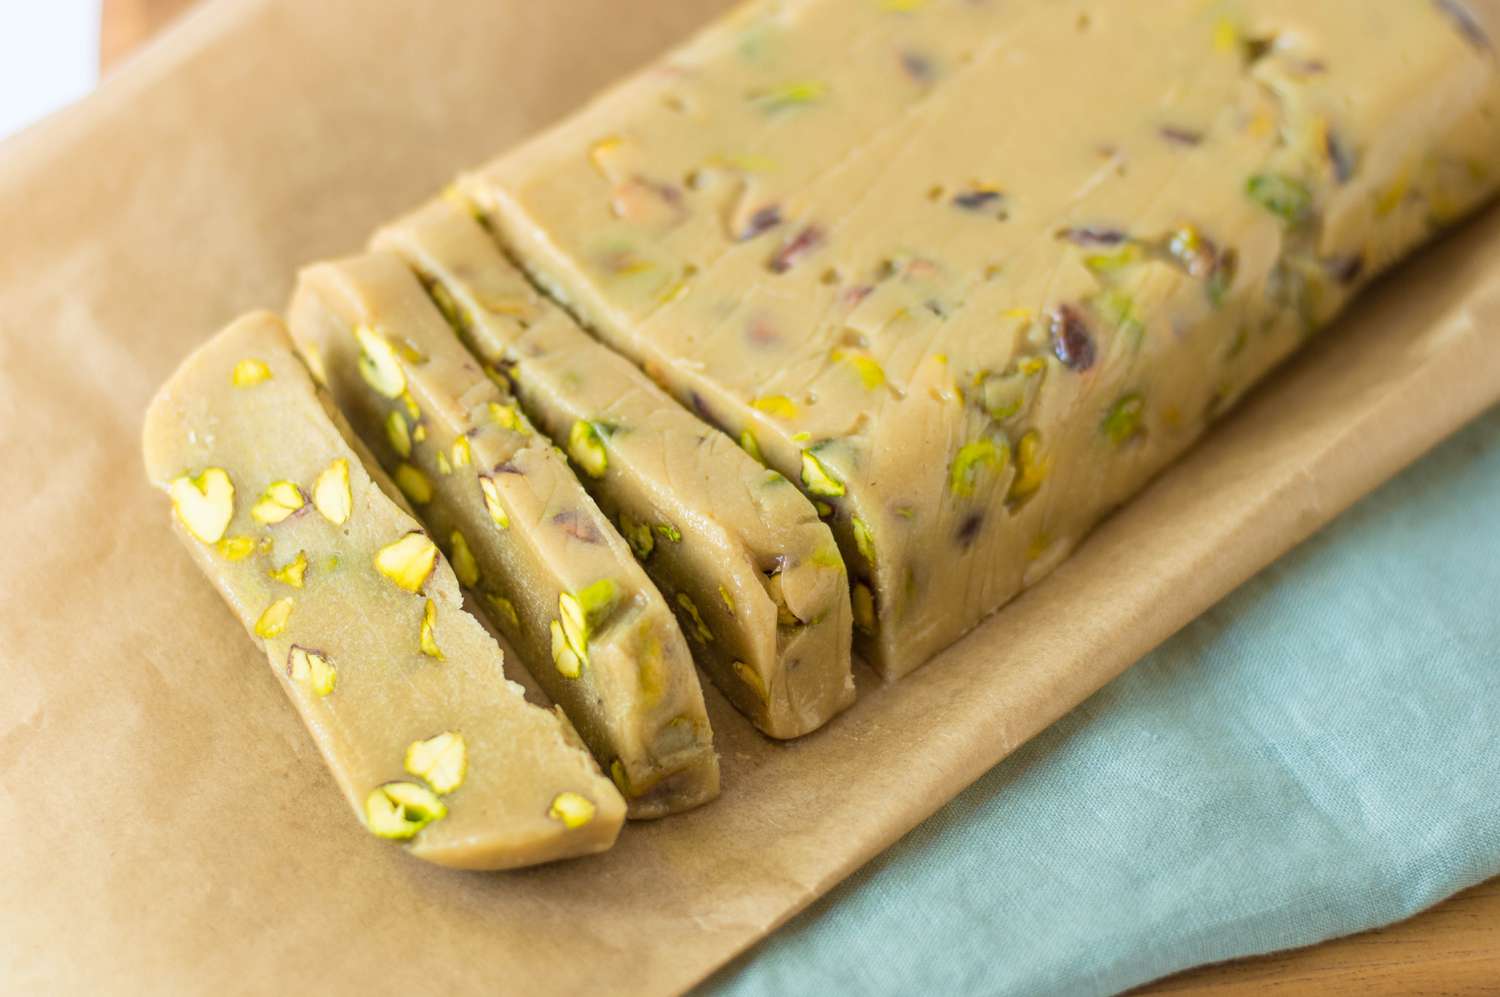
A chilled slab of vanilla fudge in a parchment-lined pan being sliced into clean squares with a long knife warmed in hot water

I love handmade fudge because it is equal parts cozy and slightly unhinged kitchen science. One minute you are calmly stirring sugar and milk, and the next you are watching a thermometer like it owes you money. The first time I made it, I stirred too much, panicked, and ended up with fudge that tasted great but looked like a geology sample.

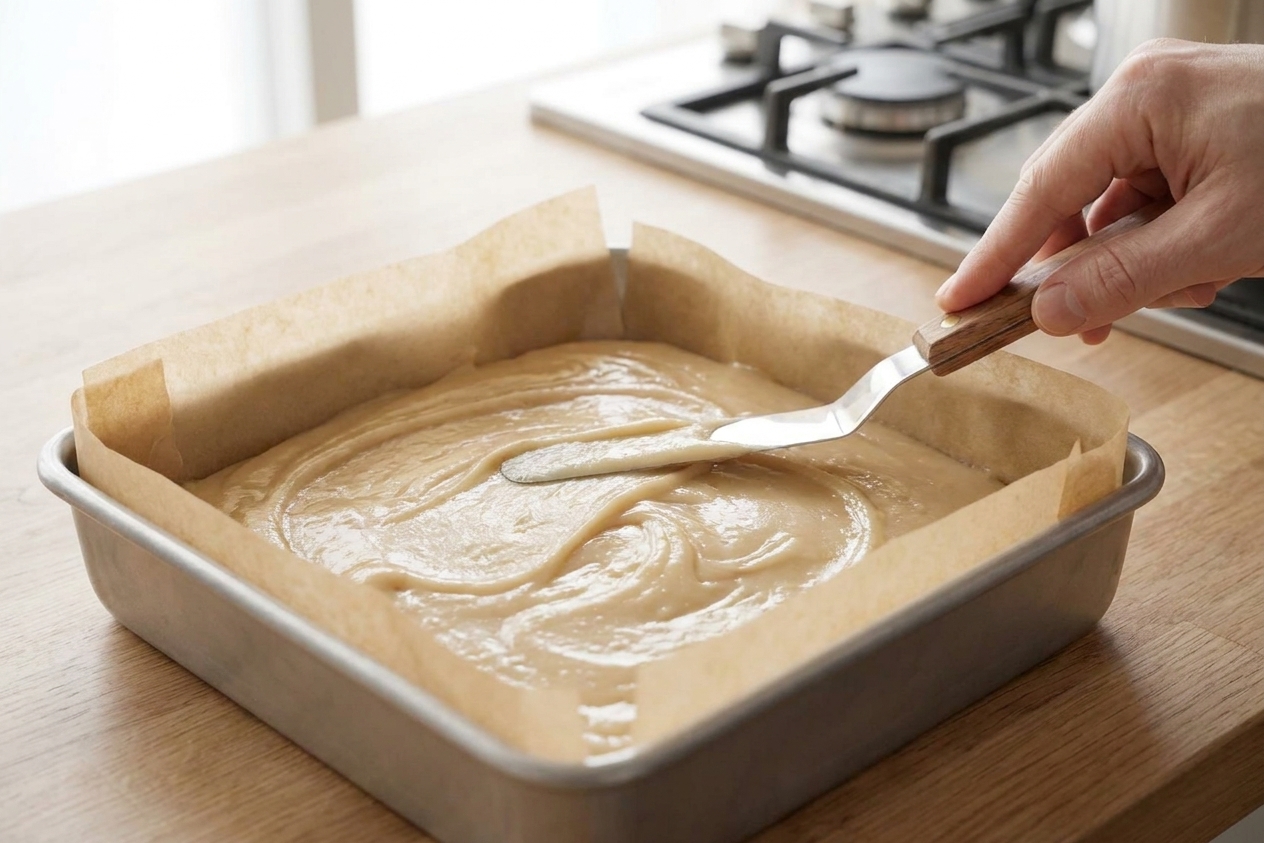
Now I treat fudge like a team sport. Do the steps in order, keep the vibes chill, and taste the tiny smear on the spoon like a reward. When it turns from glossy to thick and matte, it feels like the whole pot just decided to behave.