Mom's Best Recipes
Recipe

Easy Cocoa Fudge

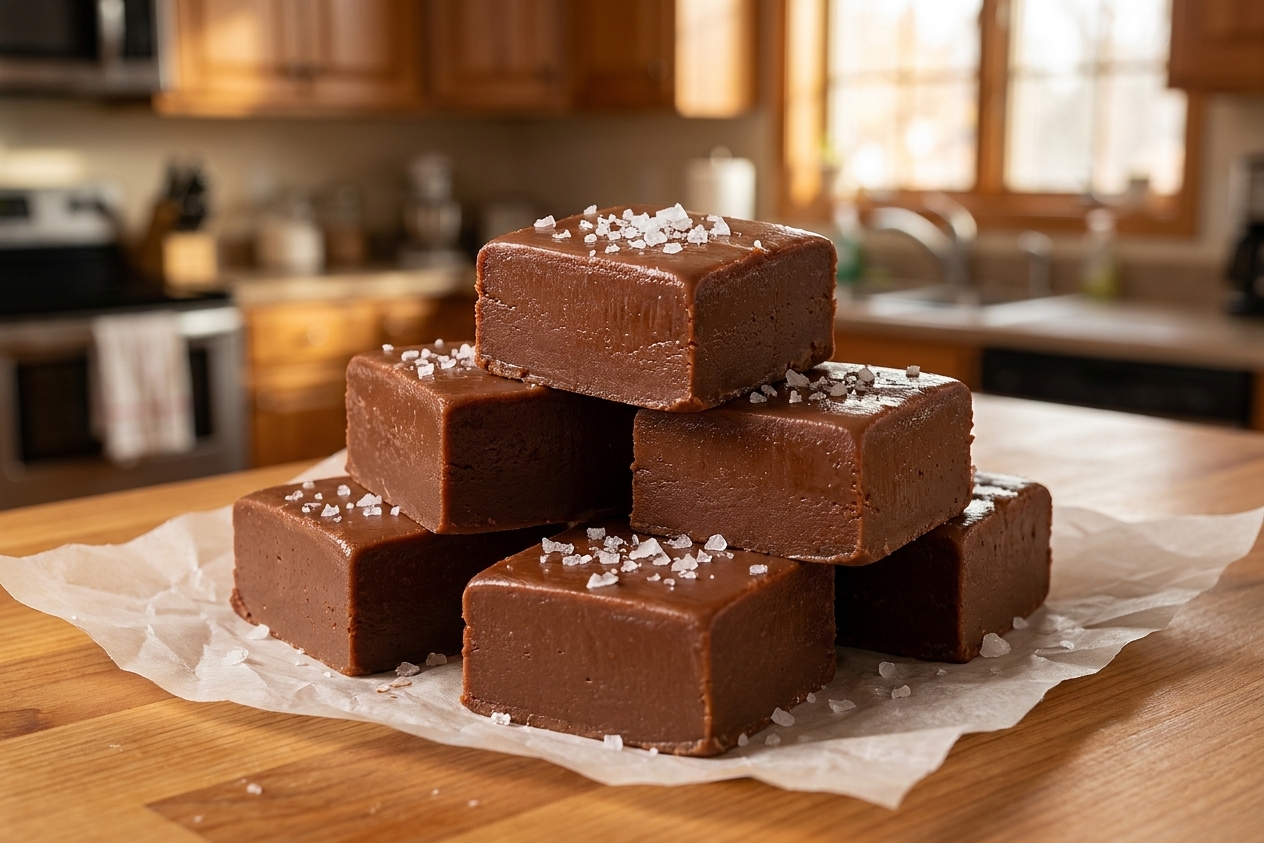
A rich, old-school cocoa fudge that is smooth, sliceable, and deeply chocolatey, made with simple pantry ingredients and no candy thermometer (though you can use one for extra confidence).

Author By Matt Campbell
4.8
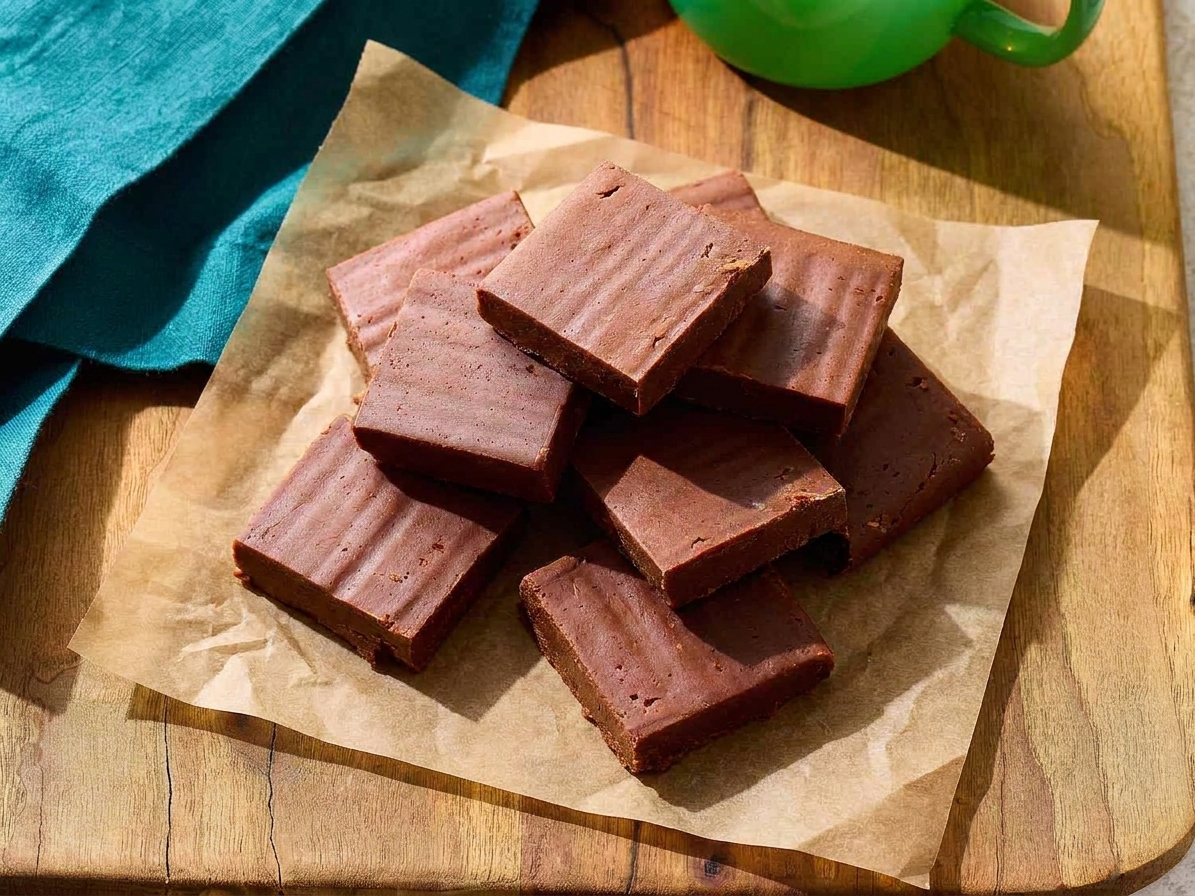
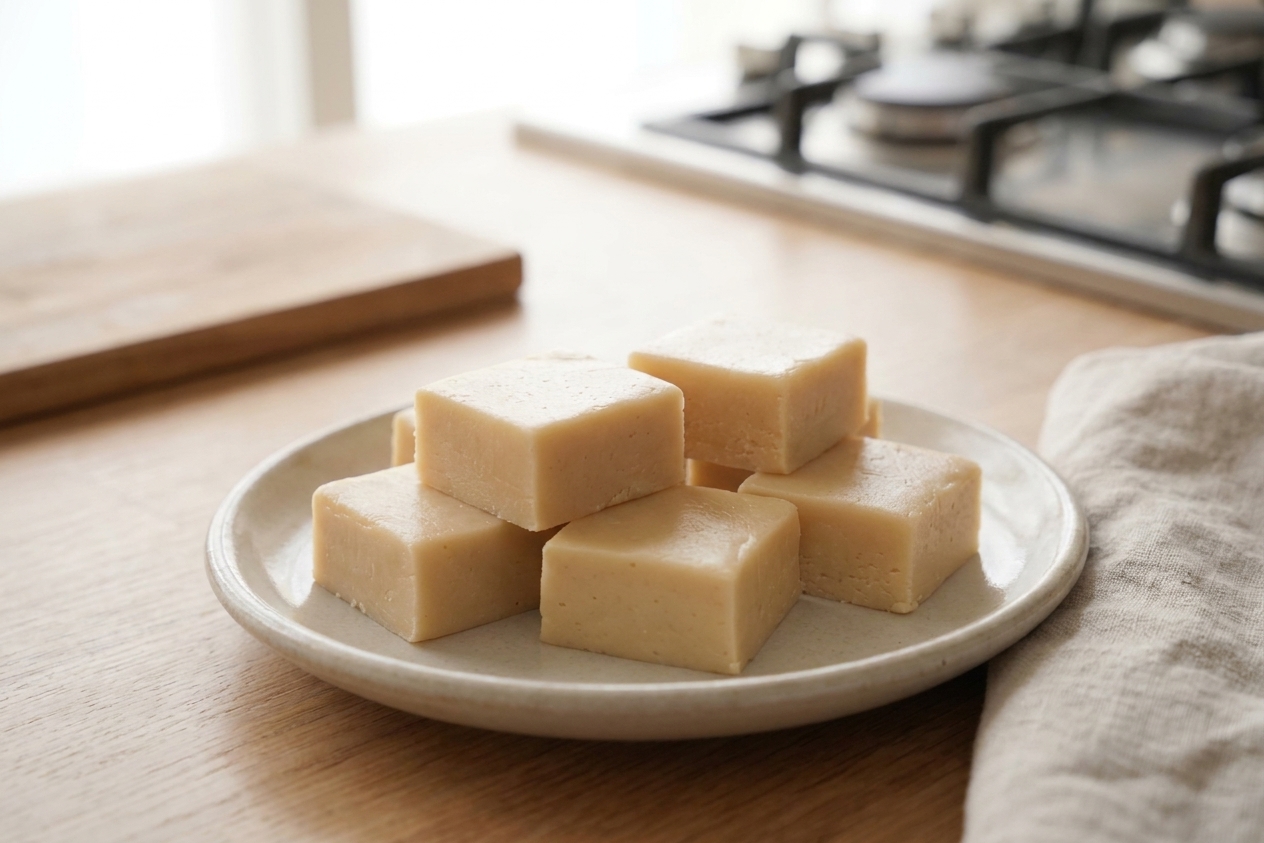
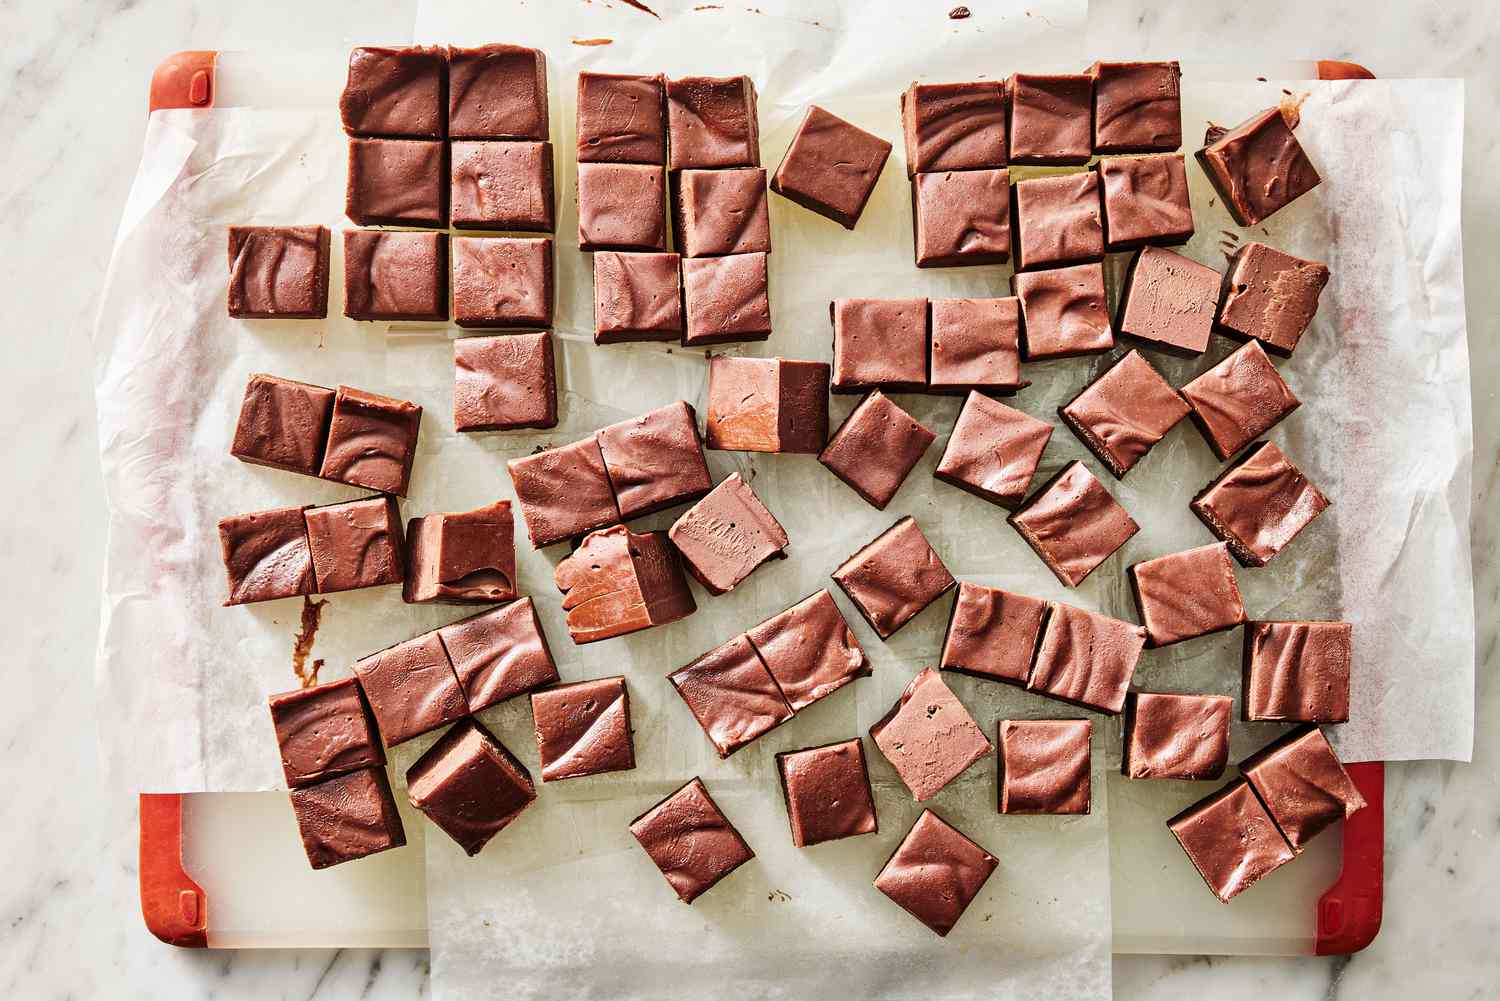
Thick squares of cocoa fudge on parchment paper on a warm-toned kitchen counter, with a small knife nearby and soft natural window light

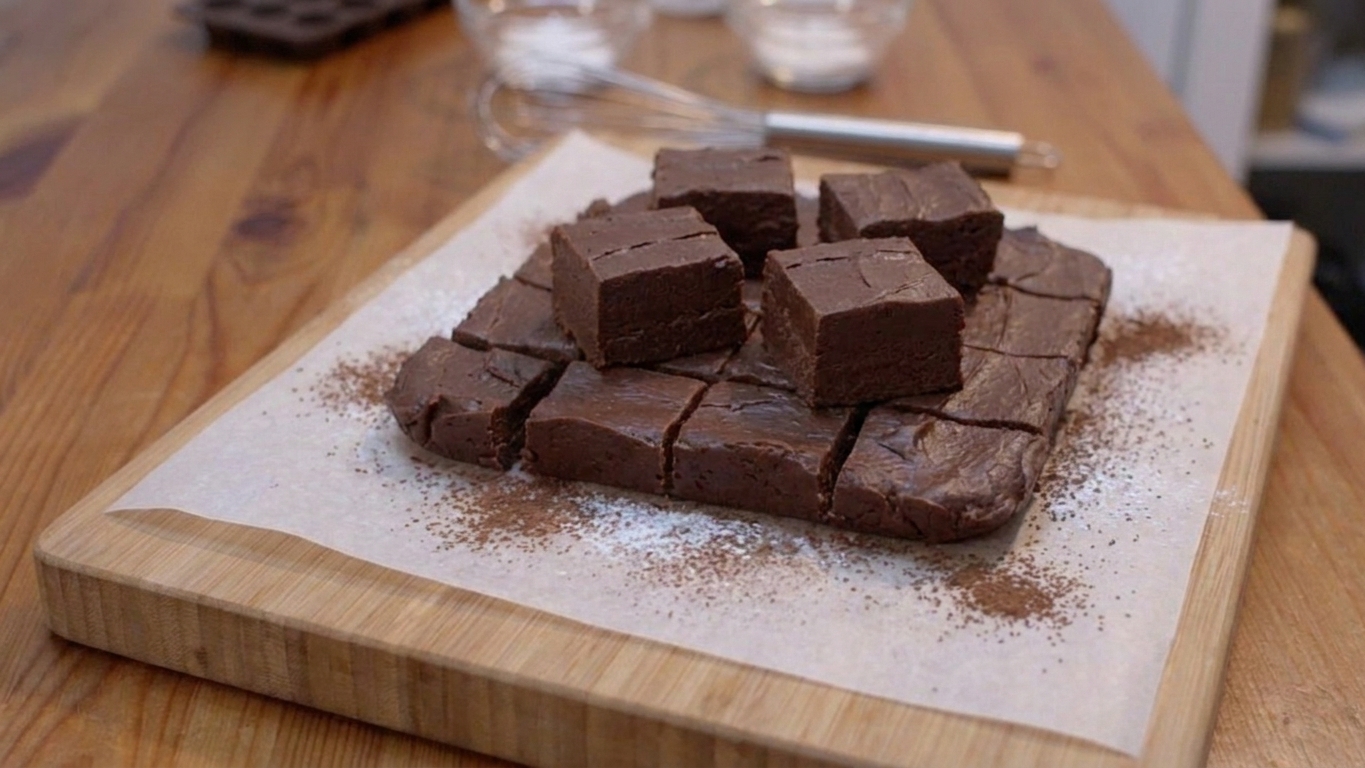
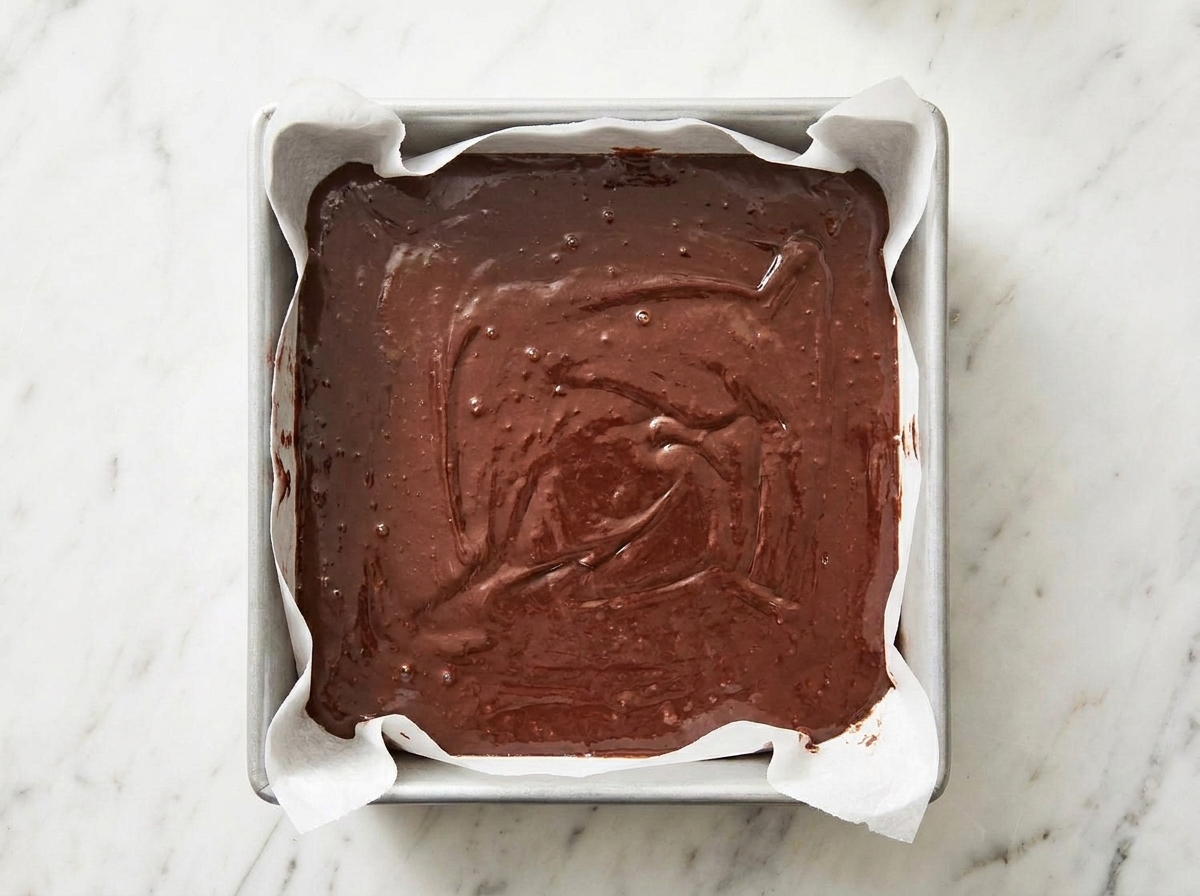
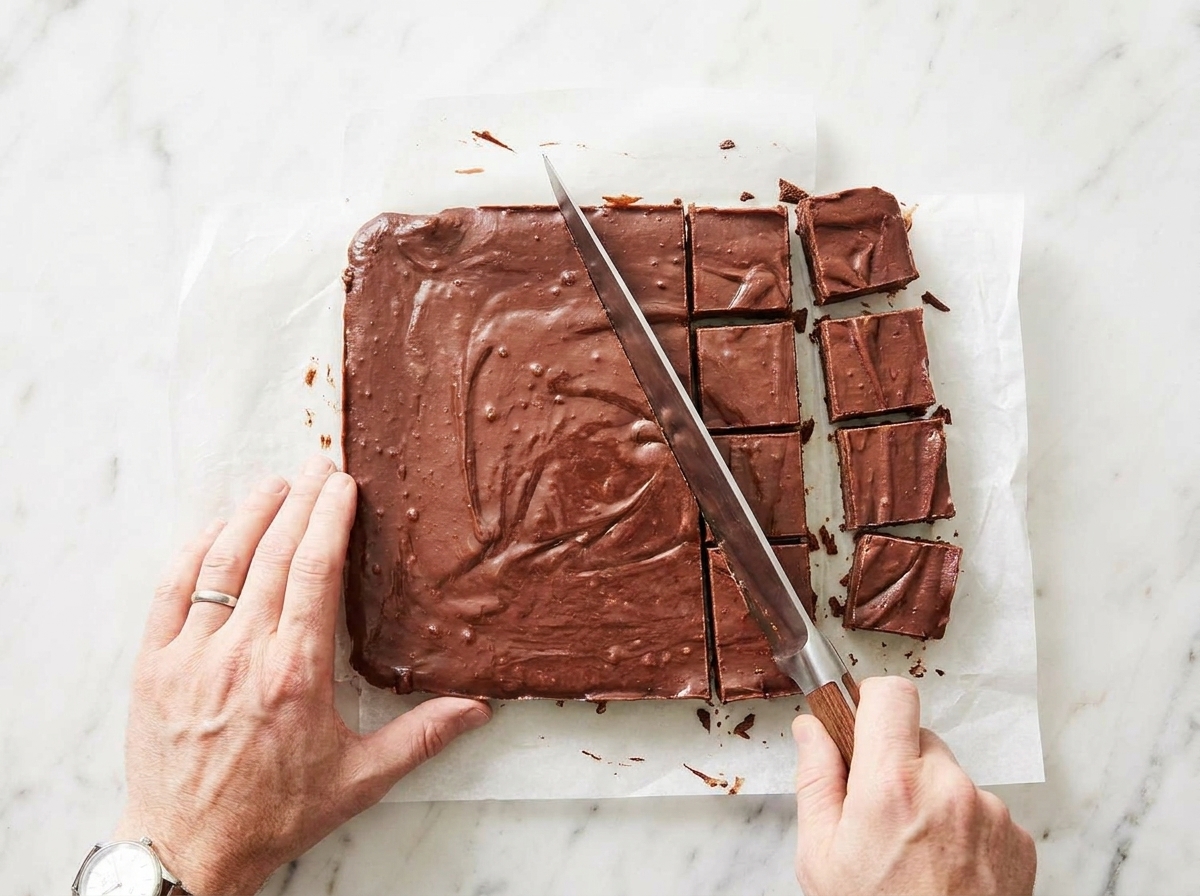
Some desserts are a whole production, and some are just you, a saucepan, and a very serious chocolate craving. This cocoa fudge is the second kind. It is the pantry-staple version of fudge, the one you make when you want something rich and nostalgic without hunting down fancy chocolate bars or breaking out a candy thermometer.

It comes out smooth, creamy, and sliceable, with that classic fudge bite that melts instead of crumbling. The secret is not magic, it is just a little patience at the boil and a very intentional stir at the end. Also, yes, you should taste as you go. It is basically the law.

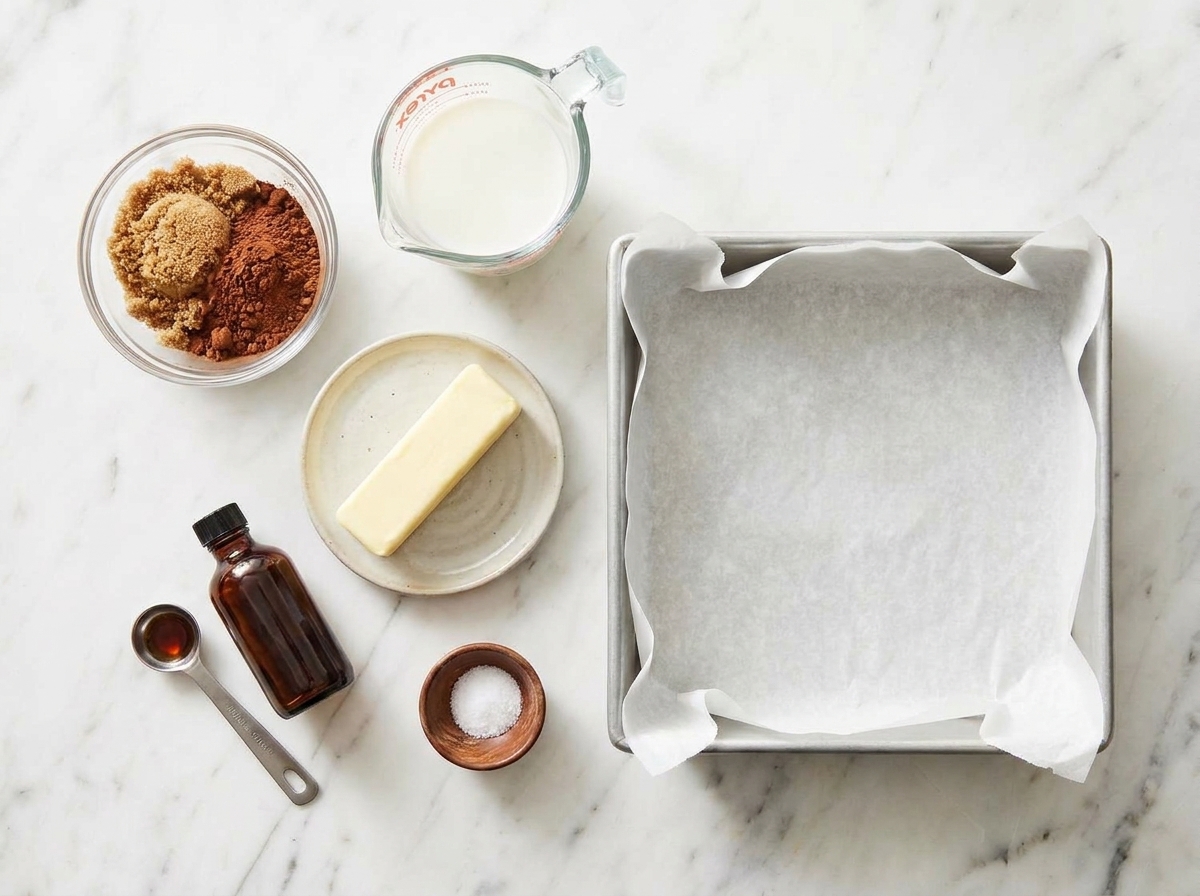
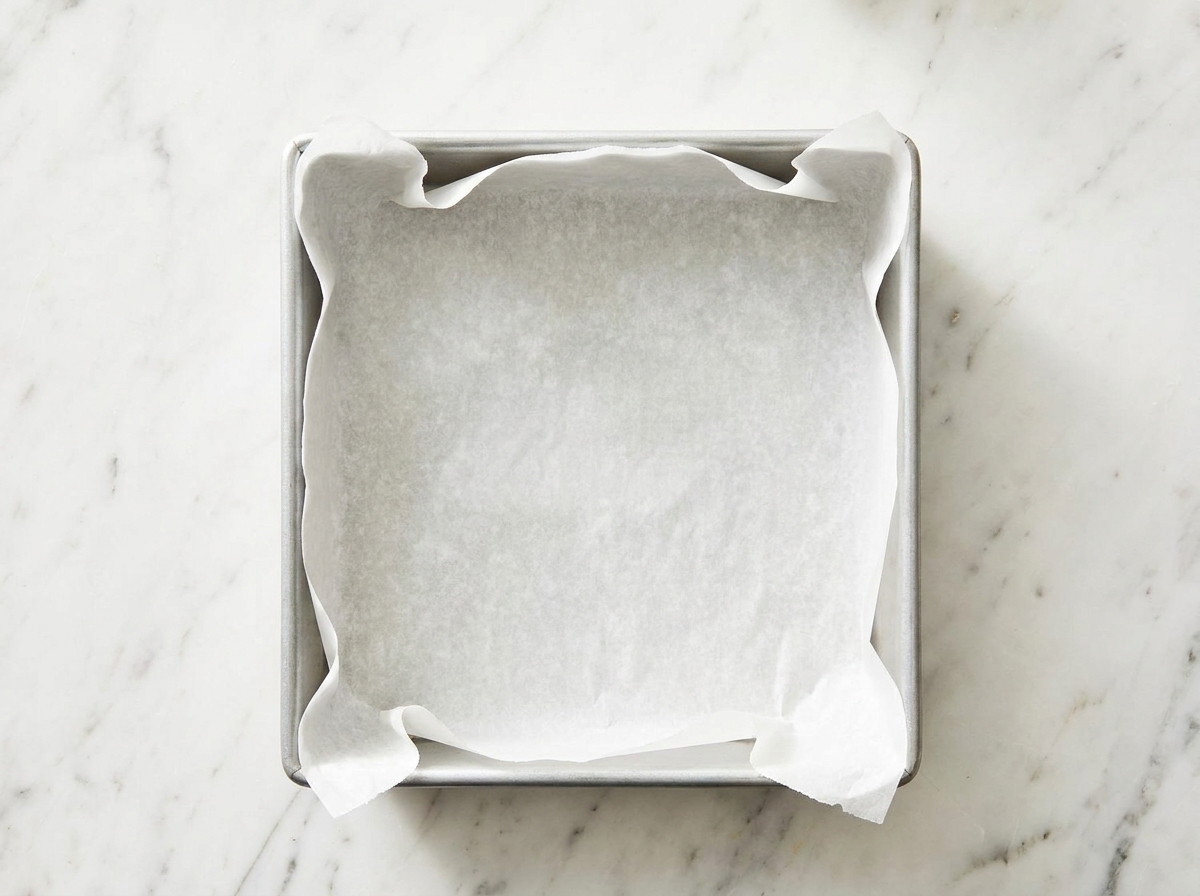
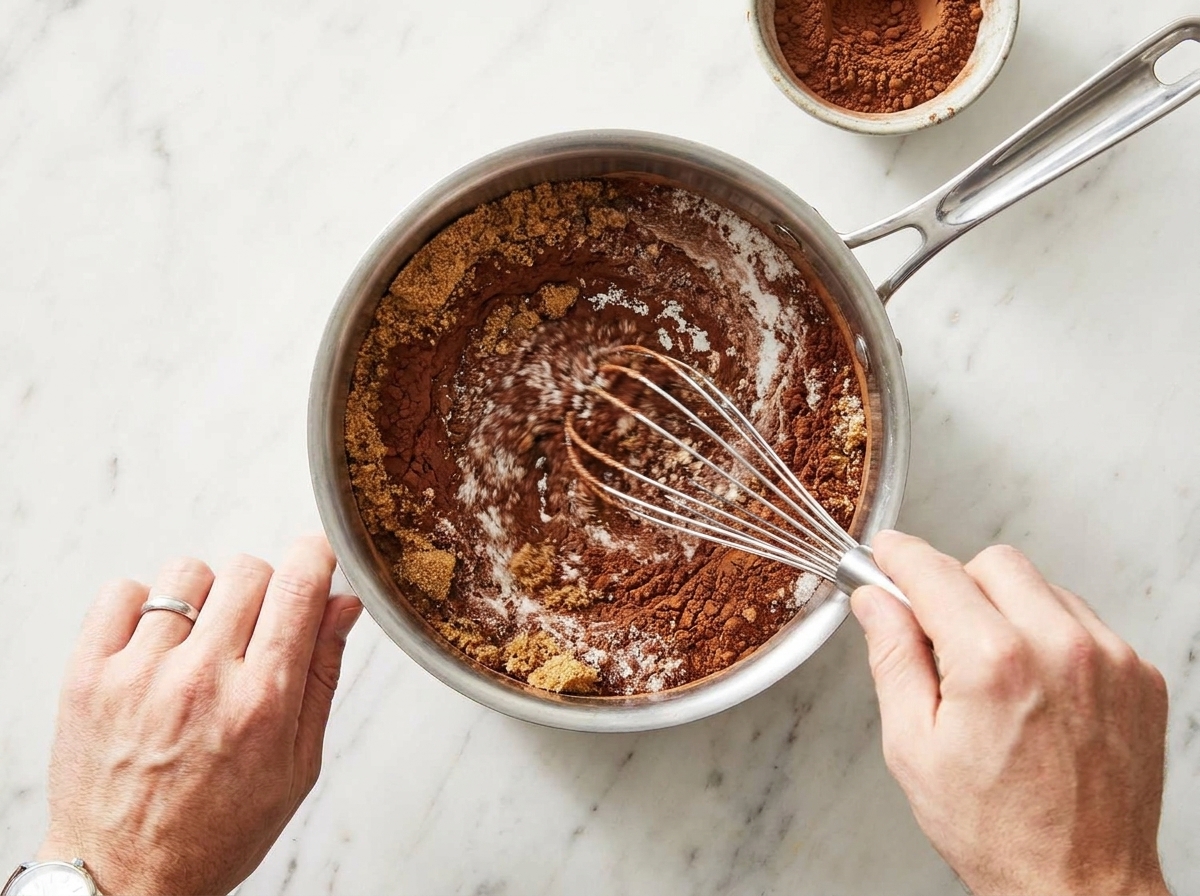
Measured cocoa powder, sugar, butter, milk, vanilla extract, and salt arranged on a light kitchen counter with a lined square pan nearby

Why It Works

  • Big chocolate flavor from cocoa: Heating cocoa with the milk and butter helps hydrate it and deepen the overall chocolate taste.
  • No thermometer needed: We use timing and visual cues so you can nail the texture with basic tools, plus optional temperature and soft-ball checks if you want them.
  • Reliable texture: Dissolving the sugar fully, then beating at the right moment helps the fudge set smooth instead of grainy.
  • Weeknight friendly: One pot, one pan, and you are done in under 30 minutes.

Pairs Well With

Storage Tips

Room temp: Store in an airtight container with parchment between layers for 5 to 7 days. Keep it cool and out of sunlight so it stays firm.

Refrigerator: If your kitchen runs warm, refrigerate up to 2 weeks. It will get firmer and slightly denser in the fridge. Let pieces sit at room temp for 10 minutes before eating for the best texture, and keep the container closed while it warms to prevent condensation.

Freezer: Wrap slabs or squares tightly, then freeze up to 2 months. Thaw overnight in the fridge or for about an hour at room temp.

Common Questions

Why did my cocoa fudge turn grainy?

Graininess usually comes from sugar crystals that did not fully dissolve or from stirring once the mixture is boiling. Make sure the sugar is completely dissolved before the boil (no gritty feeling on the bottom), avoid scraping the sides while boiling, and beat only after the mixture cools a bit.

My fudge is too soft and will not set. What happened?

Most likely it was underboiled (or you are in a very humid kitchen). Next time, use one of the optional checks: aim for 234 to 238°F (soft-ball stage) or do the cold-water test. Also note that warm kitchens can make fudge seem soft longer. Give it extra time at room temperature, or chill briefly to firm.

My fudge is too hard or crumbly. What happened?

That is usually from overboiling (too hot or too long) or overbeating at the end. Pull it from the heat as soon as it hits soft-ball stage, and stop beating when it turns thicker and starts to lose its shine. Once it goes fully dull and stiff, it can tip into crumbly fast.

Can I make cocoa fudge without corn syrup?

Yes. This recipe does not use corn syrup. The key is dissolving the sugar well and not stirring during the boil.

Do I have to use evaporated milk?

No. This version uses whole milk. Evaporated milk can work, but it changes the flavor and richness. Stick to the recipe the first time, then experiment.

How do I know when it boiled long enough without a thermometer?

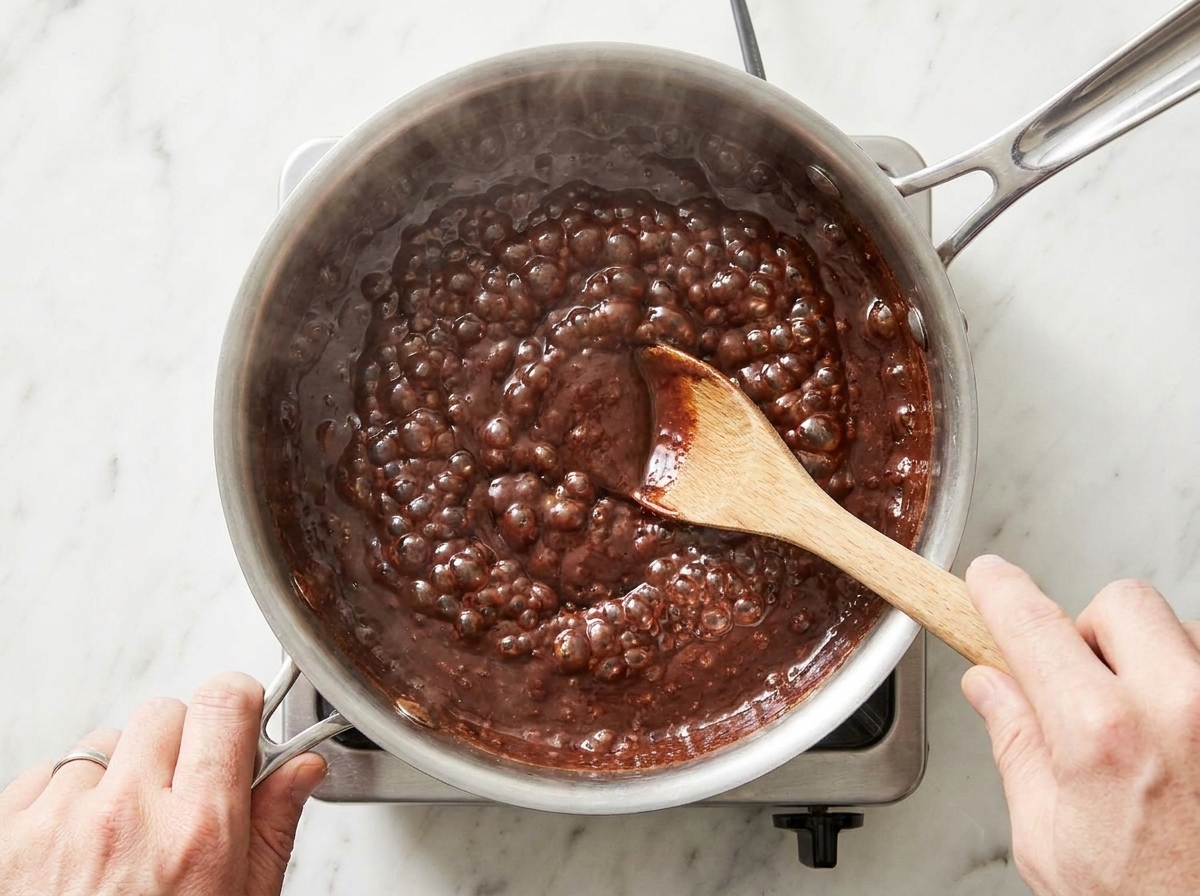
After it reaches a full rolling boil (vigorous bubbles across the entire surface that do not stop when you stir), stop stirring. Once the boil is steady, start timing and boil for 4 minutes, gently swirling the pot once or twice if needed. For a fail-safe, use the soft-ball test: drop a small bit into cold water. If it forms a soft ball you can pick up and flatten between your fingers, you are there.

When should I start beating the fudge?

After the boil, let it sit undisturbed until the bottom of the pot feels just warm, not hot, usually 5 to 10 minutes depending on your pot and stove. If you use a thermometer, start beating around 150°F. Then beat until thickened and slightly less glossy.

Can I add nuts or mix-ins?

Absolutely. Stir in the vanilla first, then beat until the fudge just starts to thicken. Fold in up to 3/4 cup chopped toasted pecans or walnuts at the end. For mini marshmallows, use 1 cup and fold them in after the fudge has started thickening so they stay distinct instead of melting into the mixture.

Any tips for altitude or humid weather?

Yes. At higher altitude, soft-ball stage happens at a slightly lower temperature because water boils at a lower temperature. Start checking early and use the cold-water test as your main guide. On humid days, setting can take longer, so be patient before declaring it a flop.

I love recipes like this because they feel like real-life cooking, not a performance. I learned early that fudge is basically a timing game and a self-control game. You have to let it do its thing, then you swoop in at the end and stir like you mean it. The first time I made cocoa fudge, I cut into it too soon and it tried to become frosting. Still delicious, still gone in a day, but not exactly squares. Now I just line the pan, set a timer, and let the fudge set while I clean the one pot I used. Low drama, maximum payoff.