Mom's Best Recipes
Recipe

Crispy Cheese Knafeh

Crunchy kataifi, stretchy cheese, and a bright orange blossom syrup that makes the whole pan smell like a bakery.

Author By Matt Campbell
4.8
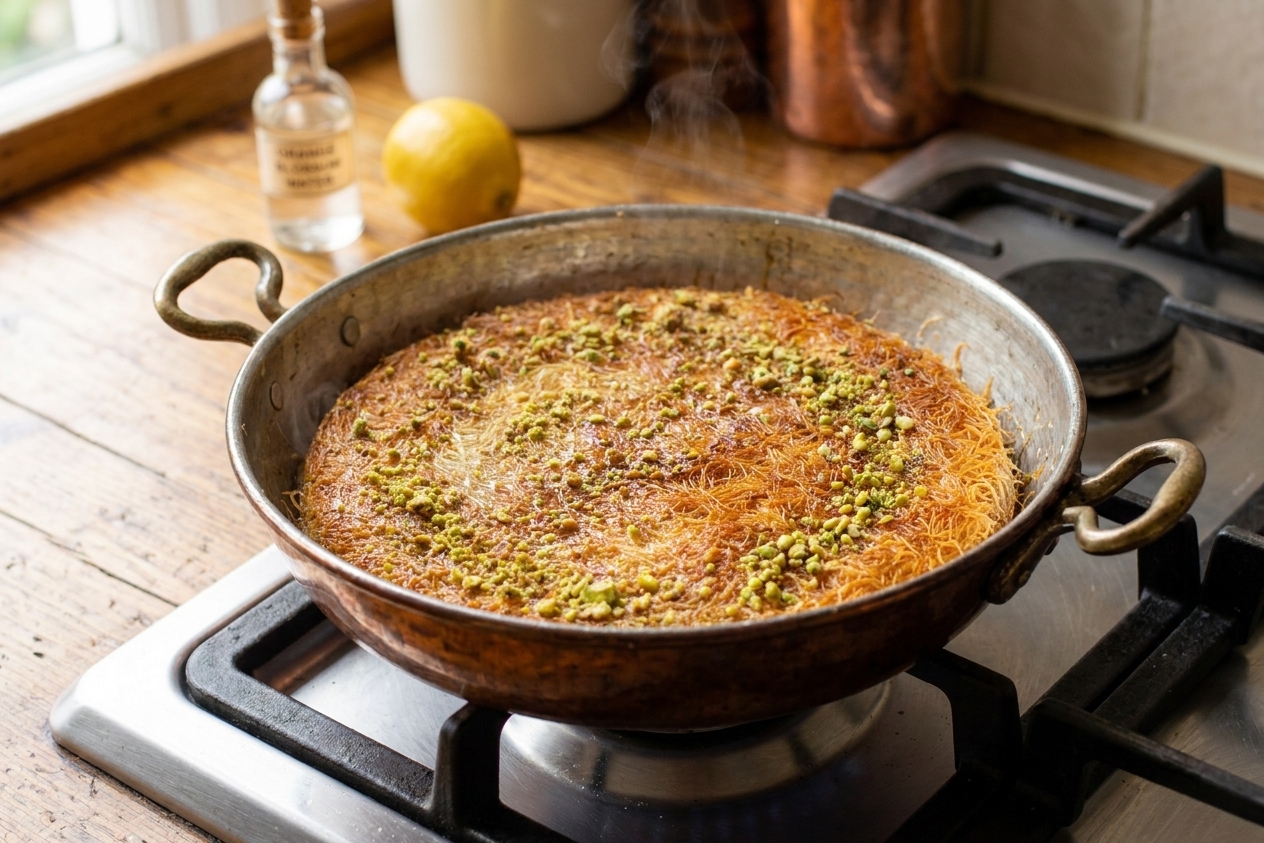
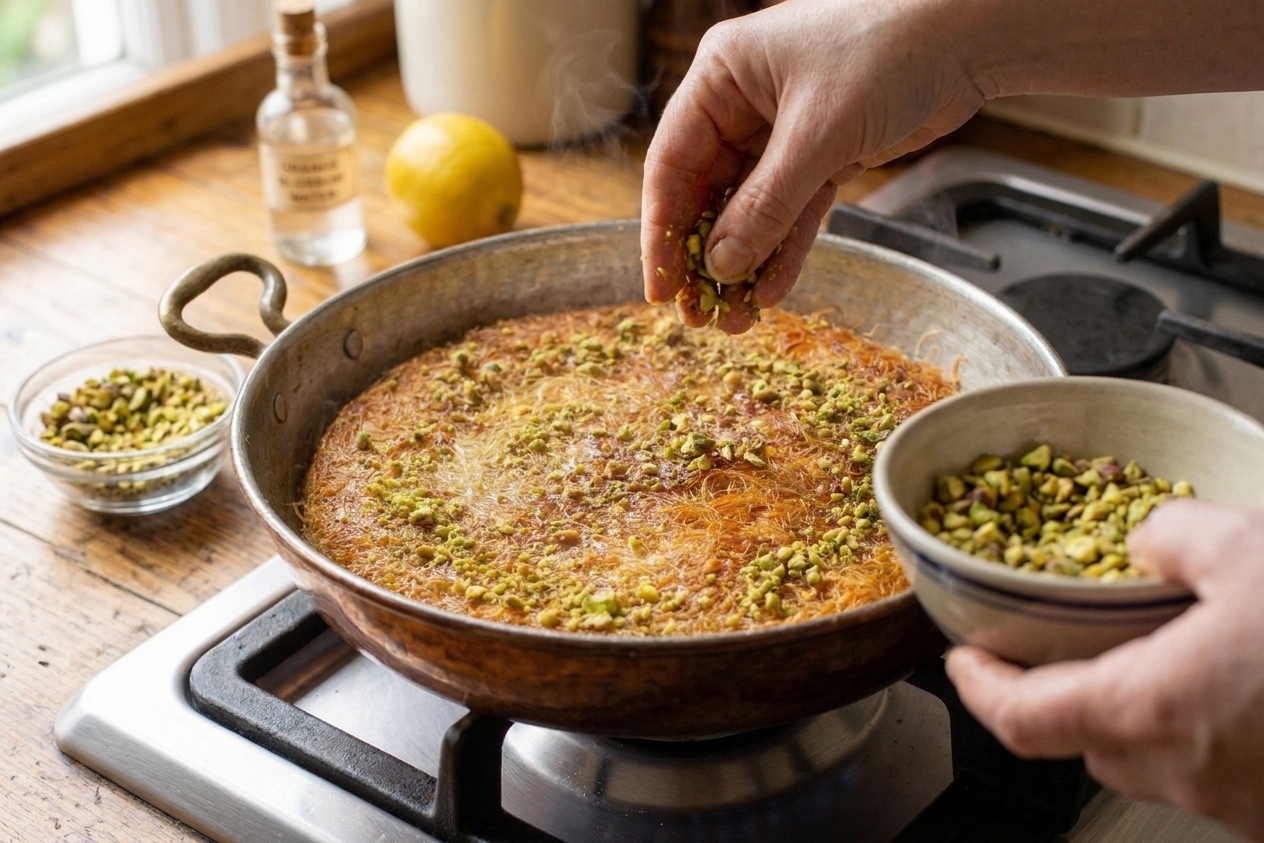
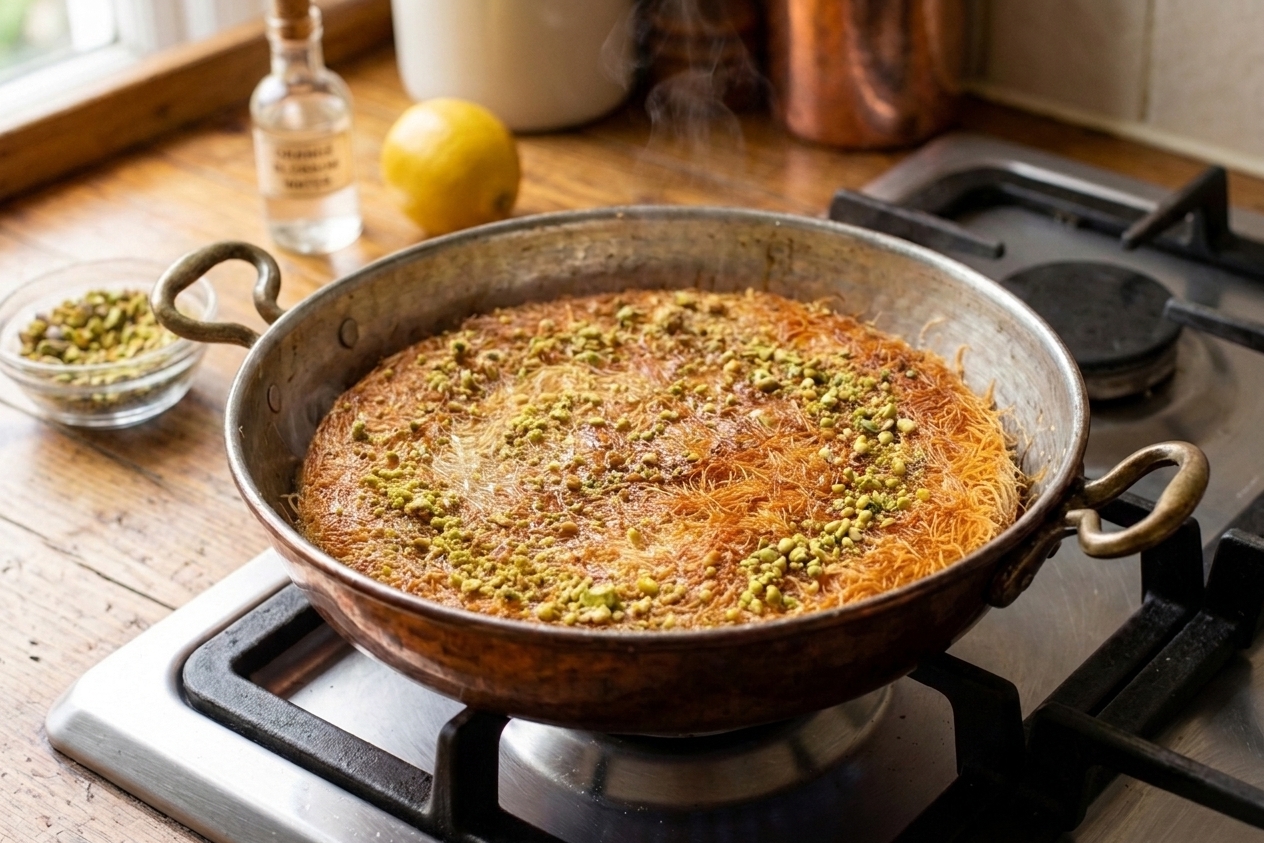
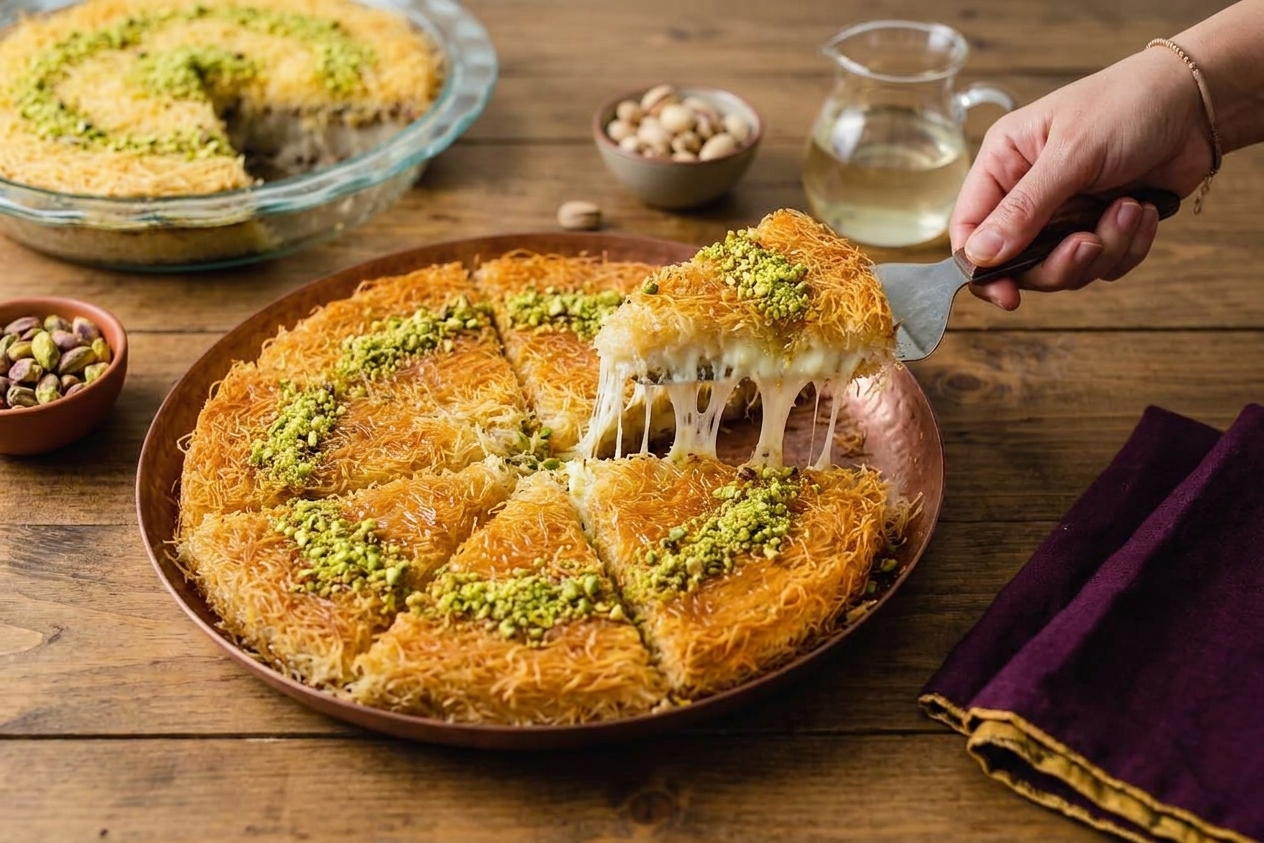
A round pan of golden, crispy cheese knafeh topped with chopped pistachios, photographed on a warm kitchen counter with soft natural light

Knafeh is one of those desserts that feels like a magic trick. You start with a pile of shredded phyllo that looks like it belongs in a craft drawer, add a layer of cheese that seems way too simple to be special, and then you pour on syrup and suddenly you’re holding a crispy, gooey, buttery, fragrant masterpiece.

This is my home-kitchen version, built for maximum crunch and that classic stretchy cheese pull, without requiring you to hunt down a specialty bakery. The vibe is: crisp edges, cozy sweetness, and just enough orange blossom water to make you pause mid-bite and go, okay wow.
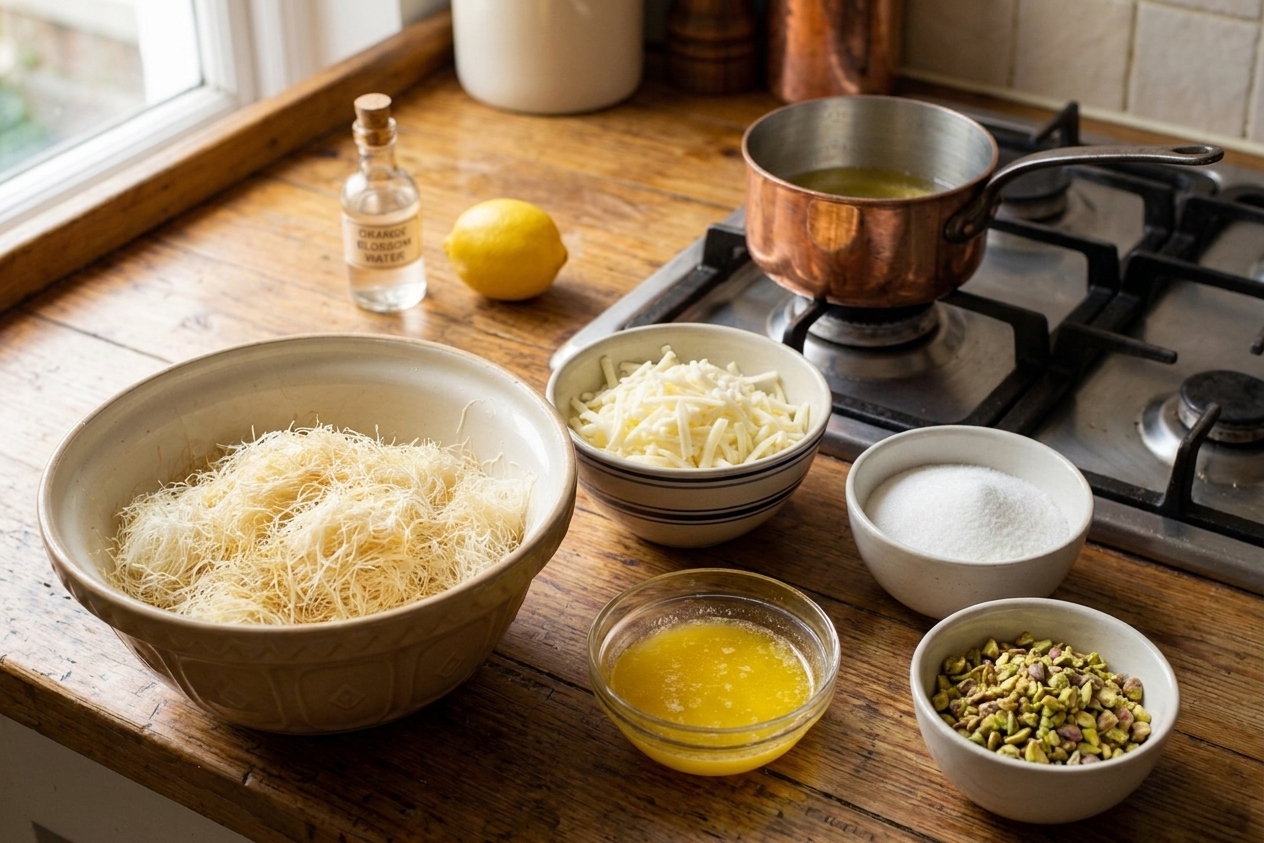
Bowls of shredded kataifi dough, shredded mozzarella, melted butter, sugar, lemon, orange blossom water, and pistachios arranged on a kitchen counter ready to cook

Why It Works

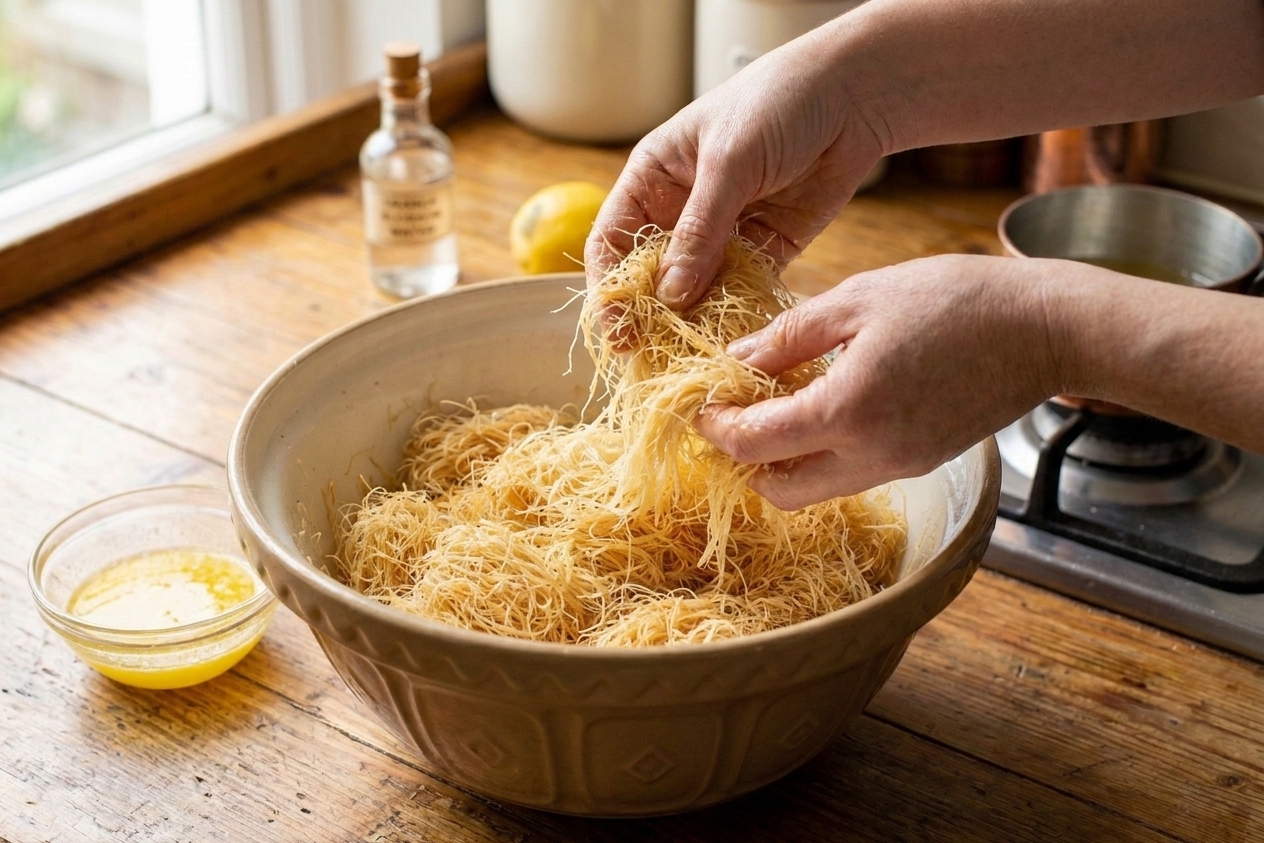
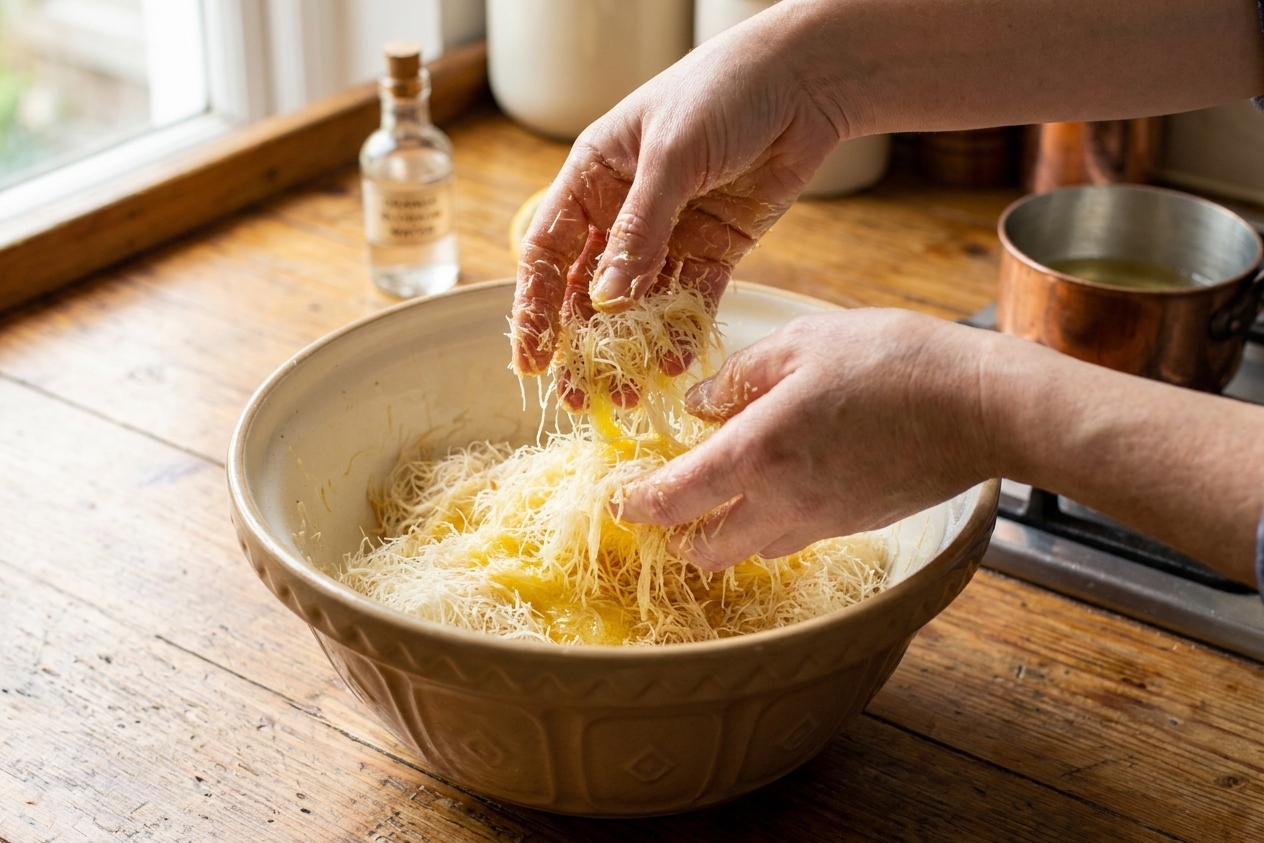
  • Crunch without chaos: Tossing the kataifi with melted butter and a pinch of sugar helps it brown evenly and get that shattering top and bottom.
  • Cheese that actually melts: Low moisture mozzarella gives you the classic pull. A little ricotta (optional) keeps the center creamy, not rubbery.
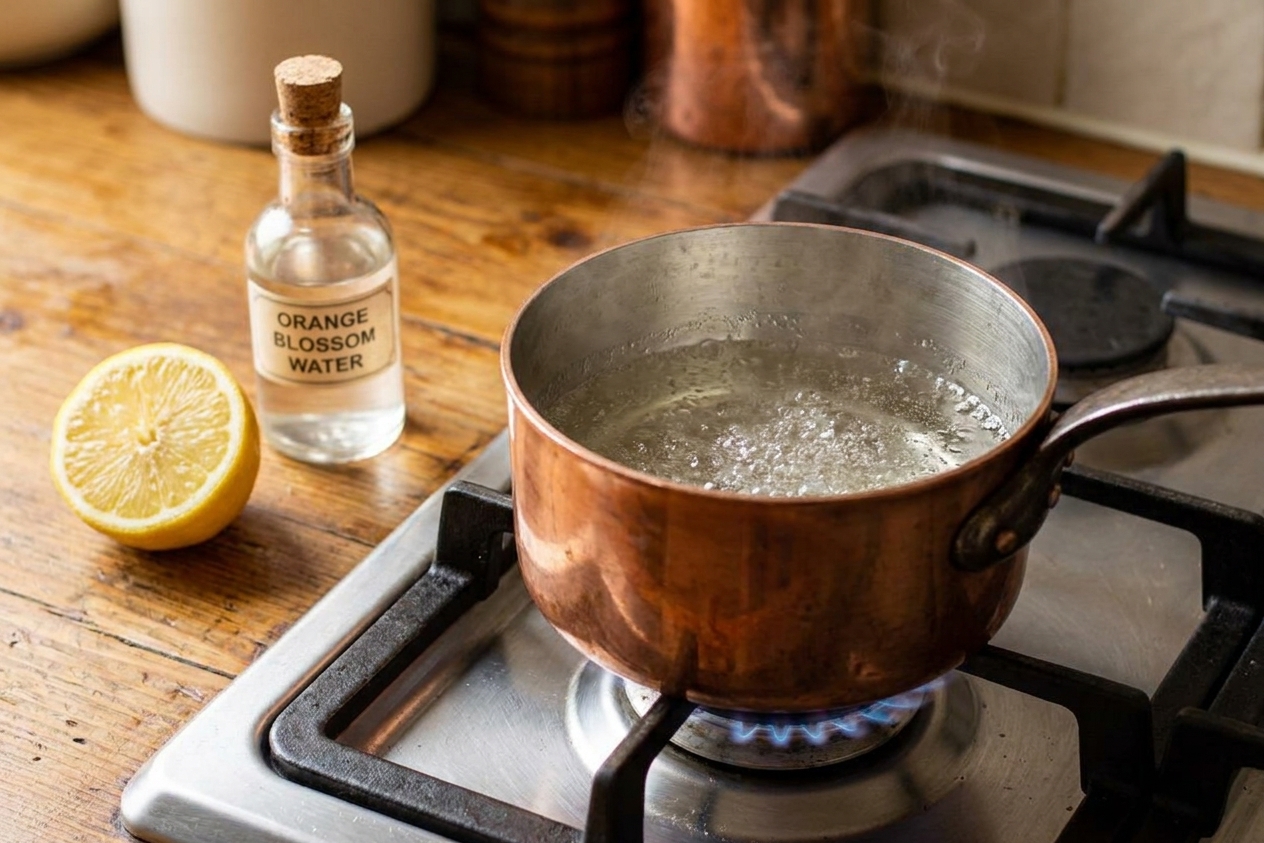
  • Syrup with balance: Lemon keeps it from tasting flat-sweet, and orange blossom water adds that signature knafeh aroma.
  • Two paths to crispy: Bake it for ease, or do the flip method for extra crisp on both sides. You’ve got options.

Pairs Well With

Storage Tips

Knafeh is best the day it’s made, while the kataifi is still loud and crunchy. But leftovers are absolutely worth saving.

Refrigerate

Cool completely, then cover tightly or transfer to an airtight container. Refrigerate for up to 3 days.

Reheat (best method)

To bring back the crisp, reheat until the center is hot and the outside is re-crisped.

  • Oven: 350°F for 10 to 15 minutes on a sheet pan or in an oven-safe skillet, or until hot and crisp again.
  • Air fryer: 325°F for 5 to 7 minutes for smaller pieces, or until crisped to your liking.

Microwave works in a pinch, but it softens the kataifi.

Freezing

I don’t love freezing fully syrup-soaked knafeh because the texture turns soft. If you want to plan ahead, freeze the assembled, unbaked knafeh (wrapped well) up to 1 month. For best texture, thaw overnight in the fridge and keep it covered so the kataifi doesn’t dry out, then bake and add warm syrup at the end.

Common Questions

What cheese is best for knafeh?

Traditional versions use cheeses like nabulsi or akkawi. If you’re using those, they’re often quite salty, so a quick soak in water (then drain well) helps keep your knafeh from tasting like a salt lick. For a grocery-store friendly swap, use low moisture mozzarella for stretch. If you want it a little creamier, mix in a small amount of whole milk ricotta.

Do I need orange blossom water or rose water?

Need, no. Recommend, yes. It’s the difference between “sweet buttery noodles” and “oh, this is knafeh.” Use orange blossom water for a classic floral-citrus vibe, or rose water for a more perfumed finish. Start small. You can always add a tiny splash to the syrup after tasting.

Where do I find kataifi dough?

Look in the freezer section near phyllo dough, often at Middle Eastern or Mediterranean markets. It might be labeled kataifi, kadaif, or shredded phyllo.

Why is my knafeh not crispy?

The usual culprits are: not enough butter coating the kataifi, heat too low, or adding too much syrup too early. Bake or cook until deeply golden, then pour warm syrup on hot knafeh and serve soon after.

Can I bake it instead of flipping in a skillet?

Yes, and it’s very beginner-friendly. Bake at 375°F until golden, then add syrup. You lose the dramatic flip moment, but you gain peace.

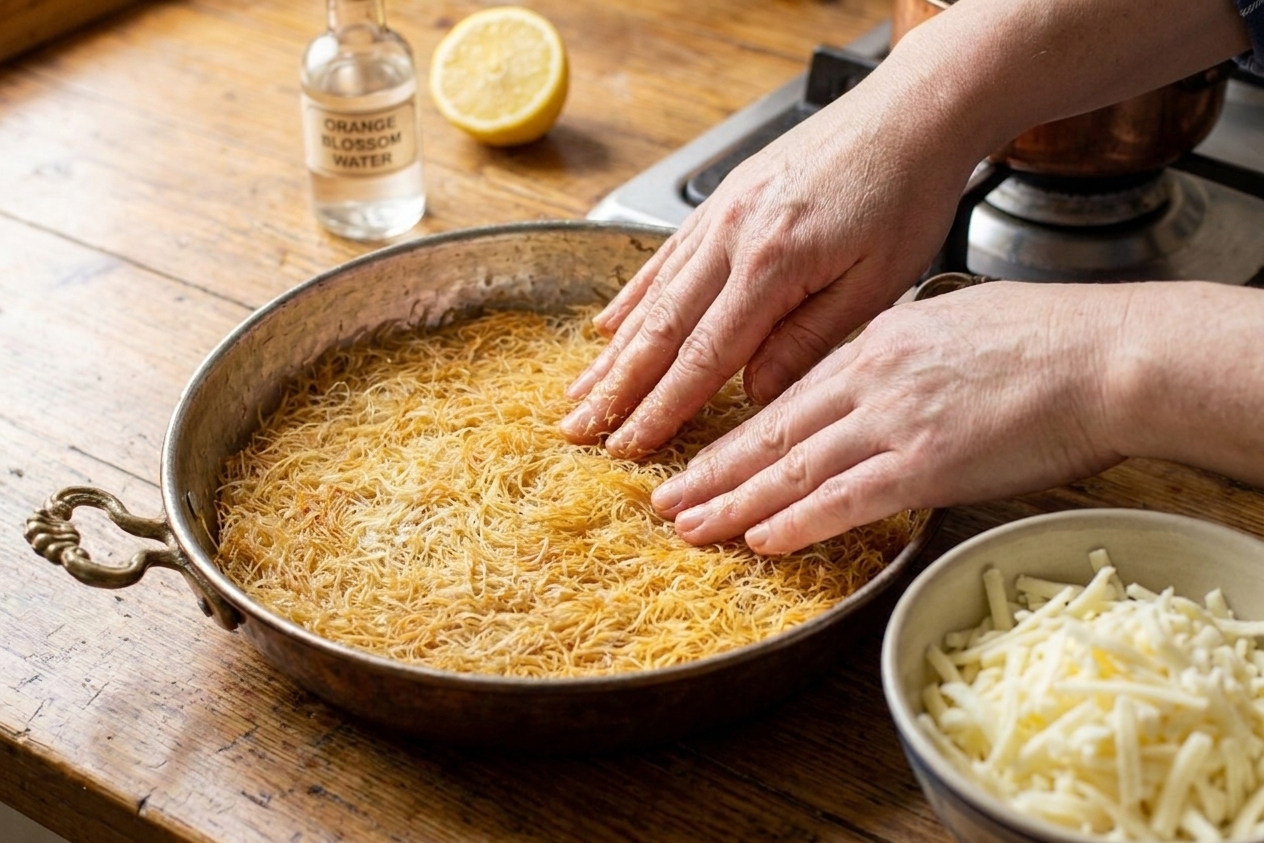
The first time I tried knafeh, I didn’t even pretend to have self-control. I went in thinking it would be like a sweet cheese pastry, then the crunch hit, then the syrup, then that stretchy cheese pull, and I was done for. Making it at home felt intimidating until I realized it’s basically a smart layering project: buttered shredded phyllo, cheese, heat, syrup. That’s it.

Now it’s one of my favorite “I want dessert to feel like an event” moves. It’s dramatic in the pan, forgiving in the details, and it makes people hover near the stove like they’re waiting for a magic trick to finish.