Mom's Best Recipes
Recipe

Crispy Pan-Fried Pierogies

Tender potato-cheddar pierogies with crisp, golden edges, buttery caramelized onions, and a sour cream finish.

Author By Matt Campbell
4.8
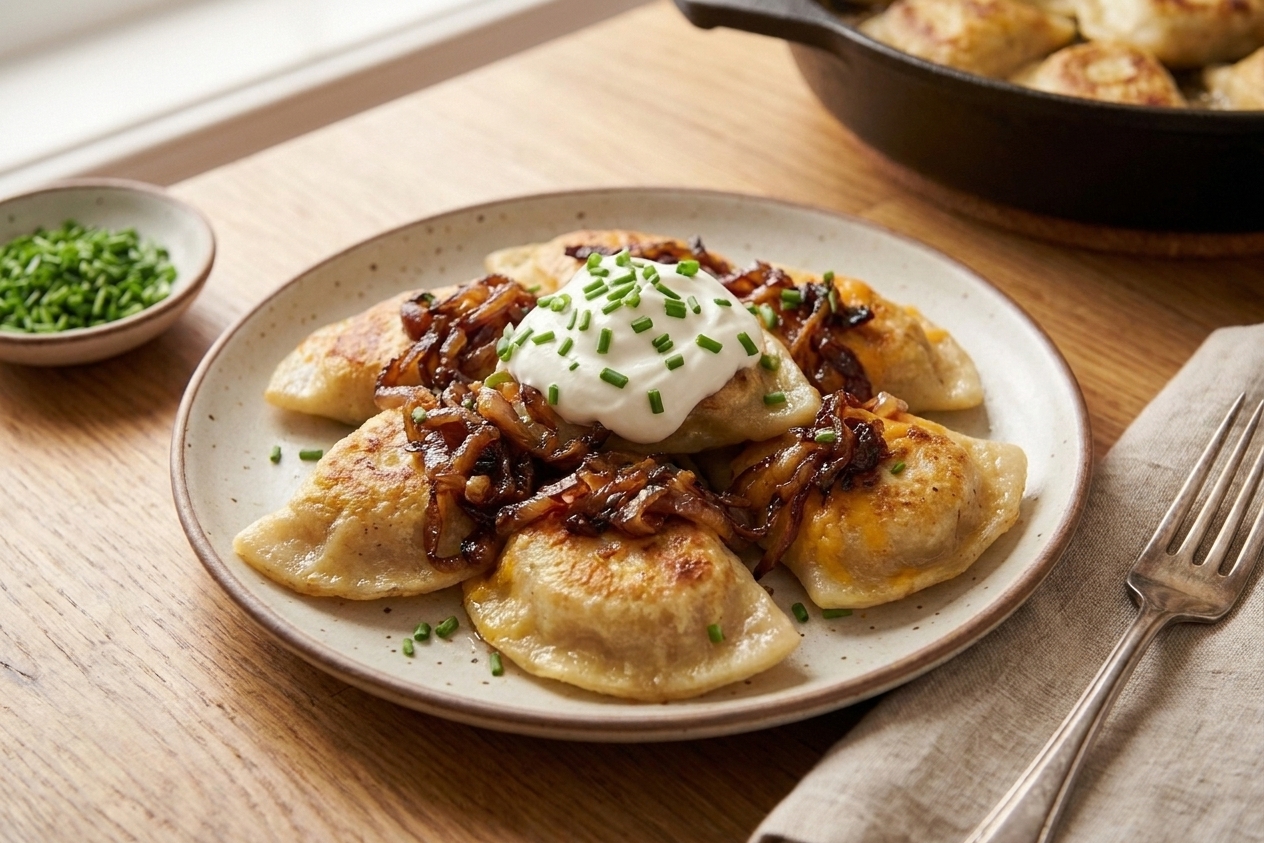
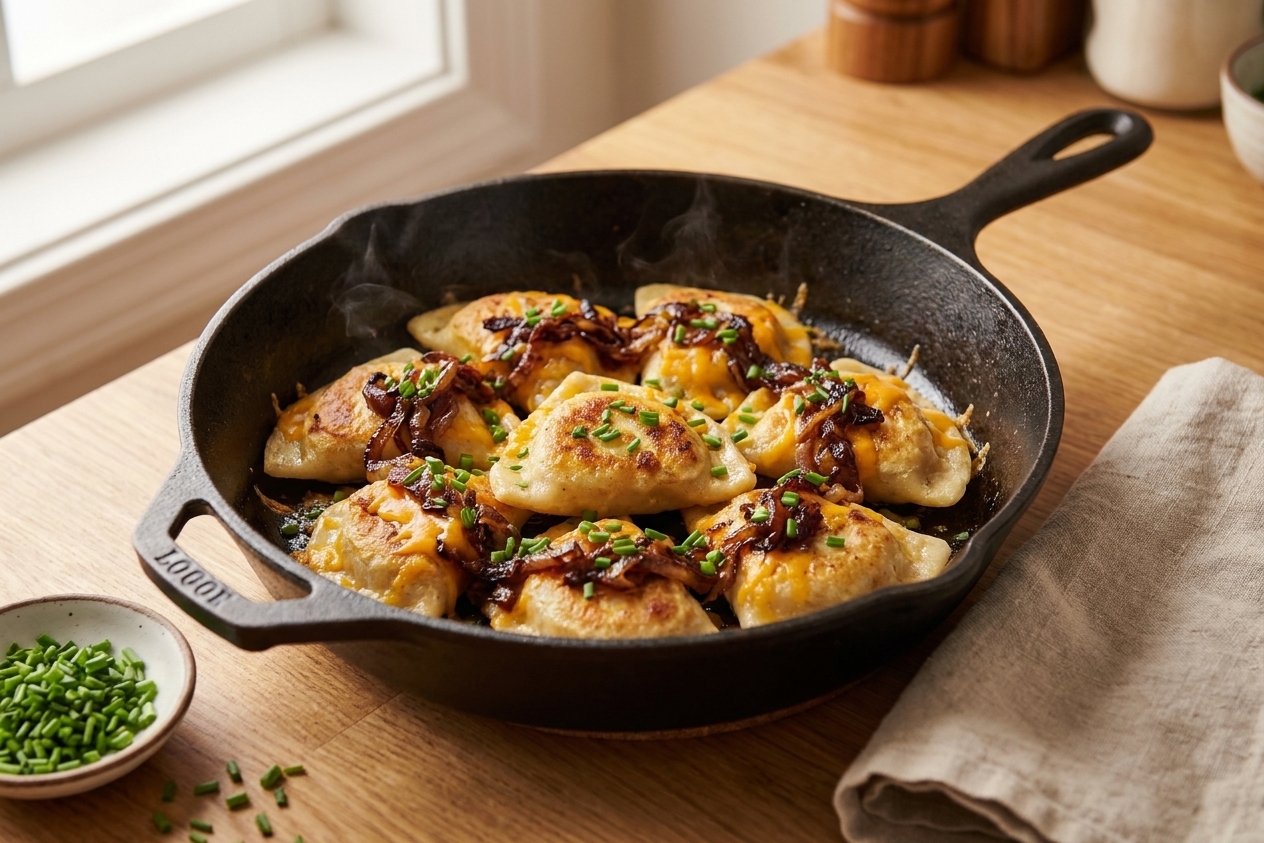
A cast iron skillet filled with golden pan-fried potato and cheddar pierogies topped with caramelized onions and chopped chives on a warm kitchen counter

Pierogies are one of those comfort foods that feel like a hug and a high five at the same time. Soft dough, cozy filling, and then the best part: you give them a quick boil, then hit them with a hot pan so the edges go crisp and golden. That contrast is everything.

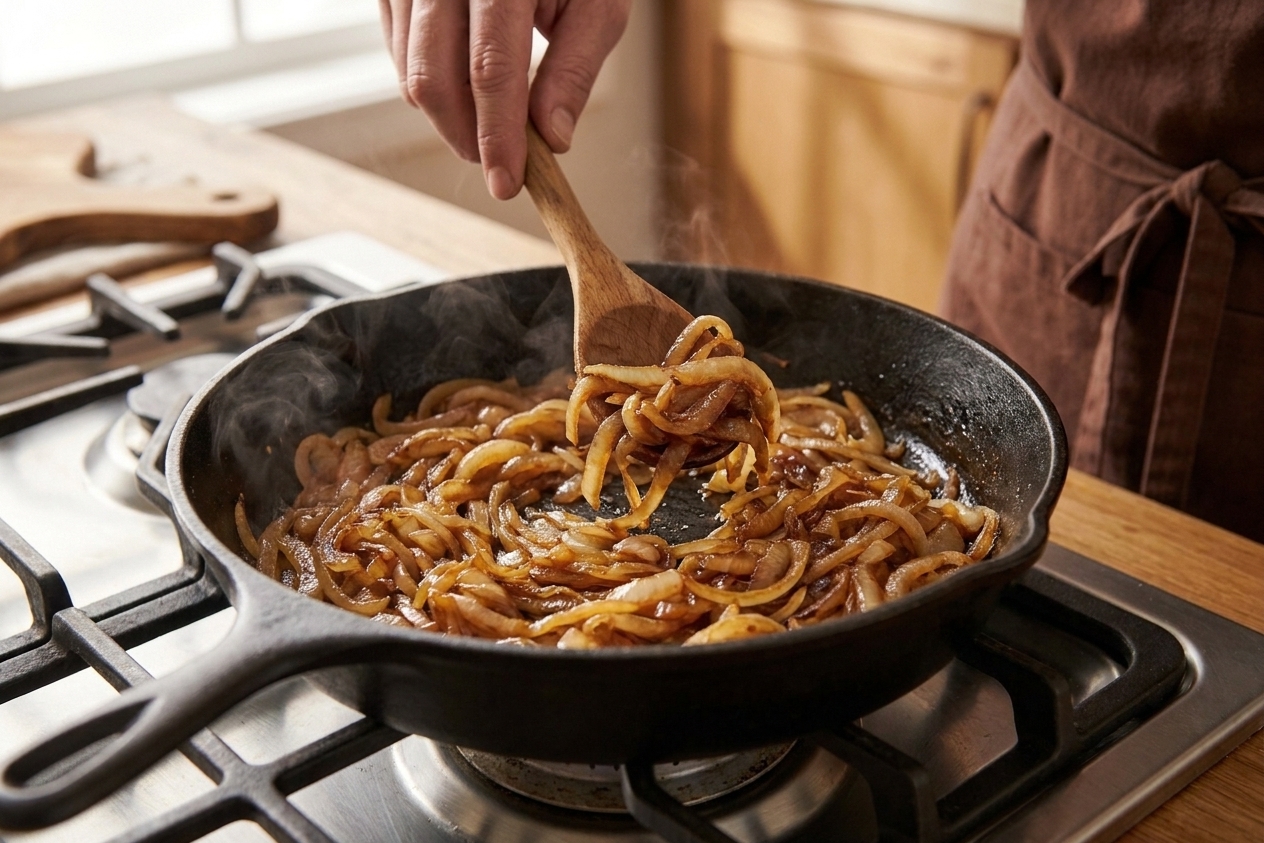
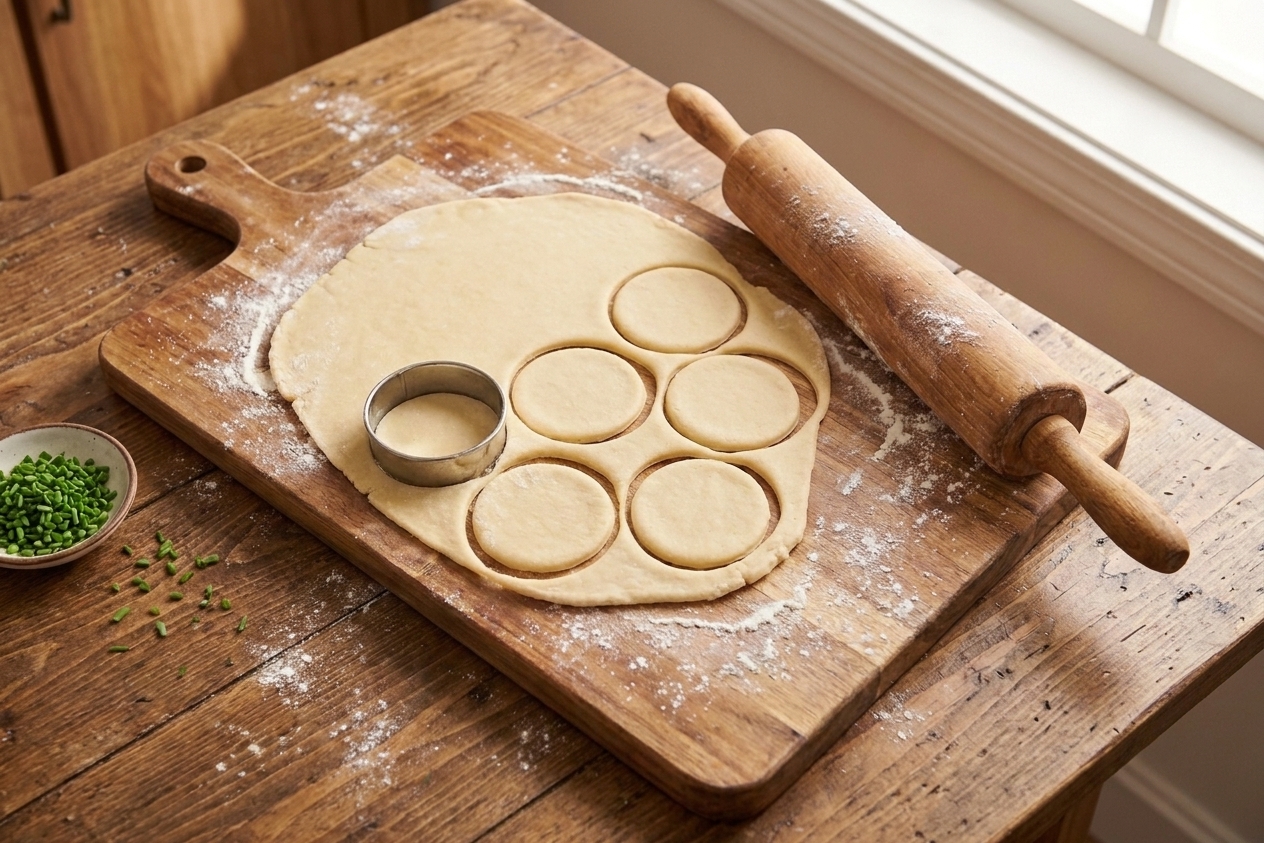
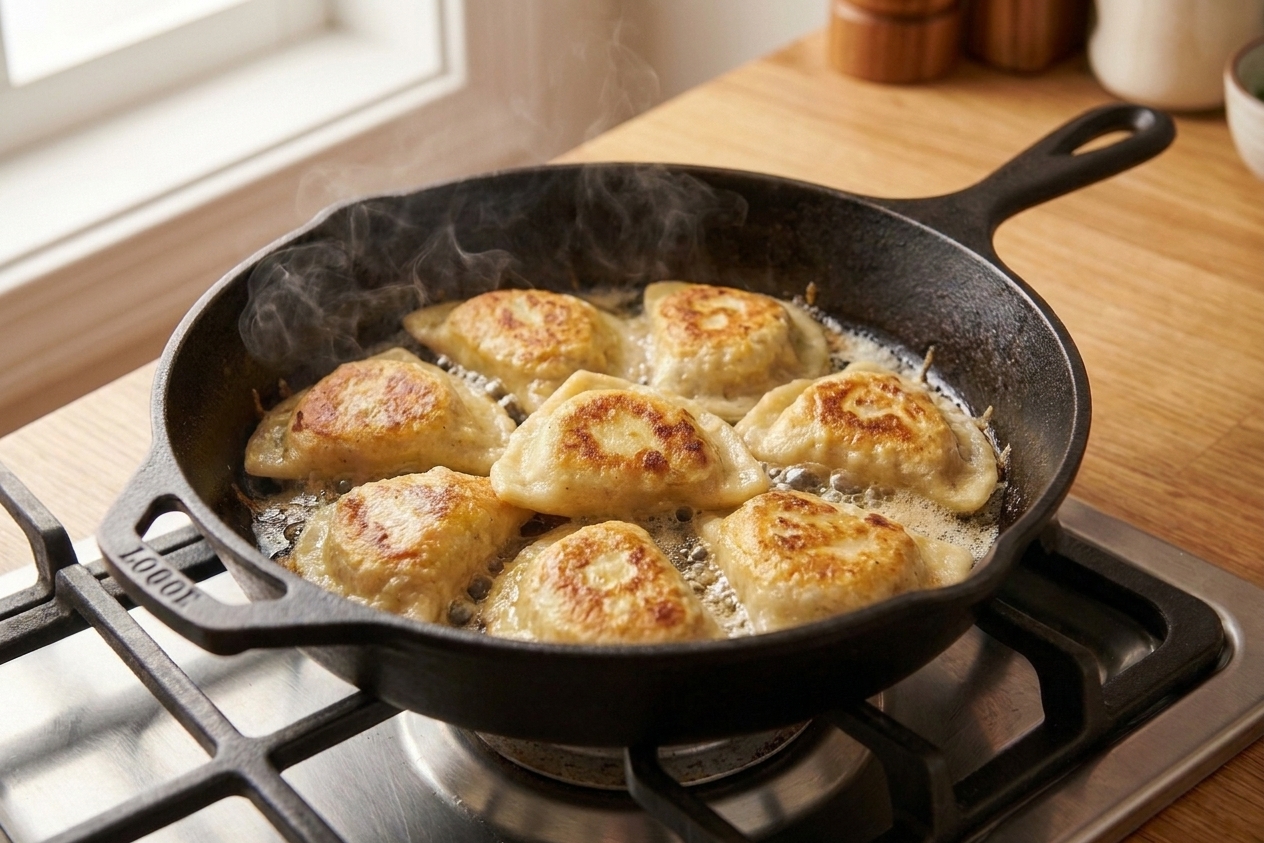
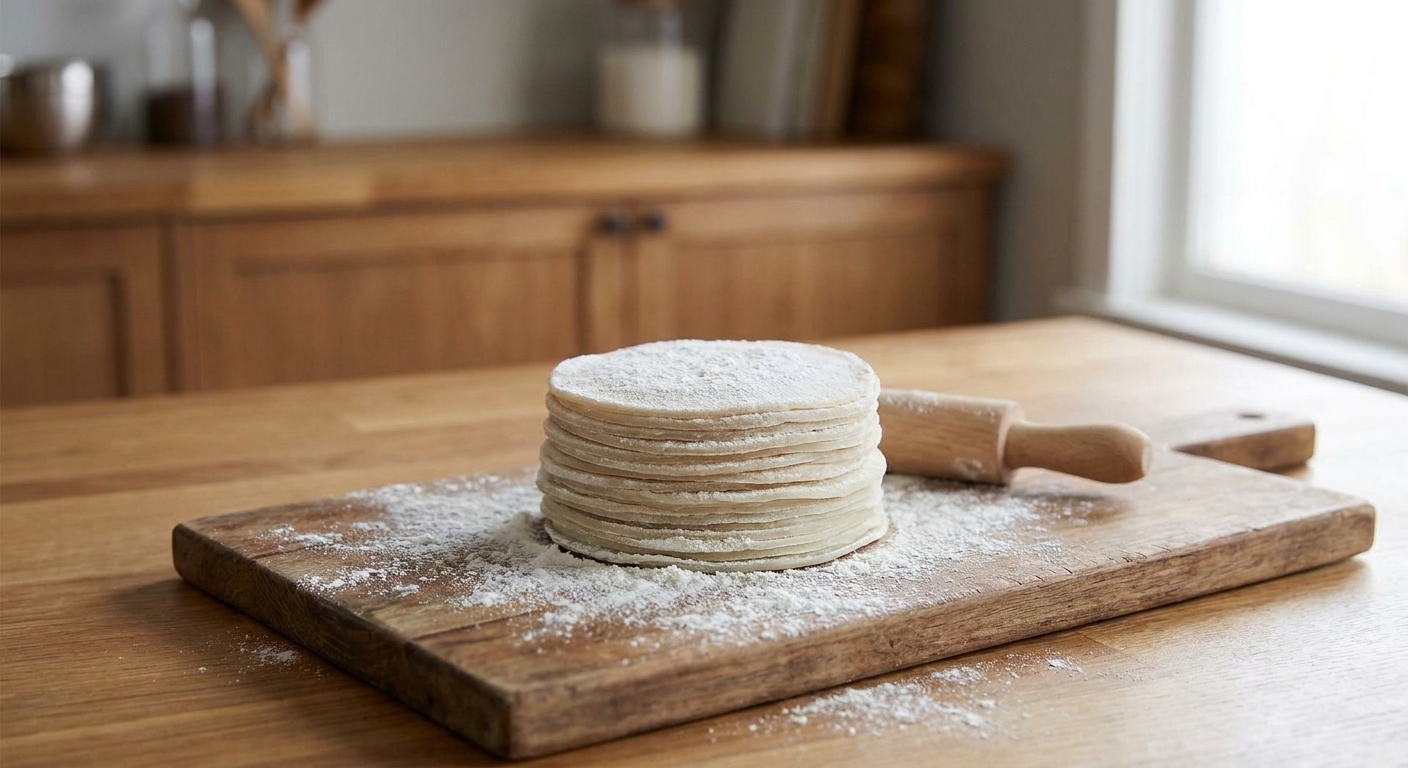
This version keeps the ingredients classic and easy to find: mashed potatoes, cheddar, onion, butter. Start the onions first, then let the rest overlap. While they caramelize, you can boil the potatoes and pull the dough together. By the time the dough has rested, you are rolling, filling, and feeling dangerously competent. Then we boil the pierogies and pan-fry them in butter until they get those browned corners that make you "accidentally" eat three before dinner.

Time note: The total time assumes a steady pace and some overlap. If this is your first pierogi rodeo, give yourself an extra 20 to 30 minutes for rolling, filling, and sealing. Totally normal.
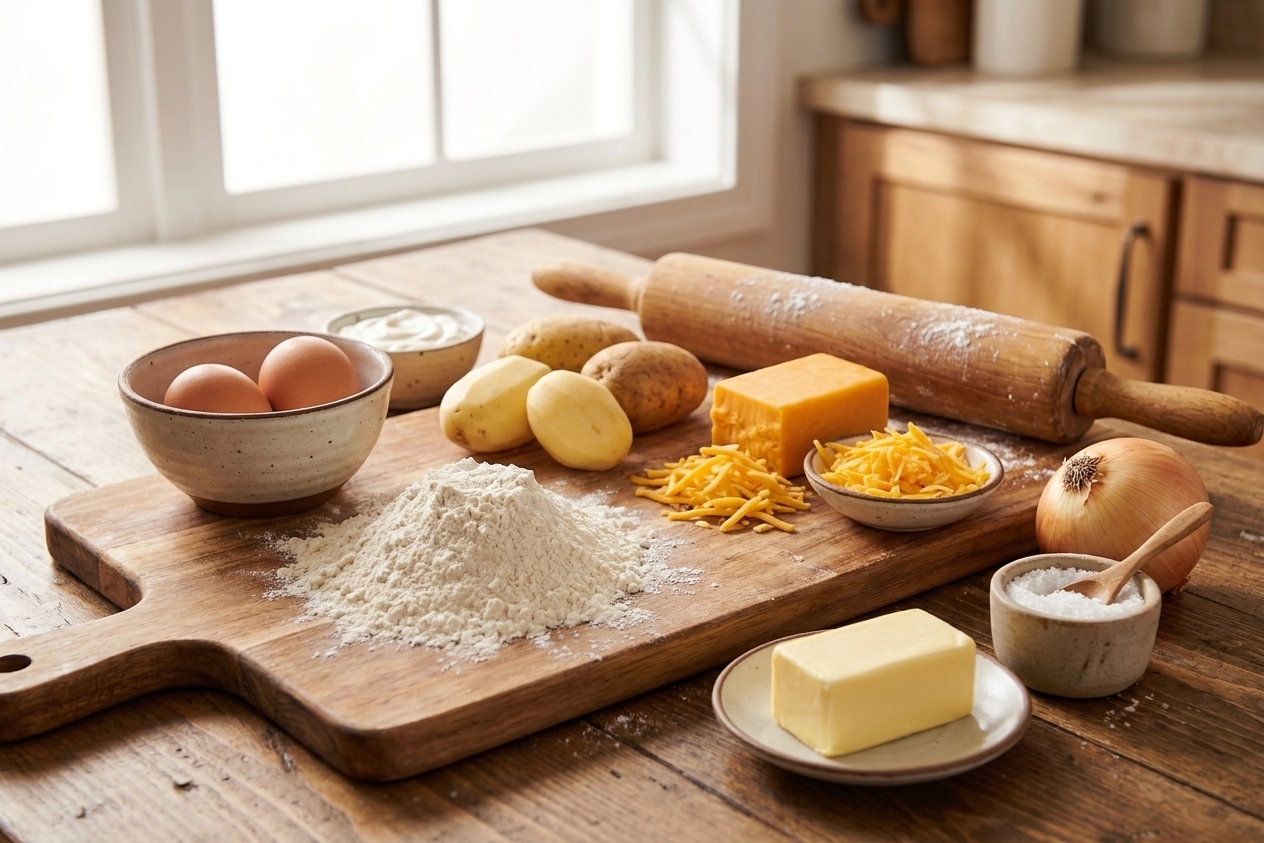
Flour, eggs, sour cream, potatoes, cheddar, onion, butter, and salt arranged on a bright kitchen counter with a wooden rolling pin

Why It Works

  • Crisp edges, tender centers: The boil-then-fry method gives you that perfect pierogi texture without drama.
  • Accessible ingredients: No specialty flour, no hard-to-find cheese, just pantry basics and a few fridge staples.
  • Make-ahead friendly: Freeze them after shaping or after boiling, then cook straight from frozen when you need an easy win.
  • Big flavor from simple moves: Caramelized onions and a buttery pan do most of the heavy lifting.

Pairs Well With

Storage Tips

Refrigerator

Store cooked pierogies in an airtight container for up to 4 days. Keep onions separate if you can, so they reheat better.

Freezer (best option)

To freeze uncooked: Place shaped pierogies on a parchment-lined sheet pan in a single layer and freeze until solid, then transfer to a freezer bag. Freeze up to 3 months.

To freeze boiled pierogies: Boil, drain well, then toss with a little oil or melted butter so they do not stick. Freeze the same way. This is my favorite for quick weeknights.

Reheating

  • Skillet: Best texture. Fry in butter or oil over medium heat until hot and crisp again.
  • Air fryer: 375°F for 6 to 10 minutes, shaking once, until warmed through and lightly crisp.
  • Microwave: Works in a pinch, but you will lose the crisp edges. Add a damp paper towel to prevent drying.

Common Questions

Do I have to use sour cream in the dough?

No, but it helps make the dough tender and easier to roll. If you do not have sour cream, use plain Greek yogurt or skip it and add a tablespoon or two of water as needed.

Why did my pierogies split open while boiling?

Usually one of three things: the seams were not sealed well, the dough was too dry and cracked, or the boil was too aggressive. Keep the water at a gentle boil, seal firmly, and cover the dough you are not rolling so it does not dry out.

Can I make these with leftover mashed potatoes?

Yes, and it is a great move. If your mashed potatoes are very loose or heavily seasoned, adjust by adding a bit more cheese for body and taste the filling before stuffing.

What is the best way to cook frozen pierogies?

Boil from frozen at a gentle boil until they float plus 1 minute. Stir gently for the first 30 seconds so they do not sink and stick, and do not overcrowd the pot. Then pan-fry in butter. If they are frozen after boiling, you can go straight to the skillet and cook a little longer over medium-low so the centers heat through.

What can I serve with pierogies besides sour cream?

Try crispy bacon bits, sautéed mushrooms, a quick garlicky spinach, or a bright side salad with lemony dressing to cut the richness.

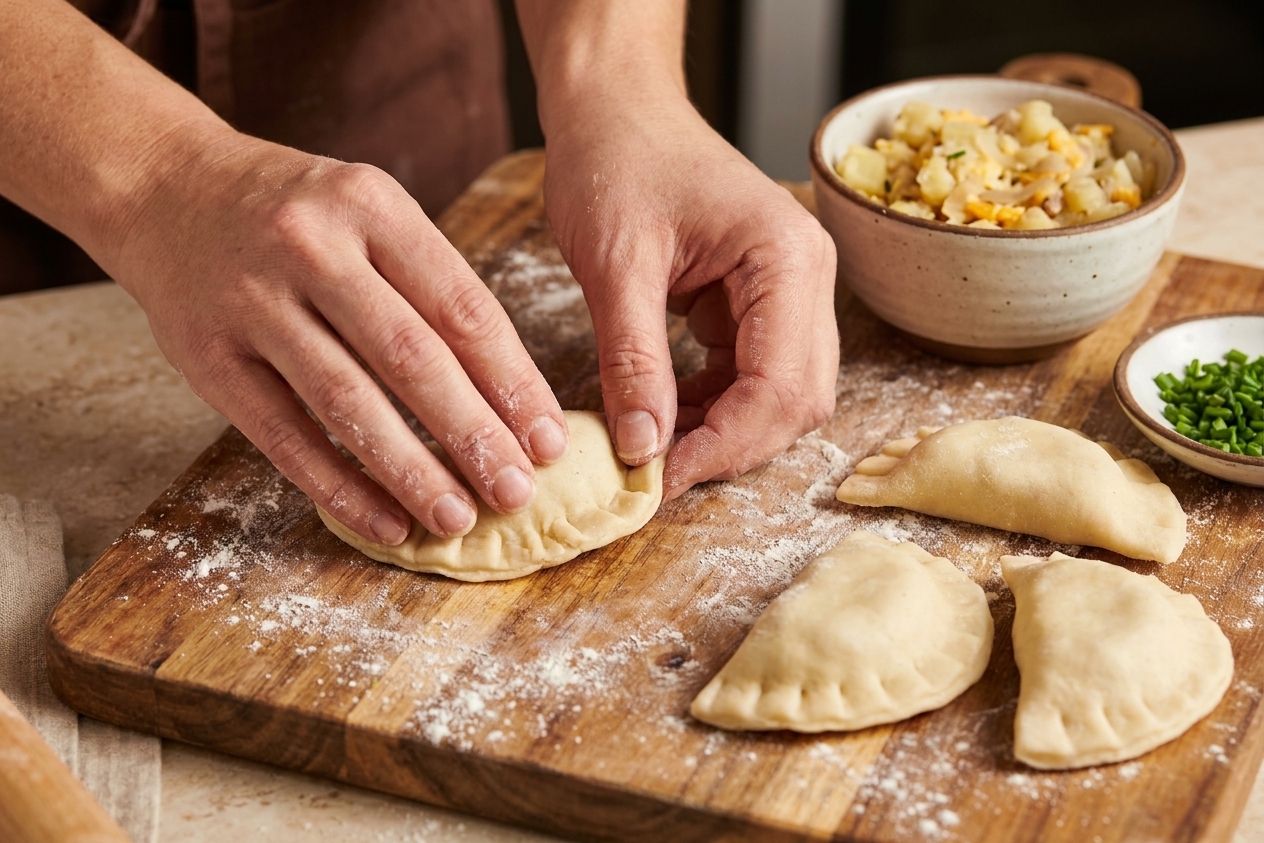
A pair of hands crimping the edge of a pierogi on a floured wooden board with other filled dumplings nearby

I used to think pierogies were a "special occasion only" project, like you needed a grandma, a whole afternoon, and a mysterious kitchen superpower. Then I made them once with a friend, flour everywhere, onions taking their sweet time on the stove, and suddenly it clicked: this is just dough plus filling plus a little patience. The first time I pan-fried a batch and heard that gentle sizzle, I knew I was going to be making these forever, especially on nights when I want comfort food that still has a little crunch and attitude.