Mom's Best Recipes
Recipe

Easiest No-Knead Bread

A 4-ingredient, no-knead loaf with a crisp crust and chewy center, baked in a Dutch oven for maximum “real bakery bread” vibes with minimum work.

Author By Matt Campbell
4.8 (1,246)
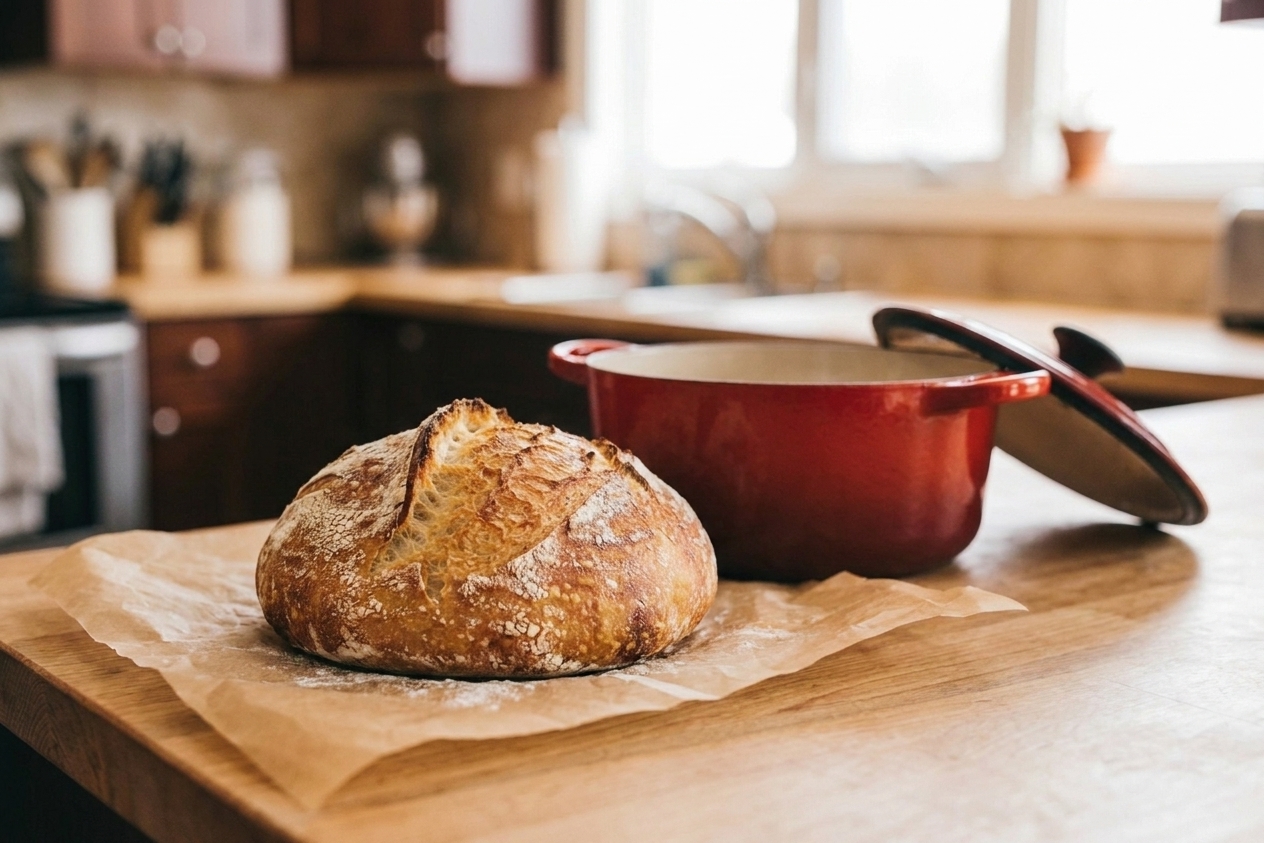
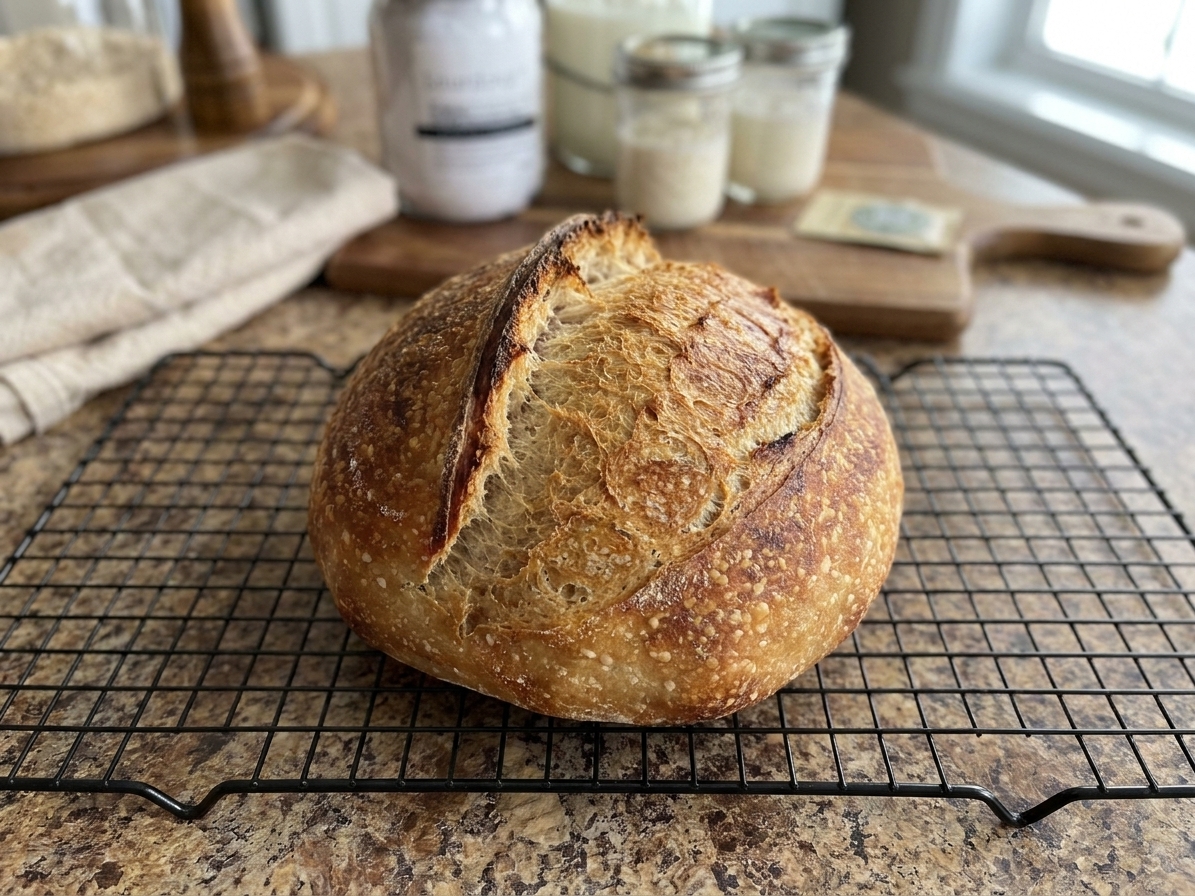
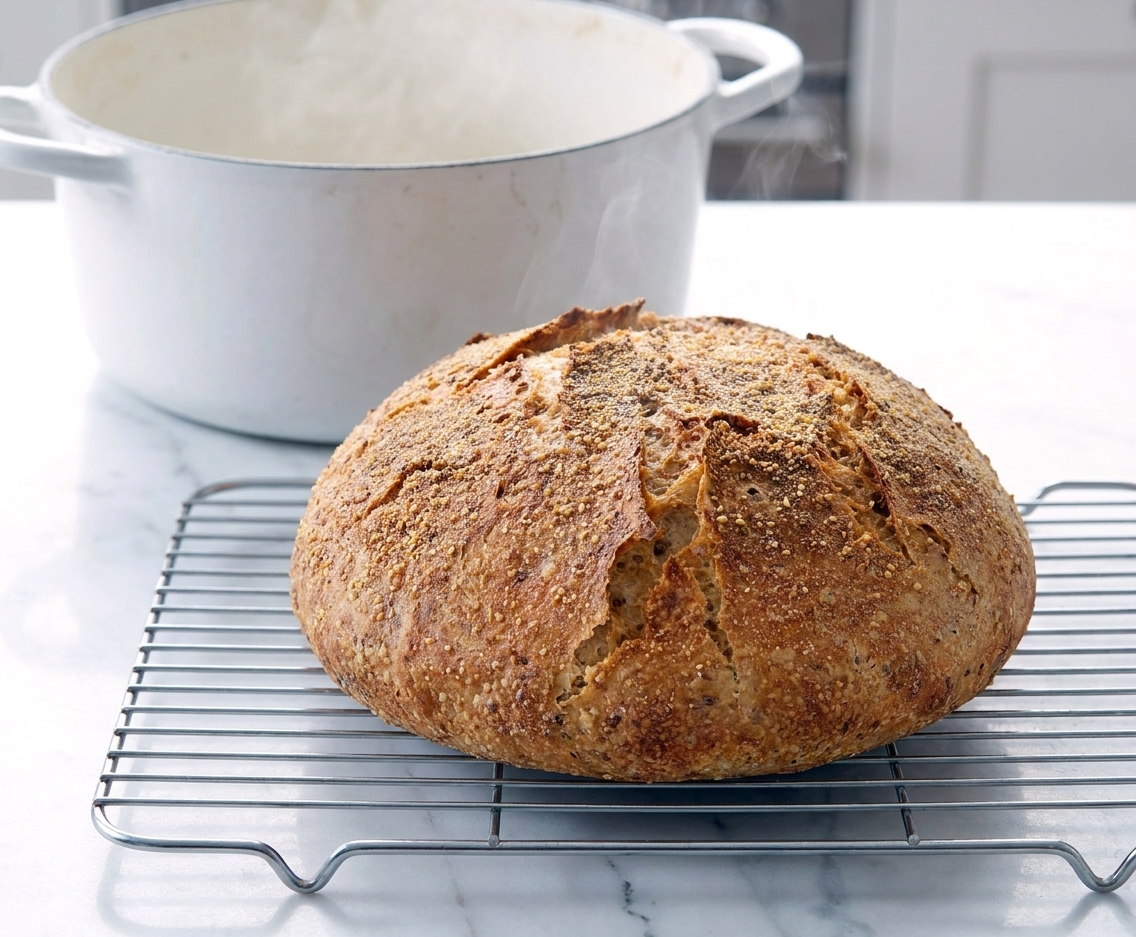
A golden brown no-knead round loaf with a crackly crust sitting on parchment paper beside an open cast iron Dutch oven on a clean kitchen counter in soft natural light

If you want the easiest bread that still feels like you pulled off a small miracle, this is the one. It is the loaf for people who love bread but do not love complicated bread feelings. No kneading. No stand mixer. No flour on your eyebrows unless that is your thing.

This recipe is basically: mix, wait, bake. The long rest does the heavy lifting, building flavor and structure while you live your life. Then the Dutch oven step gives you that crisp, crackly crust like the bakery, except you are in socks, possibly eating butter straight off the knife.

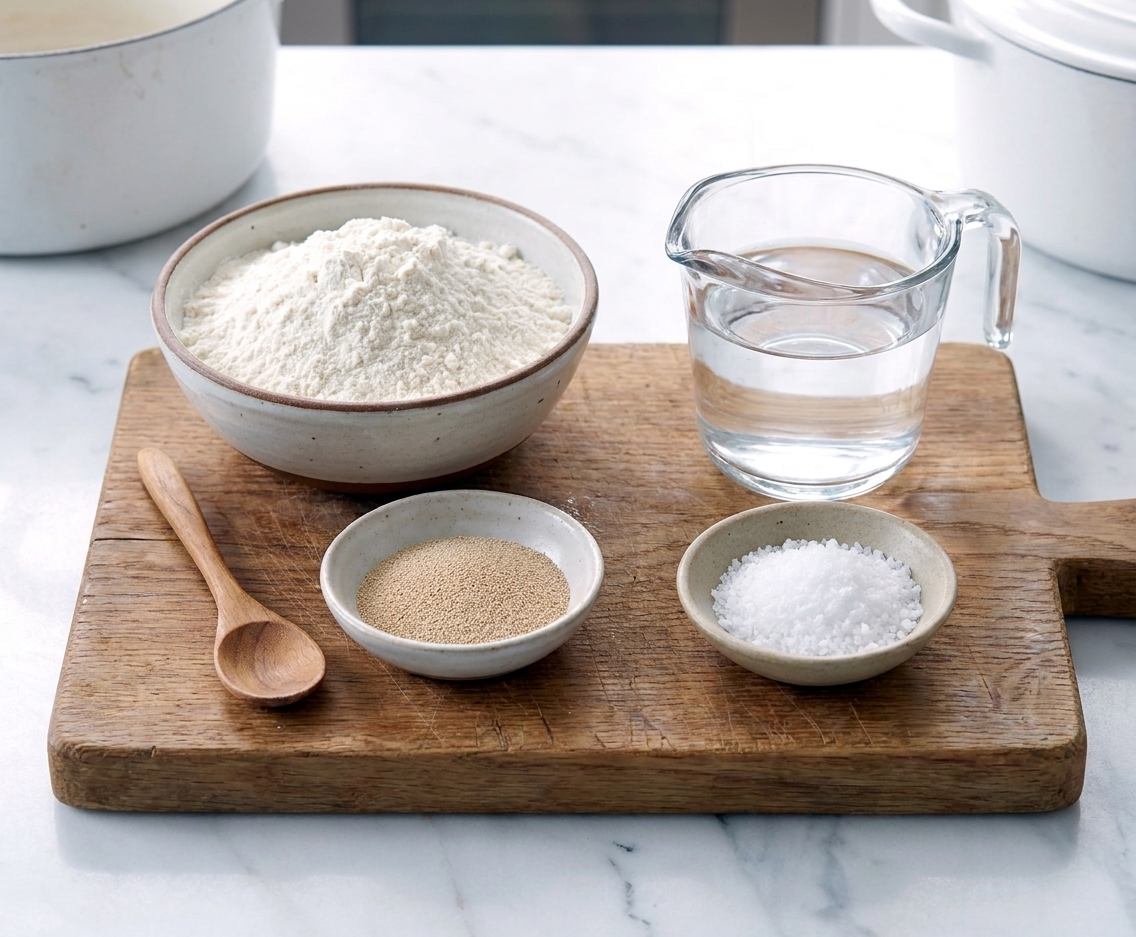
A wooden cutting board with bowls of flour, instant yeast, kosher salt, and a measuring cup of water arranged neatly on a bright kitchen counter

Below you will find the exact amounts, the why behind a few key steps, and some calm troubleshooting so your loaf comes out with crisp edges, cozy carbs, and a crumb that makes you pause mid-bite.

Why It Works

  • No kneading needed: time replaces effort. The slow rise develops gluten and flavor without you doing push-ups on dough.
  • Dutch oven magic: the covered pot traps steam, which helps the loaf rise higher and creates a glossy, crunchy crust.
  • Flexible schedule: you can let it rise overnight, then bake the next day when you have a window.
  • Accessible ingredients: flour, yeast, salt, and water. That is it. If you can stir, you can bake this.

Pairs Well With

Storage Tips

Day 1 and 2: Store the loaf cut-side down on a cutting board, or wrap loosely in a clean kitchen towel. This keeps the crust from turning sad and soft.

Up to 4 days: Move it to a paper bag, or a plastic bag that is not sealed tight. Airtight plastic will soften the crust fast, but can keep the interior from drying out. Choose your priority.

Freezing (best for leftovers): Slice the bread, then freeze slices in a zip-top bag. Toast straight from frozen for a near-instant bread moment.

Reviving a stale loaf: Give the outside of the loaf a very quick rinse under running water. Do not soak it, and if it is sliced, do not run water over the cut side. Bake directly on the oven rack at 350°F for 10 to 15 minutes until the crust re-crisps.

Common Questions

Do I need a Dutch oven?

No, but it makes the crust dramatically better and the rise more reliable. If you do not have one, use an oven-safe pot with a lid, or bake on a sheet pan with a deep roasting pan flipped over the top for the first part of baking to trap steam. Be careful with hot metal.

Instant yeast vs active dry yeast, does it matter?

This recipe works with either. With instant yeast, you can mix it right into the flour. With active dry yeast, you can still mix it into the flour, or dissolve it in the water first. If your kitchen is chilly, active dry may take a little longer to rise.

What room temperature works best?

68°F to 75°F is the sweet spot for the long rise. If your kitchen is warmer, the dough may be ready sooner. If it is cooler, give it more time. Go by the dough, not the clock.

Warm water for a long rise?

Warm water helps the yeast get moving, but for a 12 to 18 hour rise, room-temp water is also totally fine. If your kitchen runs warm, use cooler water to avoid the dough over-proofing while you sleep.

How wet should the dough be?

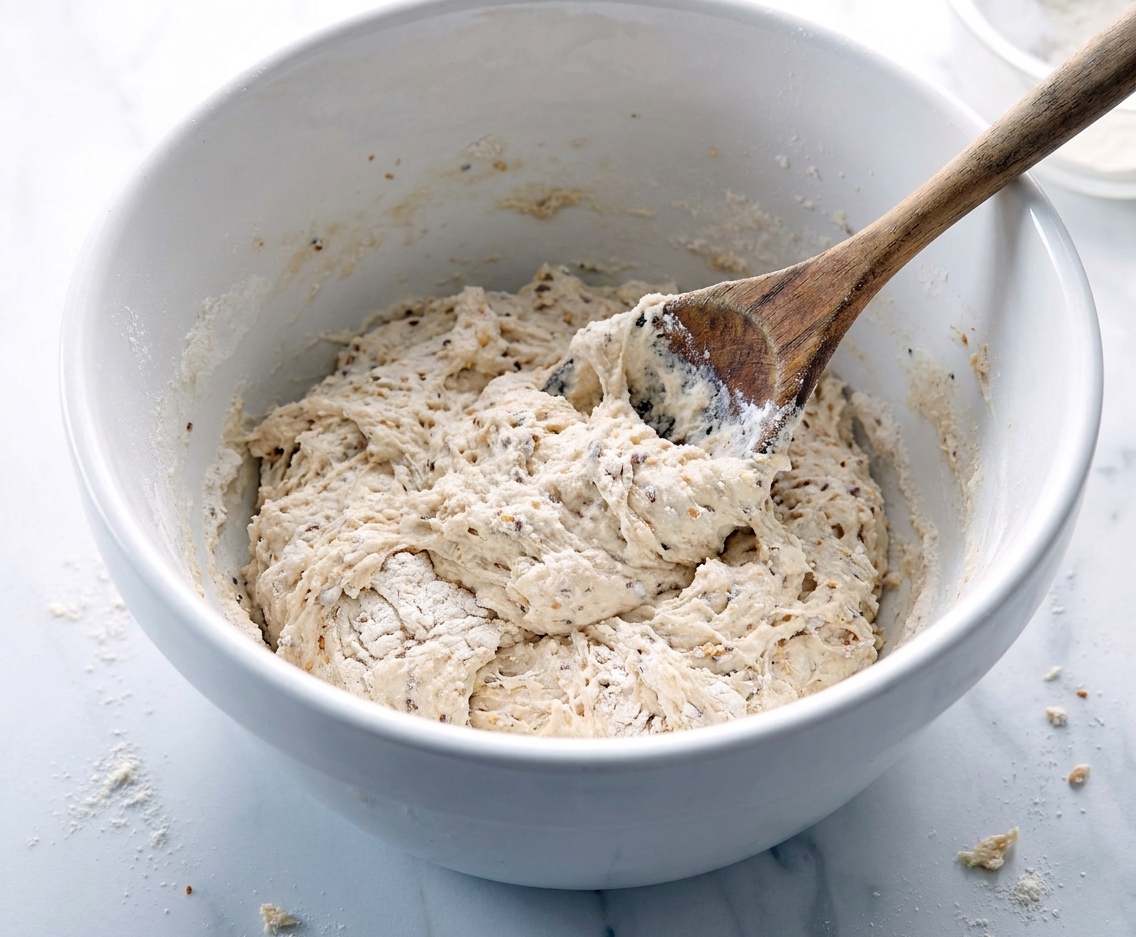
Pretty wet and shaggy. If it looks like a sticky mess, you are on track. If it is dry and stiff, add 1 to 2 tablespoons water and mix again.

Why is my bread dense?

Common causes: under-proofing (not enough rise time), cold kitchen slowing fermentation, or measuring too much flour. For best results, spoon flour into the measuring cup and level it, or use a kitchen scale.

Does it really need to double?

Not always. Some no-knead doughs do not fully double, and that is okay. Look for noticeable expansion, lots of bubbles, and a soft, slack, jiggly dough.

Can I make it same day?

Yes, if your room is warm. Aim for 4 to 6 hours for the first rise and make sure the dough looks puffy and bubbly. Flavor improves with a longer rest, but same-day bread still delivers.

Can I add herbs, cheese, or seeds?

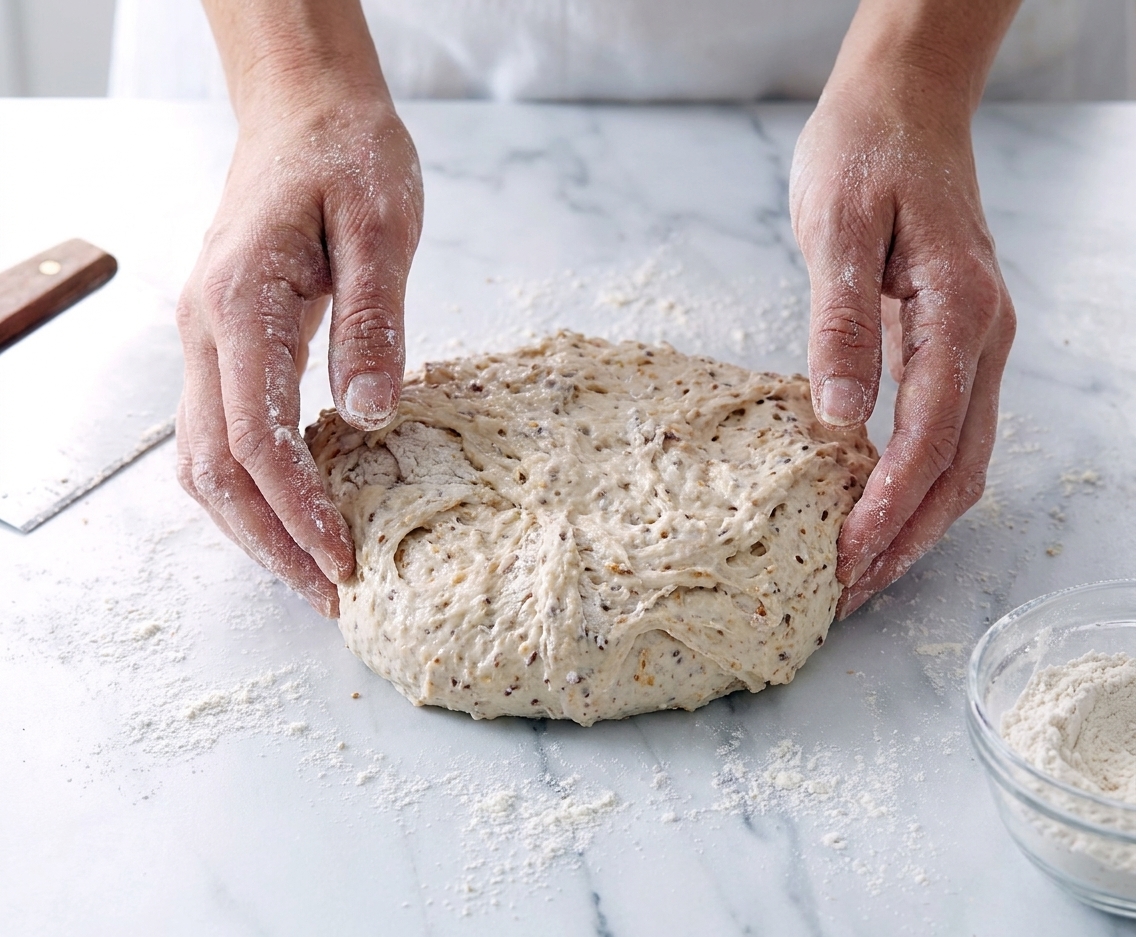
Absolutely. Add up to 1 cup total of mix-ins. For best distribution, fold them in while shaping. Note: salty cheeses like Parmesan can slightly slow fermentation, and wet add-ins (olives, sun-dried tomatoes) should be well-drained.

Is parchment safe at 450°F?

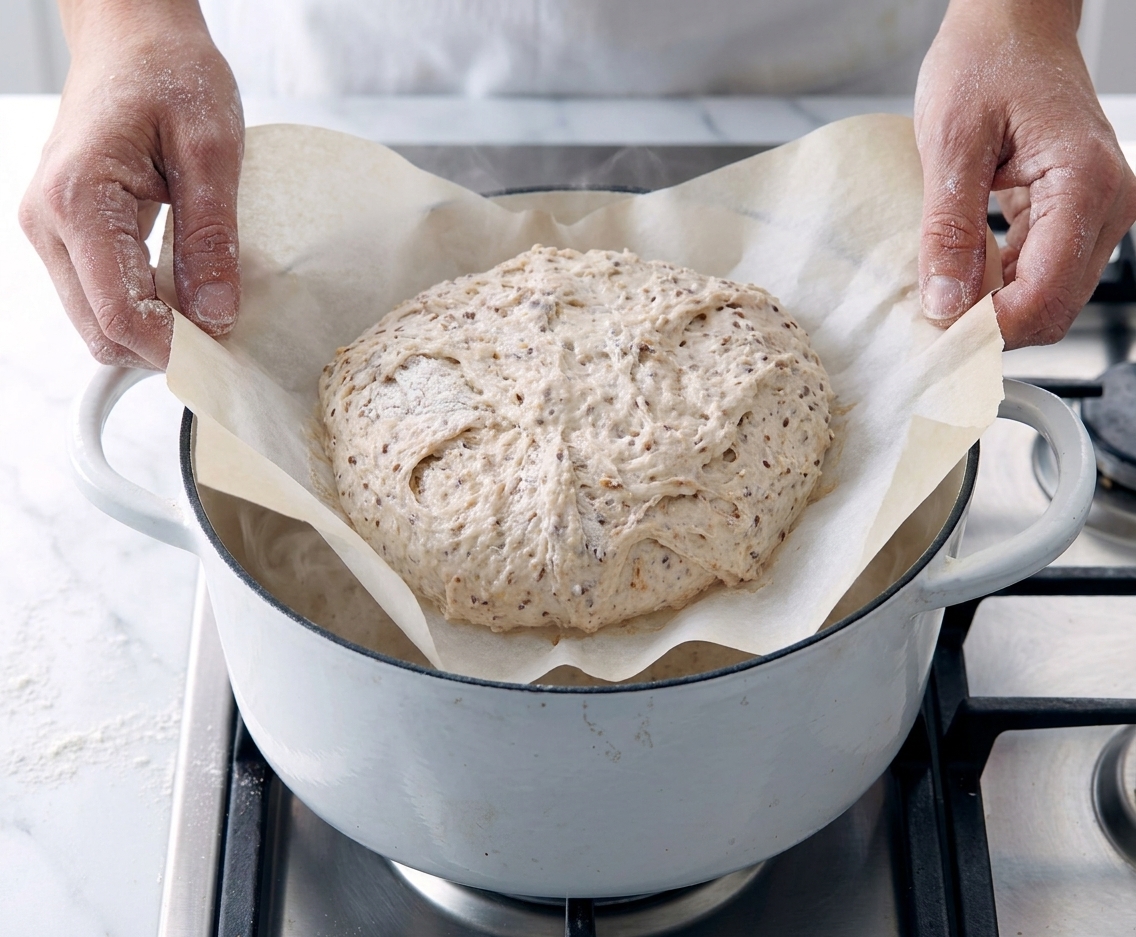
Usually, yes, but some brands darken at high heat. Trim excess parchment so it does not stick out and scorch. You only need enough to lift the dough in and out.

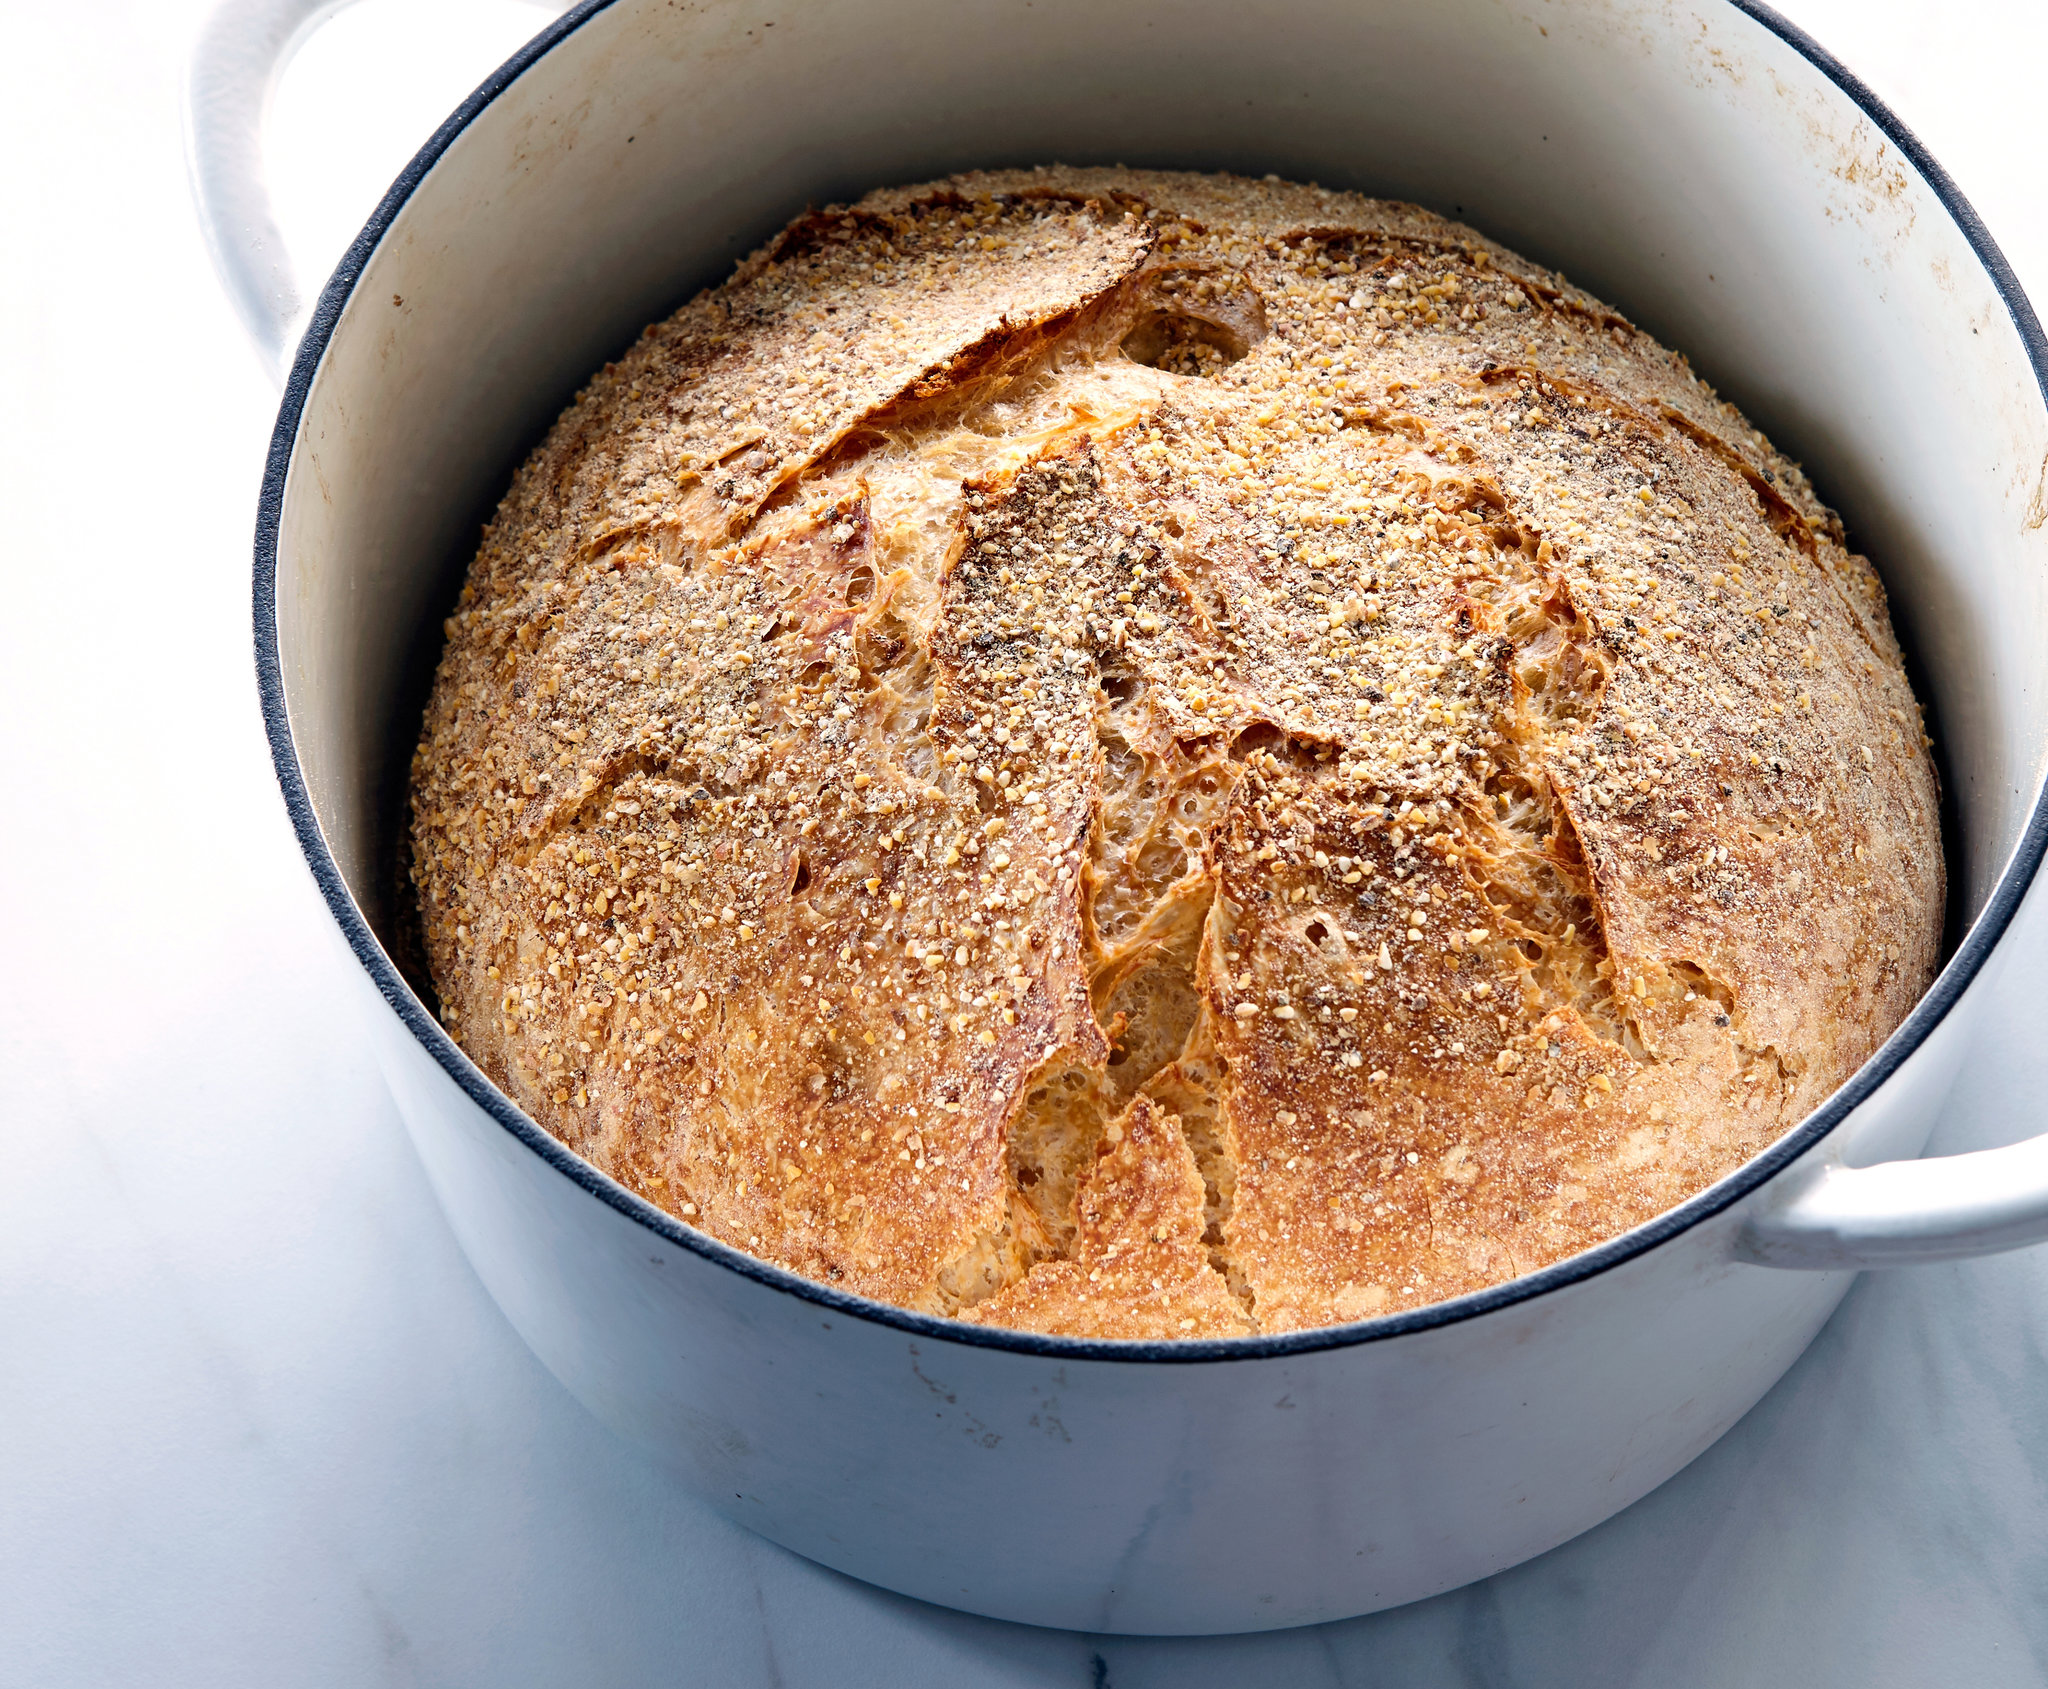
I got into cooking because I love the energy of a kitchen, the teamwork, the little moments where something basic turns into something people get excited about. Bread is that, but with fewer dishes and more payoff. The first time I made no-knead bread, I was genuinely annoyed at how easy it was. Like, you are telling me I can stir four ingredients, go do literally anything else for the rest of the day, and then pull out a loaf that crackles when it cools? Rude. I have been making some version of it ever since.