Mom's Best Recipes
Recipe

Easy Danish Pastry

Flaky, buttery layers with a tangy cream cheese filling and quick vanilla icing.

Author By Matt Campbell
4.8
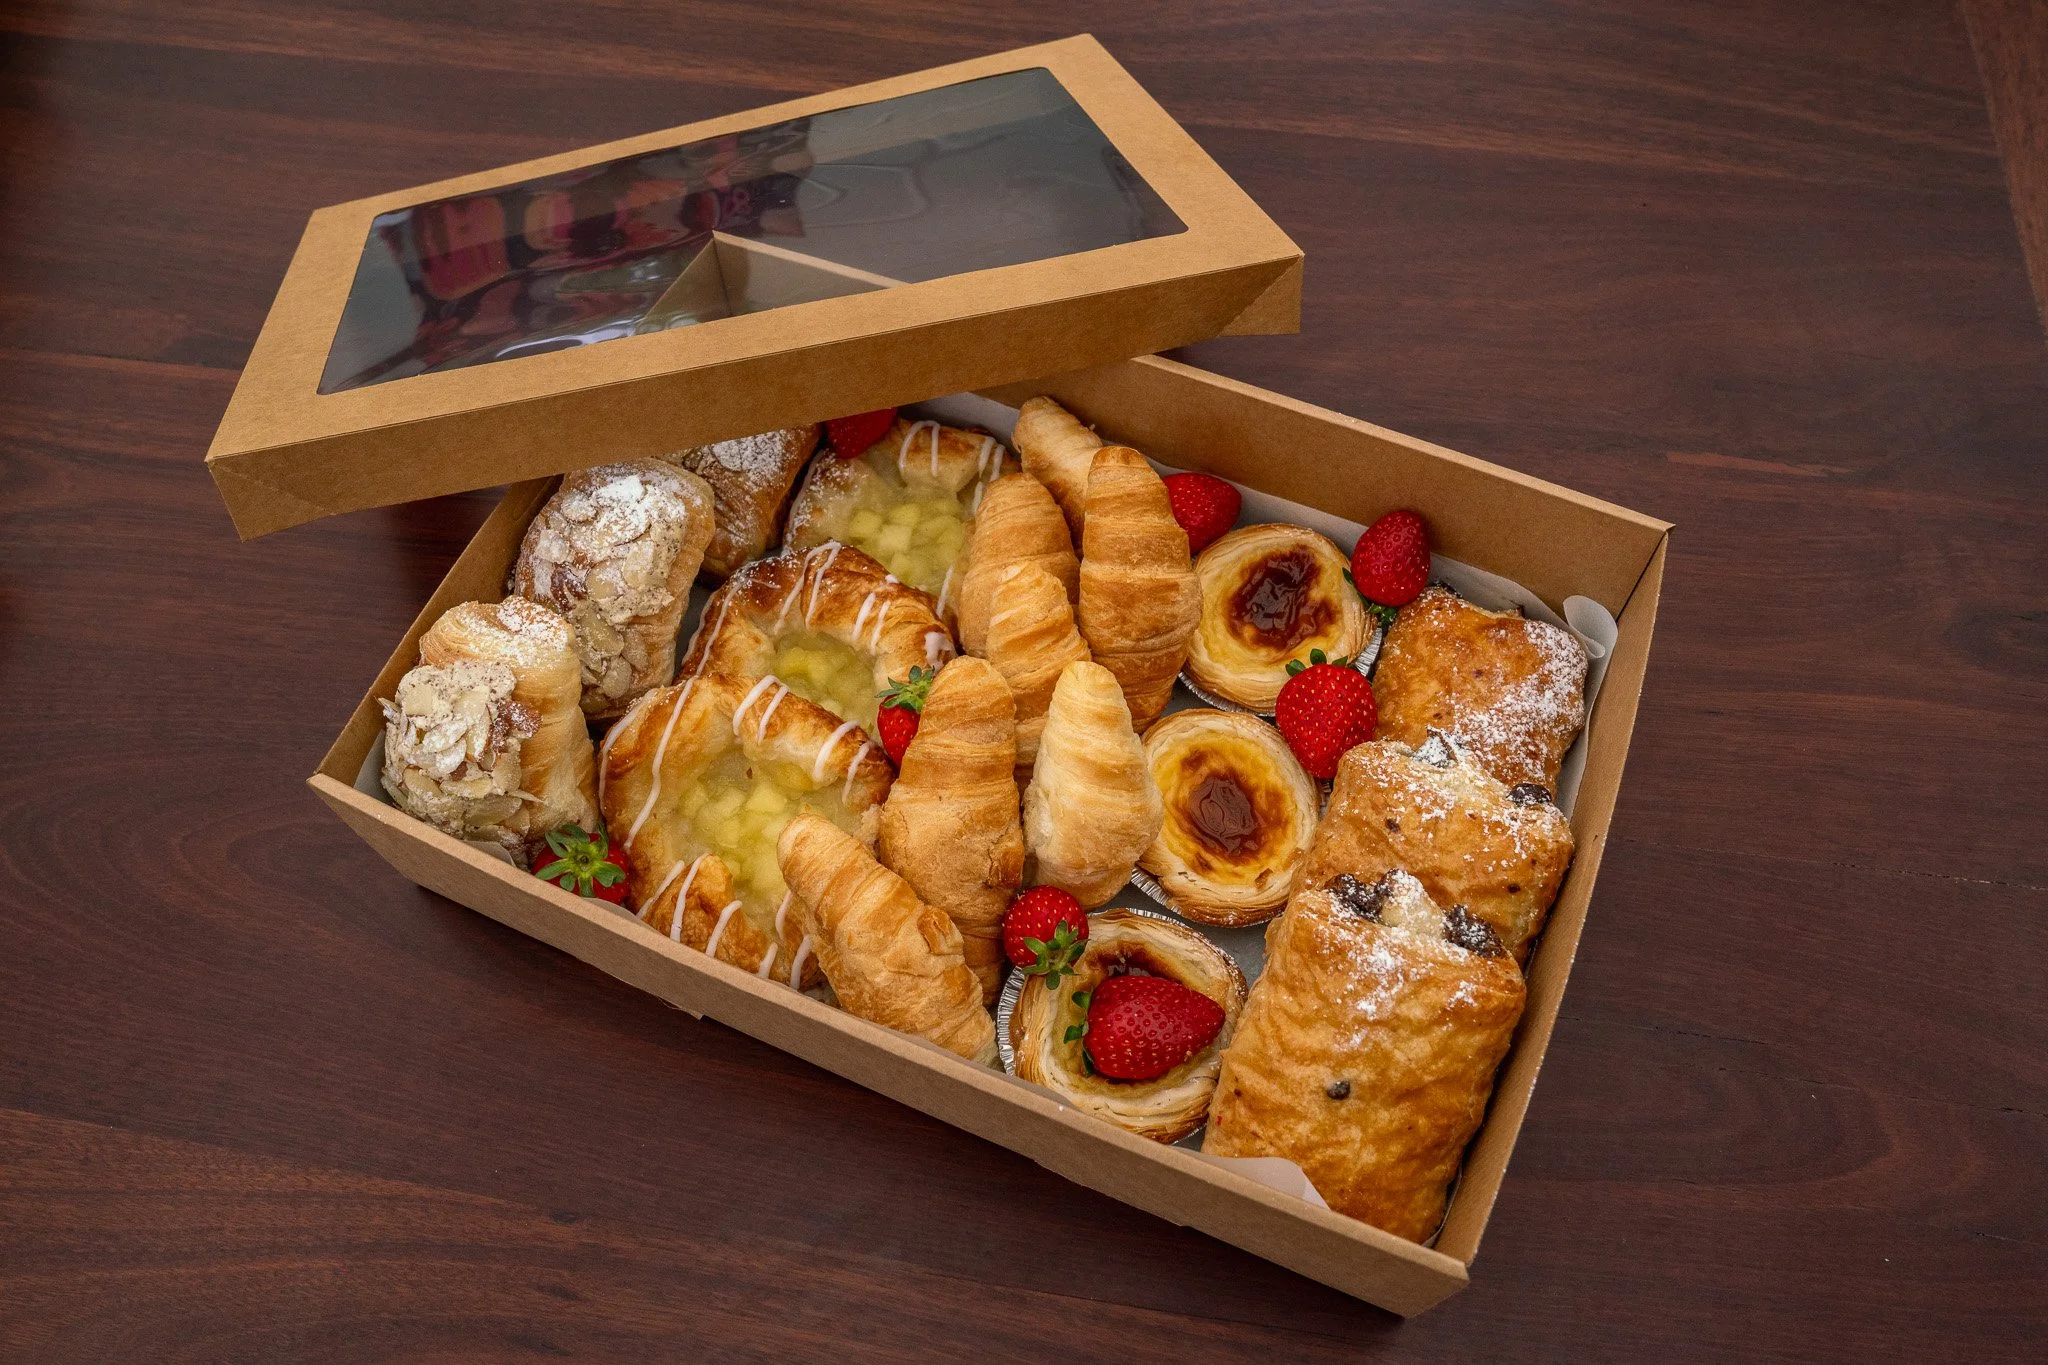
A tray of golden, flaky Danish pastries with cream cheese centers and a light vanilla glaze on a kitchen counter with soft morning light

Danish pastry is one of those bakery-case flexes that looks like it requires a tiny rolling pin and a passport. Good news: you can absolutely make it at home with regular grocery store ingredients, a little fridge time, and the willingness to roll butter into dough like you mean it.

This recipe gives you real flaky layers (hello, lamination) without turning your kitchen into a stress test. We are going for crisp edges, tender centers, and a filling that tastes like cheesecake’s laid-back cousin. If your dough gets a little lopsided, you are doing it right. We are baking, not auditioning.

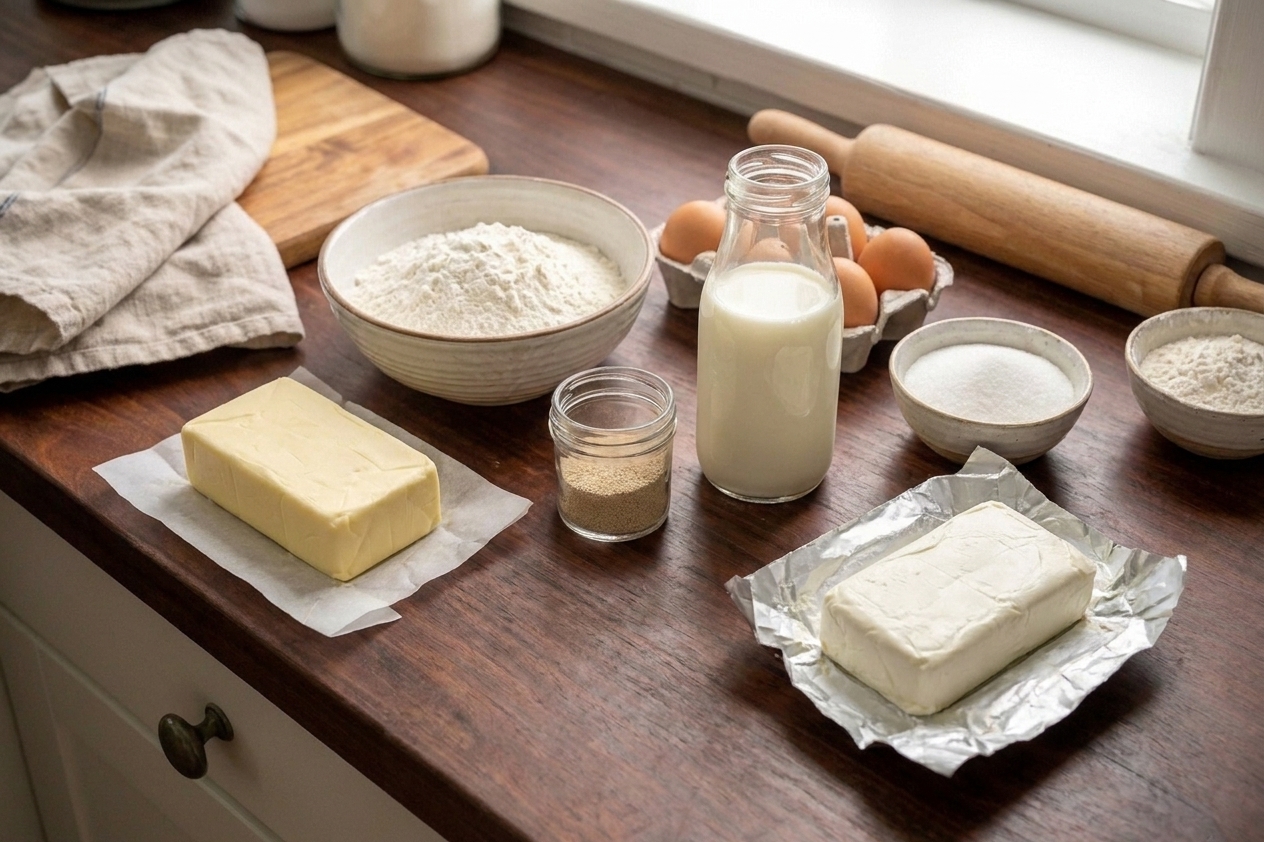
Butter, flour, yeast, milk, eggs, sugar, and cream cheese arranged on a clean kitchen counter ready for Danish pastry baking

Why It Works

  • Buttery, flaky layers thanks to a simple laminated dough technique that is approachable for home kitchens.
  • Clear timing with built-in chilling, so the butter stays cold and your pastries puff instead of puddle.
  • Flexible shapes and fillings, from classic cream cheese to jam or fruit, using the same dough.
  • Make-ahead friendly dough, so you can do the “project” part today and the “fresh pastry” part tomorrow.
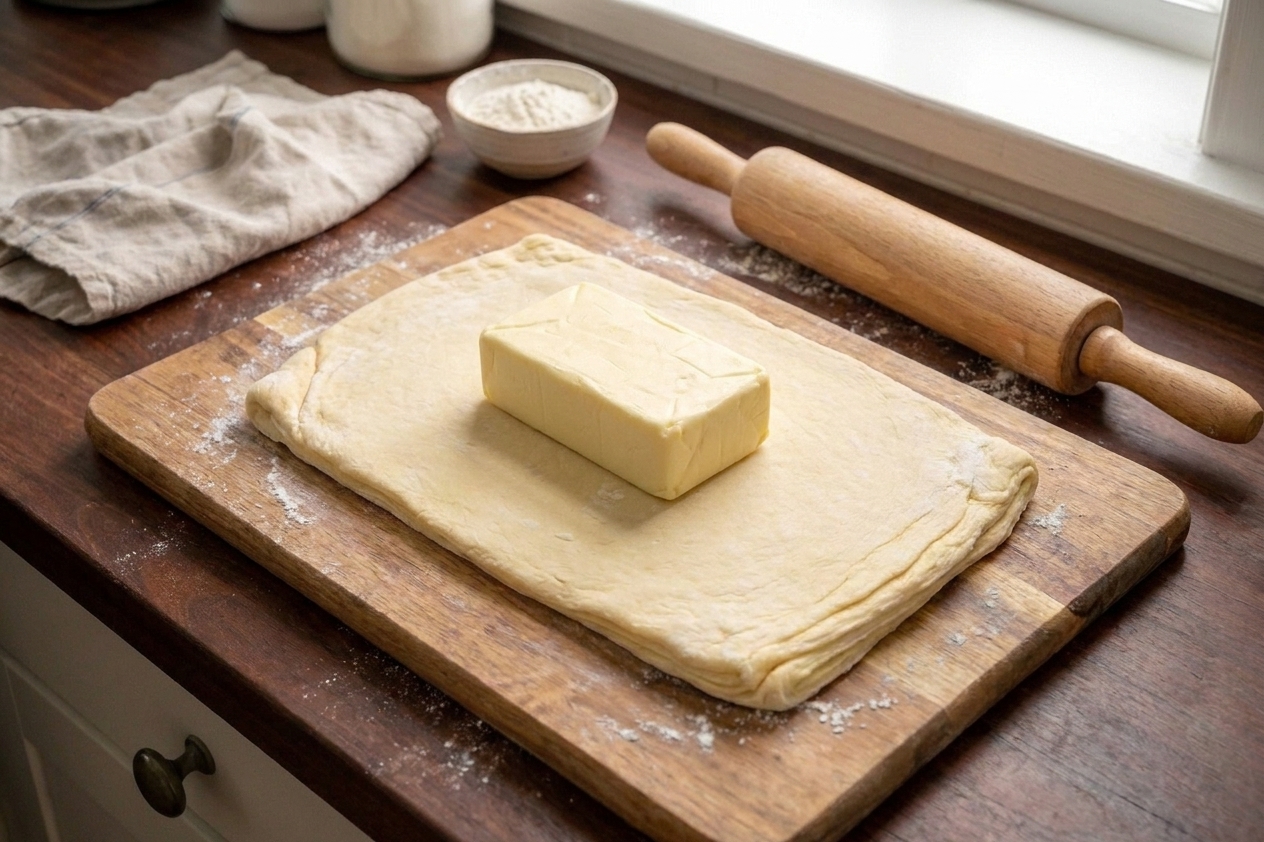
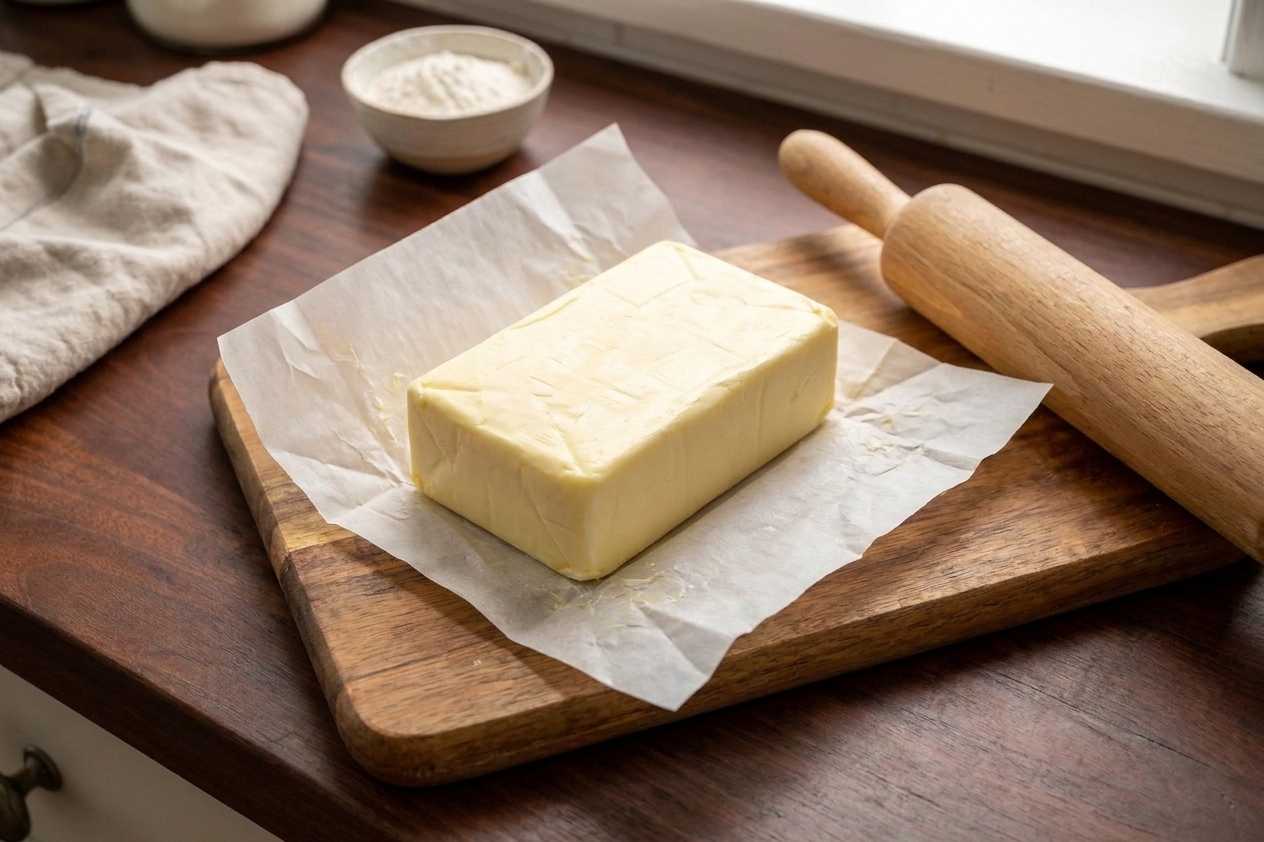
A rectangle of dough with a cold butter block placed in the center on a lightly floured wooden board

Pairs Well With

Storage Tips

How to Store Danish Pastries

Room temperature: Store cooled pastries in an airtight container for up to 1 day. Danish is best the day it is baked, but you can keep it from going stale by sealing it well.

Refrigerator: Because of the cream cheese filling, refrigerate for up to 3 to 4 days. For best texture, aim to eat them within 2 days. Let pastries sit at room temperature 15 to 20 minutes before eating, or warm briefly.

Freezer: Freeze baked, fully cooled pastries (unglazed is best) for up to 2 months. Wrap individually in plastic wrap, then place in a freezer bag.

Reheat for crisp edges: Warm in a 325°F oven for 8 to 12 minutes (from fridge) or 12 to 15 minutes (from frozen). Add icing after reheating for the cleanest look.

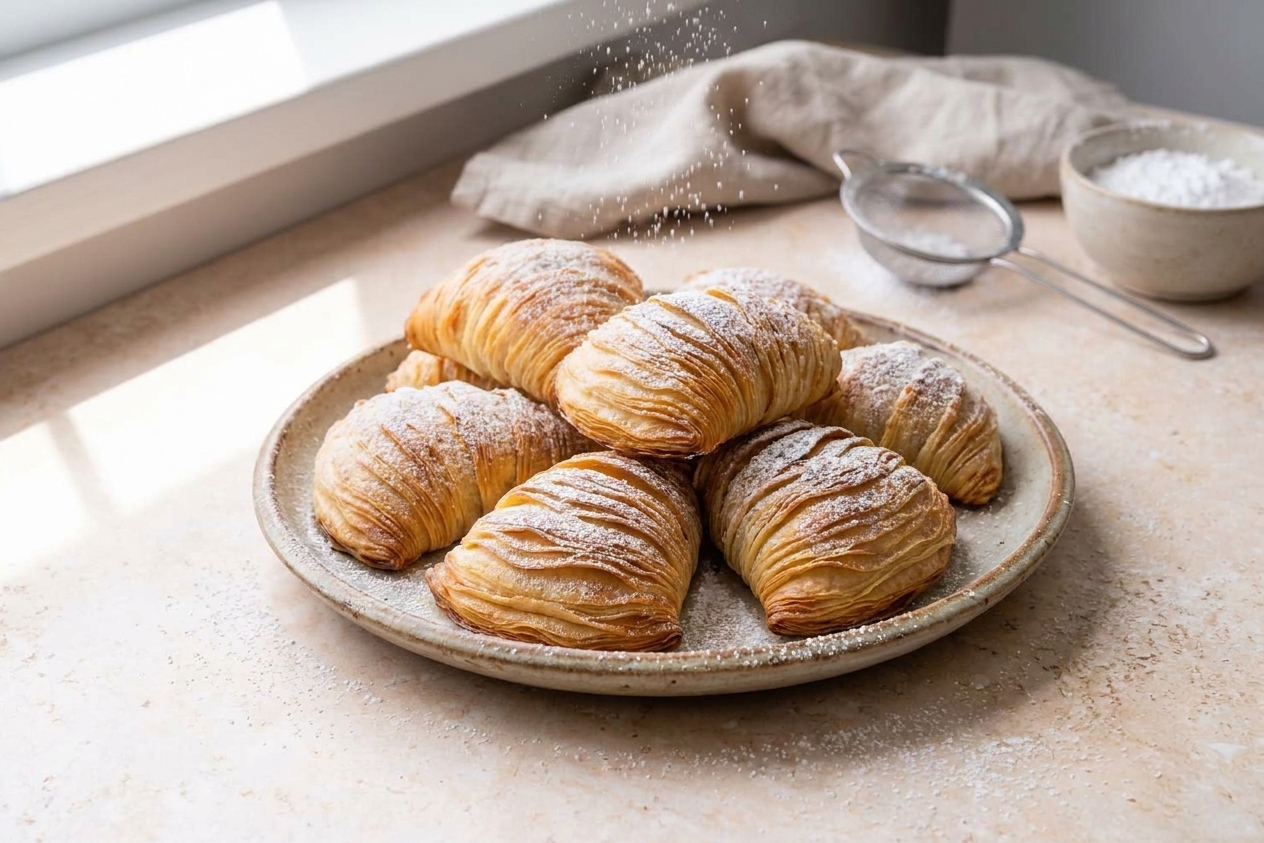
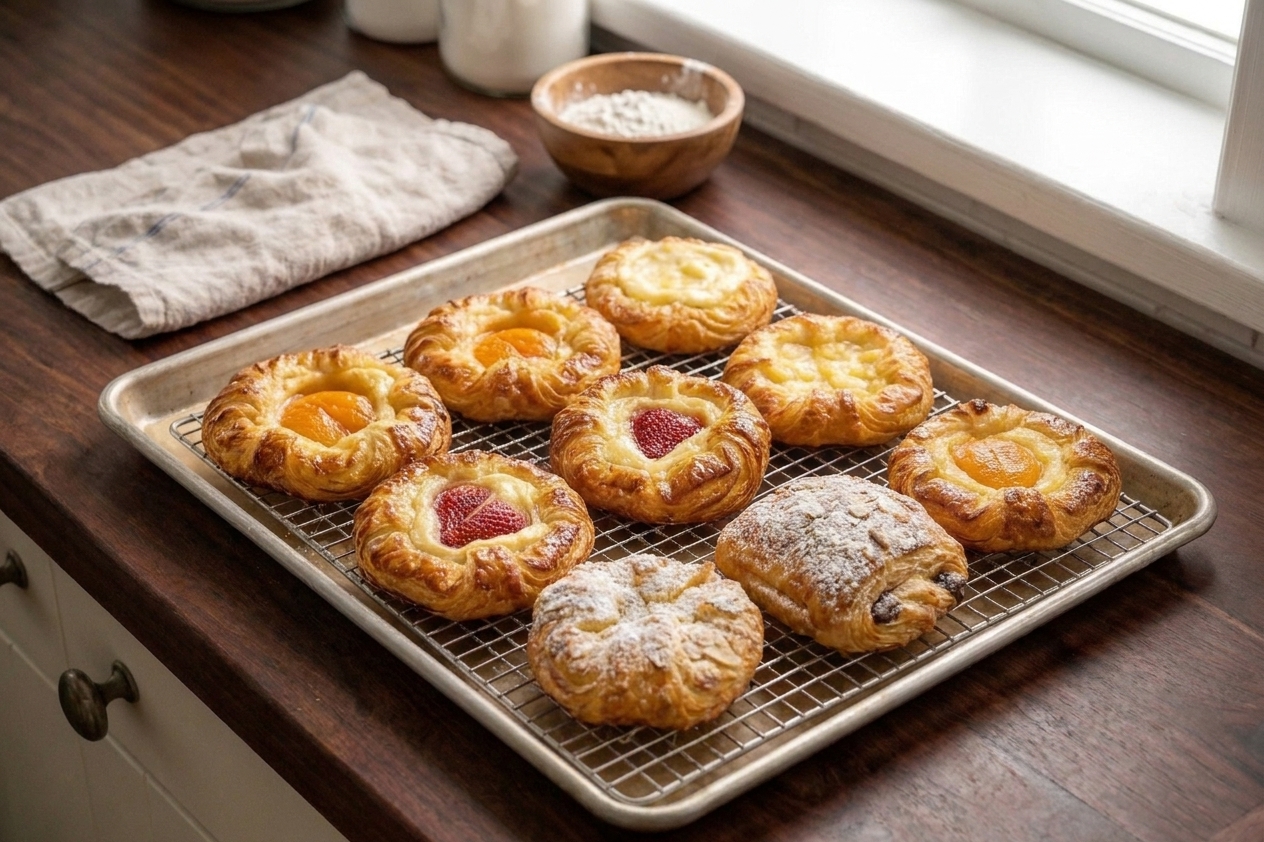
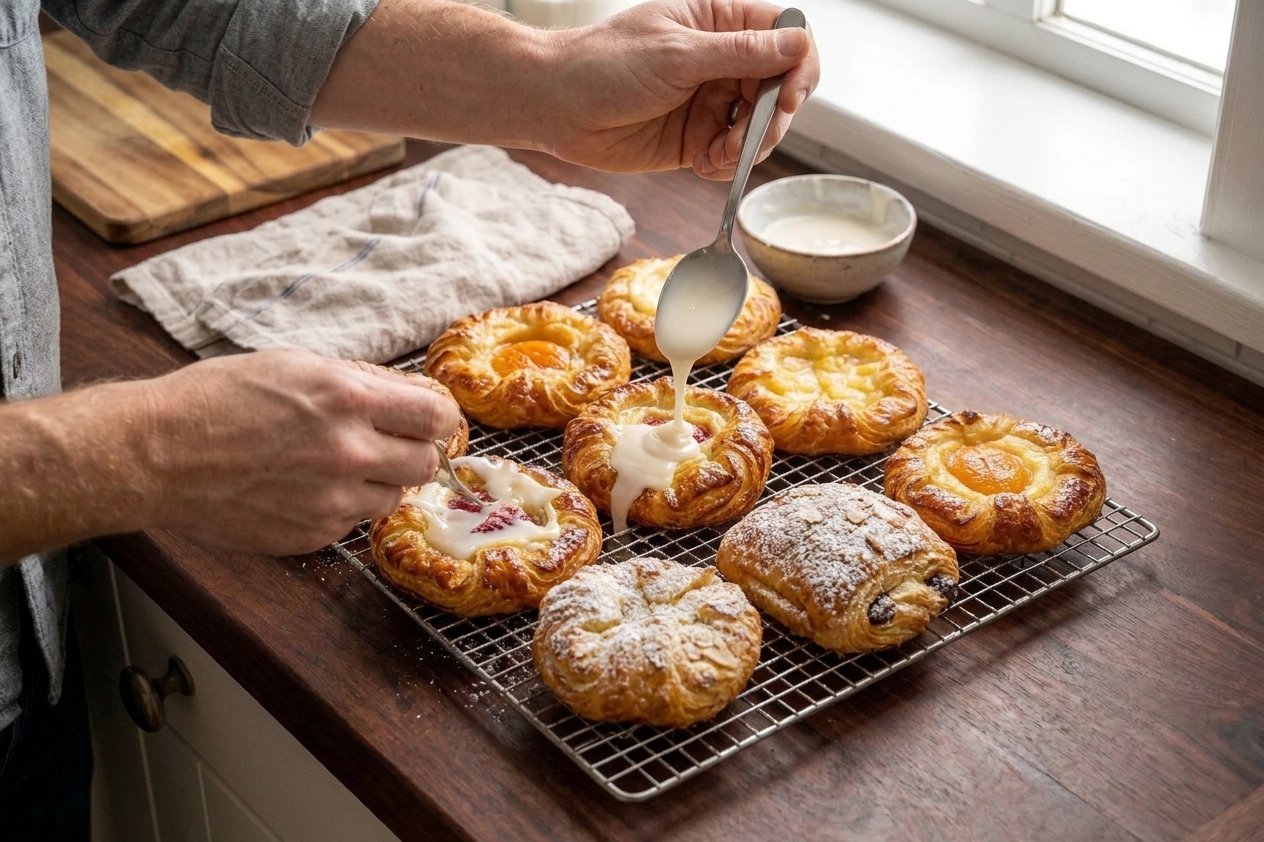
Freshly baked Danish pastries cooling on a wire rack with a sheet pan underneath on a bright kitchen counter

Common Questions

What makes a Danish pastry different from croissants?

Both are laminated, buttery doughs, but Danish dough is typically a bit richer and slightly sweeter. It often includes eggs and sometimes a touch of flavoring like vanilla or cardamom, and it is commonly shaped around fillings.

Do I have to laminate the dough?

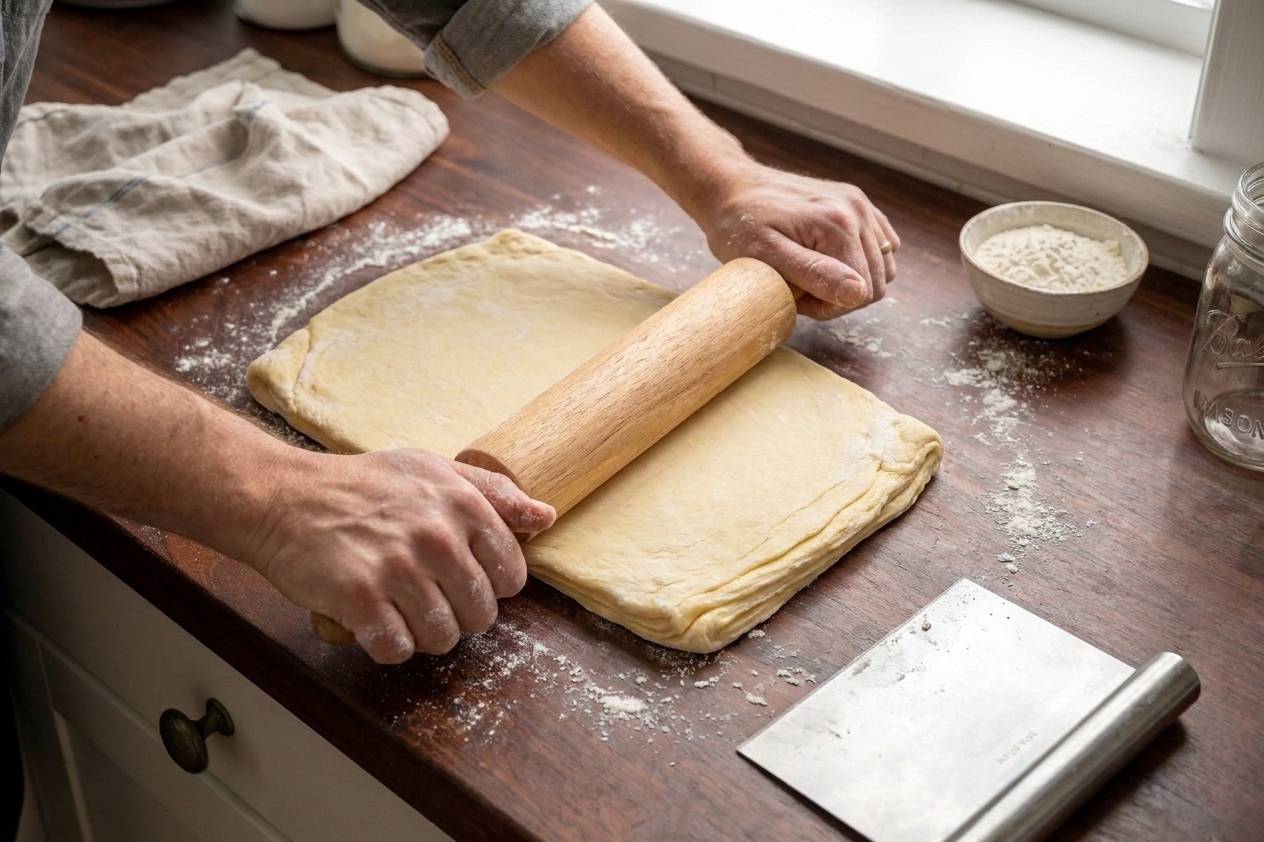
If you want that classic flaky Danish vibe, yes. But I will say this: the lamination here is intentionally low drama. We do a few simple folds, chill between them, and let the oven do the puffing.

Why is my butter leaking out while baking?

Usually one of three things: the butter got too warm during rolling, the dough was rolled too thin in spots, or the pastries proofed too long in a warm kitchen. If you see butter getting soft while shaping, slide the tray into the fridge for 10 minutes before baking.

Can I use instant yeast?

Yes. This recipe uses instant yeast. If you only have active dry yeast, bloom it in the warm milk with a pinch of sugar for 5 to 10 minutes first, then proceed.

Can I make the dough ahead?

Absolutely. You can refrigerate the laminated dough, tightly wrapped, for up to 24 hours before shaping. You can also freeze the laminated dough for up to 1 month. Wrap it extremely well to prevent freezer burn, and expect a slightly less enthusiastic rise after thawing. Thaw overnight in the fridge.

What other fillings work?

Try a spoonful of jam, lemon curd, pastry cream, or a quick fruit filling (like diced apples cooked with sugar and cinnamon). Keep fillings fairly thick so they do not run all over the tray.
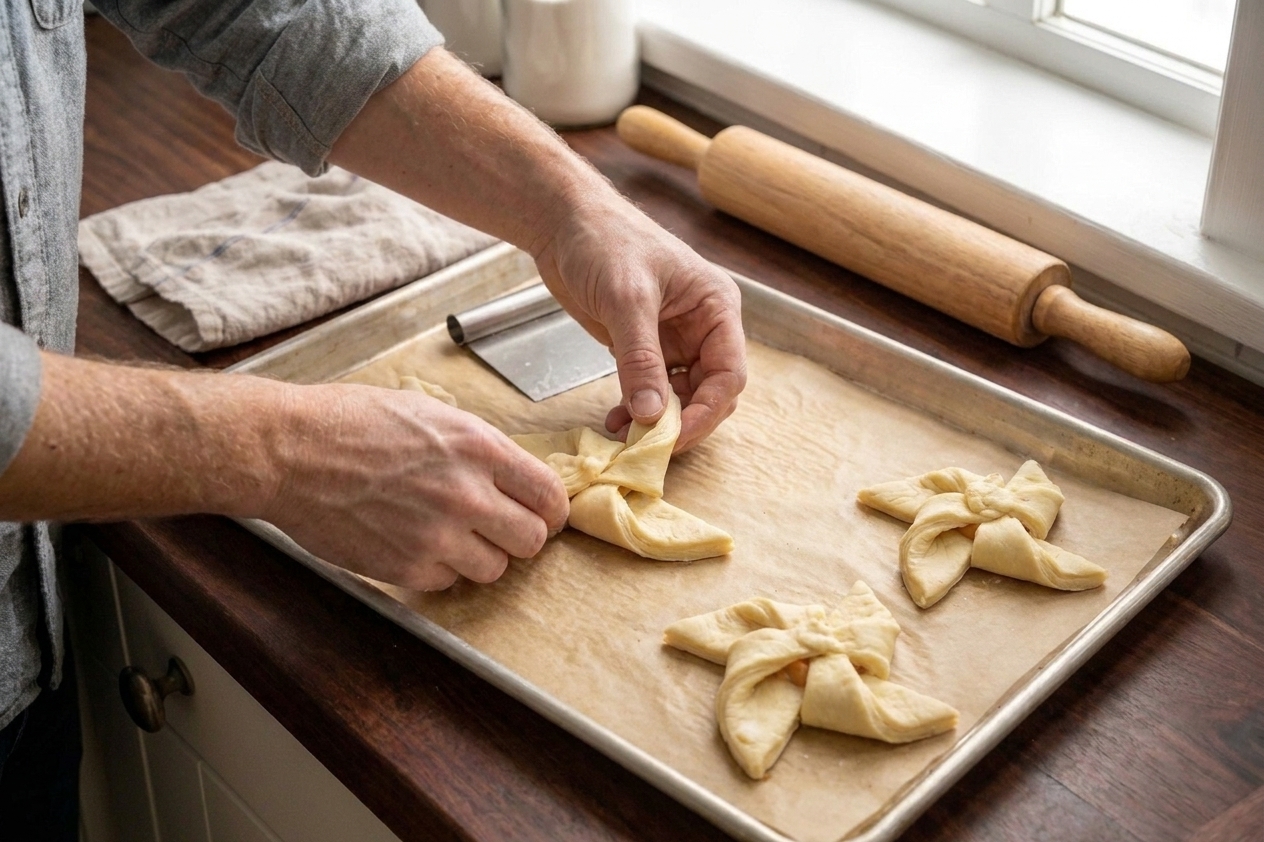

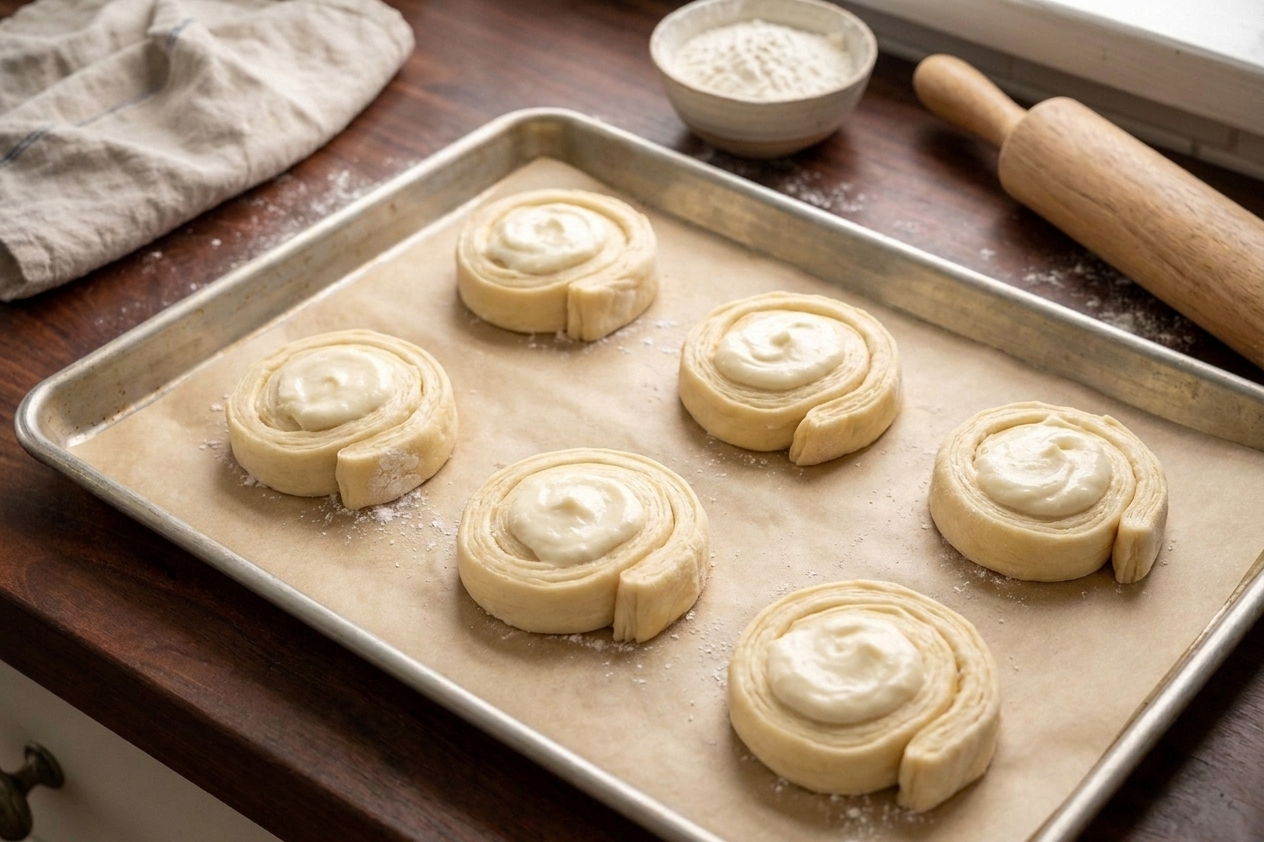
Danish pastry dough being shaped into a pinwheel on parchment paper on a baking sheet

The first time I tried making Danish at home, I treated it like a high-stakes baking exam. I over-floured, over-thought, and stared at the fridge like it was going to give me instructions. Now I do it the way I cook best: relaxed, curious, and willing to chill the dough when it starts acting up. Danish pastry is basically butter management and patience. Once you realize the fridge is part of the recipe, it turns from intimidating to kind of addictive.