Mom's Best Recipes
Recipe

Easy Same-Day Sourdough Bread

Crisp crust, springy crumb, and real sourdough flavor without an overnight proof. Beginner-friendly timing, clear steps, and plenty of visual cues.

Author By Matt Campbell
4.8
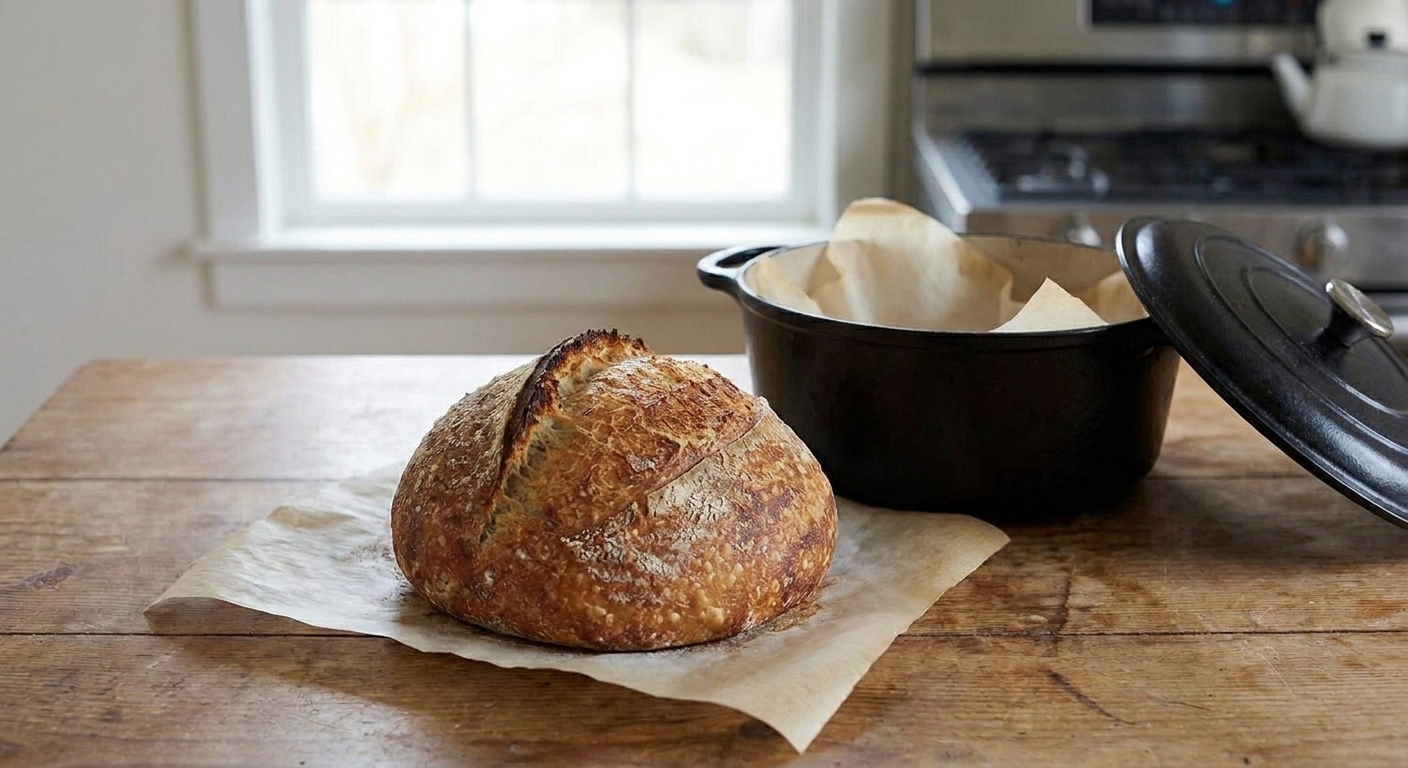
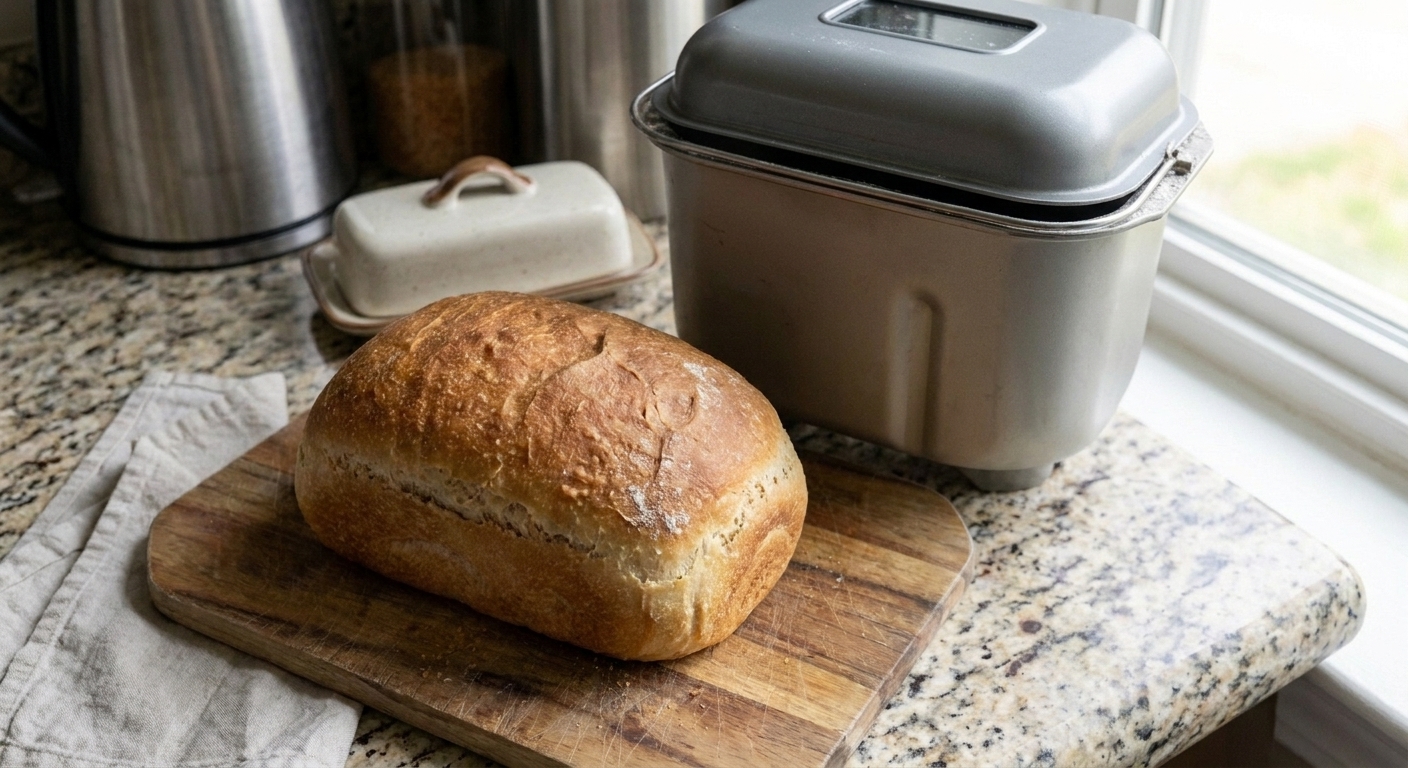
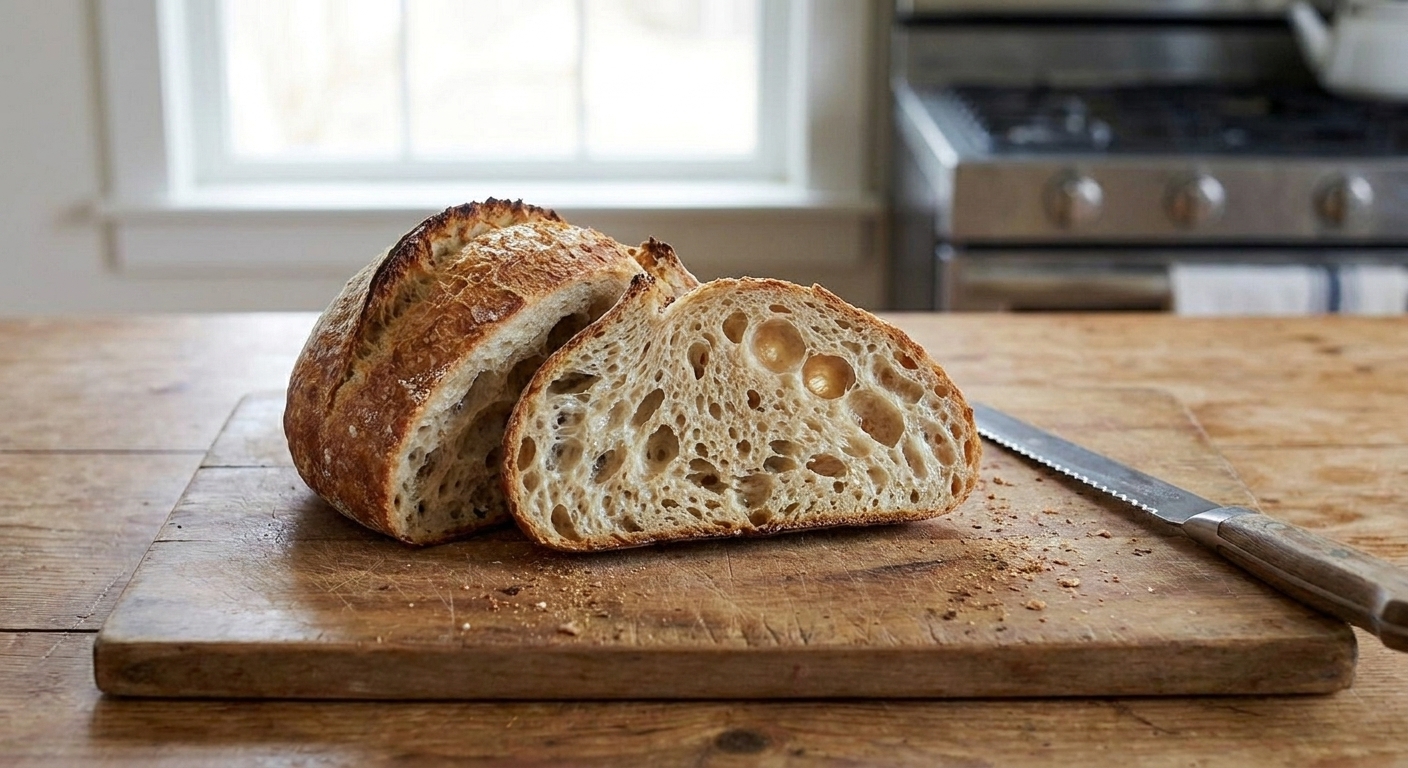
A golden brown sourdough boule with a bold ear and blistered crust resting on parchment beside a Dutch oven on a light kitchen counter

Sourdough has a reputation for being high-maintenance. Like it needs a mood board, a spreadsheet, and a tiny therapist. But here is the truth: once your starter is active, sourdough can be shockingly chill. This loaf is my go-to when I want that crackly crust, a soft and chewy middle, and the kind of flavor that makes you tear off a piece “just to taste” and accidentally eat half the loaf.

This is a same-day sourdough, meaning no overnight proof. We will build strength with a few simple folds, let the dough rise until it actually looks alive, then bake it hot in a Dutch oven for those crisp edges and that cozy bakery vibe at home. Times are flexible, though. Sourdough runs on dough cues first and clock time second, and I will give you both.

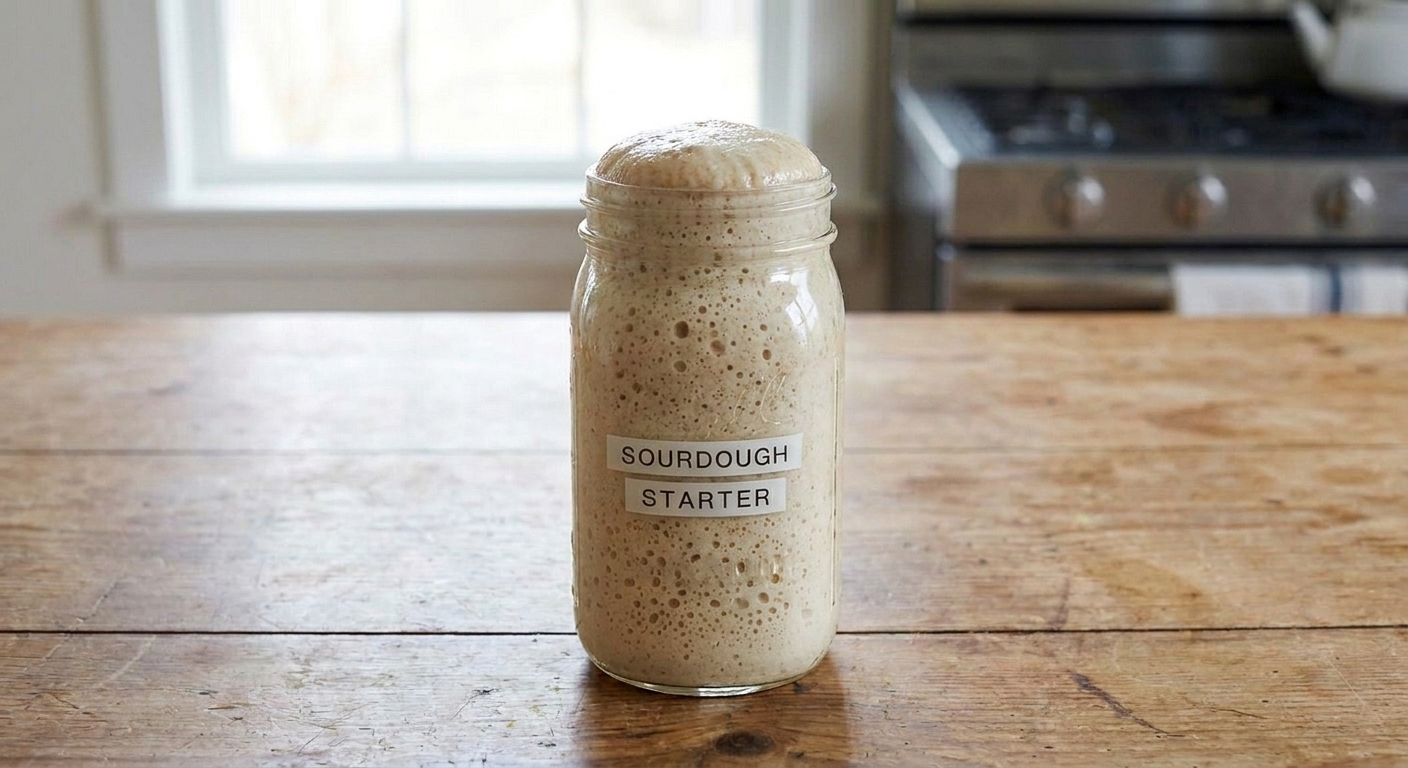
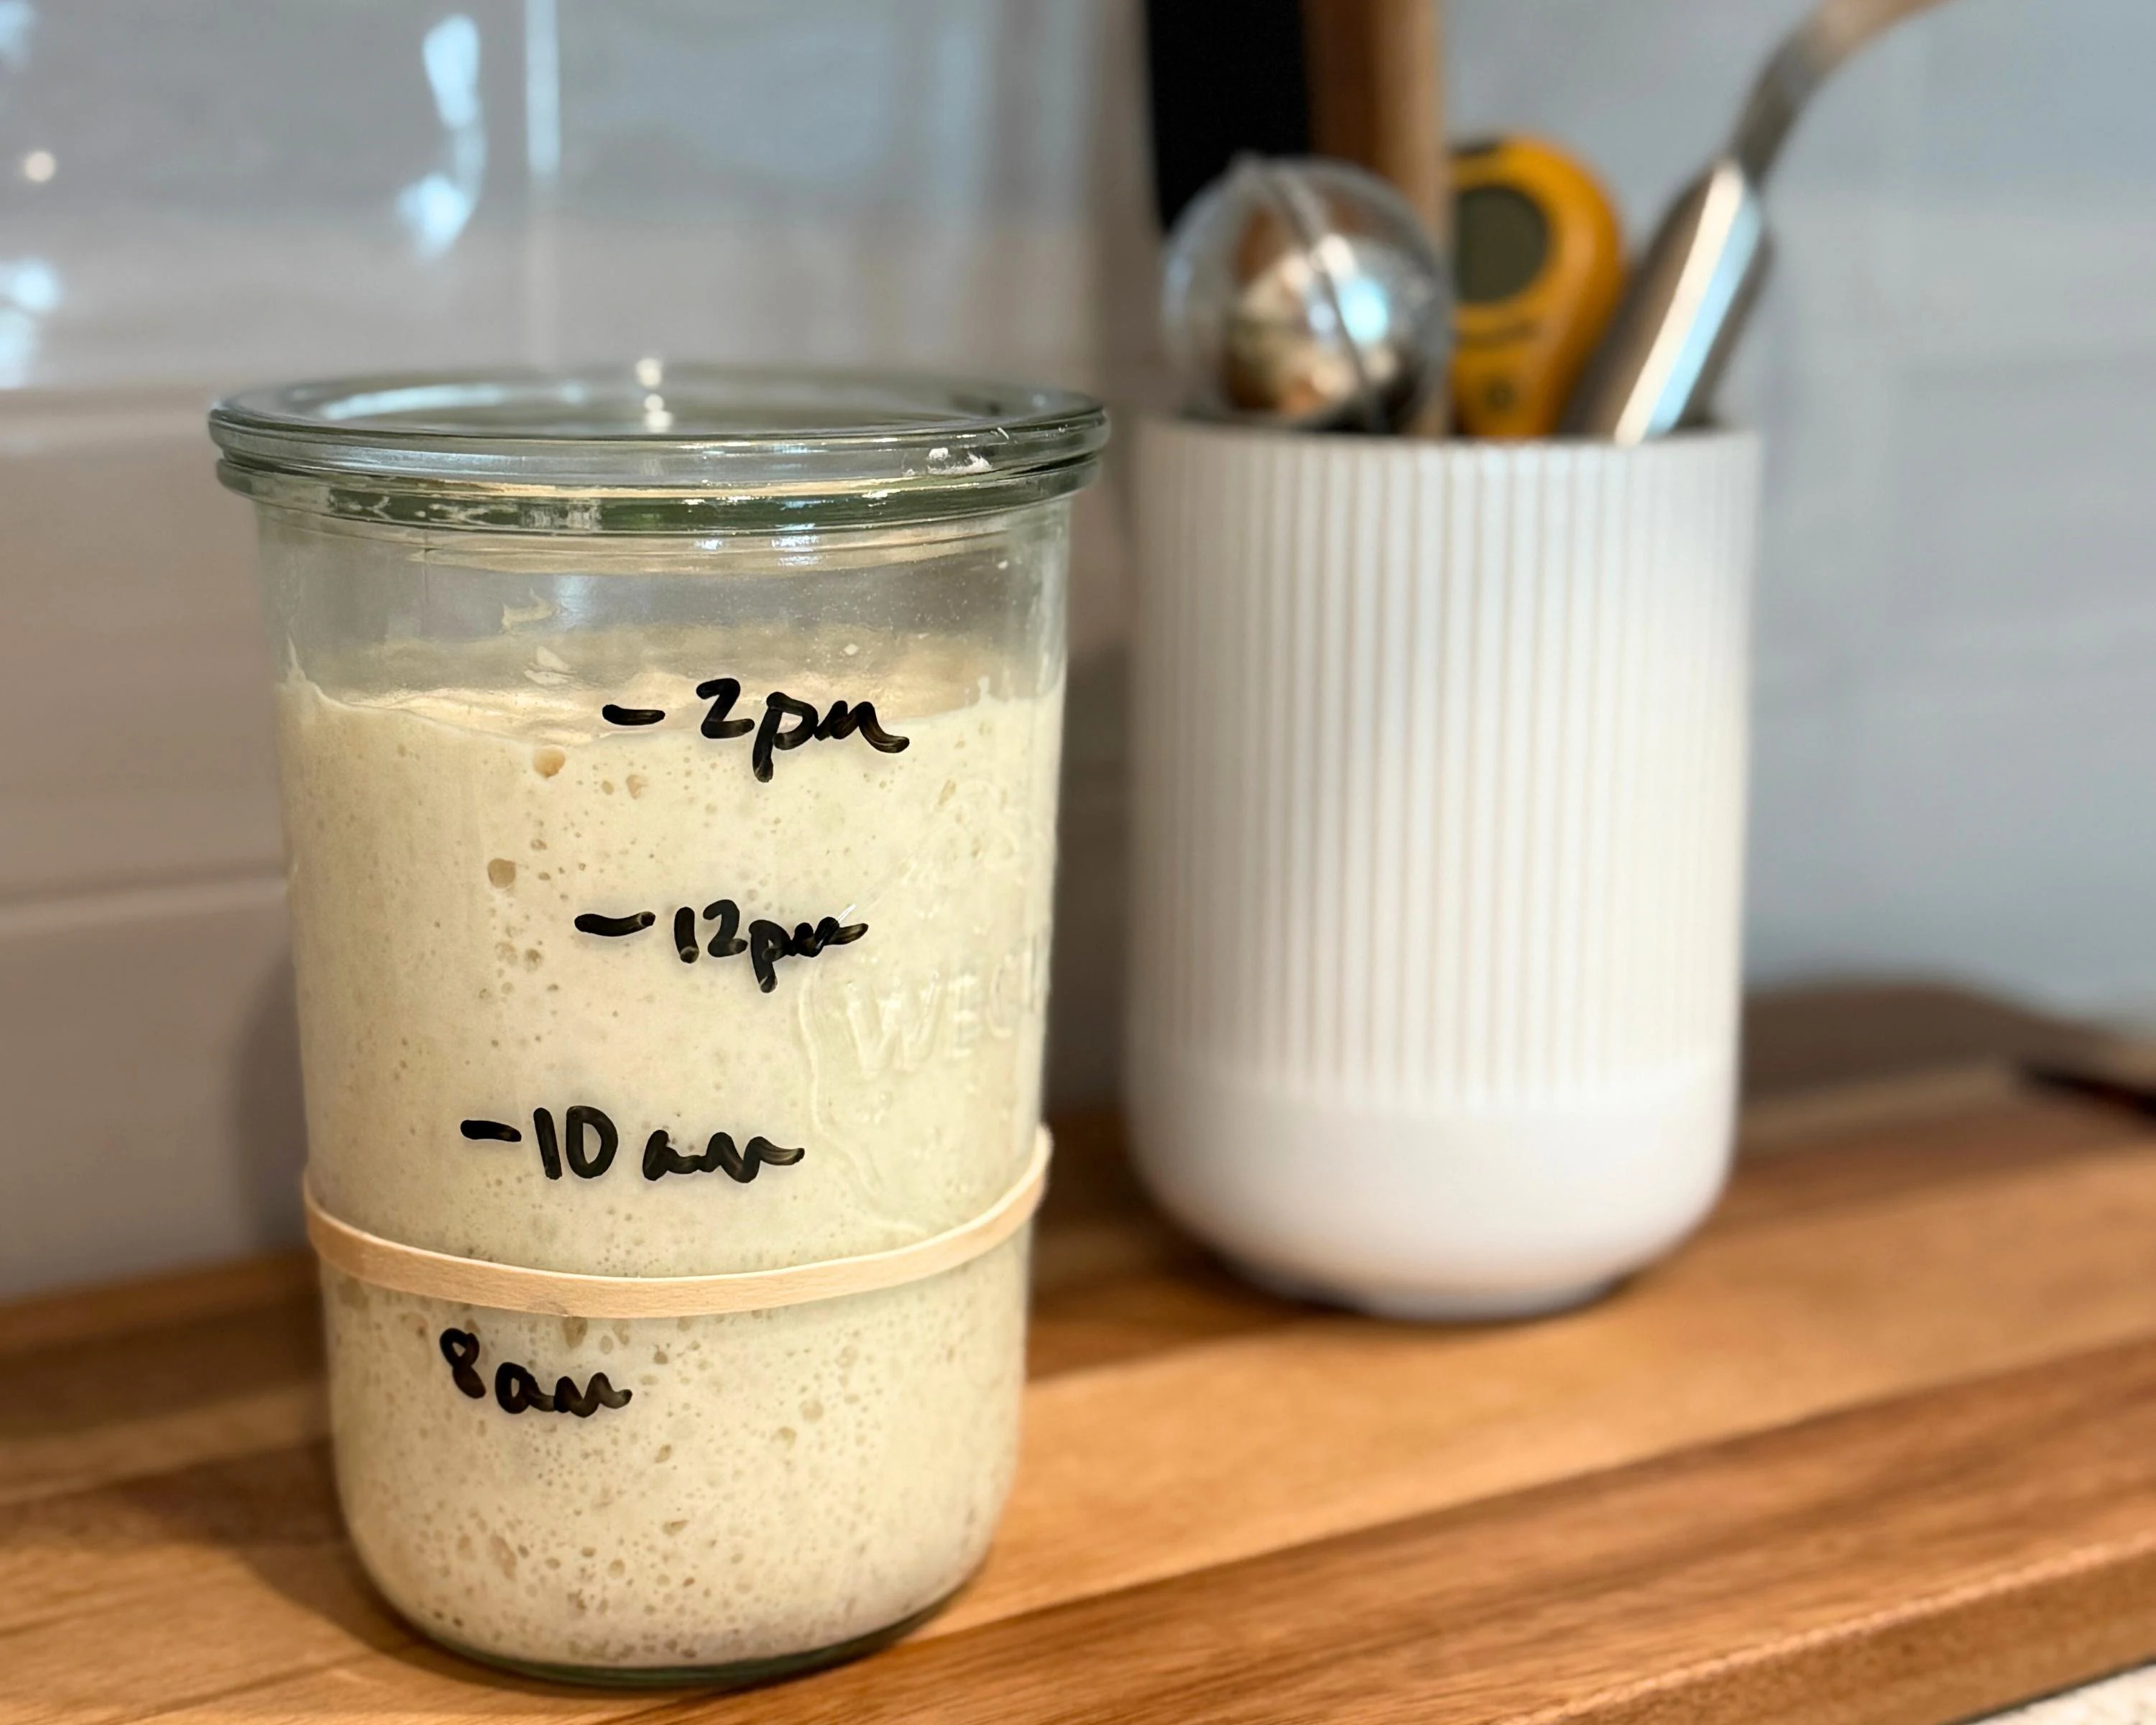
A glass jar of active sourdough starter with visible bubbles and a domed top sitting on a clean kitchen counter

Why It Works

  • Same-day schedule: Great when you did not plan ahead but still want a real sourdough loaf.
  • Simple strength-building: A few stretch-and-folds do the work, no kneading marathon required.
  • Dutch oven magic: Traps steam for a shiny, blistered crust and a strong oven spring.
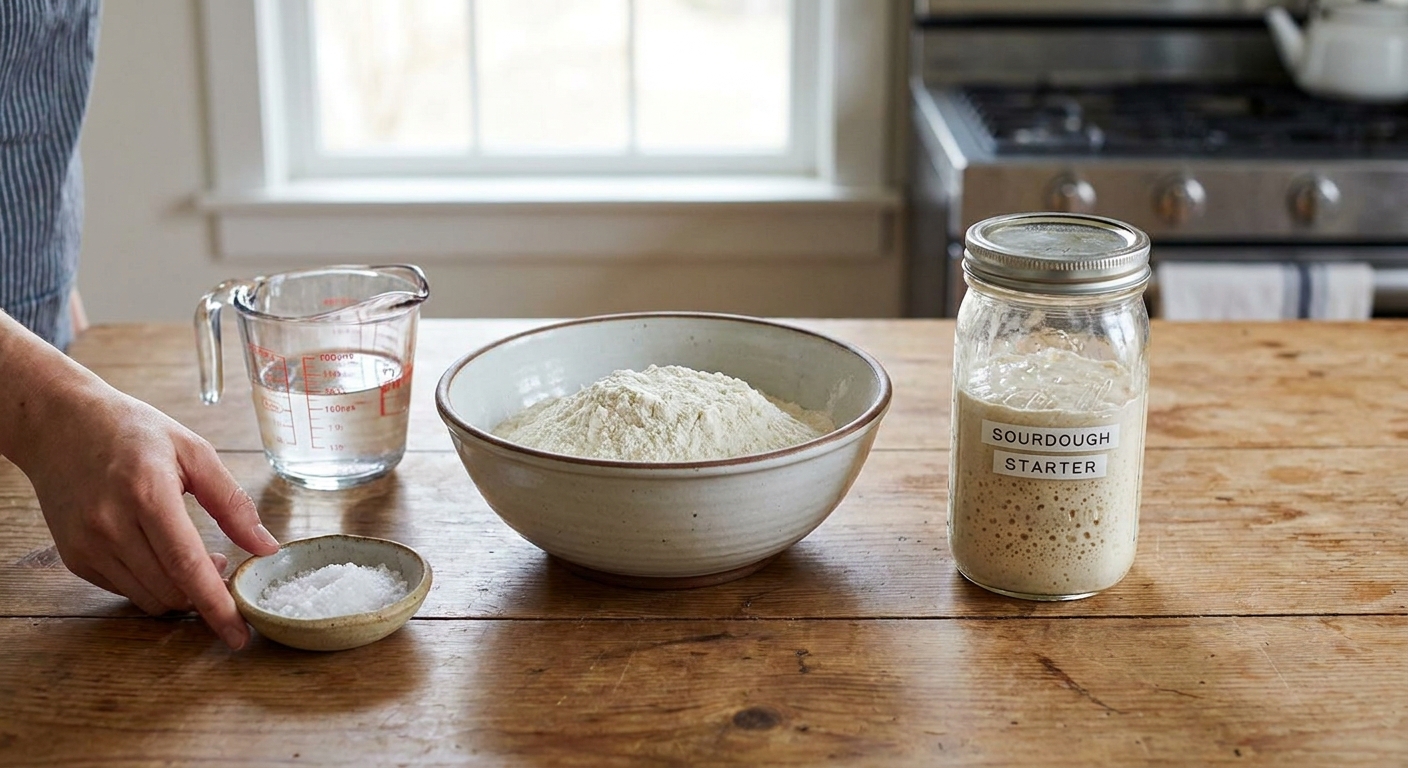
  • Accessible ingredients: Just flour, water, salt, and starter. That is it.

Beginner bonus: You get clear rise and proof cues so you are not guessing your way through the day.

Pairs Well With

Storage Tips

Day 1 and 2: Keep the loaf cut-side down on a cutting board, or store in a paper bag. This keeps the crust crisp. Plastic will soften it fast.

Day 3 and beyond: Slice and freeze. I like to freeze slices with small pieces of parchment between them so I can grab exactly what I need.

Reheat: For slices, toast straight from frozen. For a partial loaf, spritz the crust lightly with water and warm at 350°F for 8 to 12 minutes.

Bonus move: Stale sourdough makes elite croutons and bread crumbs. Cube it, toss with olive oil, salt, garlic powder, and bake at 375°F until crisp.

Common Questions

How do I know my sourdough starter is ready to bake with?

You want it active and bubbly, ideally used near peak. A good sign is that it doubles in volume within about 4 to 6 hours after feeding (timing depends on temperature and feeding ratio). It should smell pleasantly tangy and yeasty, not harshly like nail polish remover.

What kind of starter does this recipe assume?

This recipe assumes a 100% hydration starter (equal parts flour and water by weight). If you use a stiff starter, the dough can feel tighter and the timing can shift. If you are not sure, tell me how you feed your starter and I can help you adjust.

Can I use all-purpose flour instead of bread flour?

Yes. Bread flour gives you a slightly chewier crumb and often a bit more rise, but all-purpose flour works. If the dough feels very slack, reduce the water by 15 to 25 grams next time.

My kitchen runs hot or cold. How do I adjust?

Temperature drives everything in sourdough. If your kitchen is cool (around 65°F to 70°F), expect bulk fermentation and proofing to take longer. If your kitchen is warm (around 78°F to 82°F), things will move faster. You can also adjust your water temperature: use cooler water if your kitchen is warm, and warmer water if your kitchen is cool. A great target is dough that feels comfortably lukewarm and ferments steadily, not wildly.

Why is my dough not rising much?

Most of the time it is one of these: your starter was not strong enough, your kitchen was cool, or the bulk fermentation was cut short. Aim for dough that looks puffier and smoother with visible bubbles at the edges. If your kitchen is cool, give it more time.

Do I have to score the dough?

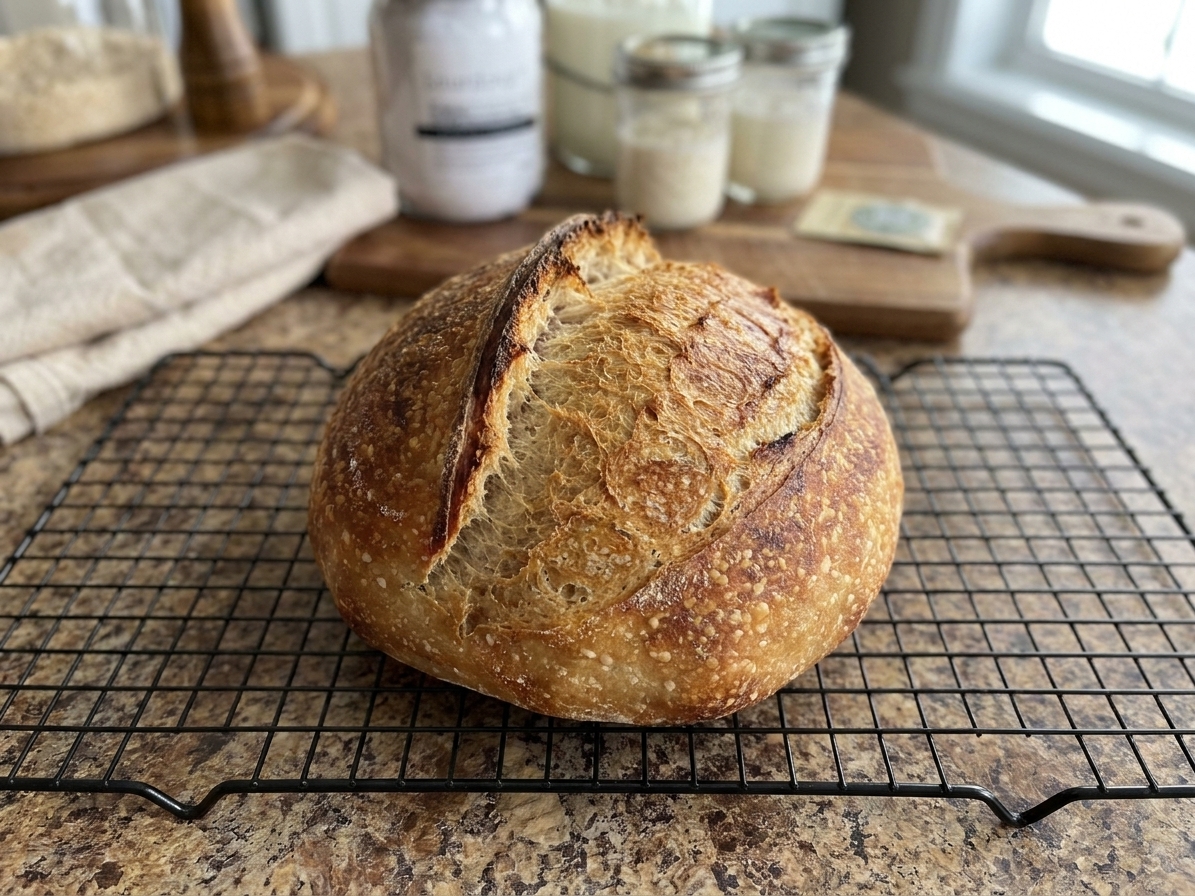
It is highly recommended. Scoring controls where the loaf expands, which helps you get that nice ear and prevents random blowouts on the side.

Why bake in a Dutch oven?

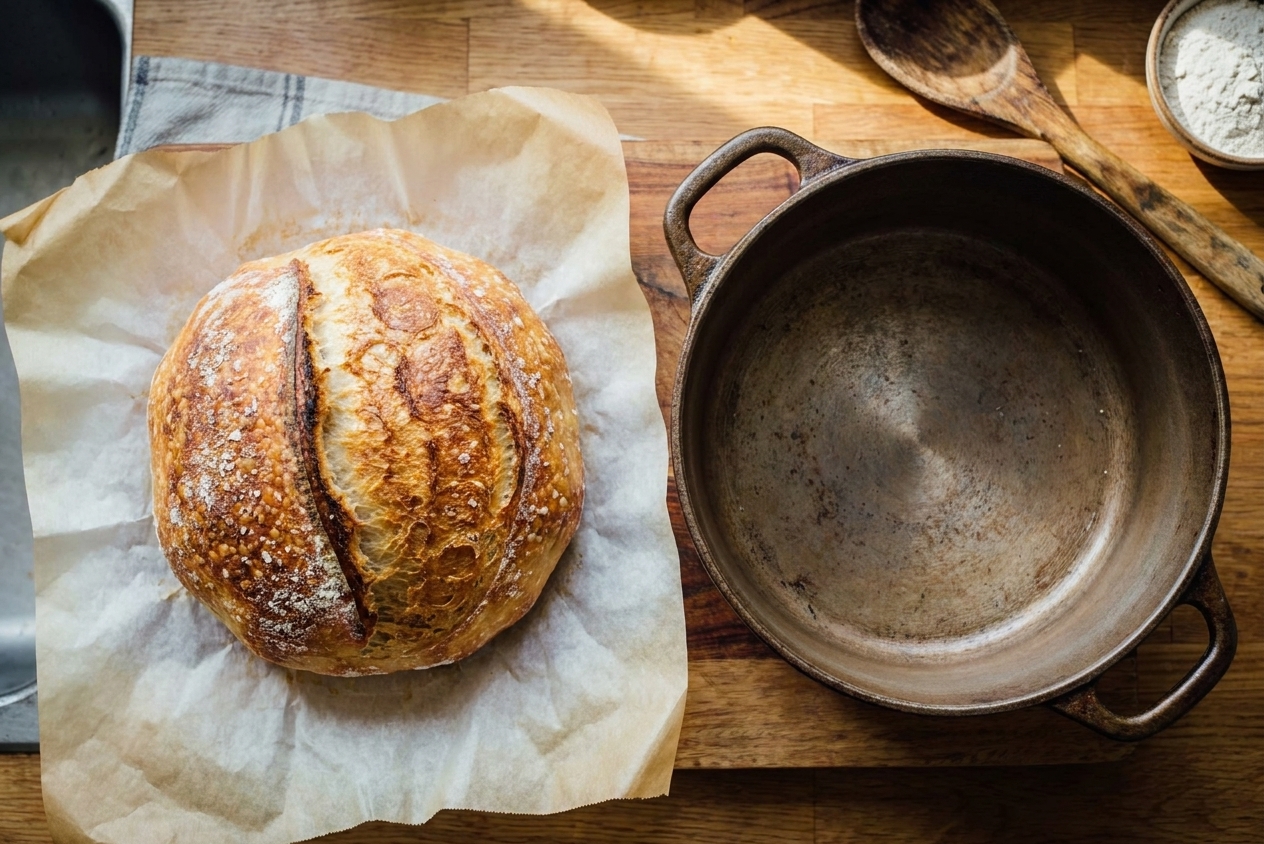
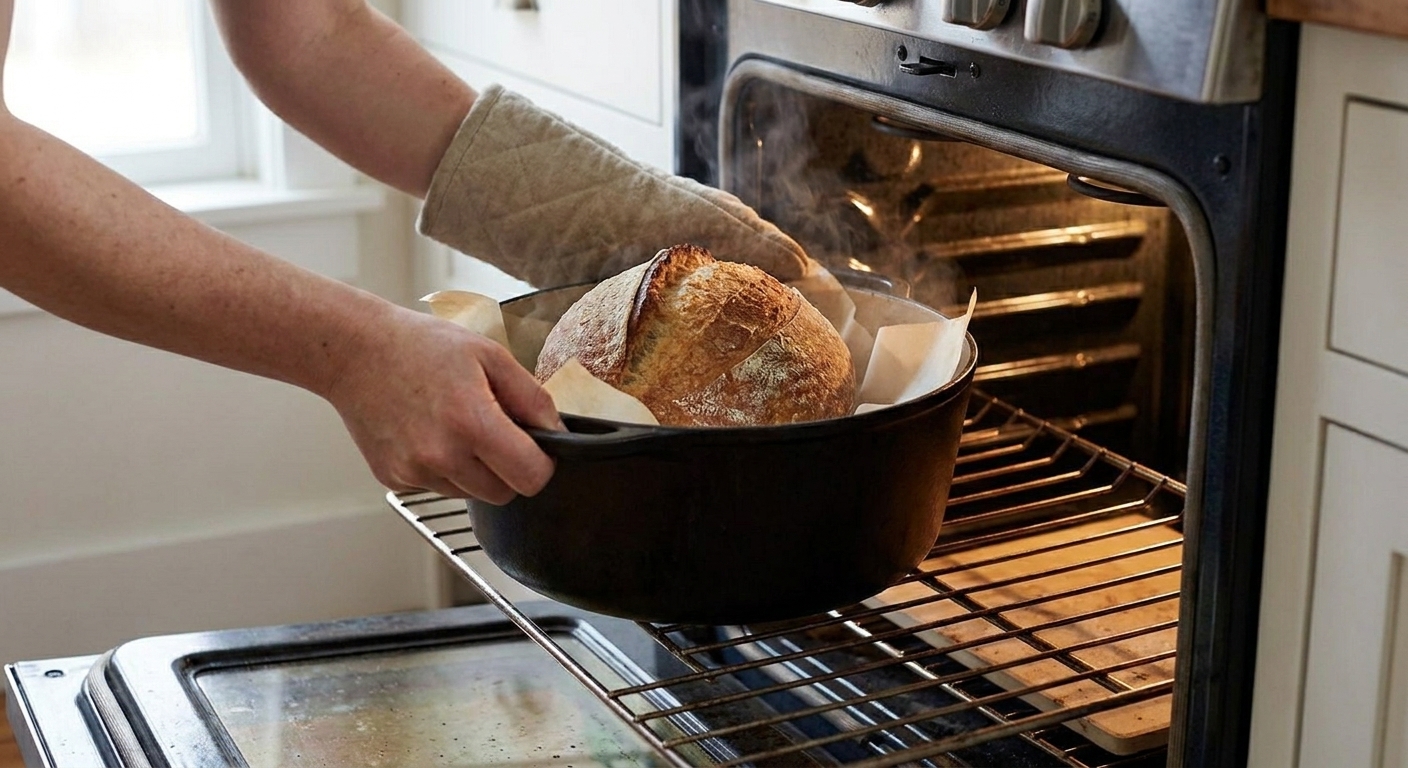
Steam is the secret. The Dutch oven traps moisture from the dough, keeping the crust flexible early on so the loaf can expand. Then we remove the lid to brown and crisp.

Any safety tips for the Dutch oven?

Yes. Treat it like a tiny volcano. Use sturdy oven mitts, pull the rack out a bit before lifting the lid, and open the lid away from your face to avoid steam burns.
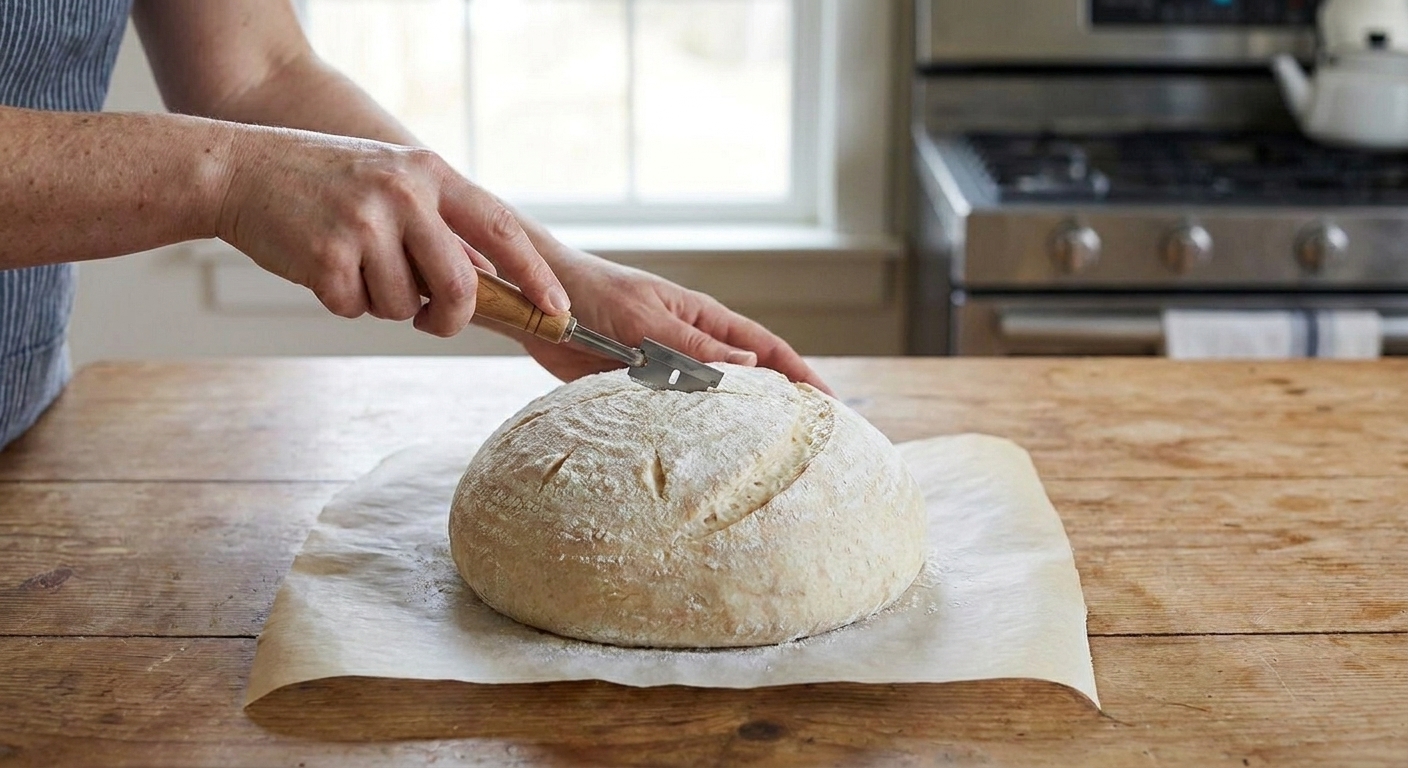

A risen sourdough boule on parchment paper being scored with a bread lame on a kitchen counter

I was originally the type of cook who wanted the most complicated version of everything. If a recipe had extra steps and mysterious French words, I was in. Sourdough humbled me in the best way. The first time I baked a loaf that actually sprang up, crackled as it cooled, and made my kitchen smell like a tiny neighborhood bakery, I remember thinking: okay, this is why people get obsessed. Now I keep this same-day version in my back pocket for when I want something impressive without turning bread into a whole weekend personality.