Mom's Best Recipes
Recipe

Gluten Free Bread Machine Bread

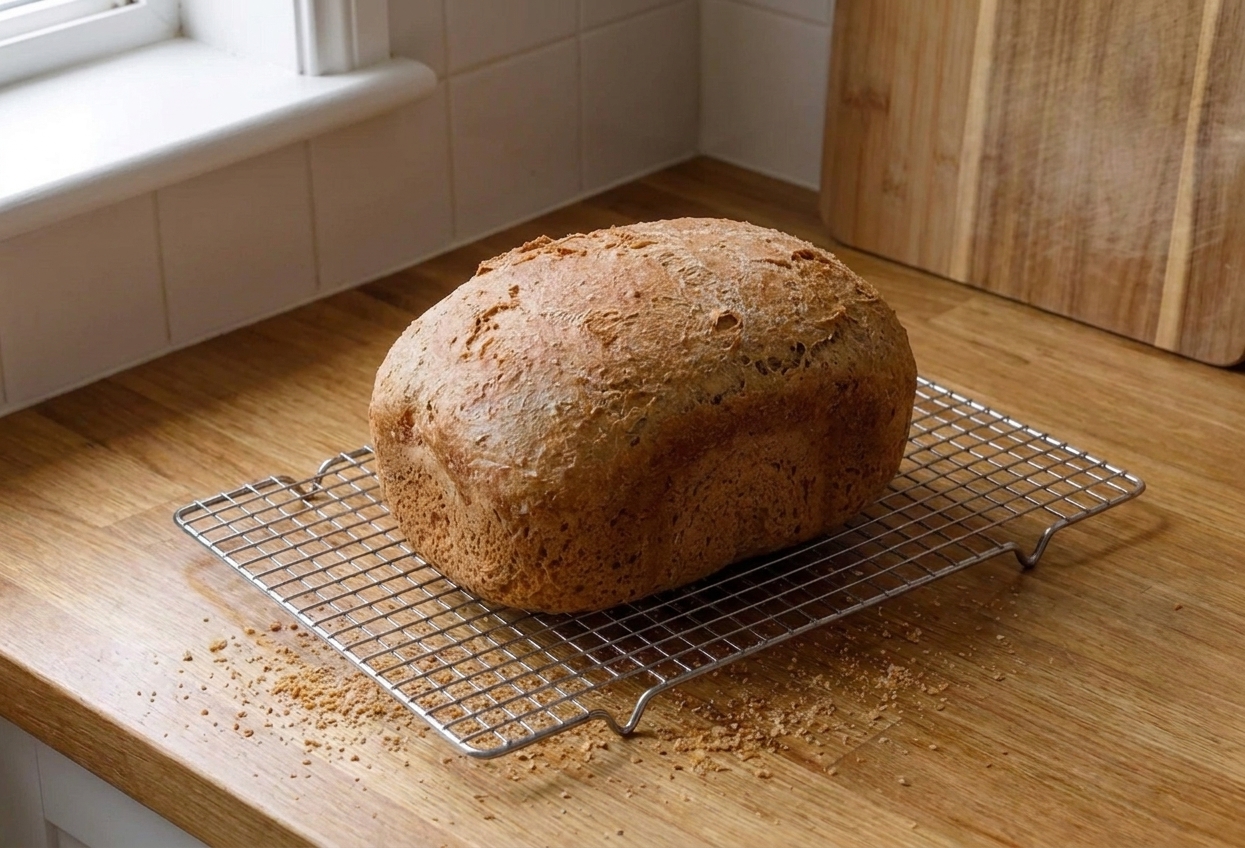
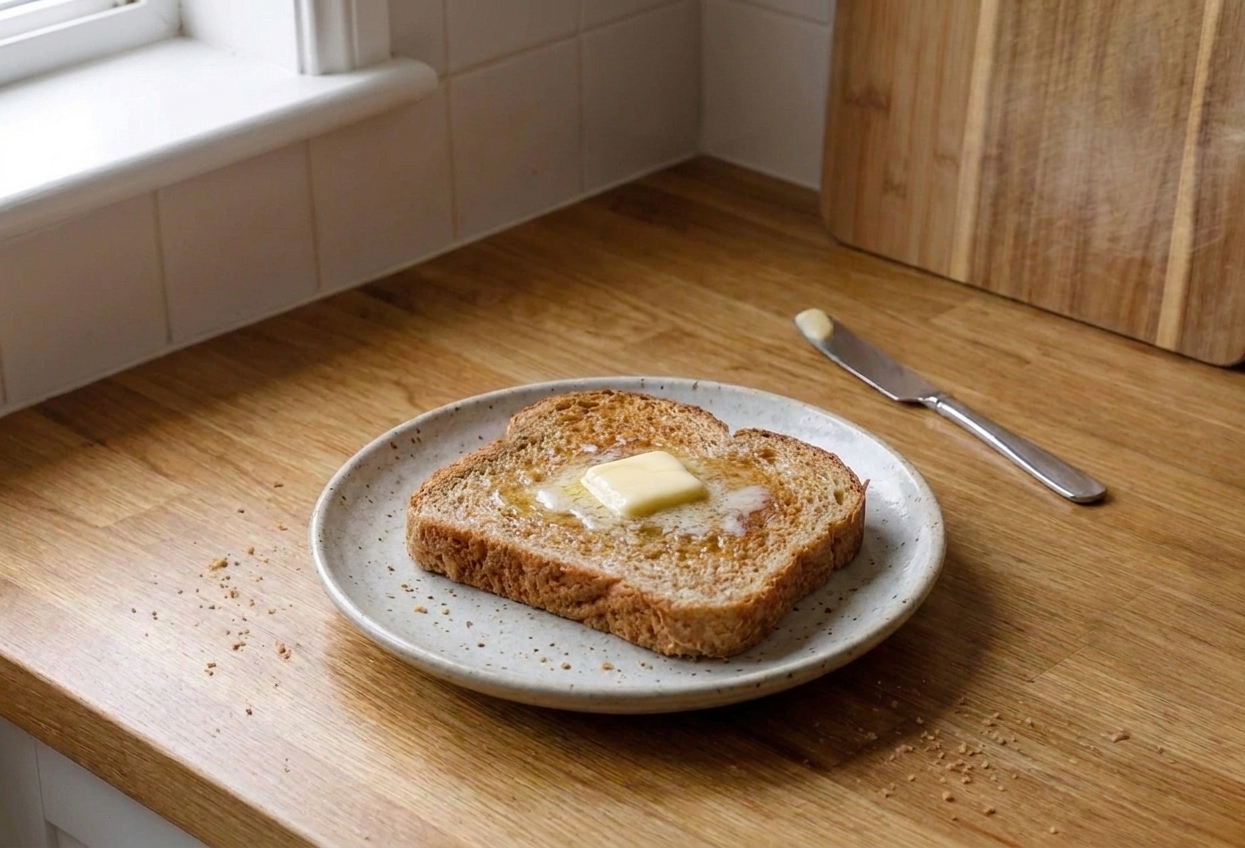
Soft, sliceable, and built for toast. This bread machine loaf uses simple ingredients and the right mixing order to get a high rise without the gummy middle.

Author By Matt Campbell
4.7
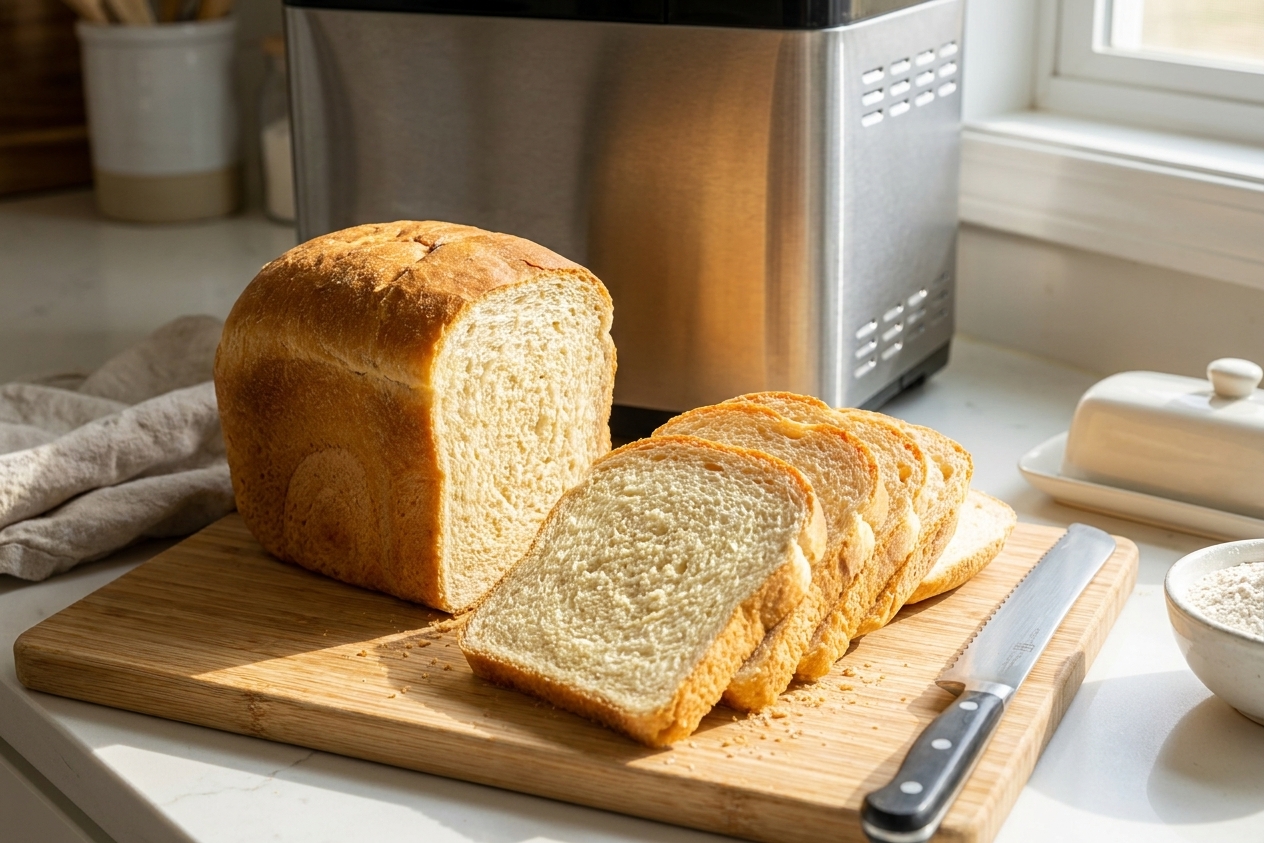
A freshly baked gluten free sandwich bread loaf sliced on a wooden cutting board beside a bread machine on a bright kitchen counter

Gluten free bread can be the friend who shows up late, spills a drink, and still expects you to be impressed. But your bread machine can absolutely crank out a loaf that is tall, tender, and actually sliceable, as long as you play by gluten free rules.

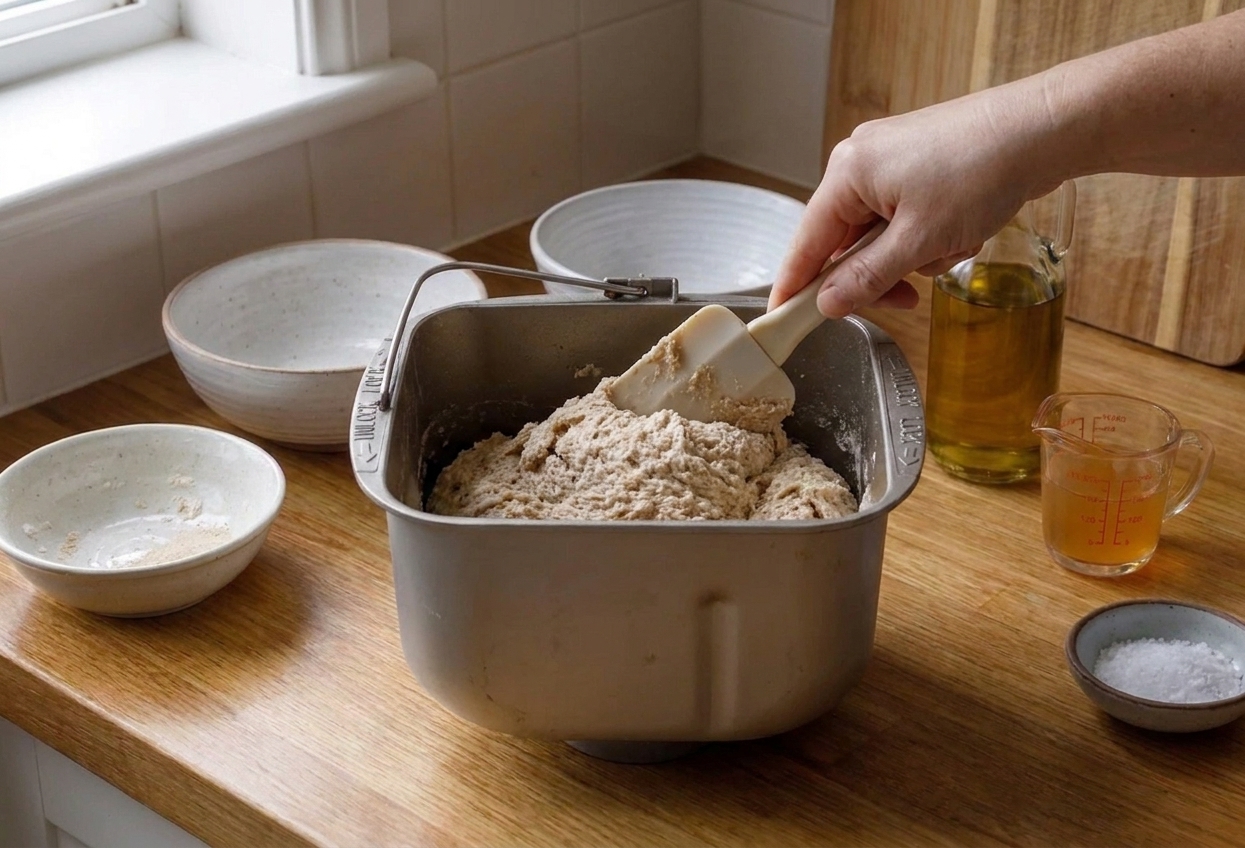
That means a batter like dough (not a kneadable ball), a little structure from psyllium and xanthan, and the right mix and rise timing. This recipe is my go to when I want dependable toast in the morning and sandwich bread that does not crumble like it is auditioning to be croutons.

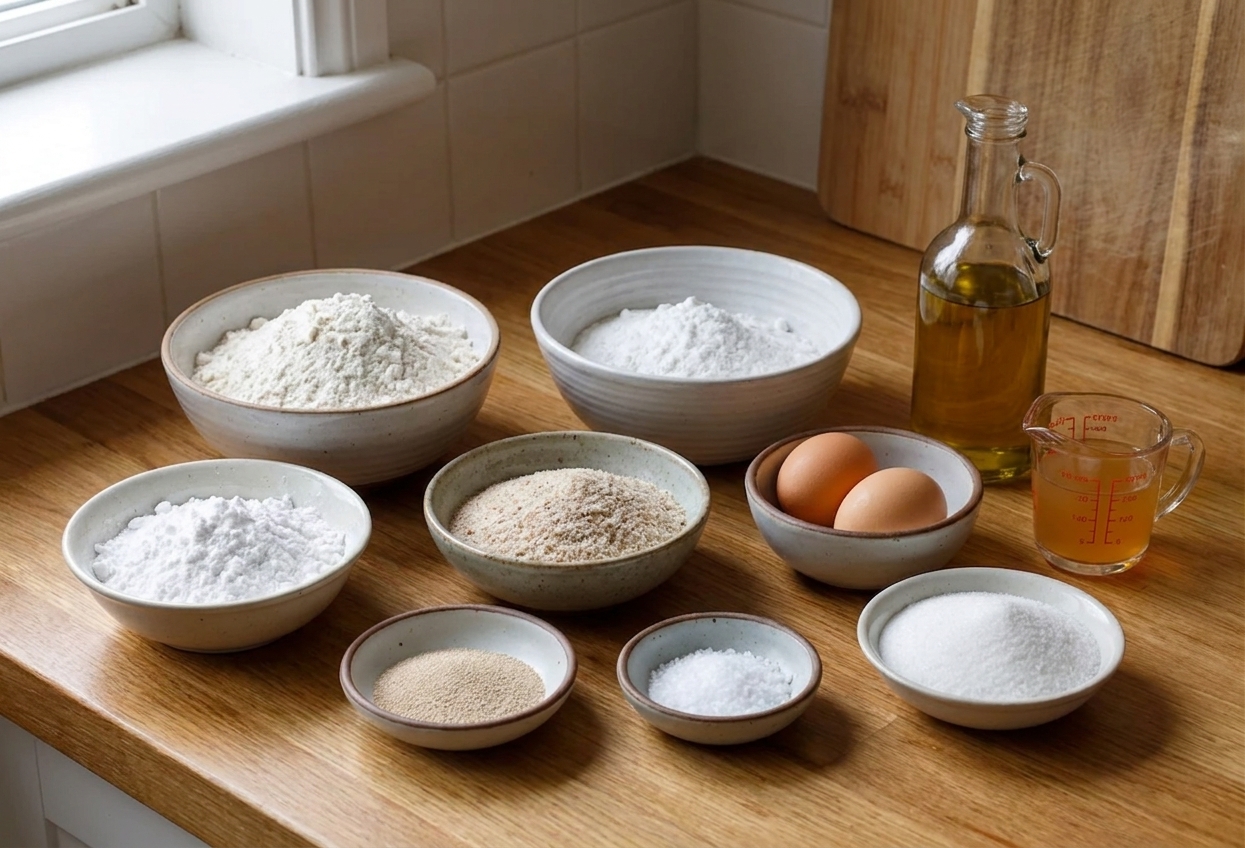
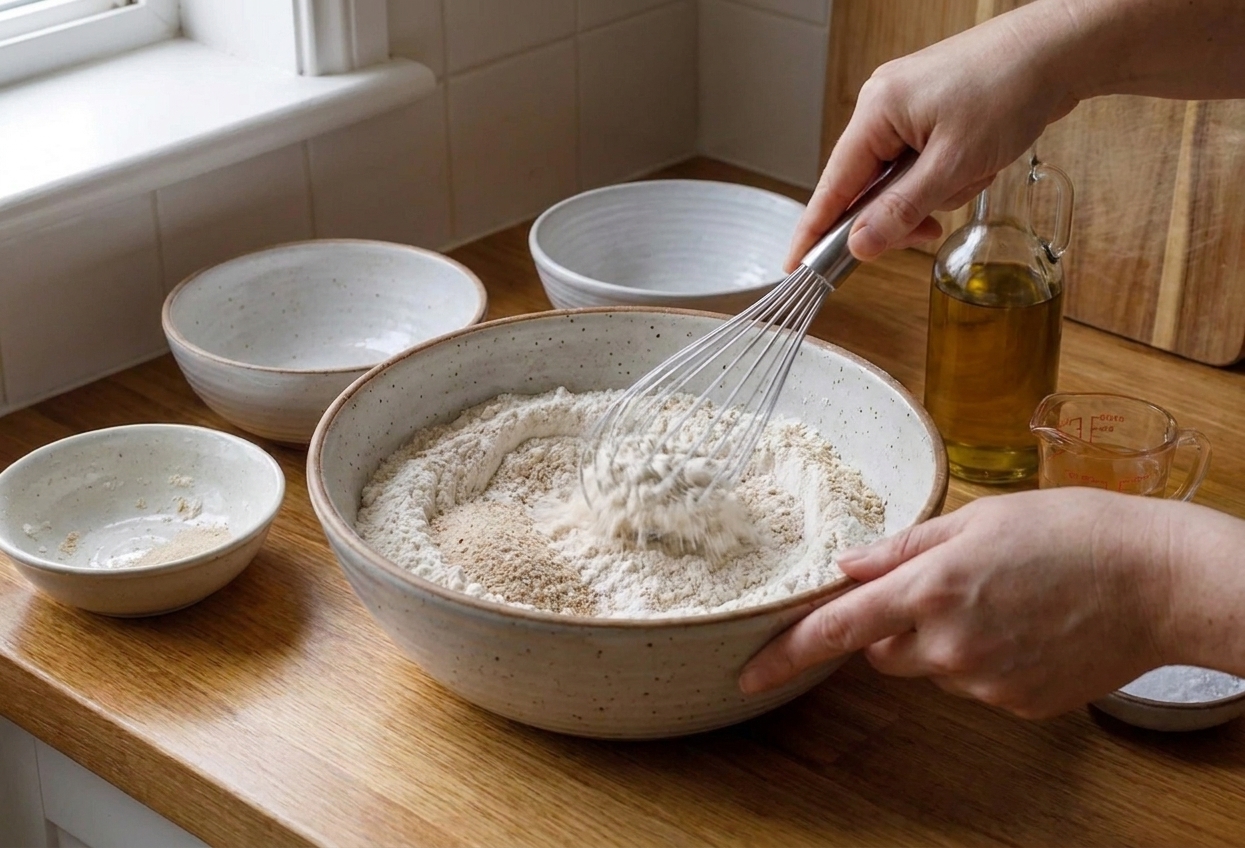
Bowls of gluten free flour blend, tapioca starch, psyllium husk, yeast, salt, sugar, eggs, oil, and apple cider vinegar arranged on a kitchen counter

Why It Works

  • Soft crumb that holds together: Psyllium plus xanthan gives the loaf structure so it slices cleanly.
  • Better rise without drama: Proper hydration, fresh yeast, and a short rest (if you can pause the machine) help the dough lift instead of sinking.
  • Crisp edges, cozy center: Oil and eggs keep it tender, while the machine bakes a nicely browned crust.
  • Clear bread machine workflow: You load it, babysit the first 5 minutes, then let the machine do its thing.

Pairs Well With

Storage Tips

Gluten free bread is at its best the day it is baked, but you can keep it great with two moves: cool it fully and freeze what you will not use fast.

On the counter (short term)

  • Cool completely, then store in a bread bag or airtight container for up to 2 days.
  • If your kitchen runs humid, tuck in a paper towel to absorb moisture and help prevent a sticky crust.

Refrigerator (not my first choice)

  • The fridge can make bread stale faster, but it can help if your home is very warm.
  • If refrigerating, wrap tightly and toast before serving.

Freezer (best option)

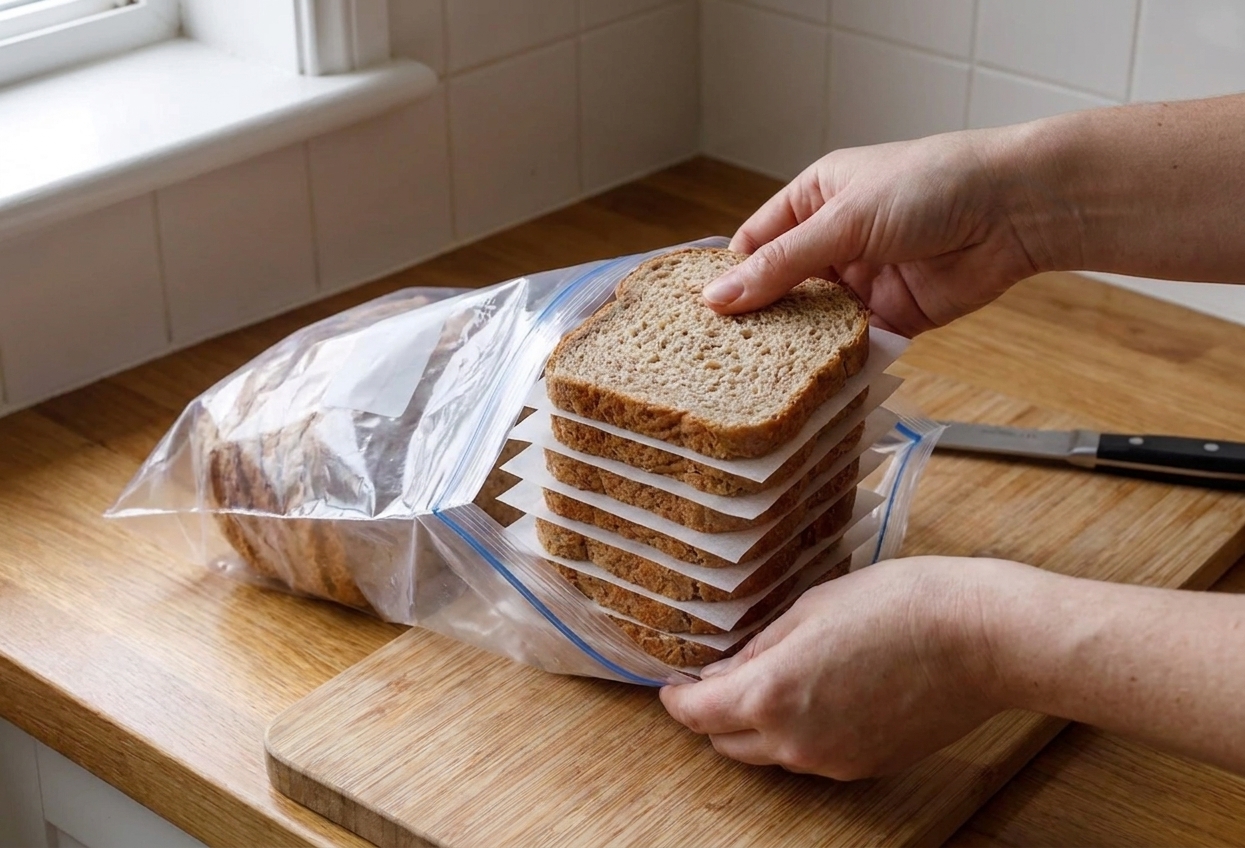
  • Slice the loaf once fully cool, then freeze slices with parchment between them in a freezer bag.
  • Freeze up to 2 months.
  • Toast from frozen or thaw at room temp for 15 to 20 minutes.
Sliced gluten free bread with parchment between slices being placed into a freezer bag on a kitchen counter

Common Questions

Do I need a bread machine with a gluten free setting?

It helps a lot, but you can still make this on a basic machine. If you do not have a gluten free cycle, choose the shortest yeast bread program that has one rise and one bake (often labeled “Rapid” or “Express” on some models). Program names vary a ton, so the safest move is checking your manual for the step list and avoiding cycles with multiple rises and punch downs.

Why does my gluten free bread sink in the middle?

The usual culprits are too much liquid, too much yeast, or the loaf rising too high then collapsing. Measure by weight if you can, use fresh yeast, and do not let the loaf overproof. Also, open the lid as little as possible once the rise starts.

Why is my loaf gummy?

Gumminess comes from underbaking, too much moisture, or slicing while warm. Let the loaf cool at least 2 hours. If it still feels tacky, reduce water by 1 to 2 tablespoons next time or add a few minutes of bake time if your machine allows it. If your flour blend already contains xanthan, excess gum can also contribute for some machines and blends, but it is just one variable alongside hydration and doneness.

Can I make this egg free?

You can try replacing the eggs with a commercial egg replacer, but the loaf will be a little more fragile. If you go egg free, keep the psyllium and xanthan, and expect a tighter crumb.

What gluten free flour blend should I use?

Use a 1:1 gluten free baking flour that already includes xanthan gum, or use one without it and add the xanthan listed in the recipe. Different blends absorb water differently, so you may need to tweak the liquid by a tablespoon or two after you see the dough texture the first time.

My manual says a different ingredient order. Which one is right?

Follow your machine’s manual. Some machines prefer liquids first, others prefer dry first, and some want yeast kept isolated until mixing starts. This recipe works well with liquids first and yeast in a well, but your manual is the boss if it disagrees.

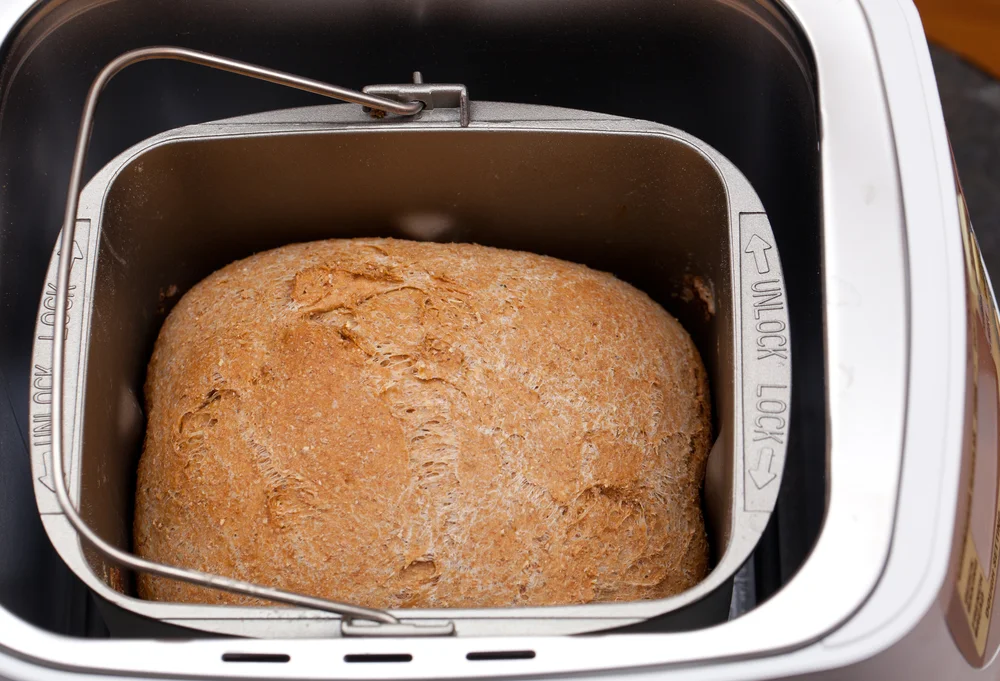
I used to think gluten free bread machine recipes were either magic or lies. I would follow a recipe, hit start, and then watch the loaf do something chaotic: it would rise like a champ, then sink like it remembered a meeting it forgot to attend. Once I started treating gluten free dough like a thick batter and focusing on structure, everything changed.

This loaf is the one I make when I want bread that feels normal. Not perfect, not precious, just good enough to carry a fried egg, soak up soup, and make a grilled cheese that actually gets those crisp, golden edges.