Mom's Best Recipes
Recipe

Homemade Potato and Cheddar Perogies

Pillowy dumplings with a creamy potato-cheddar filling, boiled until tender, then butter-seared for crisp edges.

Author By Matt Campbell
4.8
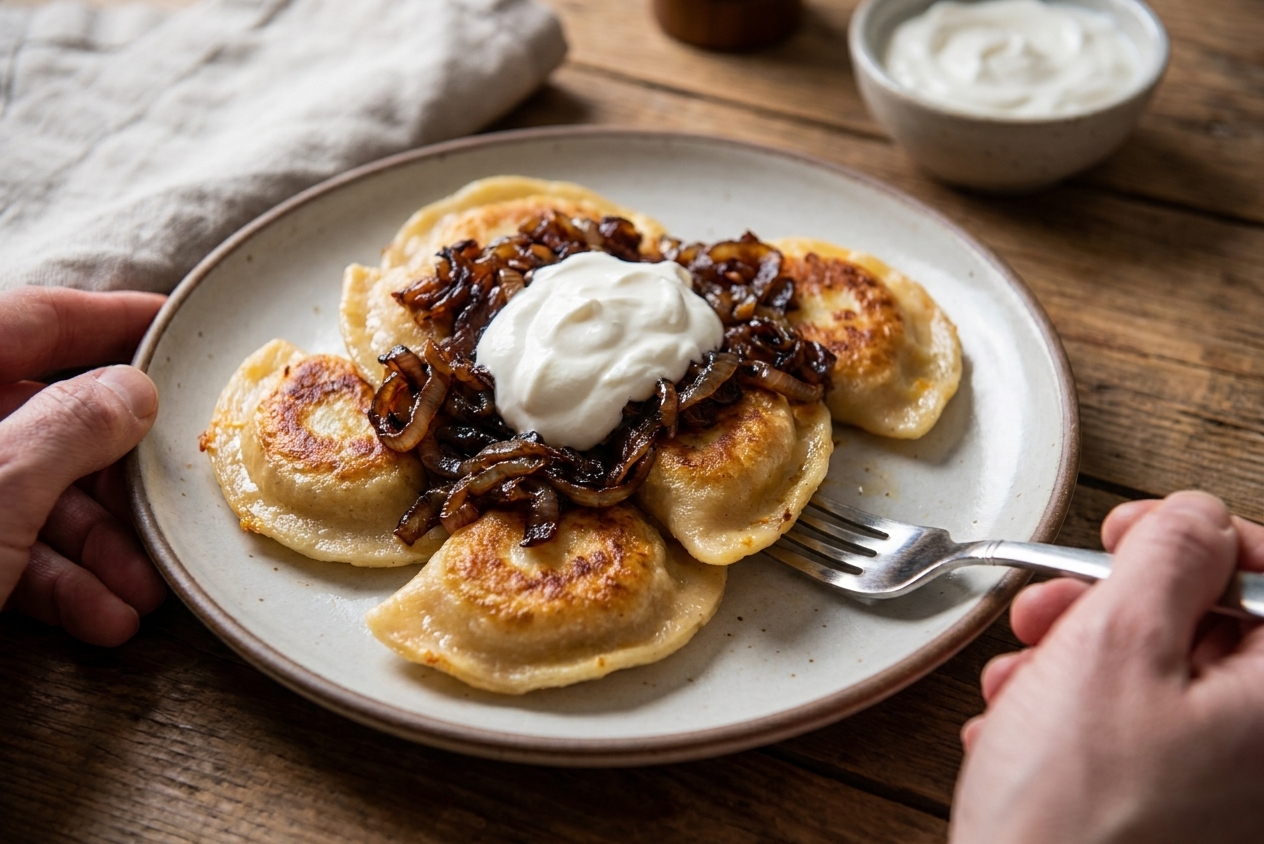
A plate of potato and cheddar perogies with golden, crisp butter-seared edges, topped with caramelized onions and a dollop of sour cream on a rustic dinner table

Perogies are one of those foods that feel like a warm hoodie for your dinner plans. Soft dough, creamy filling, and that buttery, crisped finish that makes you hover at the stove just to taste one three times. This version is my weeknight-friendly classic: mashed potatoes plus sharp cheddar plus a little onion situation, then a quick boil and a butter sear that gives you the best of both worlds.

We are keeping ingredients simple and the steps clear. The only thing I will ask of you is this: taste the filling before you start stuffing. Potatoes can be shy, cheddar can be bold, and salt is the translator.
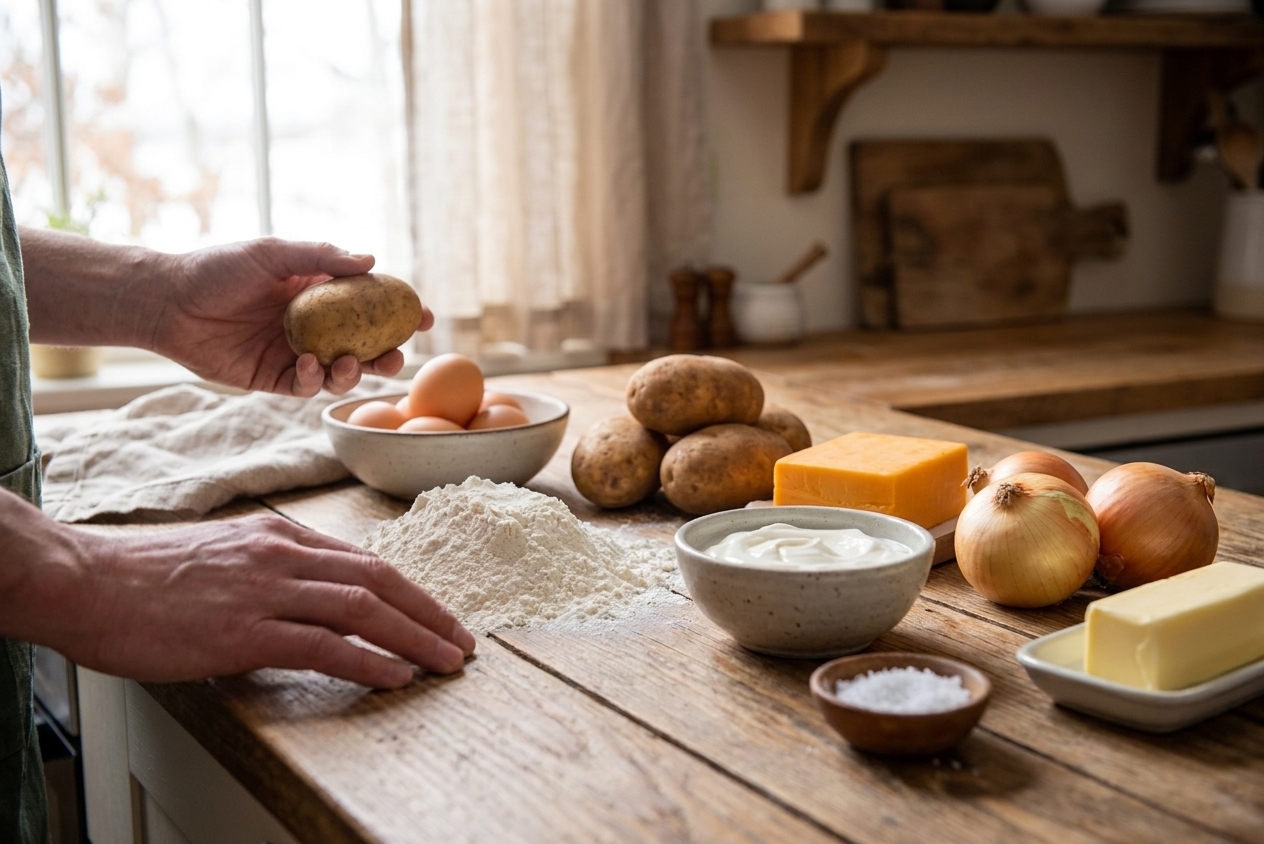
Flour, eggs, sour cream, potatoes, cheddar, onions, butter, and salt arranged on a bright kitchen counter, ready for cooking

Why It Works

  • Tender dough that rolls easily: Sour cream and a little fat keep the dough soft, not bouncy.
  • Filling that stays creamy: Warm potatoes, melted butter, and sharp cheddar give you a smooth center that does not dry out.
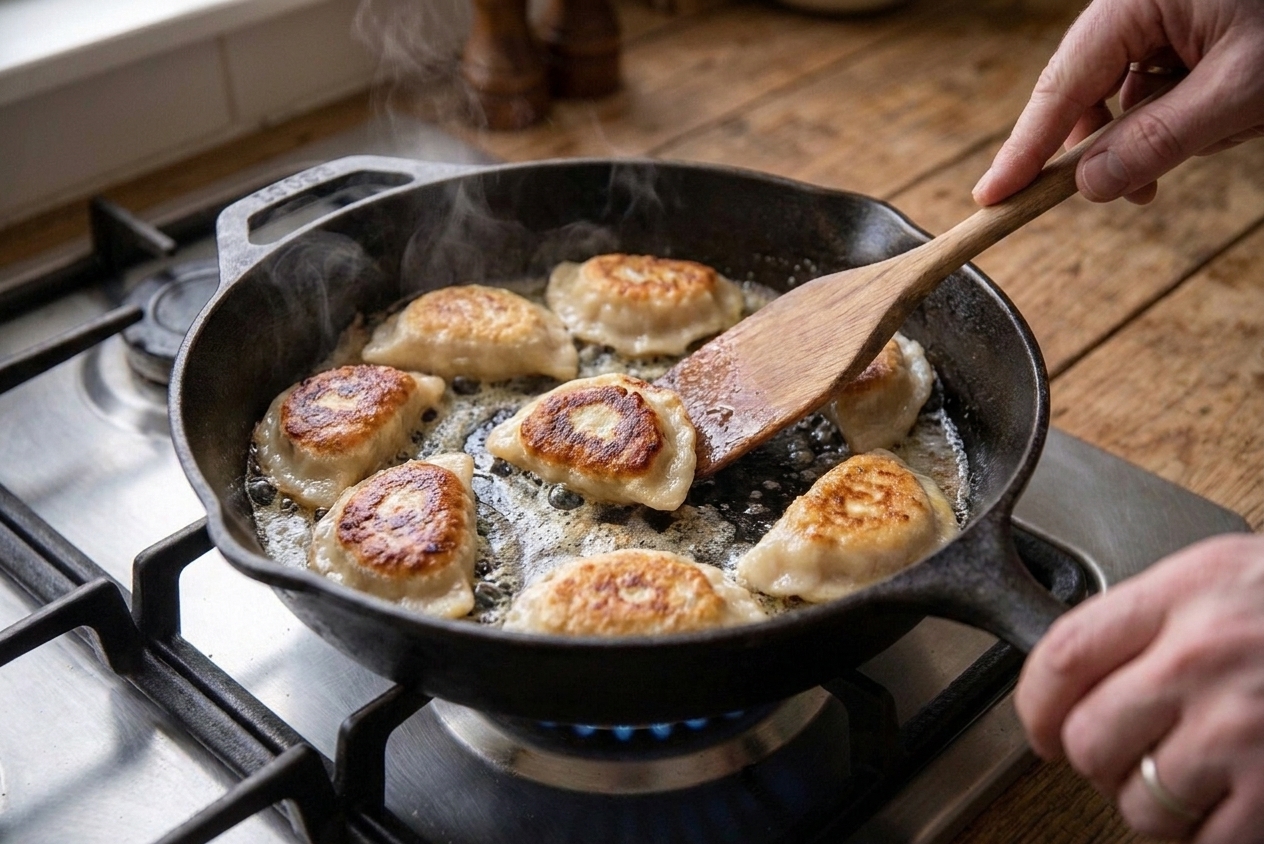
  • Crisp edges without stress: Boil first for that pillowy bite, then pan-sear in butter for the golden, lacy edges.
  • Freezer-friendly: Make a big batch, freeze, and future-you gets an easy win.

Pairs Well With

Storage Tips

How to Store and Reheat Perogies

Refrigerator

Store cooked perogies in an airtight container for up to 4 days. For best quality, keep them on the shorter end if your fridge runs warm. I like to toss them with a tiny bit of melted butter so they do not stick together.

Freezer (best for make-ahead)

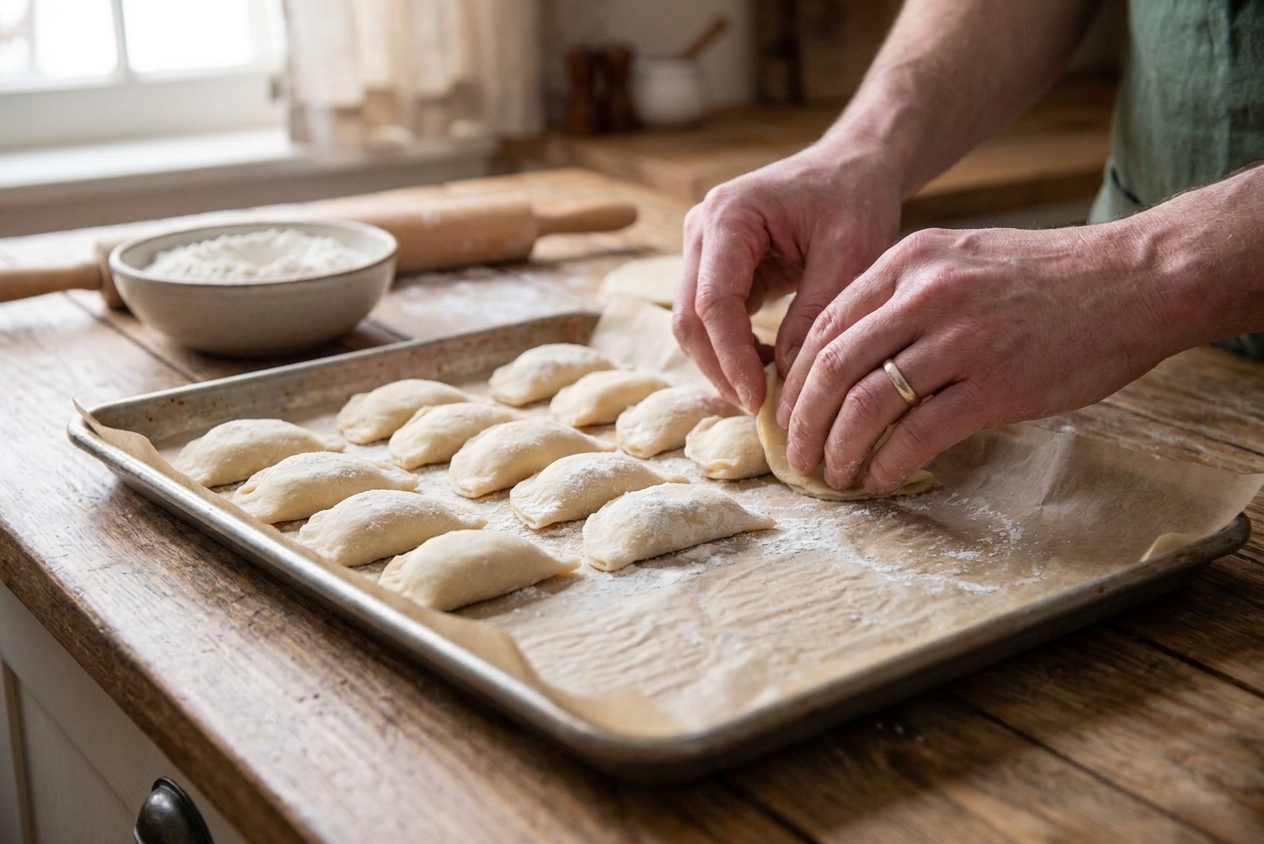
Freeze uncooked perogies on a parchment-lined baking sheet until solid, then transfer to a freezer bag. They keep well for up to 3 months, though they are best in the first 1 to 2 months for peak flavor and texture.

Reheating

  • Skillet (best texture): Medium heat, butter or oil, cover for 2 minutes to warm through, then uncover and crisp.
  • From frozen (no need to thaw): Boil straight from frozen until they float and the wrapper is tender all the way through, usually about 4 to 8 minutes depending on size and thickness. Then drain well and sear in butter as usual.

Make-ahead tips

  • Filling: Can be made up to 1 day ahead and refrigerated. Bring it back to room temp so it is easy to scoop and seal.
  • Dough: Best made the same day for the easiest rolling and sealing.
Uncooked perogies arranged in a single layer on a parchment-lined baking sheet, ready to freeze in a home kitchen

Common Questions

Perogies FAQ

Perogies or pierogi, what is correct?

You will see both. In Polish, pierogi is plural and pieróg is singular. In English, people often use pierogi for one or many. On this site, I say perogies because that is how a lot of families write it on recipe cards. Either way, we are talking about stuffed dumplings that deserve butter.

Why did my perogies burst while boiling?

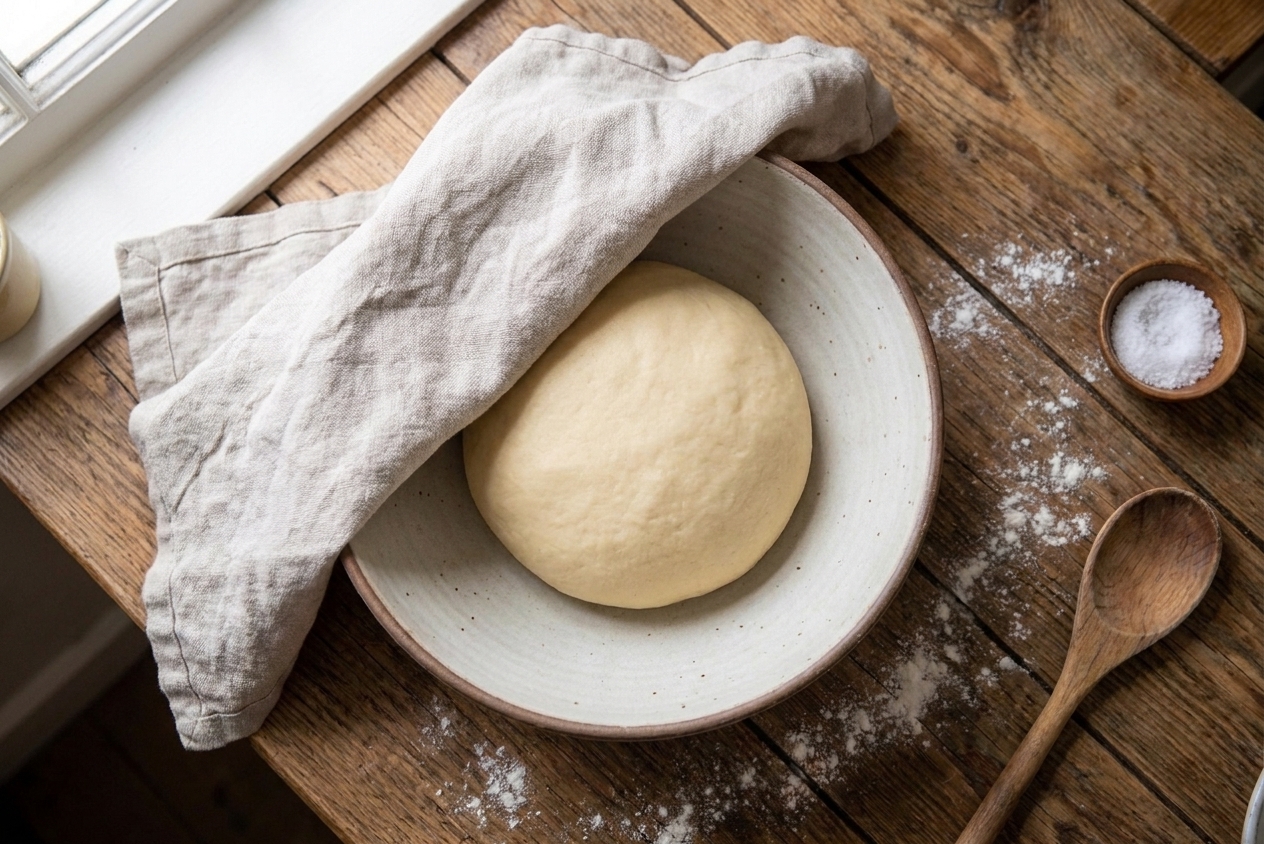
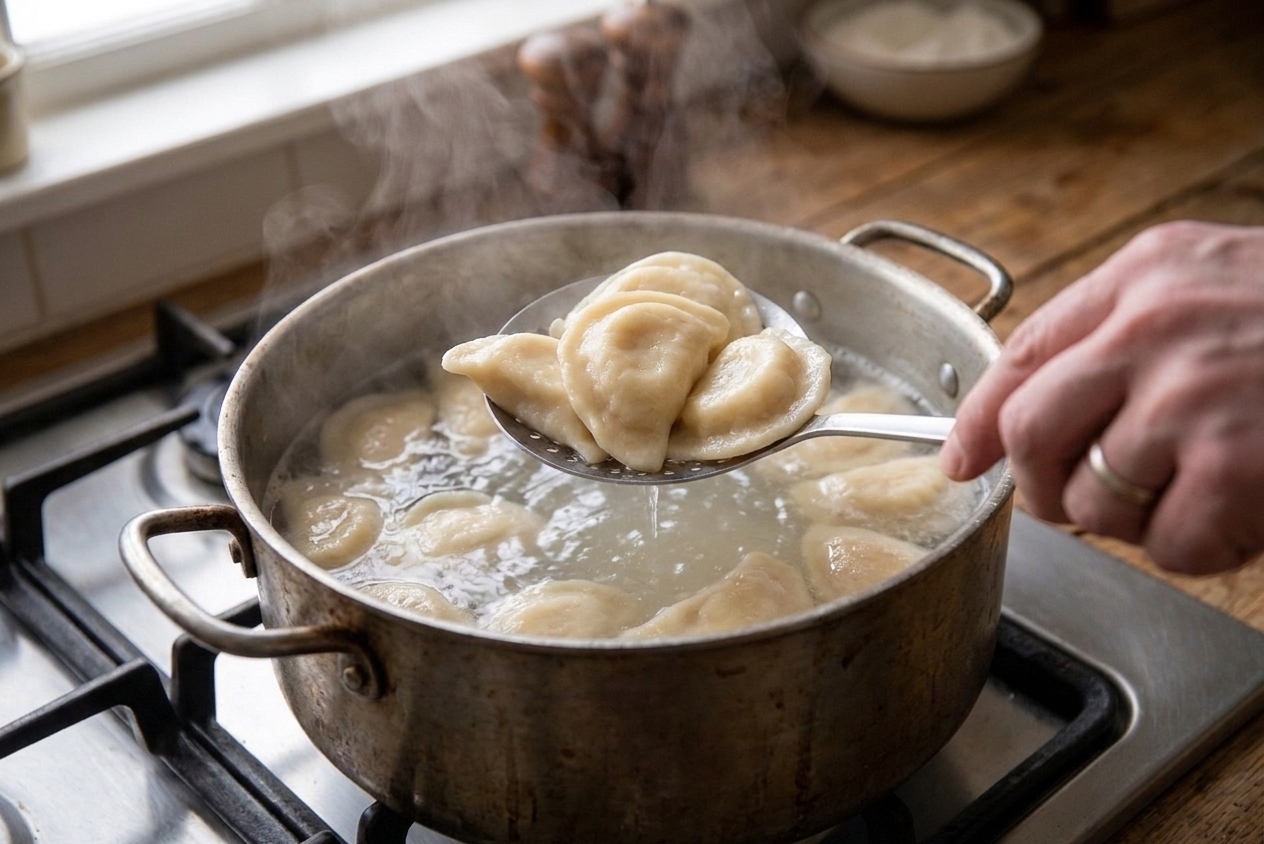
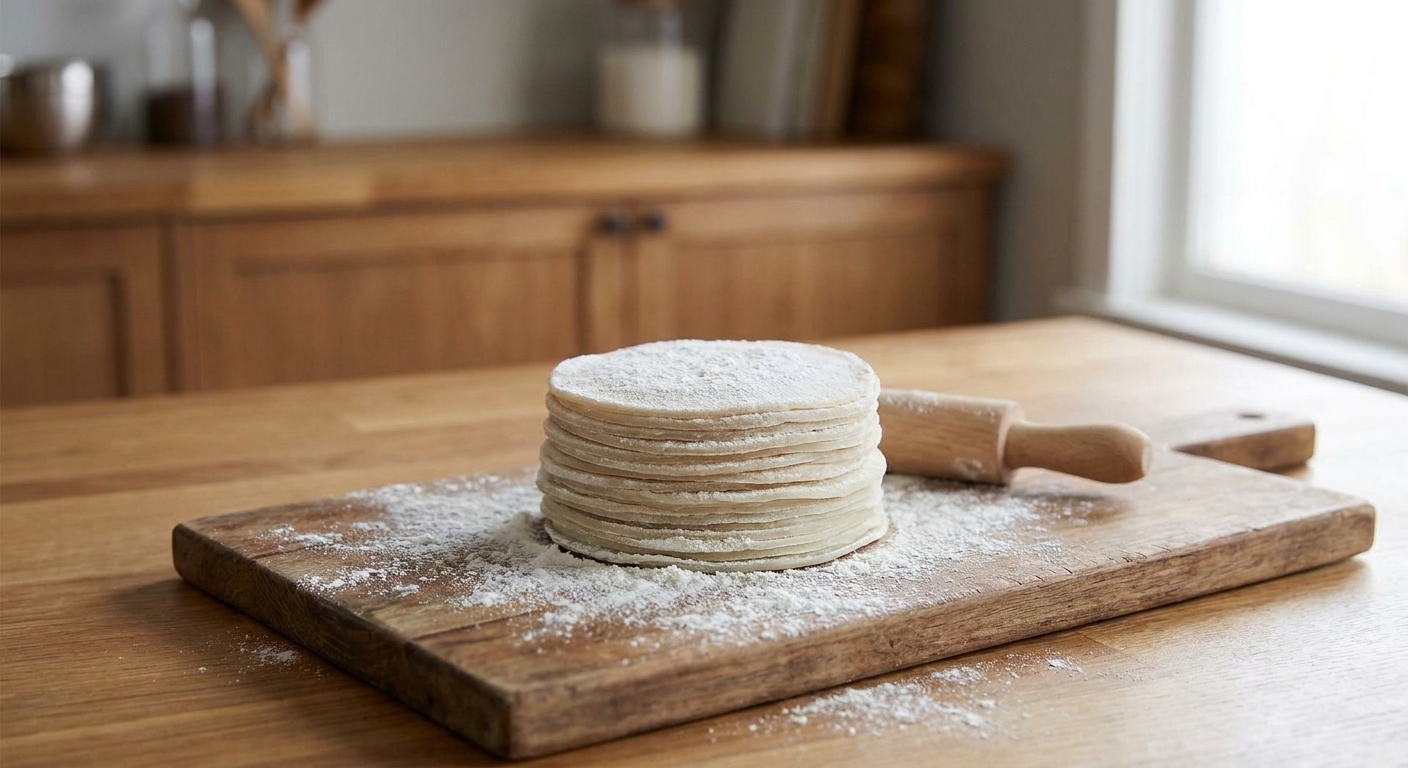
Usually one of these: the seam was not sealed well, the dough dried out while you worked, the pot was at a violent boil, or they were overfilled. Keep the water at a gentle boil, press out air pockets, and pinch the edges firmly. If the dough feels dry, cover it and any cut rounds with a towel.

Can I skip boiling and just pan-fry?

You can, but the texture will be different and the dough can stay a bit raw inside. Boiling first gives you that tender dumpling bite, then the pan gives you crisp edges.

What else can I fill them with?

Try sautéed mushrooms and onions, farmer cheese or ricotta with herbs, mashed sweet potato with a pinch of smoked paprika, or leftover braised meat finely chopped. Just keep fillings fairly dry so the dough seals well.

Do I need a pierogi press?

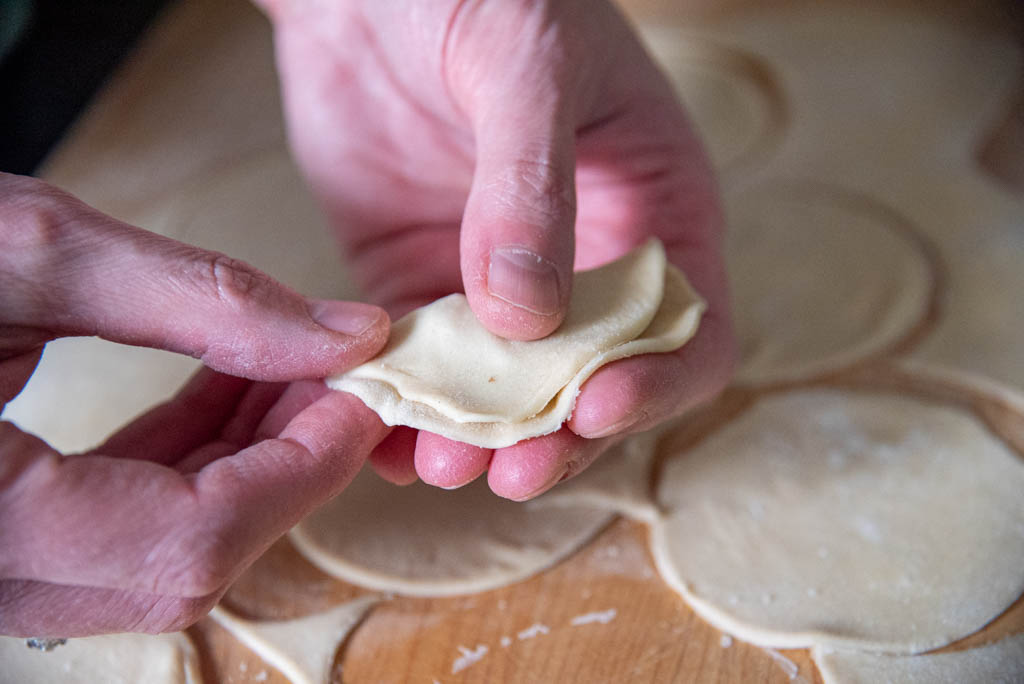
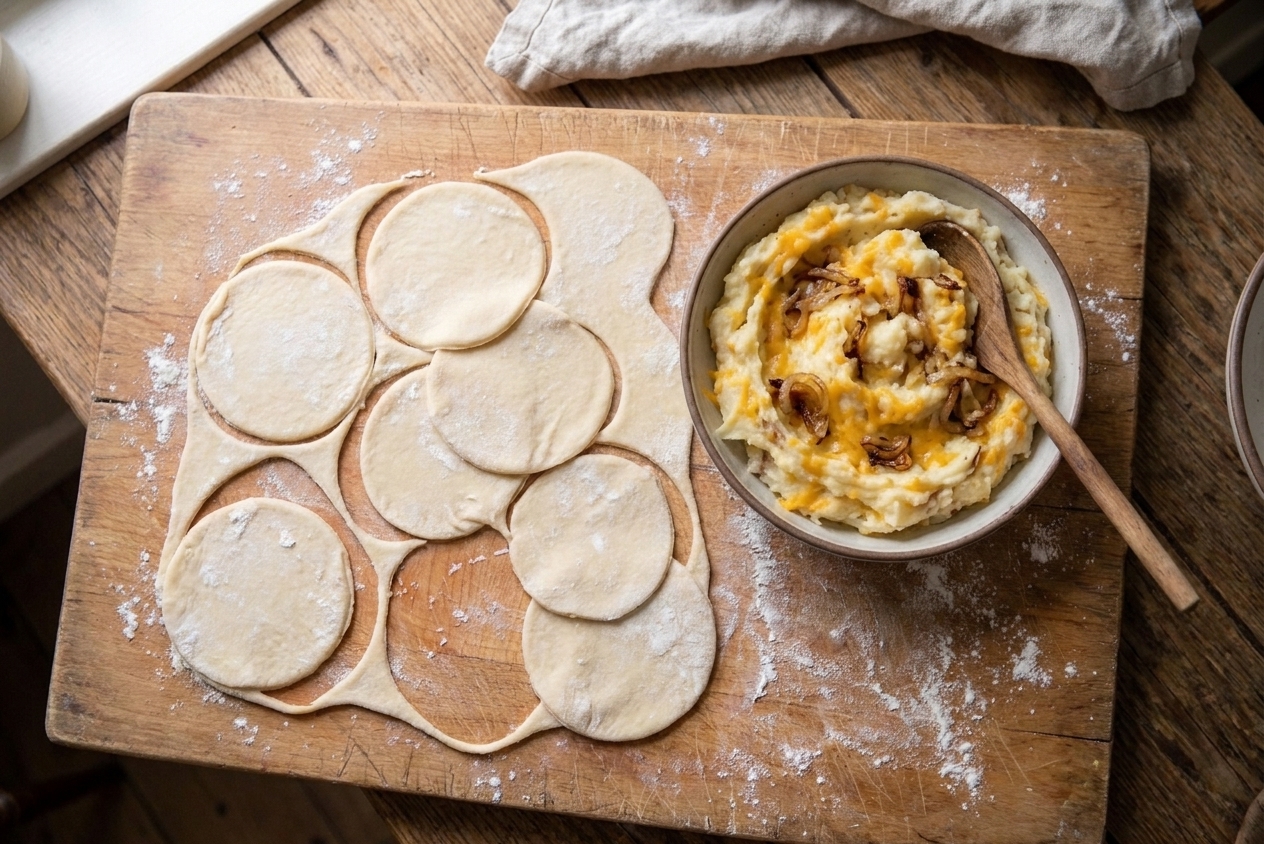
Nope. A round cutter and your fingers work great. A fork crimp is cute, but a good pinch seal is what keeps dinner intact.

Close-up of hands sealing a filled perogy by pinching the dough edges together on a floured wooden board

The first time I made perogies at home, I treated it like a cooking show challenge. Flour everywhere, dough drying out, filling disappearing because I tested it with a spoon about twelve times. But once I got the rhythm, it clicked: make the filling tasty enough to eat straight, keep the dough covered, and do not rush the seal. Now it is one of my favorite weekend projects because it is hands-on in the best way, like cooking with a friend who keeps sneaking bites and laughing at the mess.