
Mom's Best Recipes
Recipe

Homemade Rock Candy

Sparkly sugar crystals on a stick made with pantry basics, clear steps, and real-world troubleshooting.

Author By Matt Campbell
4.7
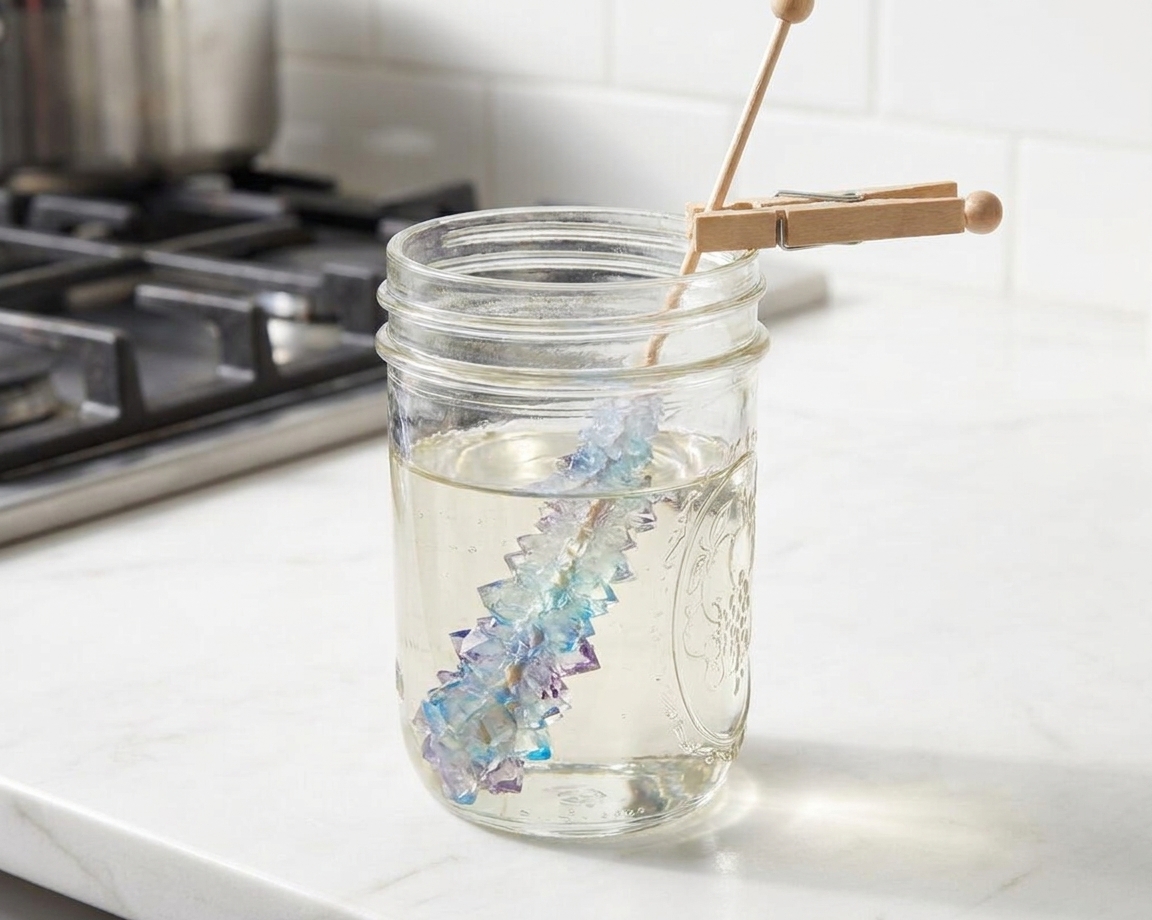
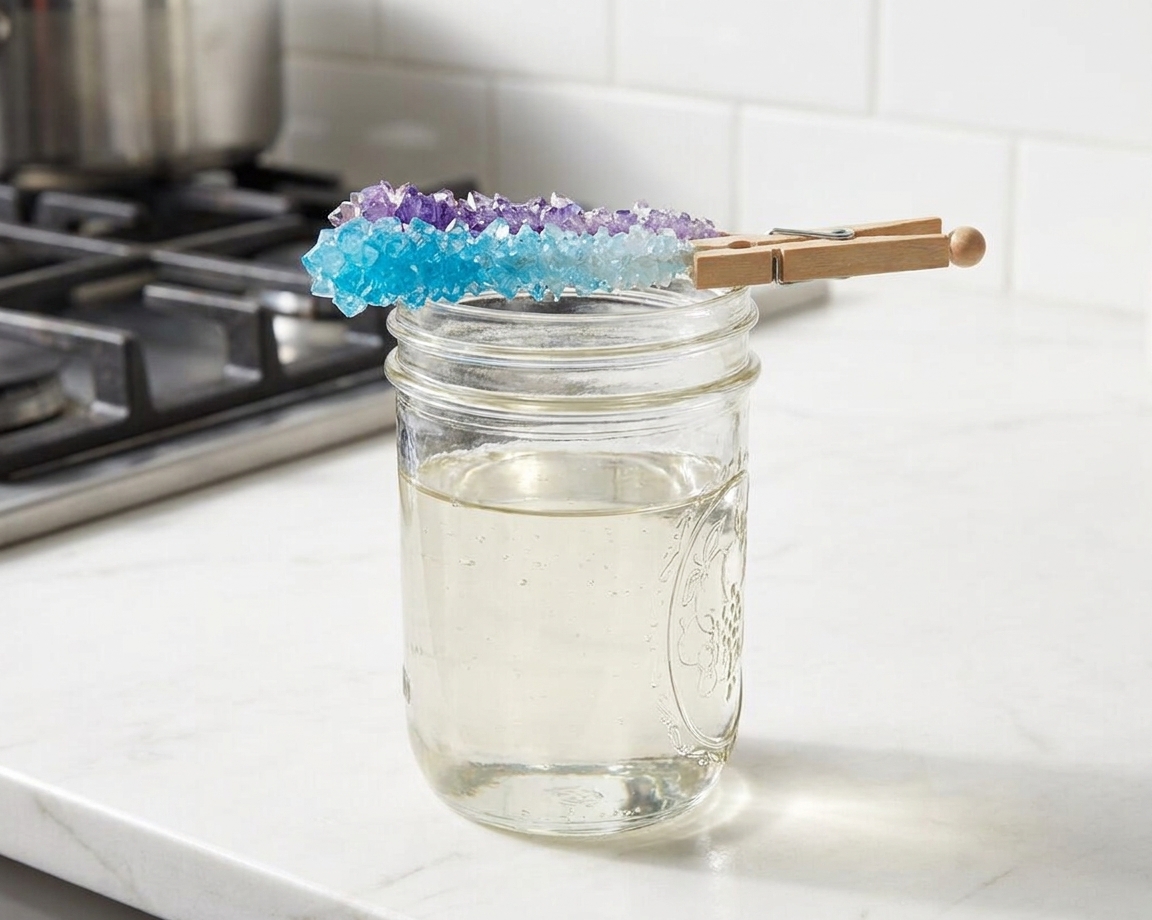
A mason jar filled with clear sugar syrup and a wooden skewer coated in sparkling rock candy crystals resting across the jar rim on a bright kitchen counter

Rock candy is one of those kitchen projects that feels like a science fair, a snack, and a tiny patience bootcamp all at once. The good news: you do not need fancy ingredients or special candy gear. You need sugar, water, clean jars, and a setup that lets crystals do their slow, sparkly thing.

This version keeps it simple and sturdy, with the little tricks that matter. How to seed your stick so the crystals actually cling, how to keep random crystals from taking over the bottom of the jar, and what to do if nothing seems to happen after a day.
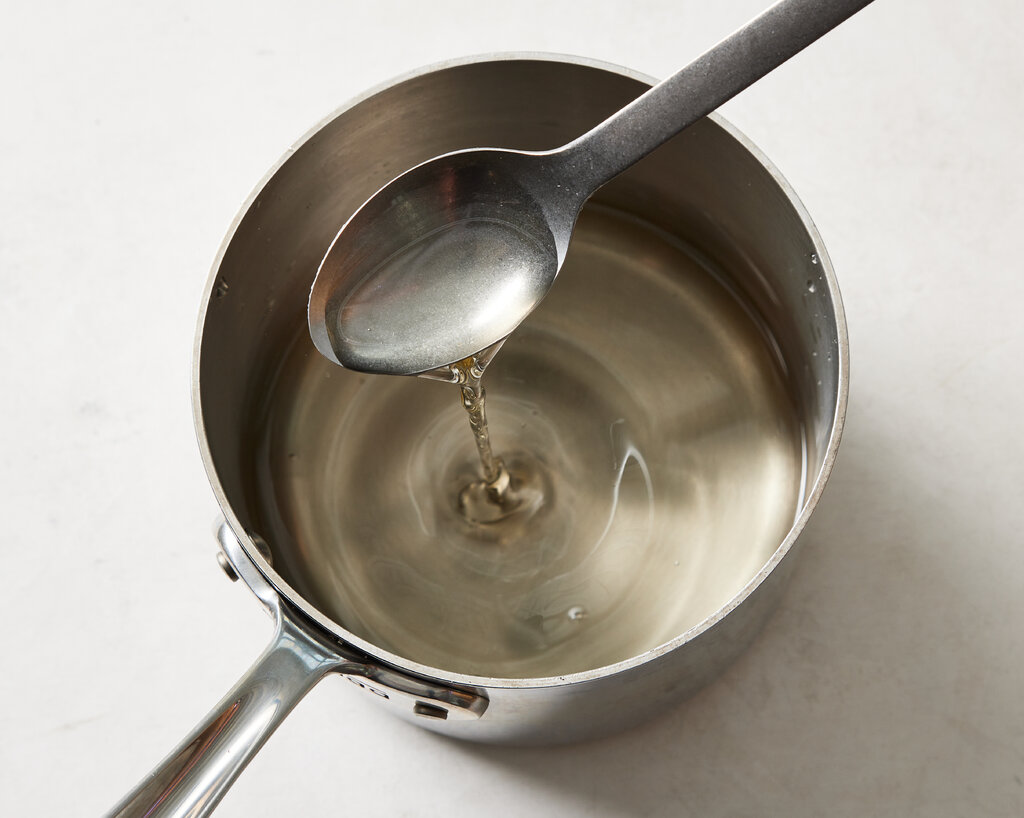
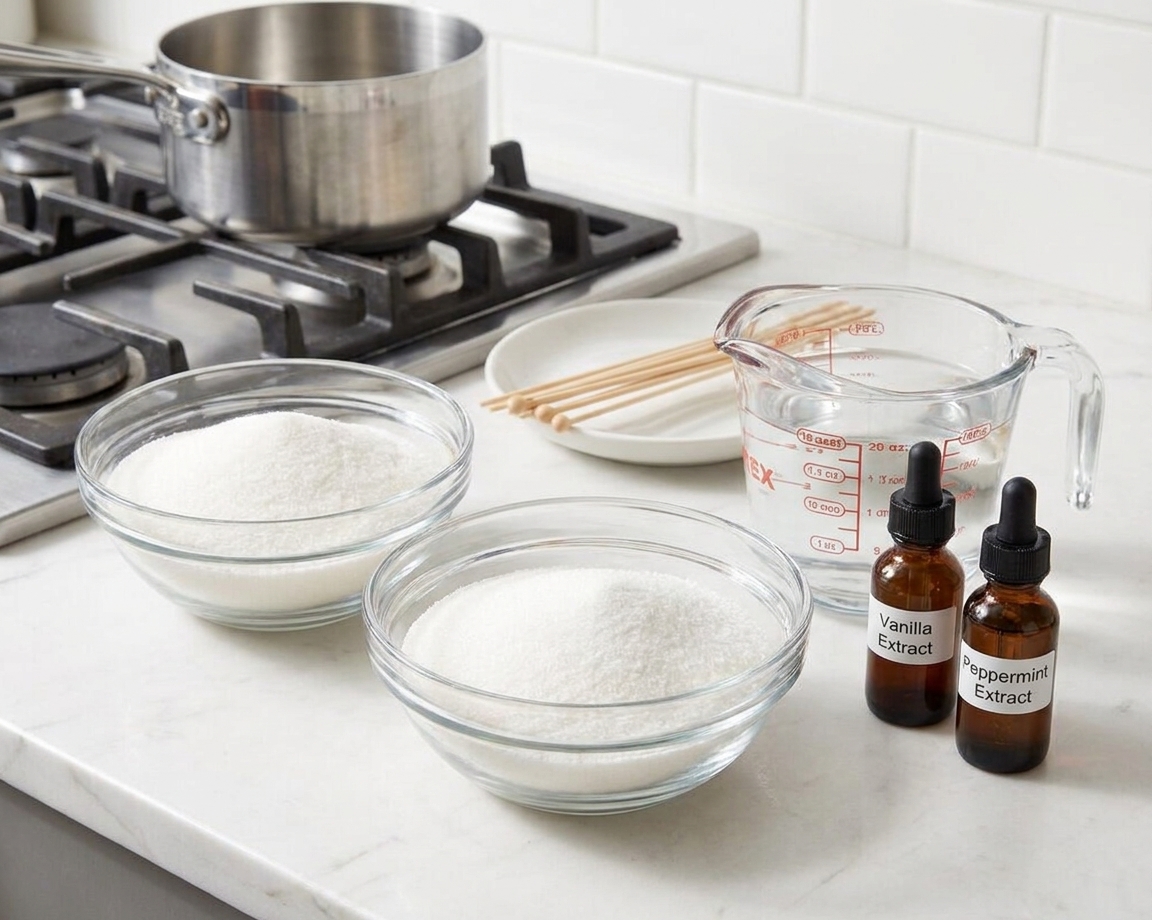
A saucepan on a stove with clear sugar syrup coming to a gentle boil as a wooden spoon stirs in a home kitchen

Why It Works

  • Big, glittery crystals thanks to a properly saturated syrup and a seeded stick.
  • Low drama instructions with specific visual cues (and optional temperature guidance) so you know what is happening.
  • Flexible flavors and colors with simple add-ins that will not wreck crystallization.
  • Built-in troubleshooting for the most common issues: no crystals, too many crystals, cloudy candy, or crystals only at the bottom.

Pairs Well With

Storage Tips

Rock candy is basically sugar with a great skincare routine, so it stores beautifully as long as you keep moisture away.

After it is fully dry

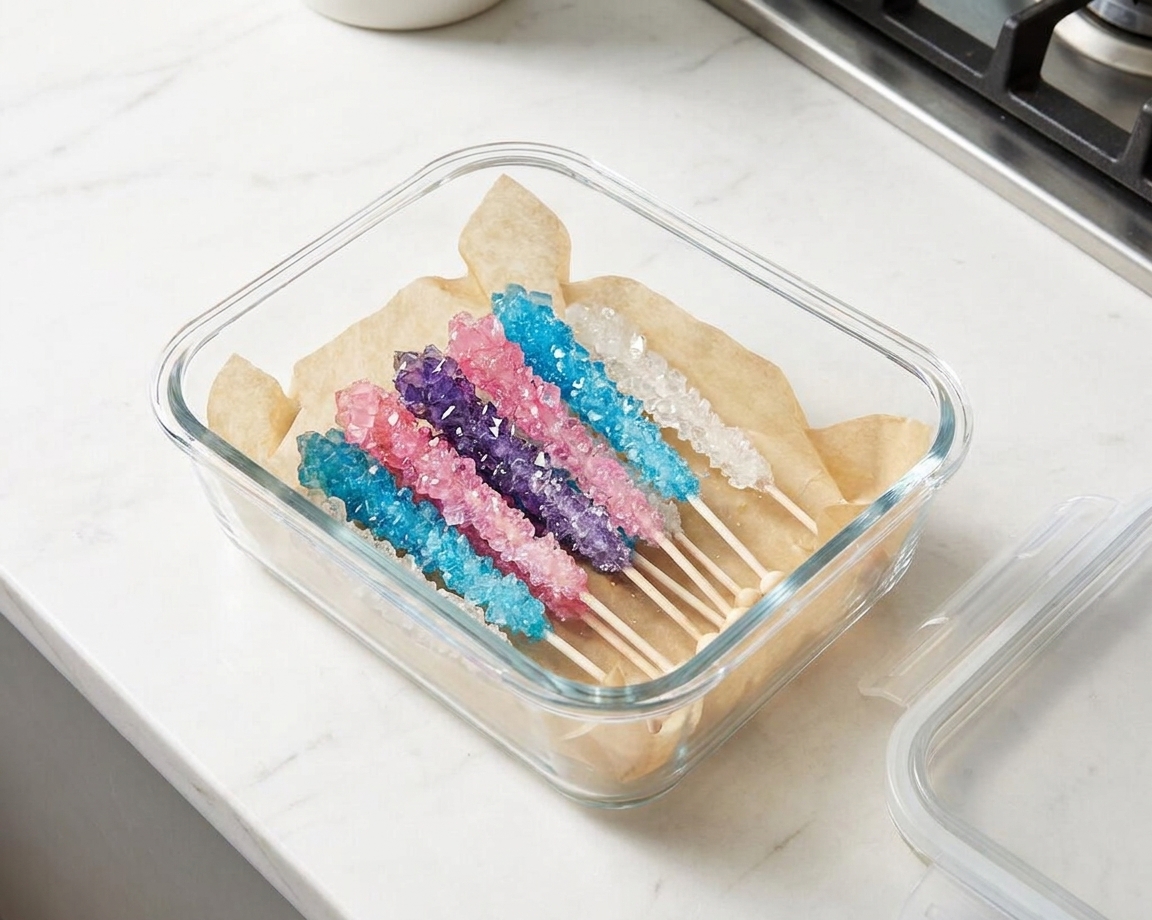
  • Room temperature: Store sticks in an airtight container for up to about 1 month, sometimes longer in a dry kitchen. Add a piece of parchment between sticks to prevent sticking.
  • Humidity warning: If your kitchen is humid, it can get tacky sooner. Toss a small food-safe desiccant packet into the container or keep the container in a cool, dry cabinet.

What about the leftover syrup?

  • Fridge: Pour it into a clean jar, cool completely, cover, and refrigerate for up to about 2 weeks. If it looks cloudy, smells off, or you see anything suspicious, toss it.
  • Use it: Stir into iced tea, lemonade, coffee, or cocktails as a quick simple syrup.
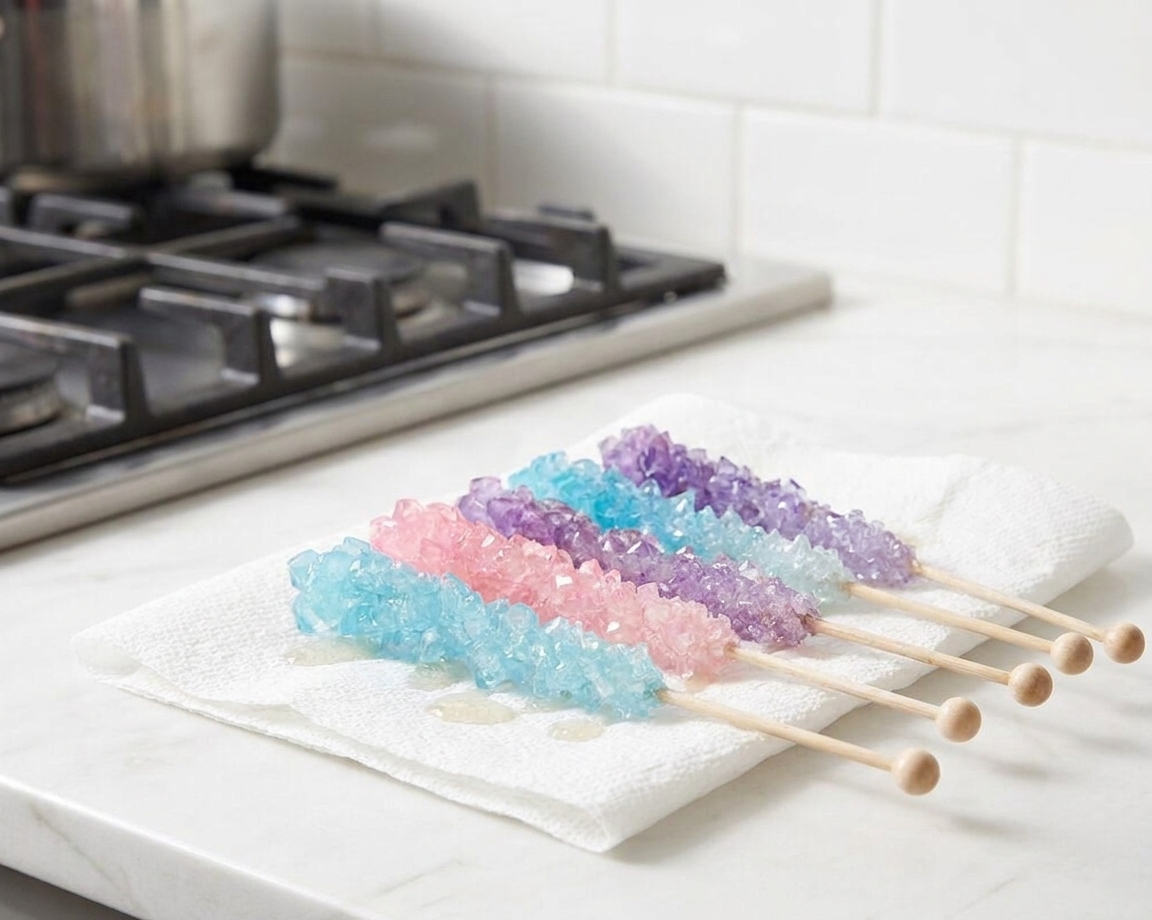
Several rock candy sticks laid in a single layer inside a clear airtight container lined with parchment on a kitchen counter

Common Questions

How long does rock candy take to grow?

Most jars show visible crystals within 12 to 24 hours, then serious growth over 3 to 7 days. For thicker crystals, let it go the full week.

Why do I need a seeded stick?

Crystal growth needs a starting point. Rolling the stick in sugar creates tiny seed crystals so the rock candy forms on the stick instead of only on the jar.

My crystals are growing on the bottom and sides, not the stick. What happened?

Usually one of three things: the stick touched the jar, the stick was not seeded well, or the syrup cooled too much before you set the stick in place. Next time, keep the stick centered and do not let it touch the glass.

Can I use food coloring and flavoring?

Yes. Use gel food color or a small amount of liquid color. For flavor, extracts work well. Avoid adding anything oily or chunky, which can interfere with crystallization.

Is rock candy safe for kids?

Yes to eat, but the process involves very hot syrup. An adult should handle the cooking and pouring. Use oven mitts, pour carefully, and keep kids back during that step. Once it is growing, kids can help “check the crystals” without touching the jar.

Why is my rock candy cloudy?

Cloudiness can come from stirring too aggressively while cooling, sugar crystals splashing on the sides of the pot and re-crystallizing, or impurities. Use a clean pot, avoid scraping undissolved sugar, and keep everything clean.

I skipped the culinary degree route because I wanted the kind of skills you only get by actually cooking, messing up, and fixing it fast. Rock candy scratches that itch in a surprisingly satisfying way. It is part candy, part controlled chaos, and part “do not touch it, let it do its thing.” The first time I made it, I kept hovering like an anxious line cook. Then I realized the move is to set it up right, walk away, and let patience do the heavy lifting. Not my strongest trait, but a delicious one to practice.