Mom's Best Recipes
Recipe

Homemade Stroopwafels

Crisp, buttery waffle cookies sandwiched with warm cinnamon caramel syrup, just like the ones you hover over your coffee mug.

Author By Matt Campbell
4.8
A stack of homemade stroopwafels on a wooden cutting board with one broken open to show the gooey syrup center, warm kitchen lighting

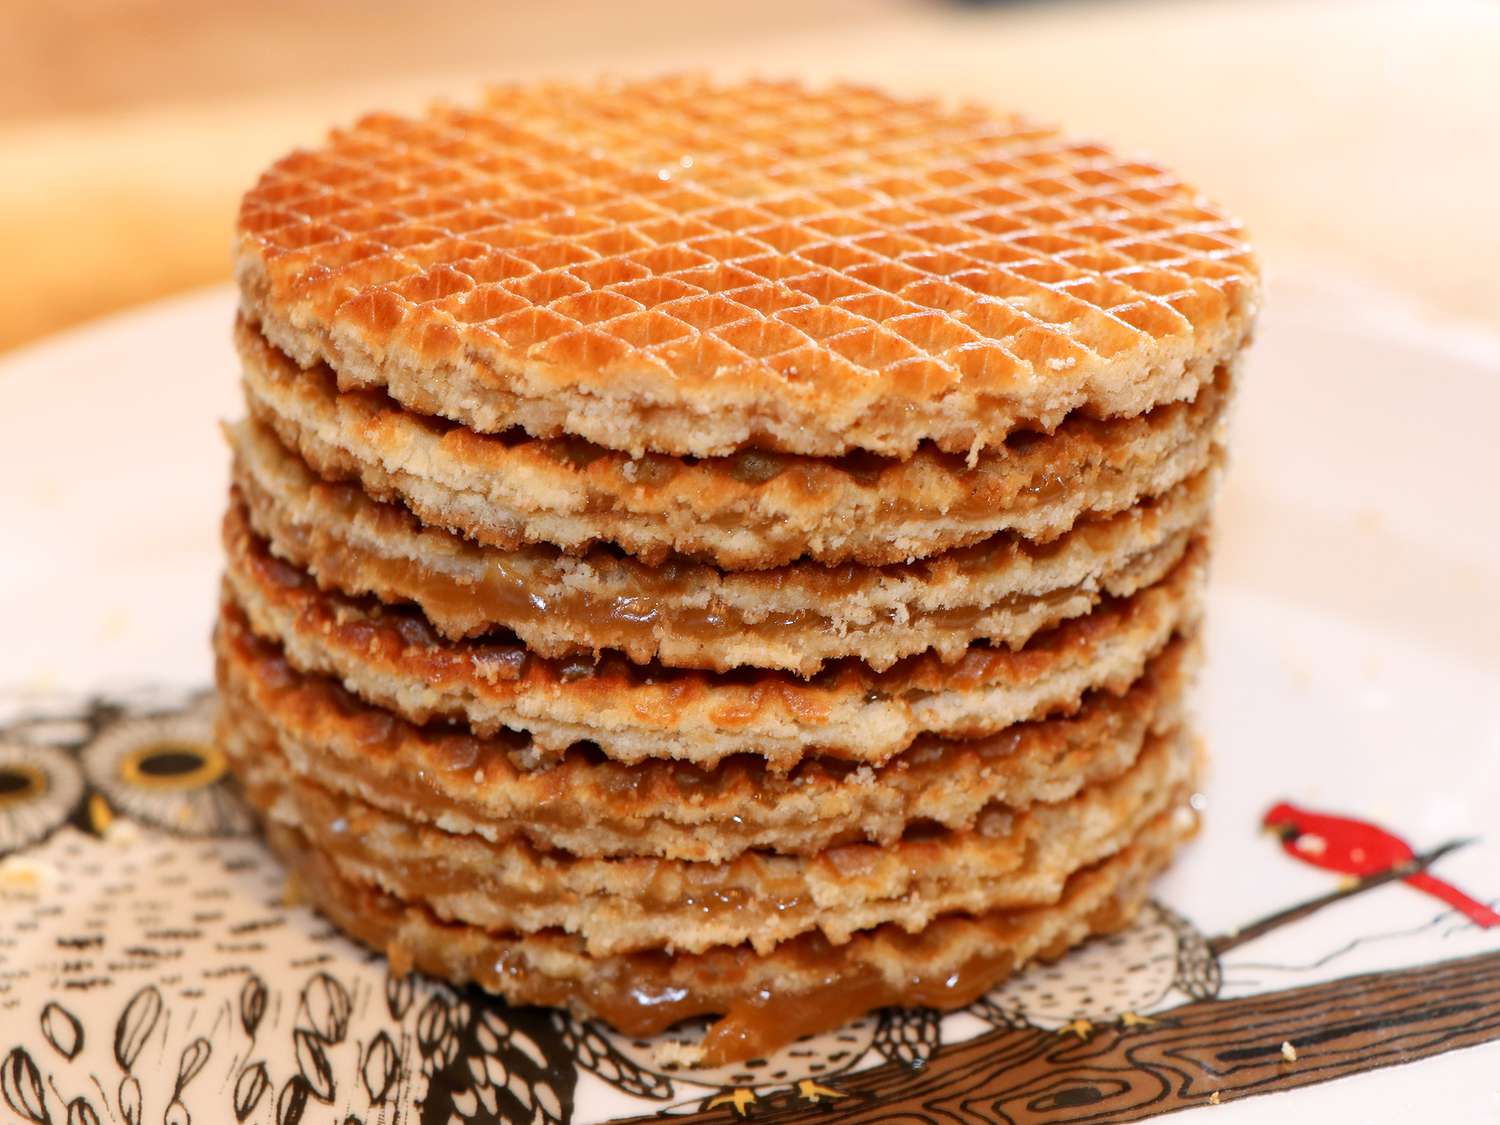
Stroopwafels are one of those snacks that feel like a magic trick. Two whisper-thin waffles. One buttery, cinnamon brown sugar syrup layer in the middle. Crisp edges. Chewy center. You take a bite and it somehow tastes like a cookie and a waffle had a very cute, very delicious baby.

These are absolutely doable at home, and no, you do not need to be a pastry wizard. You do need a waffle iron and a little patience for the “slice the waffle while it’s warm” part, which is the one step that feels spicy. I will talk you through it.

And yes, you should try the classic move: set a stroopwafel on top of a hot mug of coffee or tea for a minute so the center gets extra melty. It is cozy science.
Why It Works

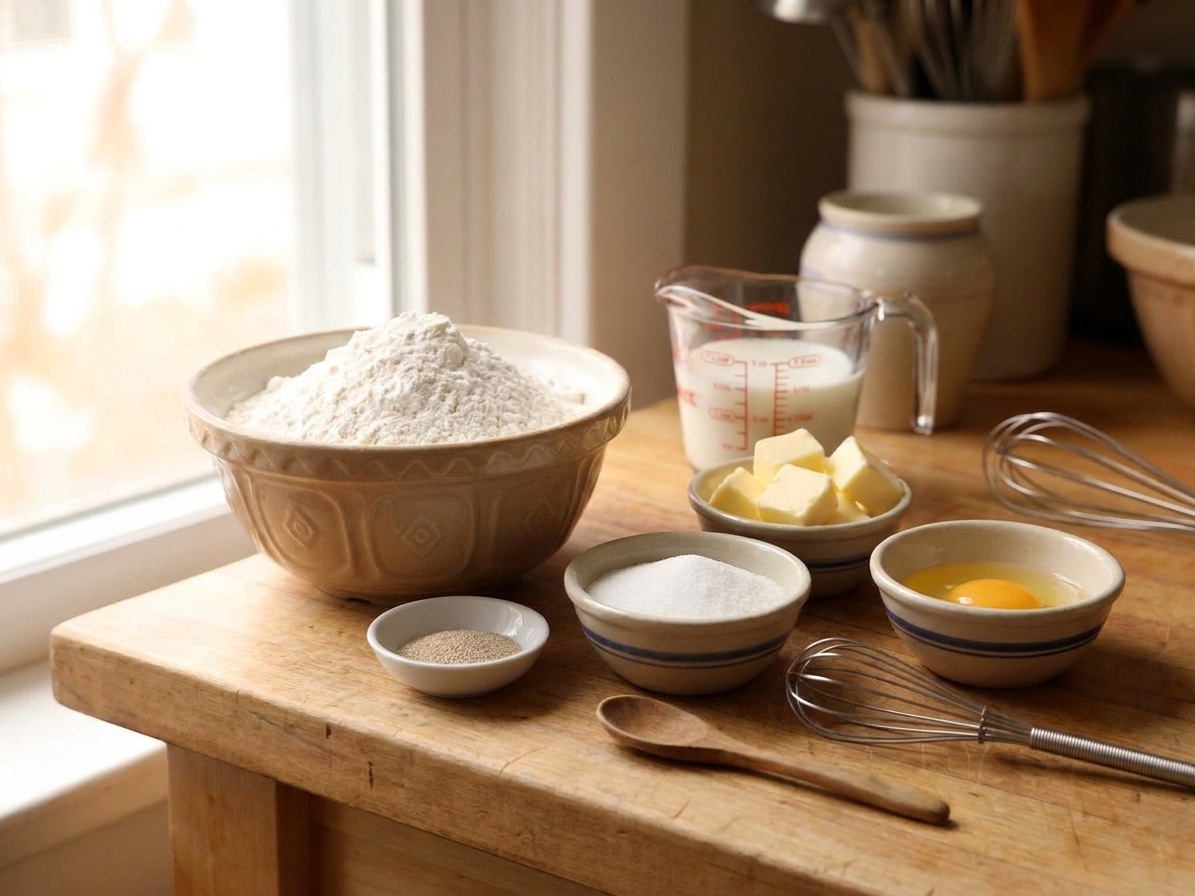
  • Thin and crisp: A slightly enriched yeast dough gives you waffles that bake up tender, then turn crisp as they cool.
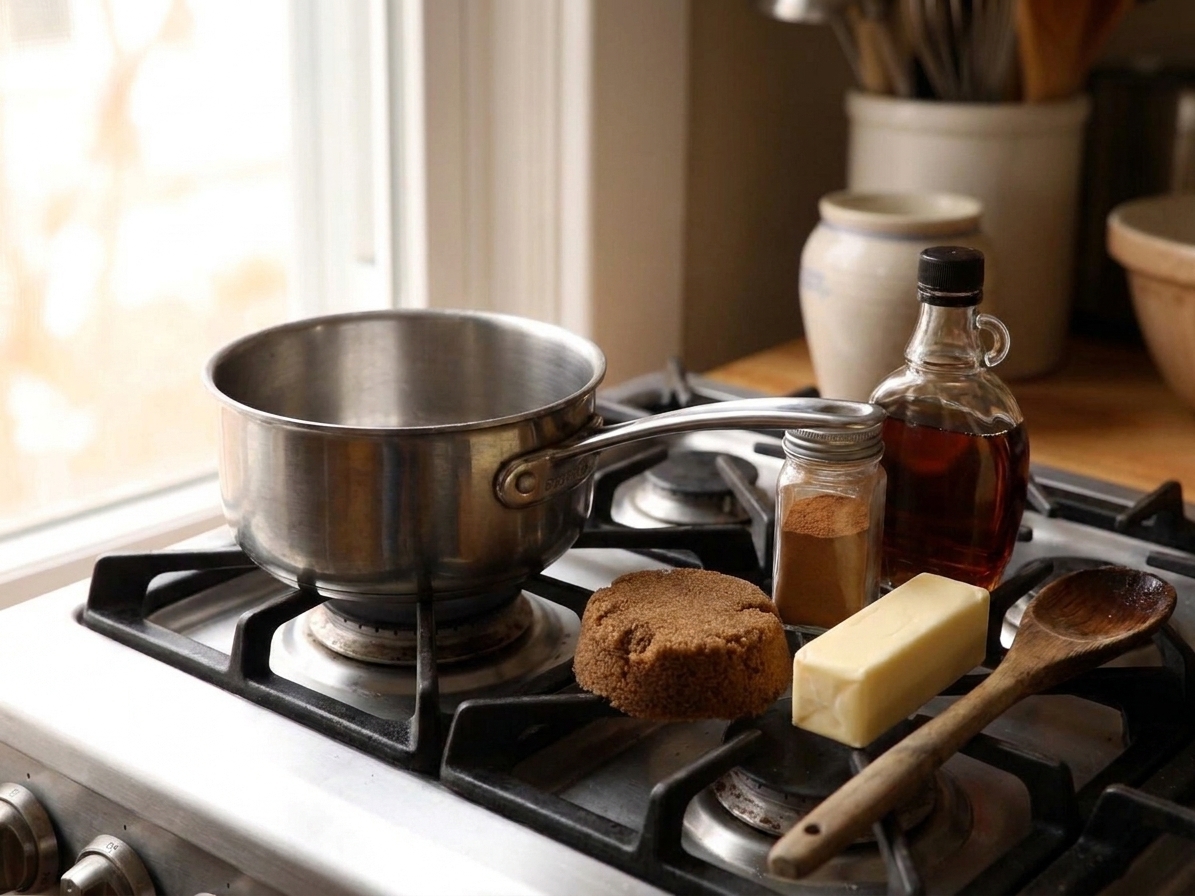
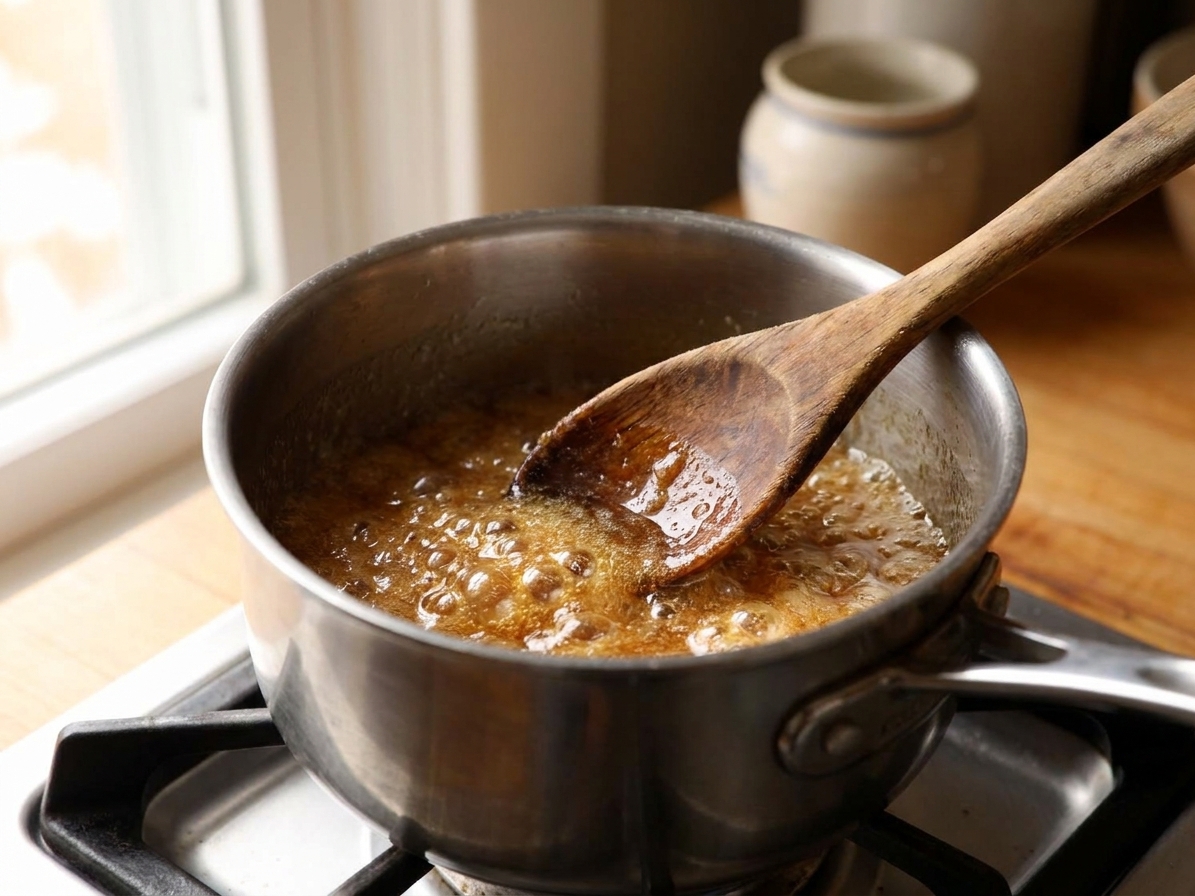
  • Gooey, not runny filling: A simple stovetop syrup sets into that signature chewy layer instead of oozing out the sides.
  • Clear timing cues: I tell you exactly when to slice, when to fill, and what “ready” looks like so you are not guessing.
  • Make ahead friendly: The dough can chill overnight, and finished stroopwafels store beautifully.

Pairs Well With

Storage Tips

Room temperature: Store stroopwafels in an airtight container for 5 to 7 days. Add a sheet of parchment between layers if you live somewhere humid.

Freeze: Freeze in a zip top bag or airtight container for up to 2 months. Thaw at room temp.

Rewarm: Pop one over a hot mug for 30 to 60 seconds, or warm briefly in a 300°F oven for 3 to 5 minutes. You want the syrup to relax, not liquefy.

Common Questions

Do I need a special stroopwafel iron?

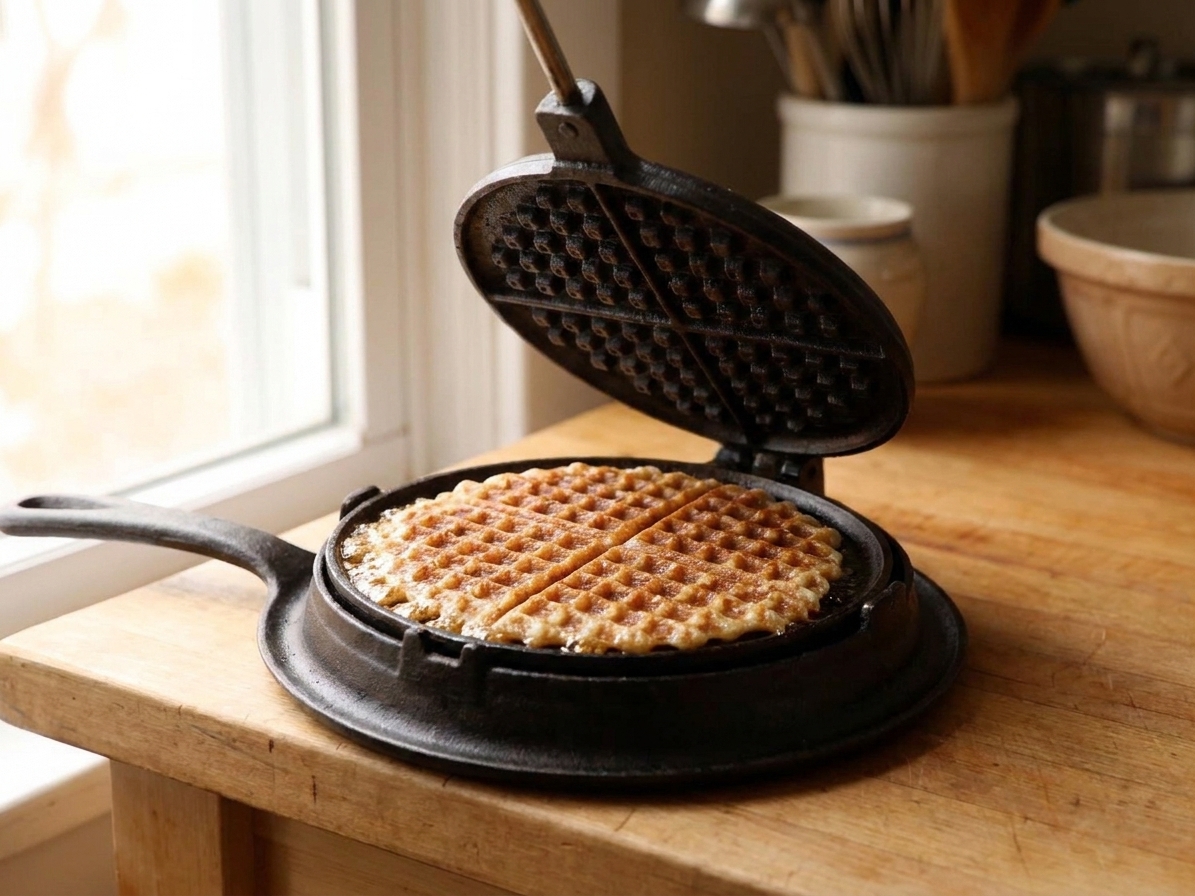
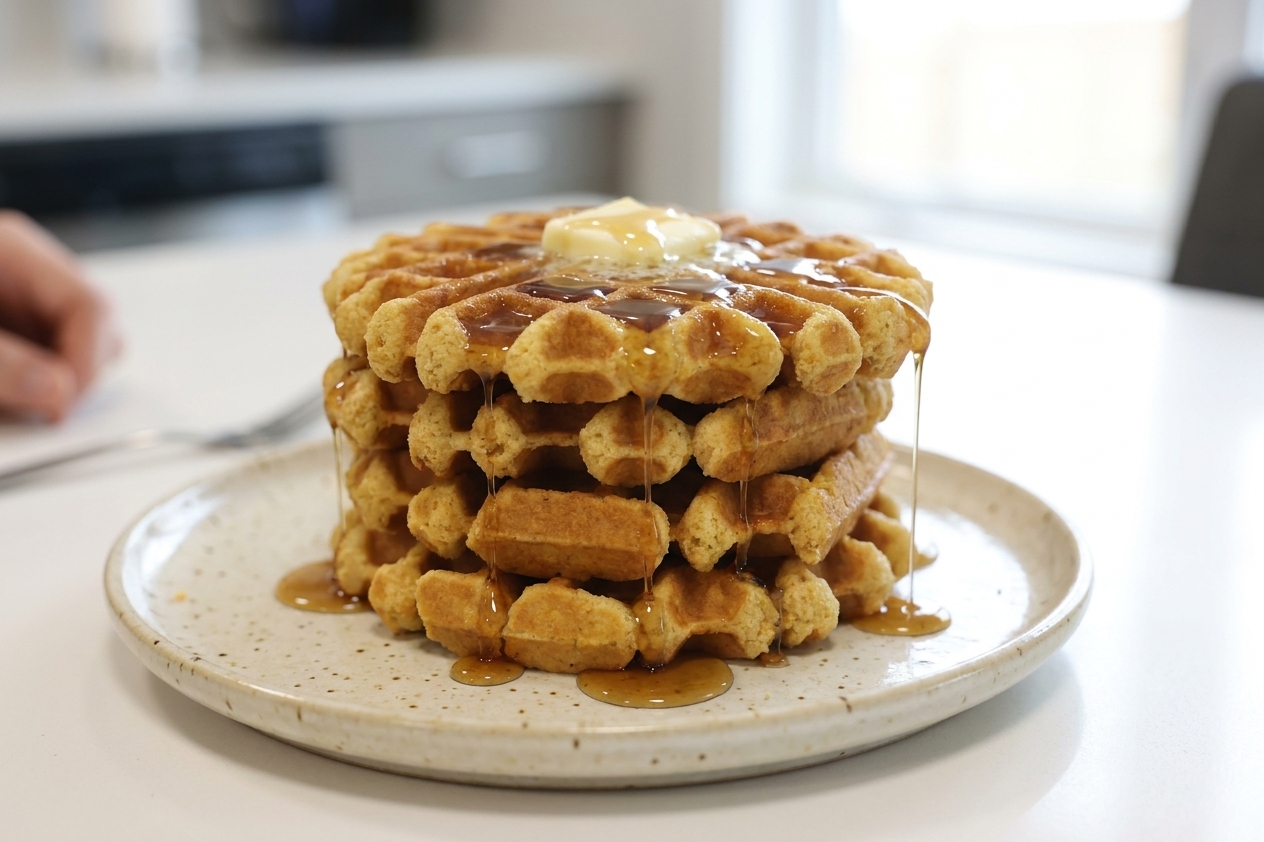
No. A shallow, standard waffle iron or a pizzelle/thin wafer iron works great. The main goal is thin, mostly solid waffles that you can slice horizontally.

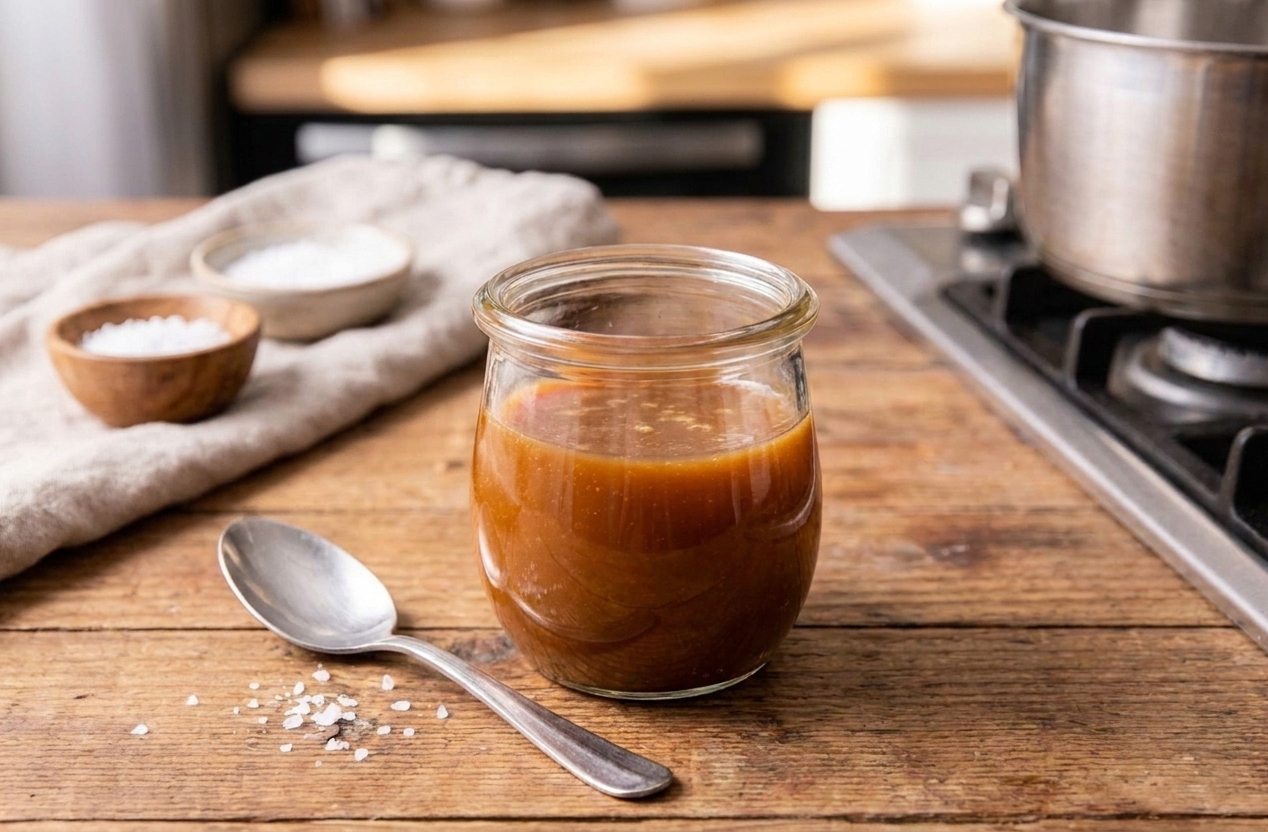
Avoid deep-pocket Belgian waffle irons for this recipe. Their deep grids create a holey lattice, which is hard to slice cleanly and won’t hold the syrup layer the way a classic stroopwafel should.

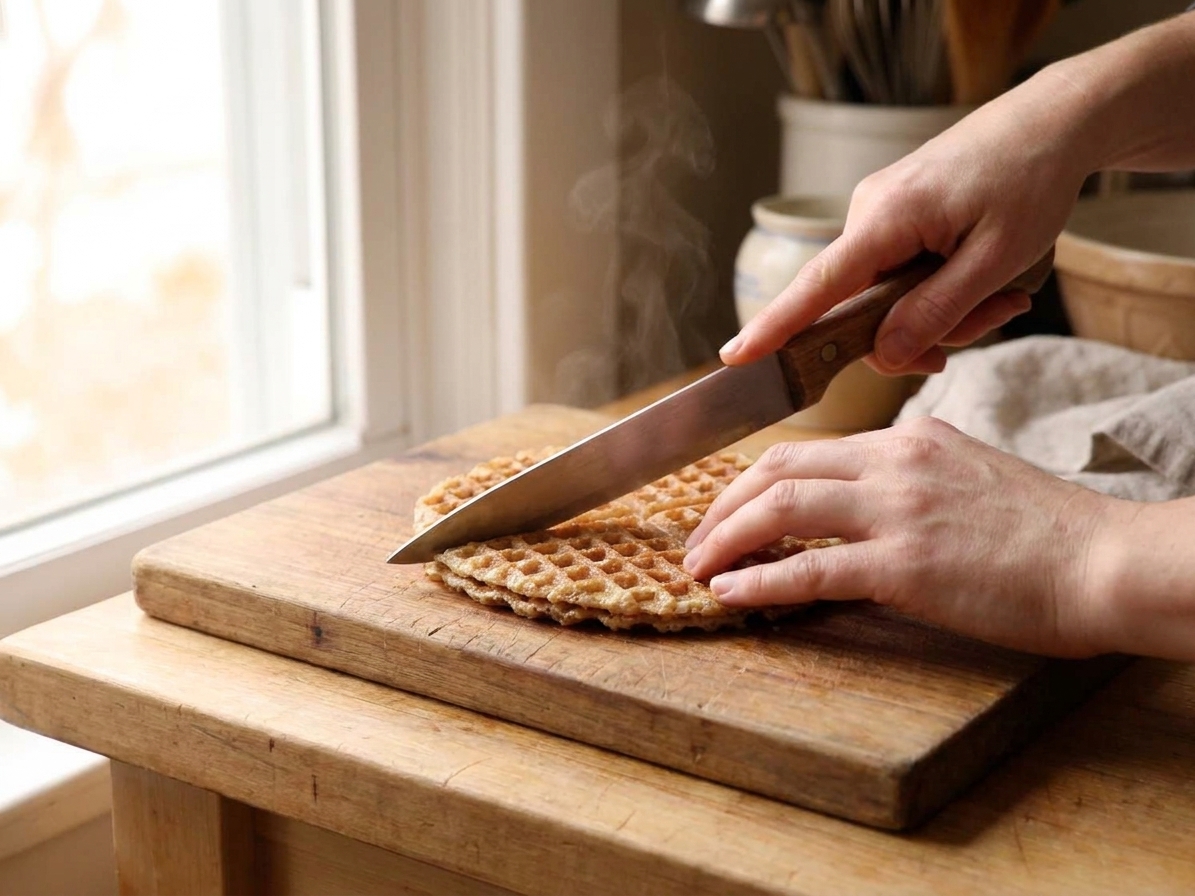
Why do I have to slice the waffle while it is warm?

Because once it cools, it turns crisp and will crack instead of splitting cleanly. Warm waffles slice like a soft cookie. Cool waffles shatter like a cookie that waited too long.

My syrup crystallized. Can I fix it?

Usually, yes. Add 1 to 2 tablespoons water and warm gently, stirring until smooth. Crystals happen if the syrup gets stirred too aggressively at a high boil or if sugar hits the side of the pot and dries out.

Can I make the dough ahead?

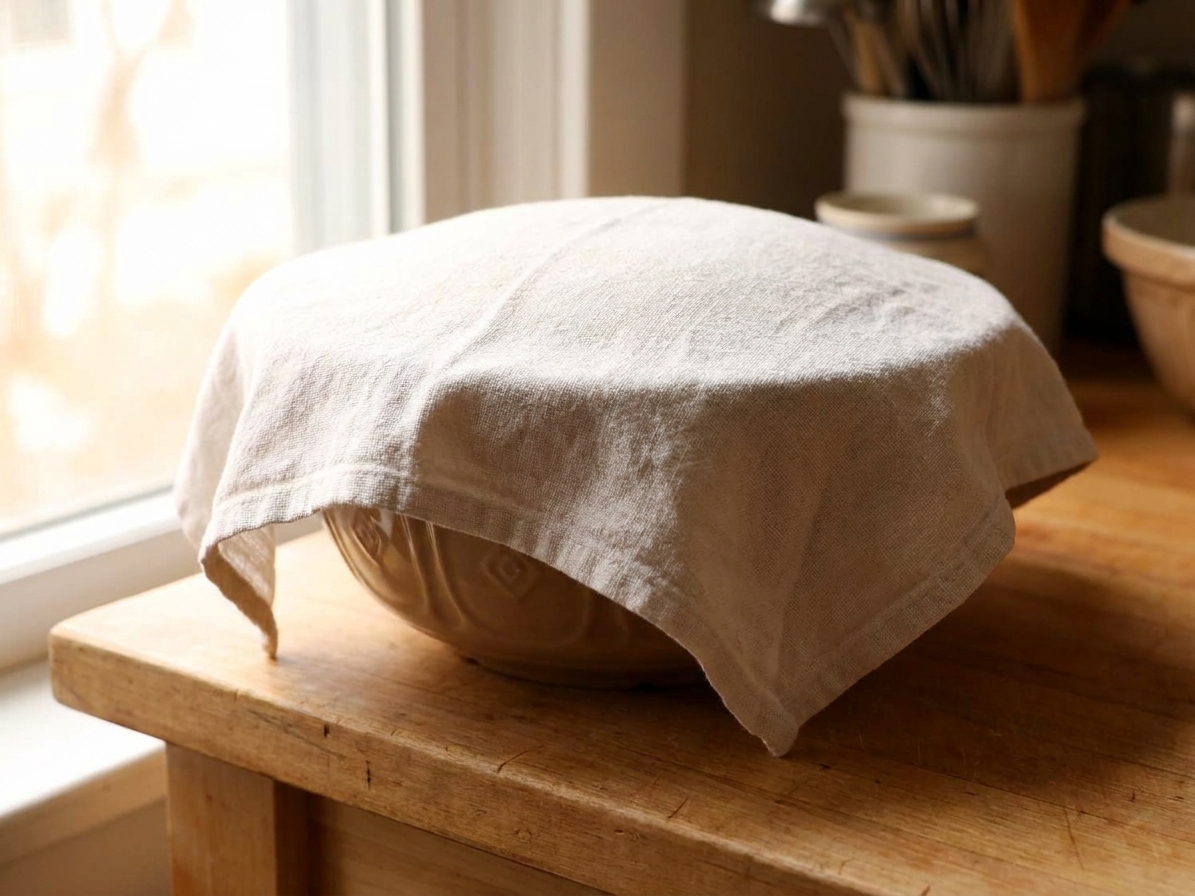
Yes. After the first rise, gently deflate the dough, cover, and refrigerate overnight. Let it sit at room temperature for 30 to 45 minutes (keep it covered) until it feels pliable again before portioning and baking.

What is the best way to get that classic chewy center?

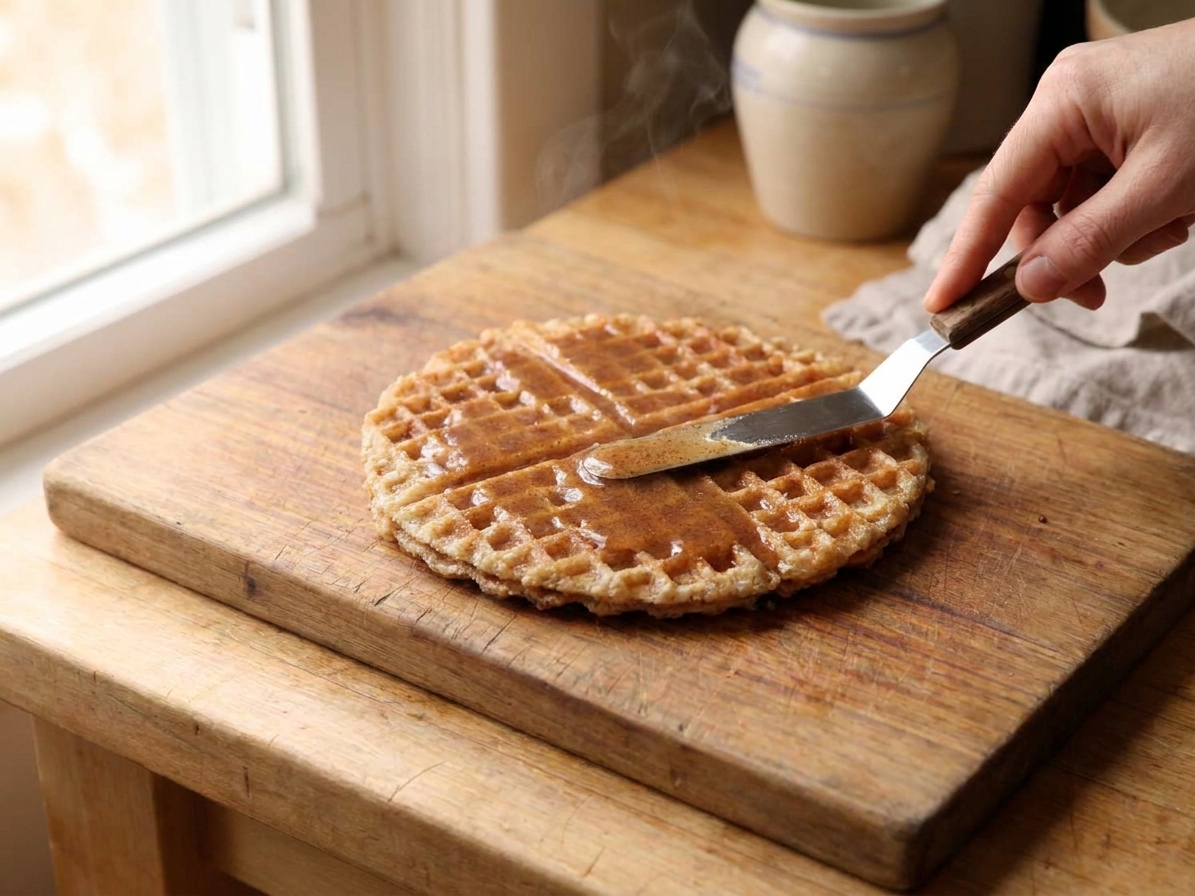
Fill the waffles while they are still warm enough to soften the syrup, but not so hot that the syrup runs. The syrup should be spreadable, like warm peanut butter. If it feels thin and drippy, wait 1 to 2 minutes before spreading.

The first time I tried a stroopwafel the correct way was honestly an accident. I set it on my coffee mug like a little edible lid, got distracted, came back, and it was warm and bendy and basically perfect. Ever since, I have been chasing that exact texture: crisp outside, caramelized chew inside, cinnamon doing its thing quietly in the background.

Making them at home feels like a fun kitchen project that actually pays off. You get a stack of cookies that look impressive, smell like a bakery, and disappear faster than you think possible.