Common Questions
How do I know my starter is ready to bake with?
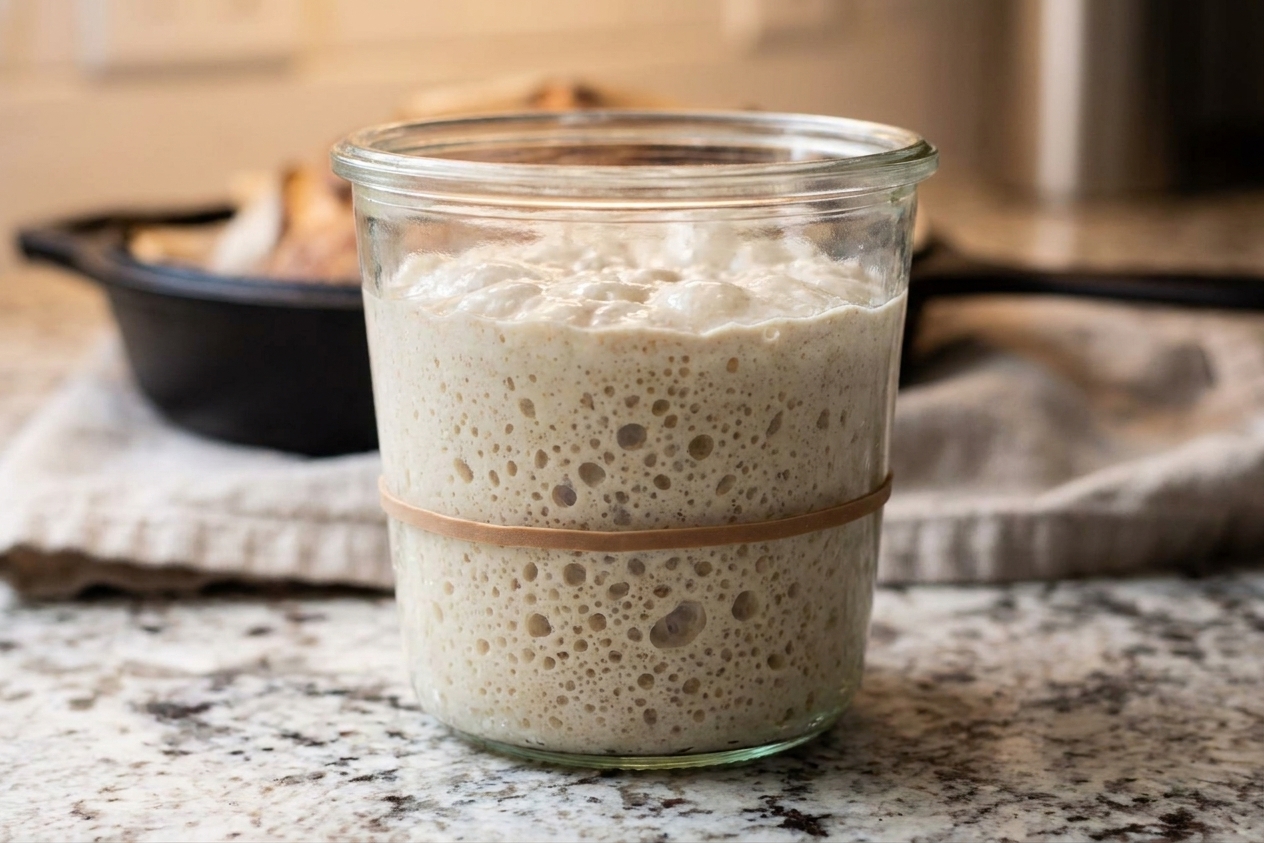
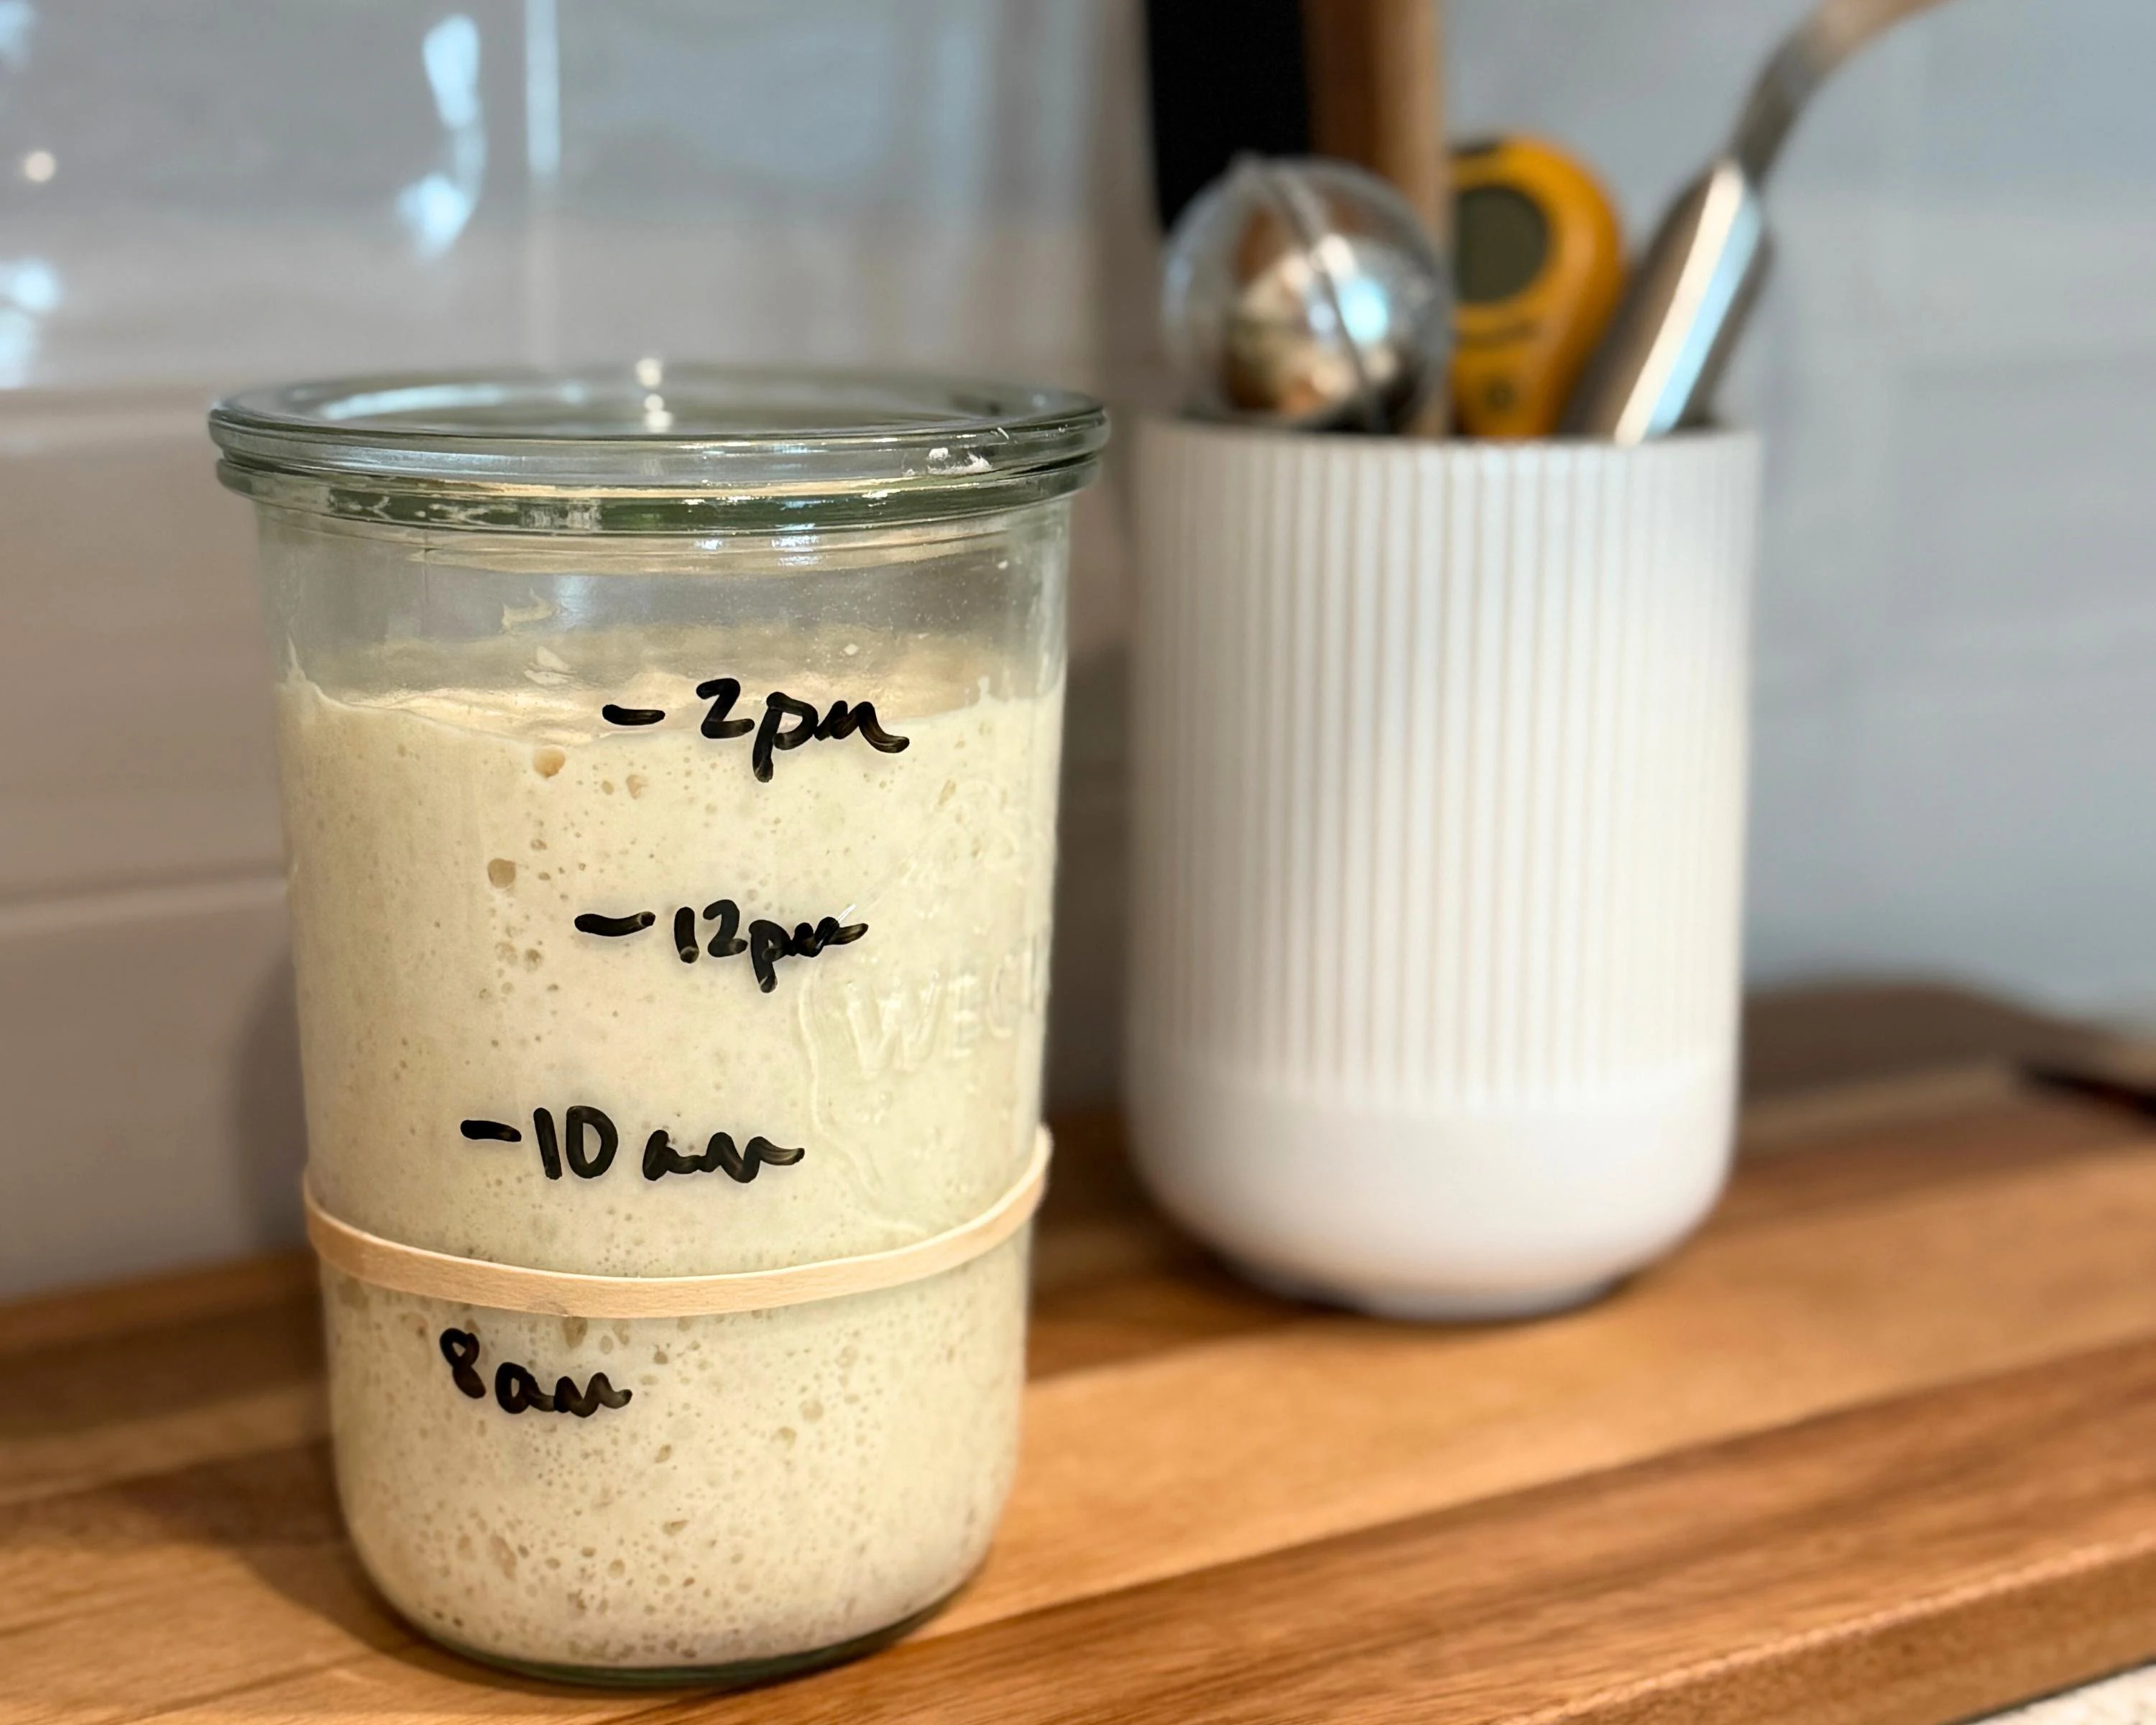
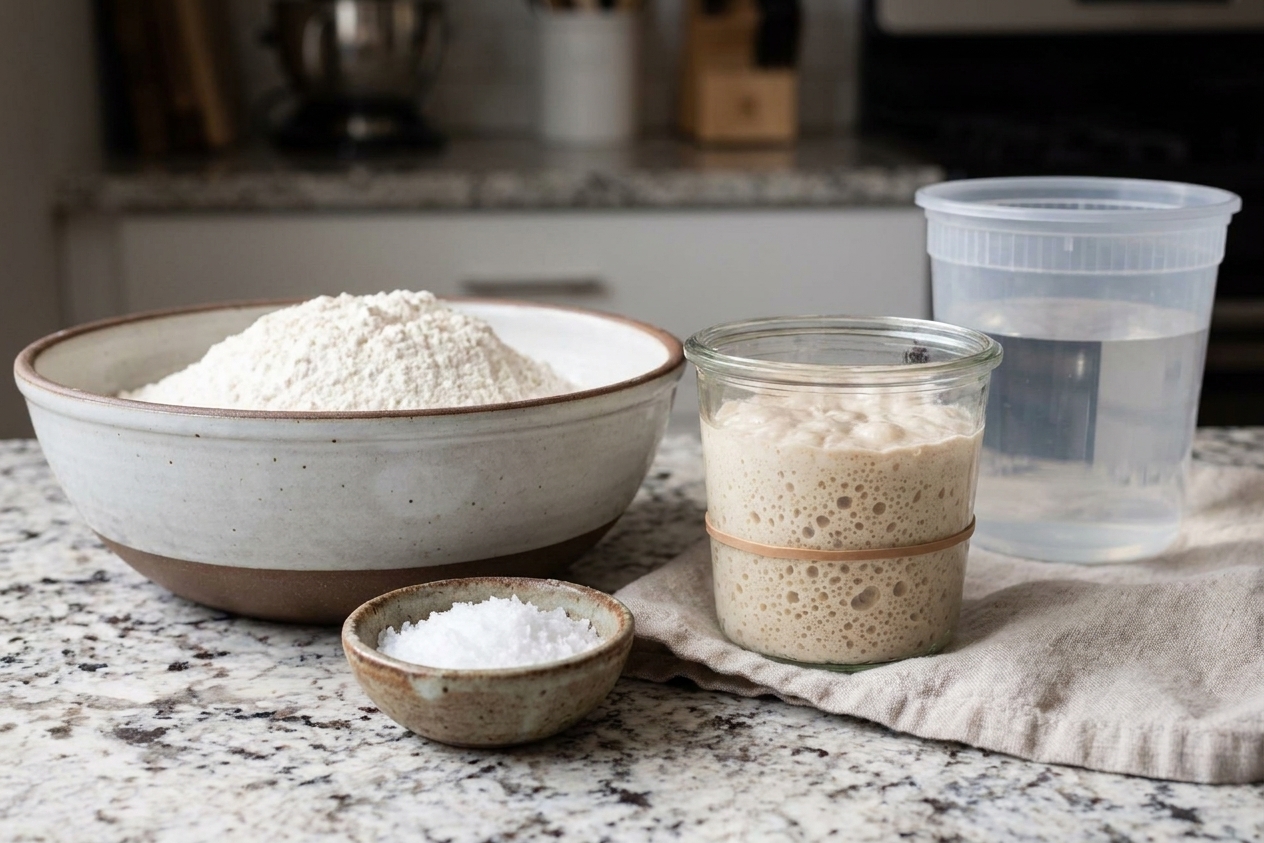
Use starter when it is active and at or near peak. It should look bubbly, smell pleasantly tangy, and roughly double in volume after feeding. A small spoonful may float in water sometimes, but do not treat the float test like law. Visual rise and aroma are more reliable.
What water temperature should I use?
Think in terms of final dough temperature, not a magic water number. A good target is about 75°F to 78°F dough after mixing. Use warmer water if your kitchen is cool, and cooler water if it is hot. The 85°F to 95°F range in the recipe is a helpful starting point for many homes, but adjust as needed.
What if my dough is too sticky?
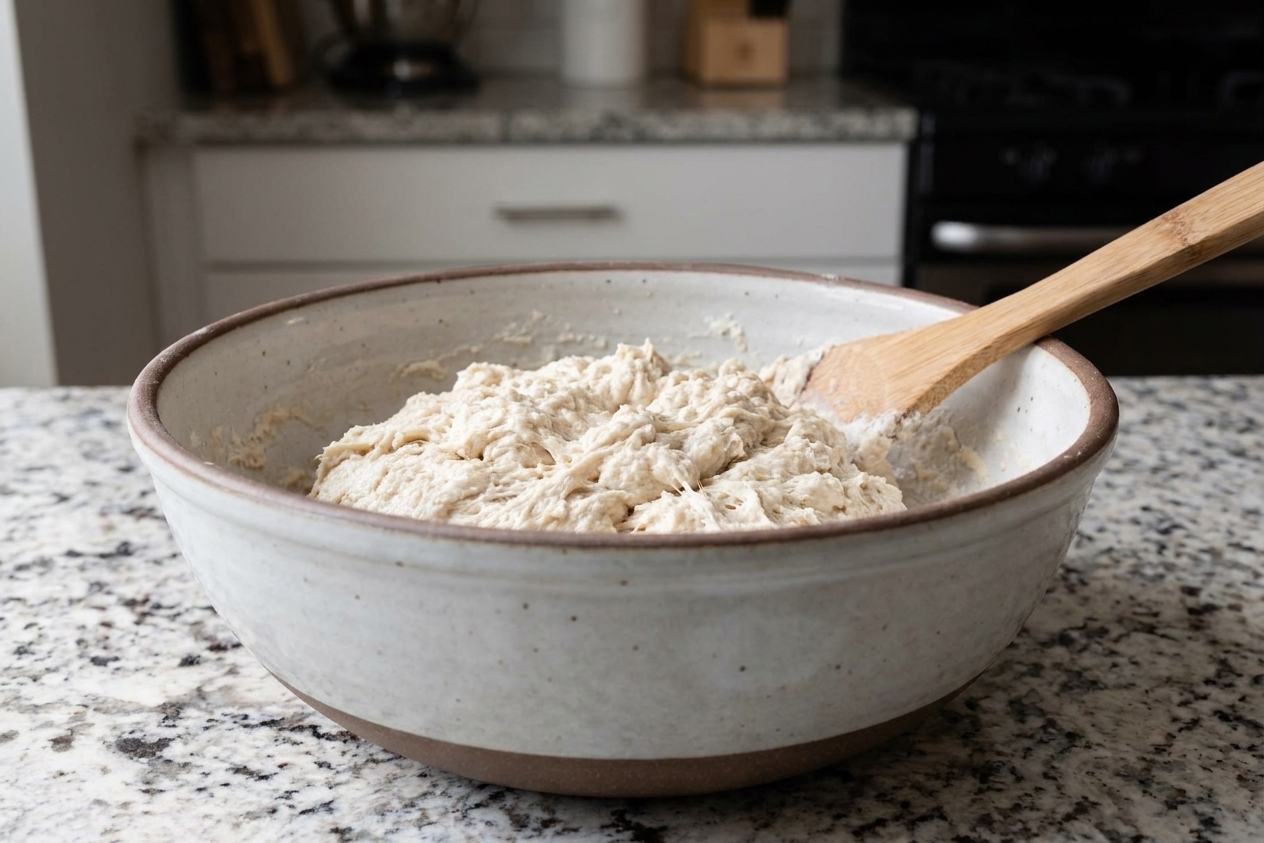
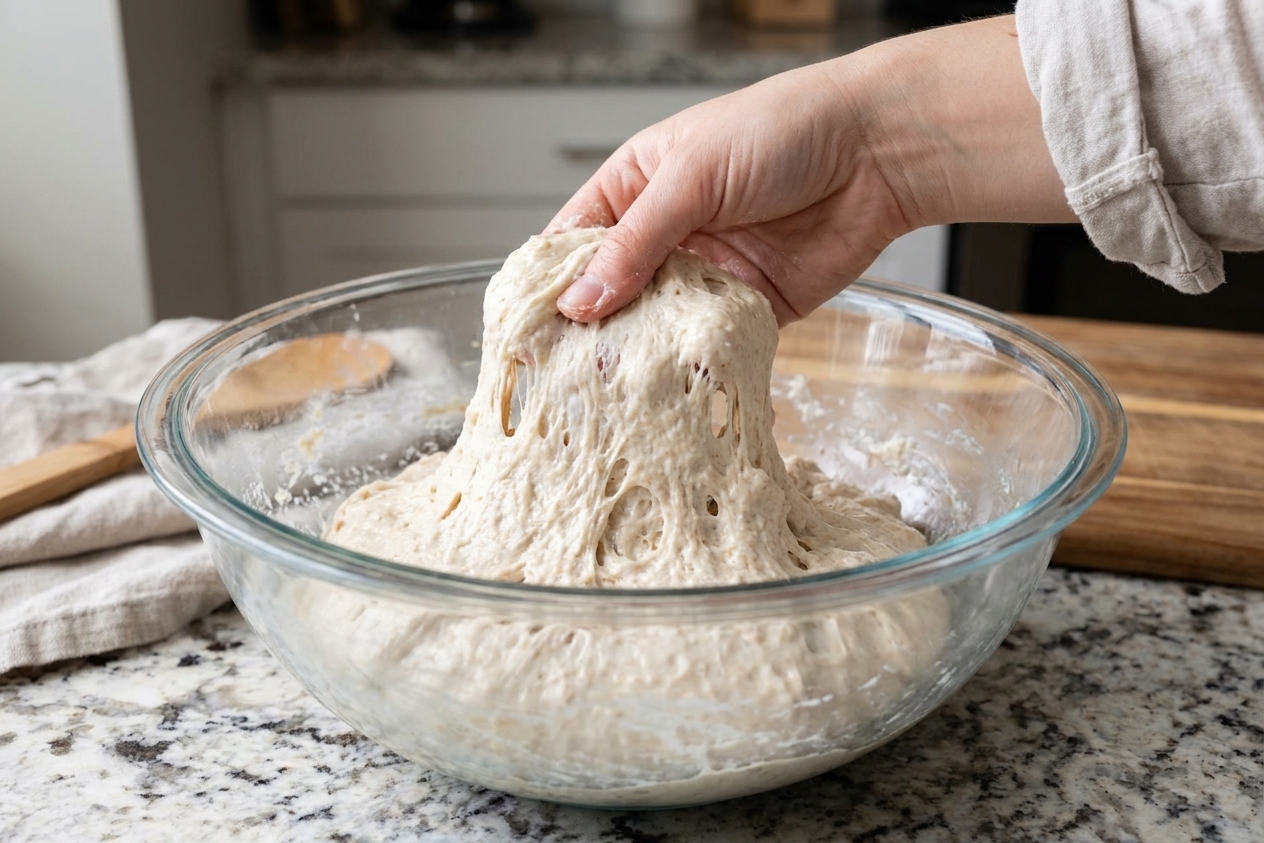
Sticky is normal, especially early. Wet your hands for folds, and give the dough time to rest. As the dough hydrates and gluten develops, it will usually feel more manageable. If it is still soup after a couple fold rounds, you may need a little less water next time or a stronger flour.
How long should bulk fermentation take?
It depends on your room temperature and starter strength. At 72°F to 78°F, many doughs land somewhere around 4 to 7 hours total from mixing, but the clock is not the boss. Look for about 30% to 75% rise (lower end in warmer kitchens or with very active starter), bubbles on the sides, and a dough that looks aerated and jiggles slightly in the bowl.
Can I use all-purpose flour instead of bread flour?
Yes. The loaf may be a little less lofty, but still delicious. If your all-purpose flour is lower protein, consider holding back 25 to 50 grams of water and adding it only if the dough feels strong.
Do I have to cold proof overnight?
No, but it helps. Cold proofing improves flavor and makes scoring easier. If you need a same-day loaf, proof at room temperature until it passes the poke test, then bake.
What does the poke test look like?
Gently press a floured finger about 1/2 inch into the dough. Ready: it slowly springs back and leaves a slight dent. Underproofed: it springs back quickly and fills in. Overproofed: it barely springs back and can feel fragile.
How do I keep my dough from sticking to the banneton?
Rice flour is your best friend here. Dust the banneton (or towel) generously with rice flour, or do a 50 50 mix of rice flour and all-purpose flour. Make sure the seam-side up dough is lightly dusted too. If it sticks anyway, do not panic. Ease it out gently and reshape if needed. It will still taste great.
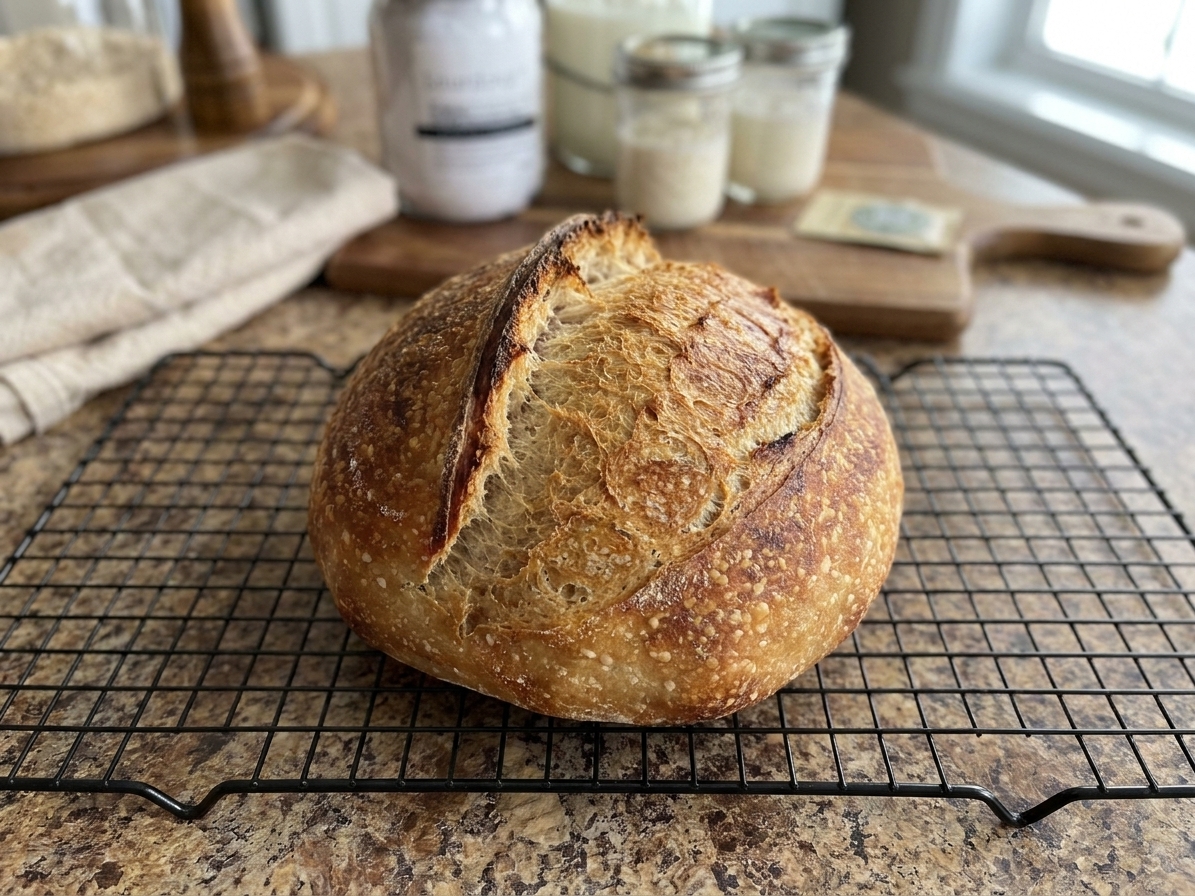
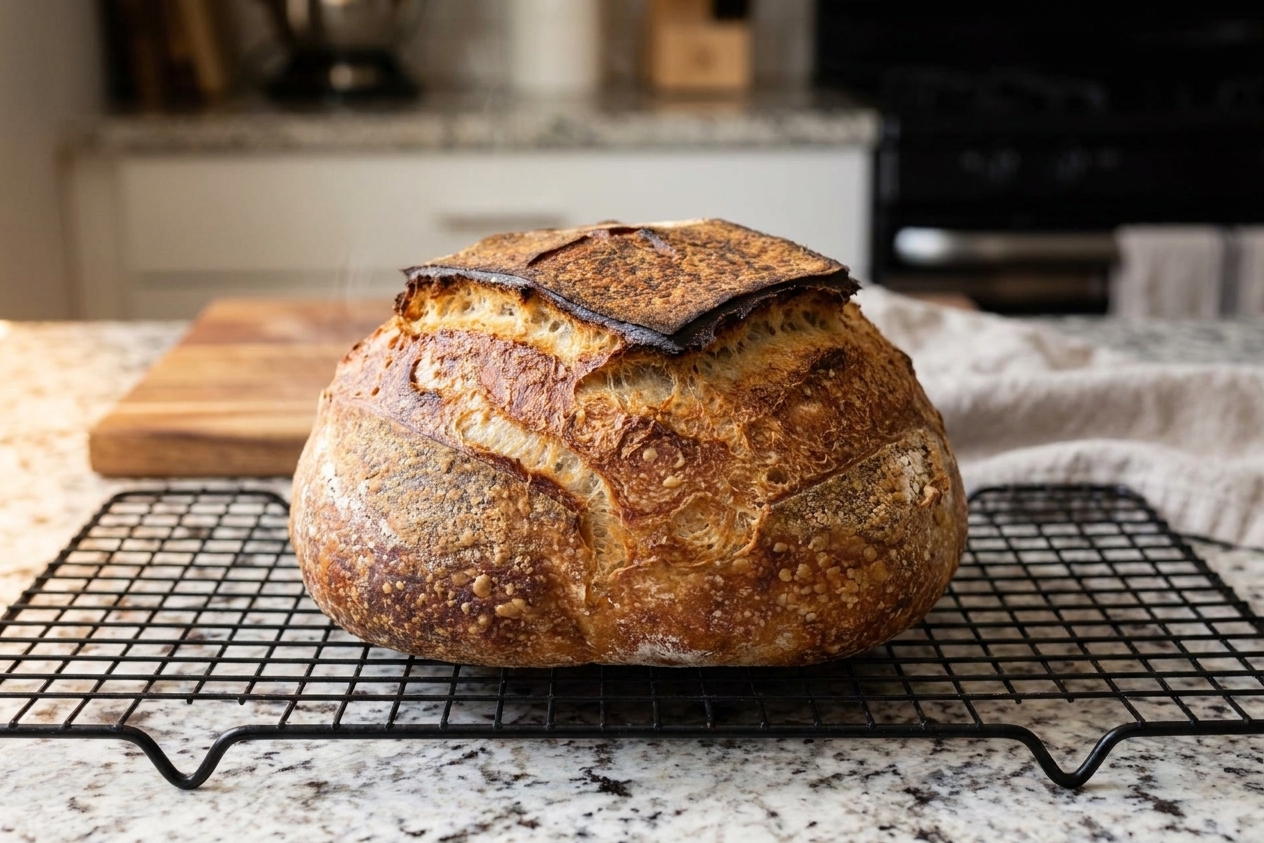
Why did my sourdough split on the side?
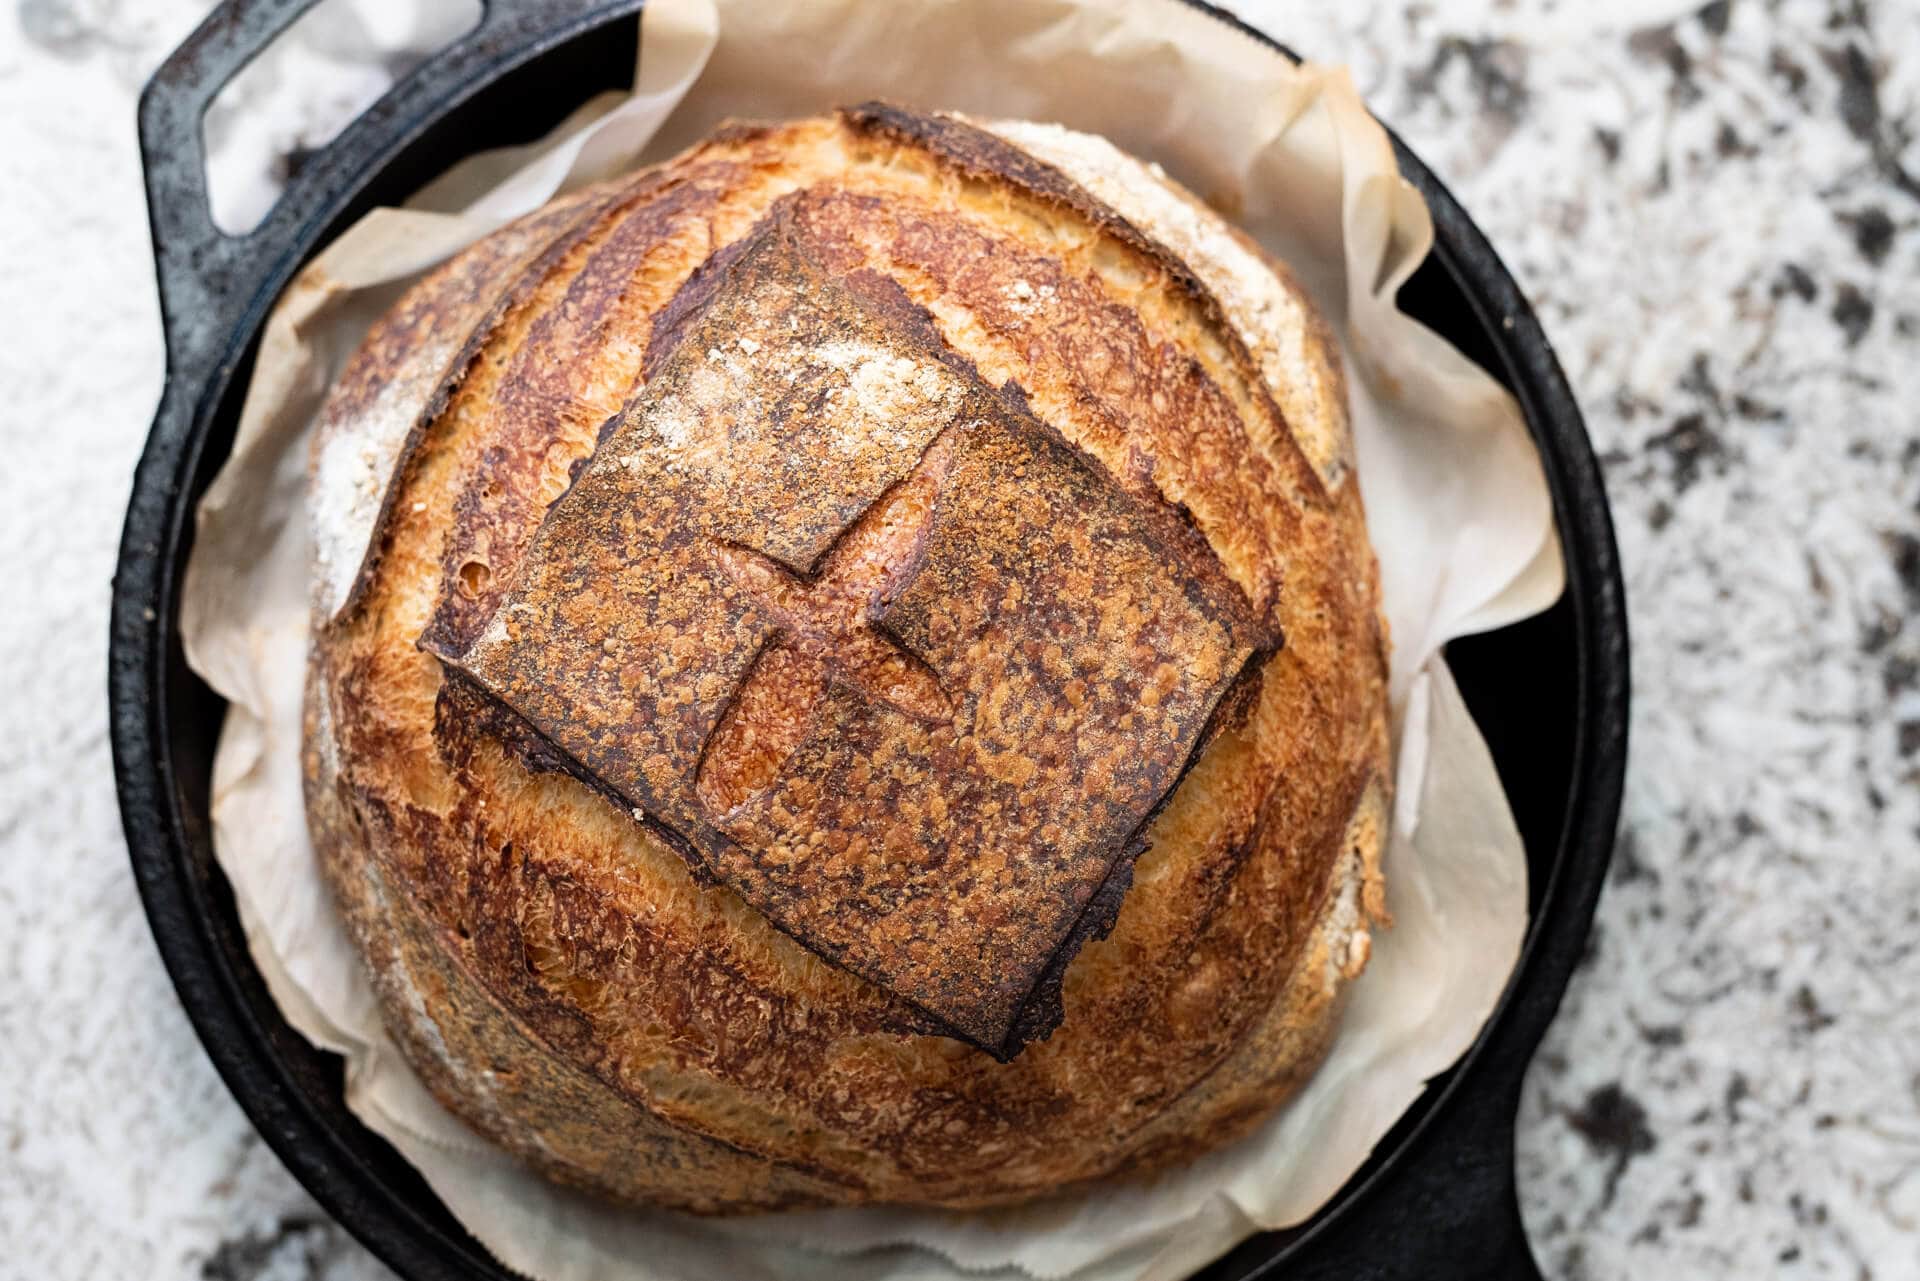
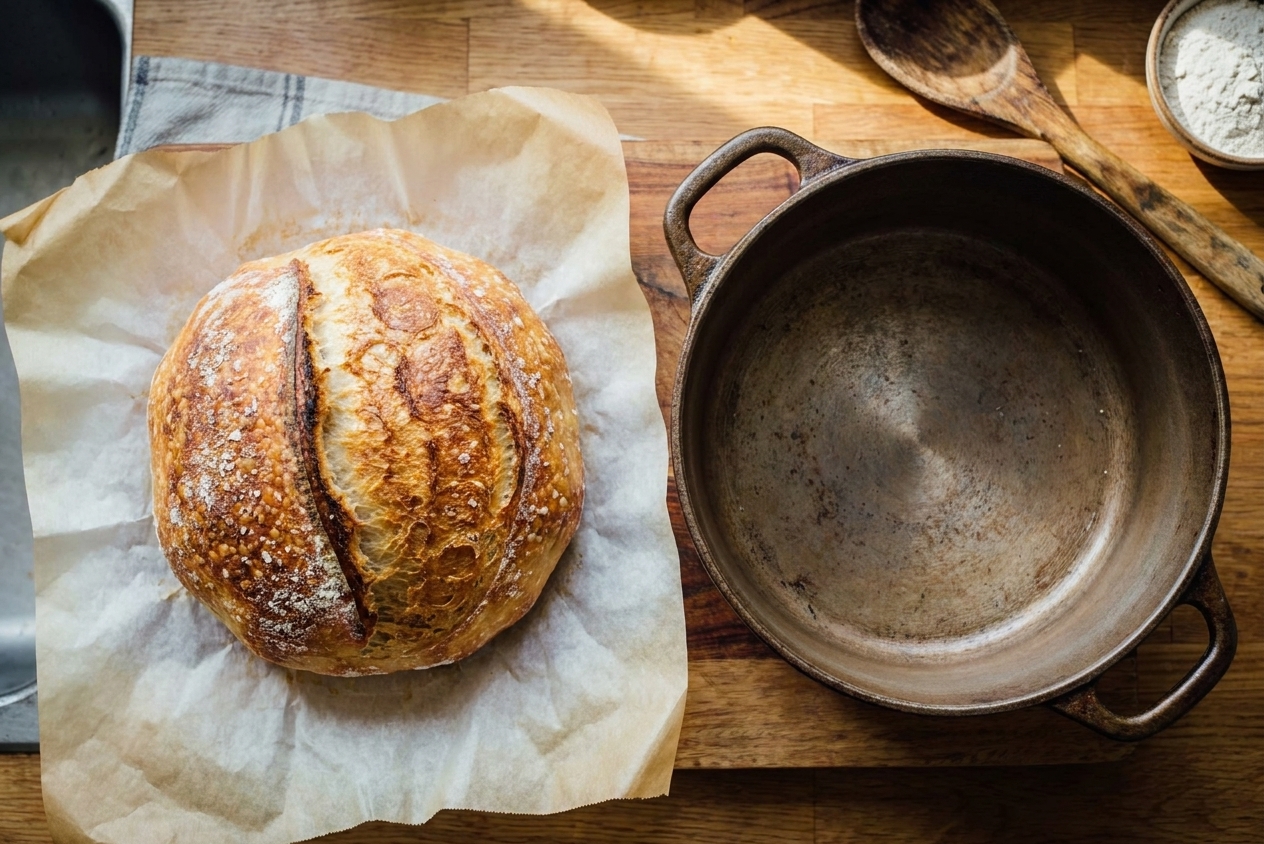
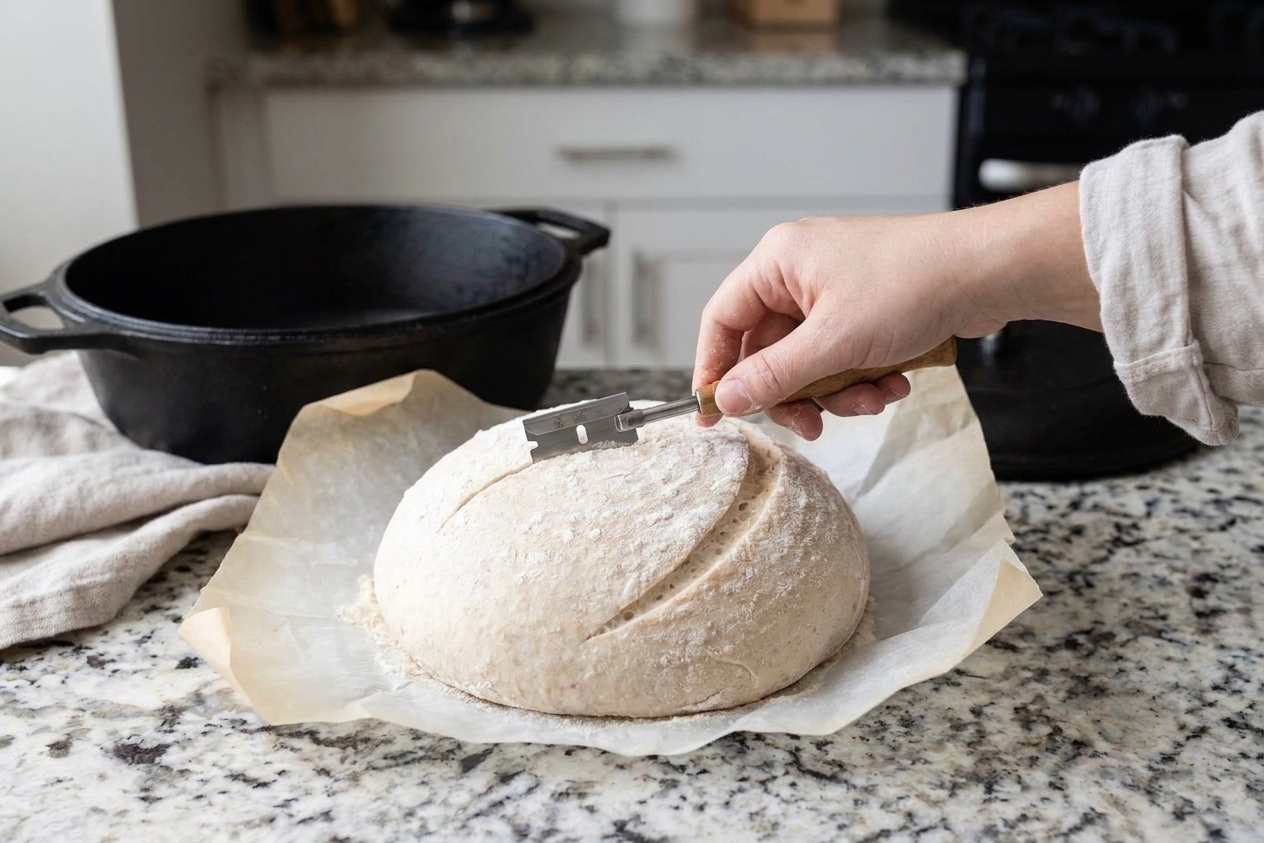
Usually one of three things: the loaf was underproofed, the score was too shallow, or the oven setup did not create enough steam early on. A fully preheated Dutch oven and a confident score go a long way.