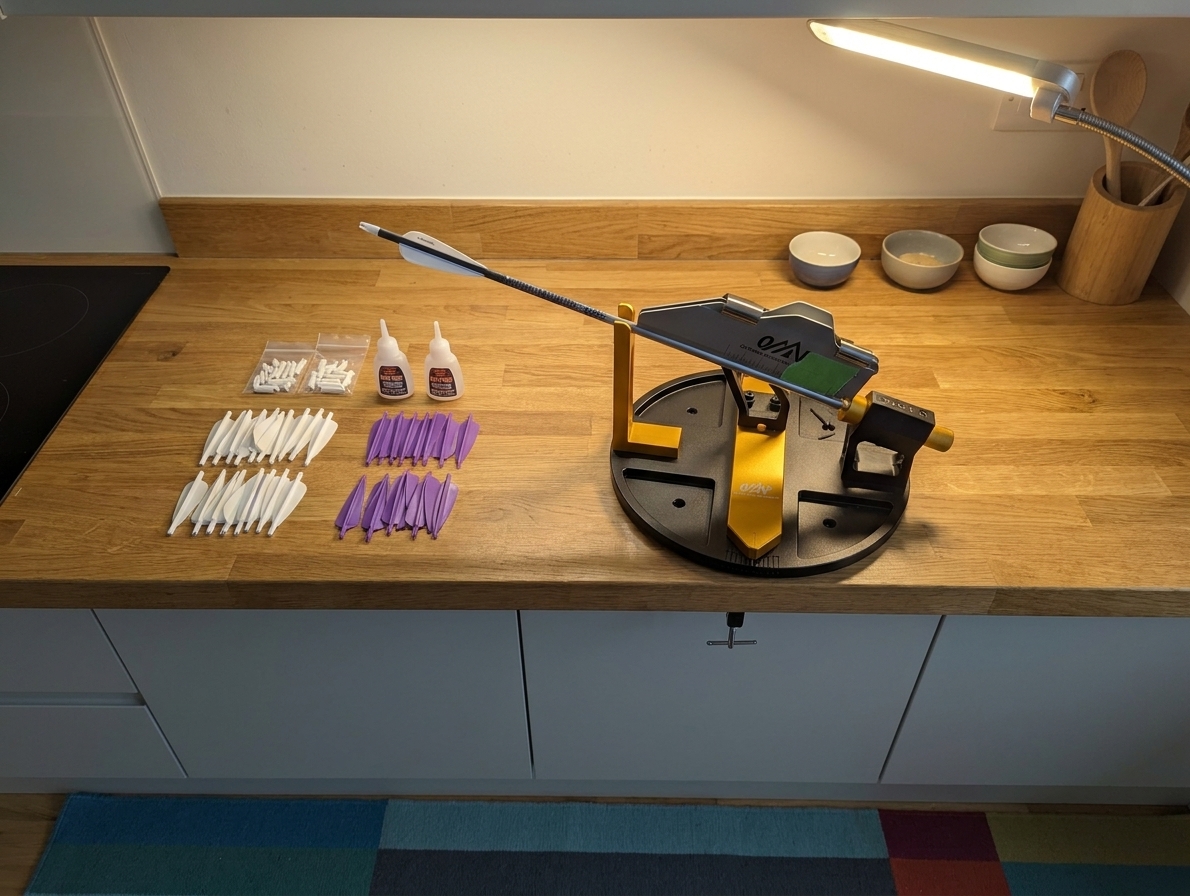
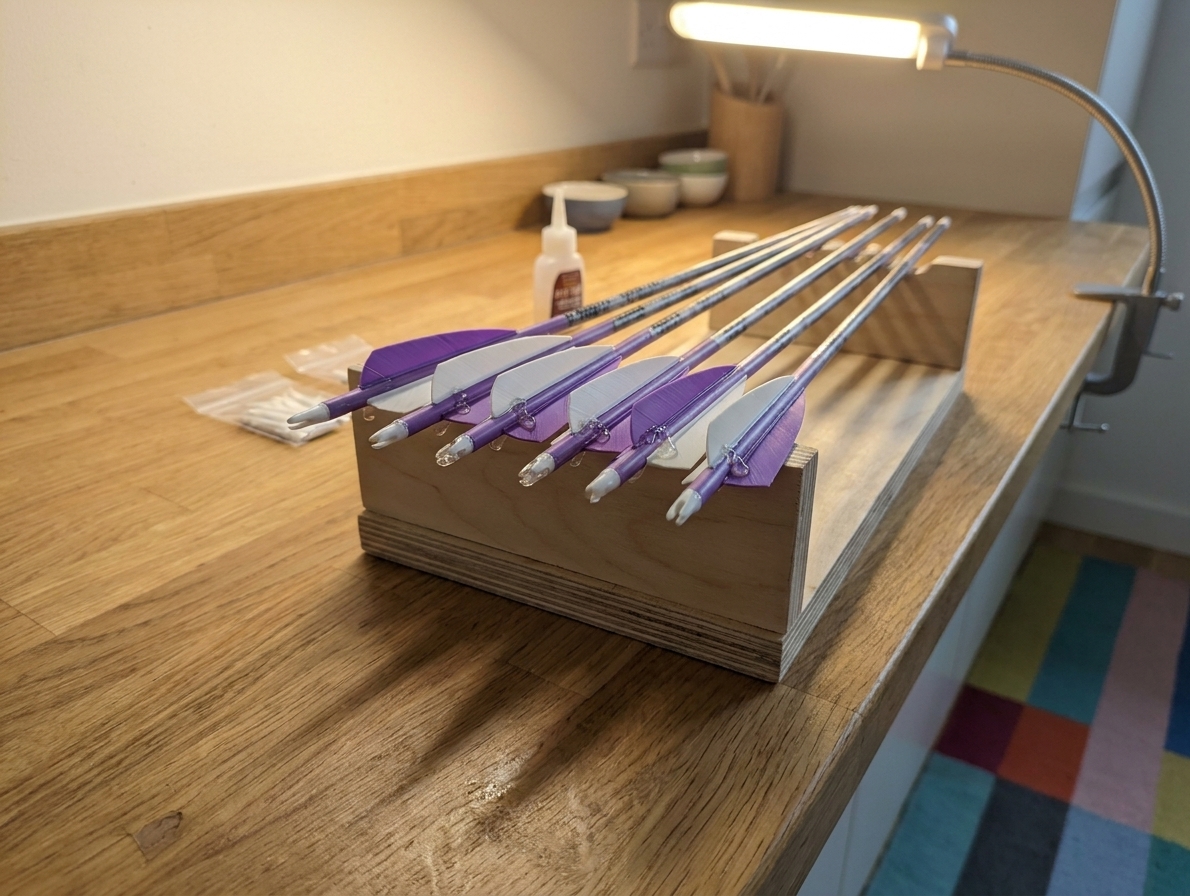
Decide your footprint and height. Think of this as your mise en place. Standing height is usually 34 to 38 inches, sitting height is 28 to 30 inches. Pick what keeps your shoulders relaxed and your eyes close enough to see vane alignment without hunching. If you fletch full-length arrows (often 28 to 32 inches), a 48 inch table length gives you comfortable clearance for the jig, tools, and a curing zone.
Pick your top material. MDF is often flatter (great for precision) but hates moisture. Plywood is tougher and handles bumps better. Either works. The goal is dead flat and easy to clean.
Cut the top. A 48 in x 24 in top is a great starting point. Sand the edges so you are not catching sleeves or skin on splinters.
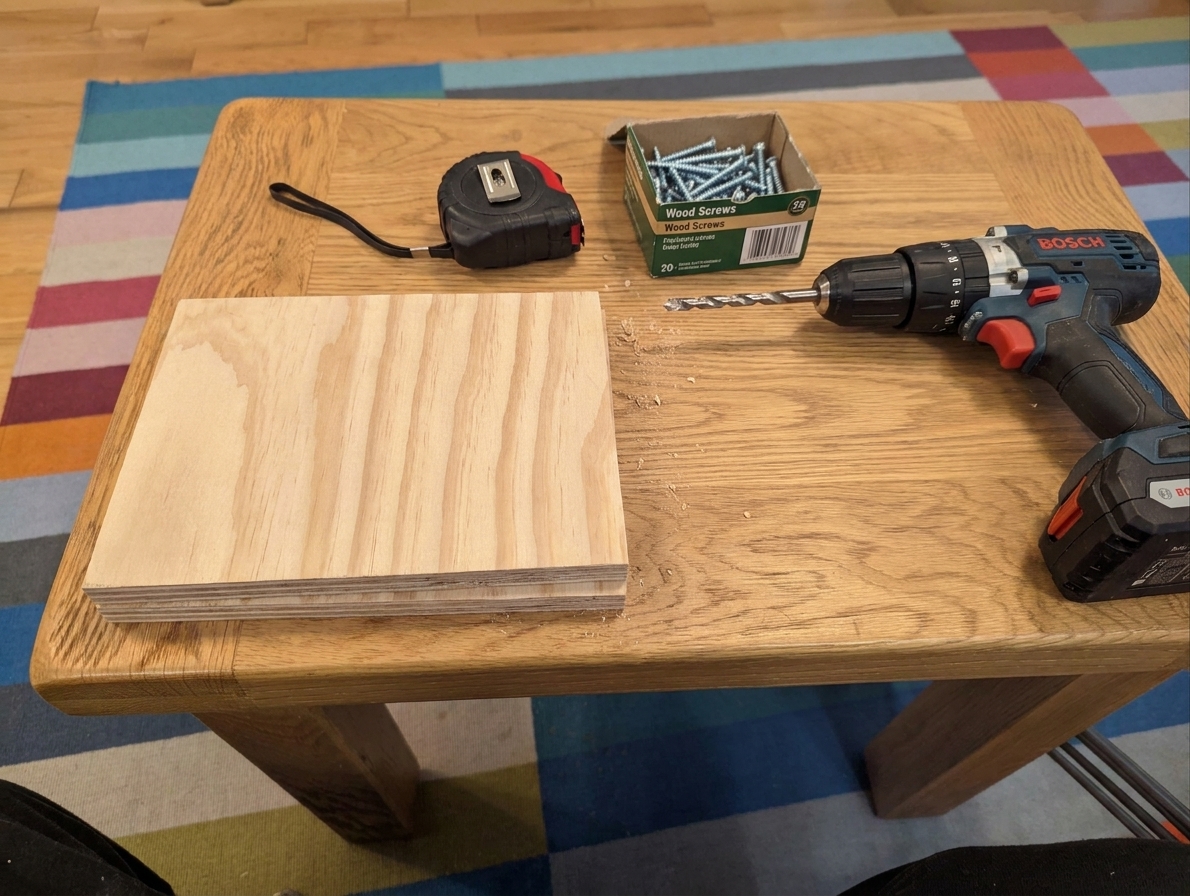
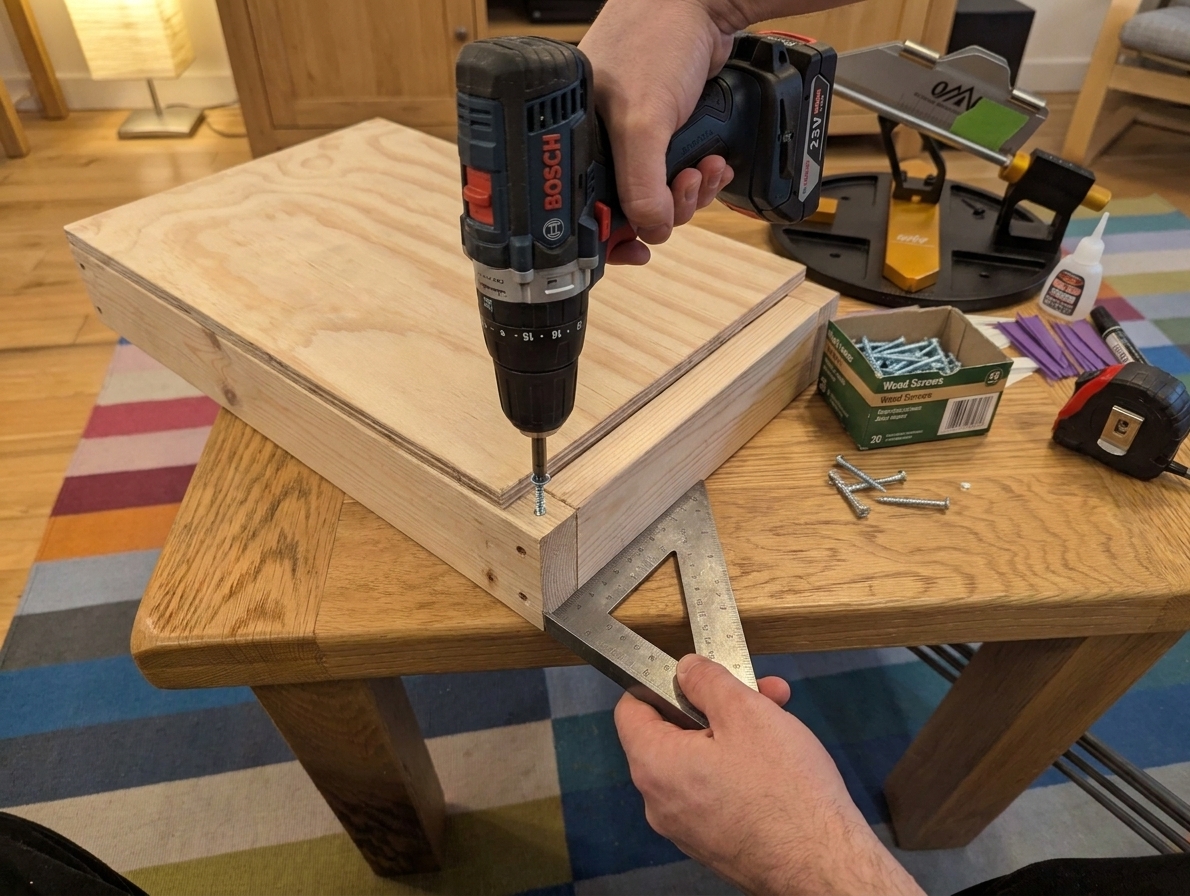
Build a simple 2x4 frame. This plan assumes basic butt joints and standard 2x4s (actual size is about 1.5 in x 3.5 in). Use the 2x4s on edge (the 3.5 inch dimension vertical) for stiffness. Cut two long rails at 48 inches. Cut two cross pieces at 21 inches, because they fit between the rails: 24 − 1.5 − 1.5 = 21. Pre-drill to reduce splitting, then assemble the frame using the 2.5 inch wood screws (wood glue is optional). Before you lock it in, make it square by measuring diagonals. If both diagonals match, you are golden. If you want extra rigidity, add a center brace.
Attach the top to the frame. Place the plywood or MDF on the frame, square it up, then drive 1.5 inch or 1.625 inch screws to grab the frame well. You can screw from the underside for a clean top, or from the top if that is easier. If you go from the top, pre-drill and lightly countersink so the heads sit flush and do not snag mats or sleeves.

Add legs or mount it to a base. You can build four 2x4 legs or set the top on sturdy sawhorses or an existing workbench. If you add legs, screw them into the frame corners and check for wobble. For side-to-side stability, add a lower shelf or a couple of diagonal braces. Racking (that sway feeling) is what makes precise fletching feel like juggling. If your floor is uneven, use stick-on leveling feet, adjustable feet, or simple shims under the legs until it sits rock-solid.
Seal the surface (recommended). Wipe off dust, then apply a clear finish. This makes glue cleanup dramatically easier. Let it cure fully before heavy use. Quick note: some solvents (like acetone) can dull certain finishes, so test any aggressive cleaner on a small spot first.
Lay down a mat in your work zone. Put a cutting mat or silicone mat where the jig and glue will live. This is your easy cleanup insurance. If you are using CA glue, a small sheet of wax paper or sacrificial cardboard under the jig clamp area helps catch surprise drips.
Set up lighting like you mean it. Place an LED task light so it shines across the work, not straight down into glare. You should be able to see glue lines and vane alignment without leaning in like a detective.
Create a left to right workflow. Left side: clean shafts and parts. Center: jig, glue, alcohol wipes. Right side: curing area and finished arrows. This keeps you from touching fresh fletching with “glue fingers.”
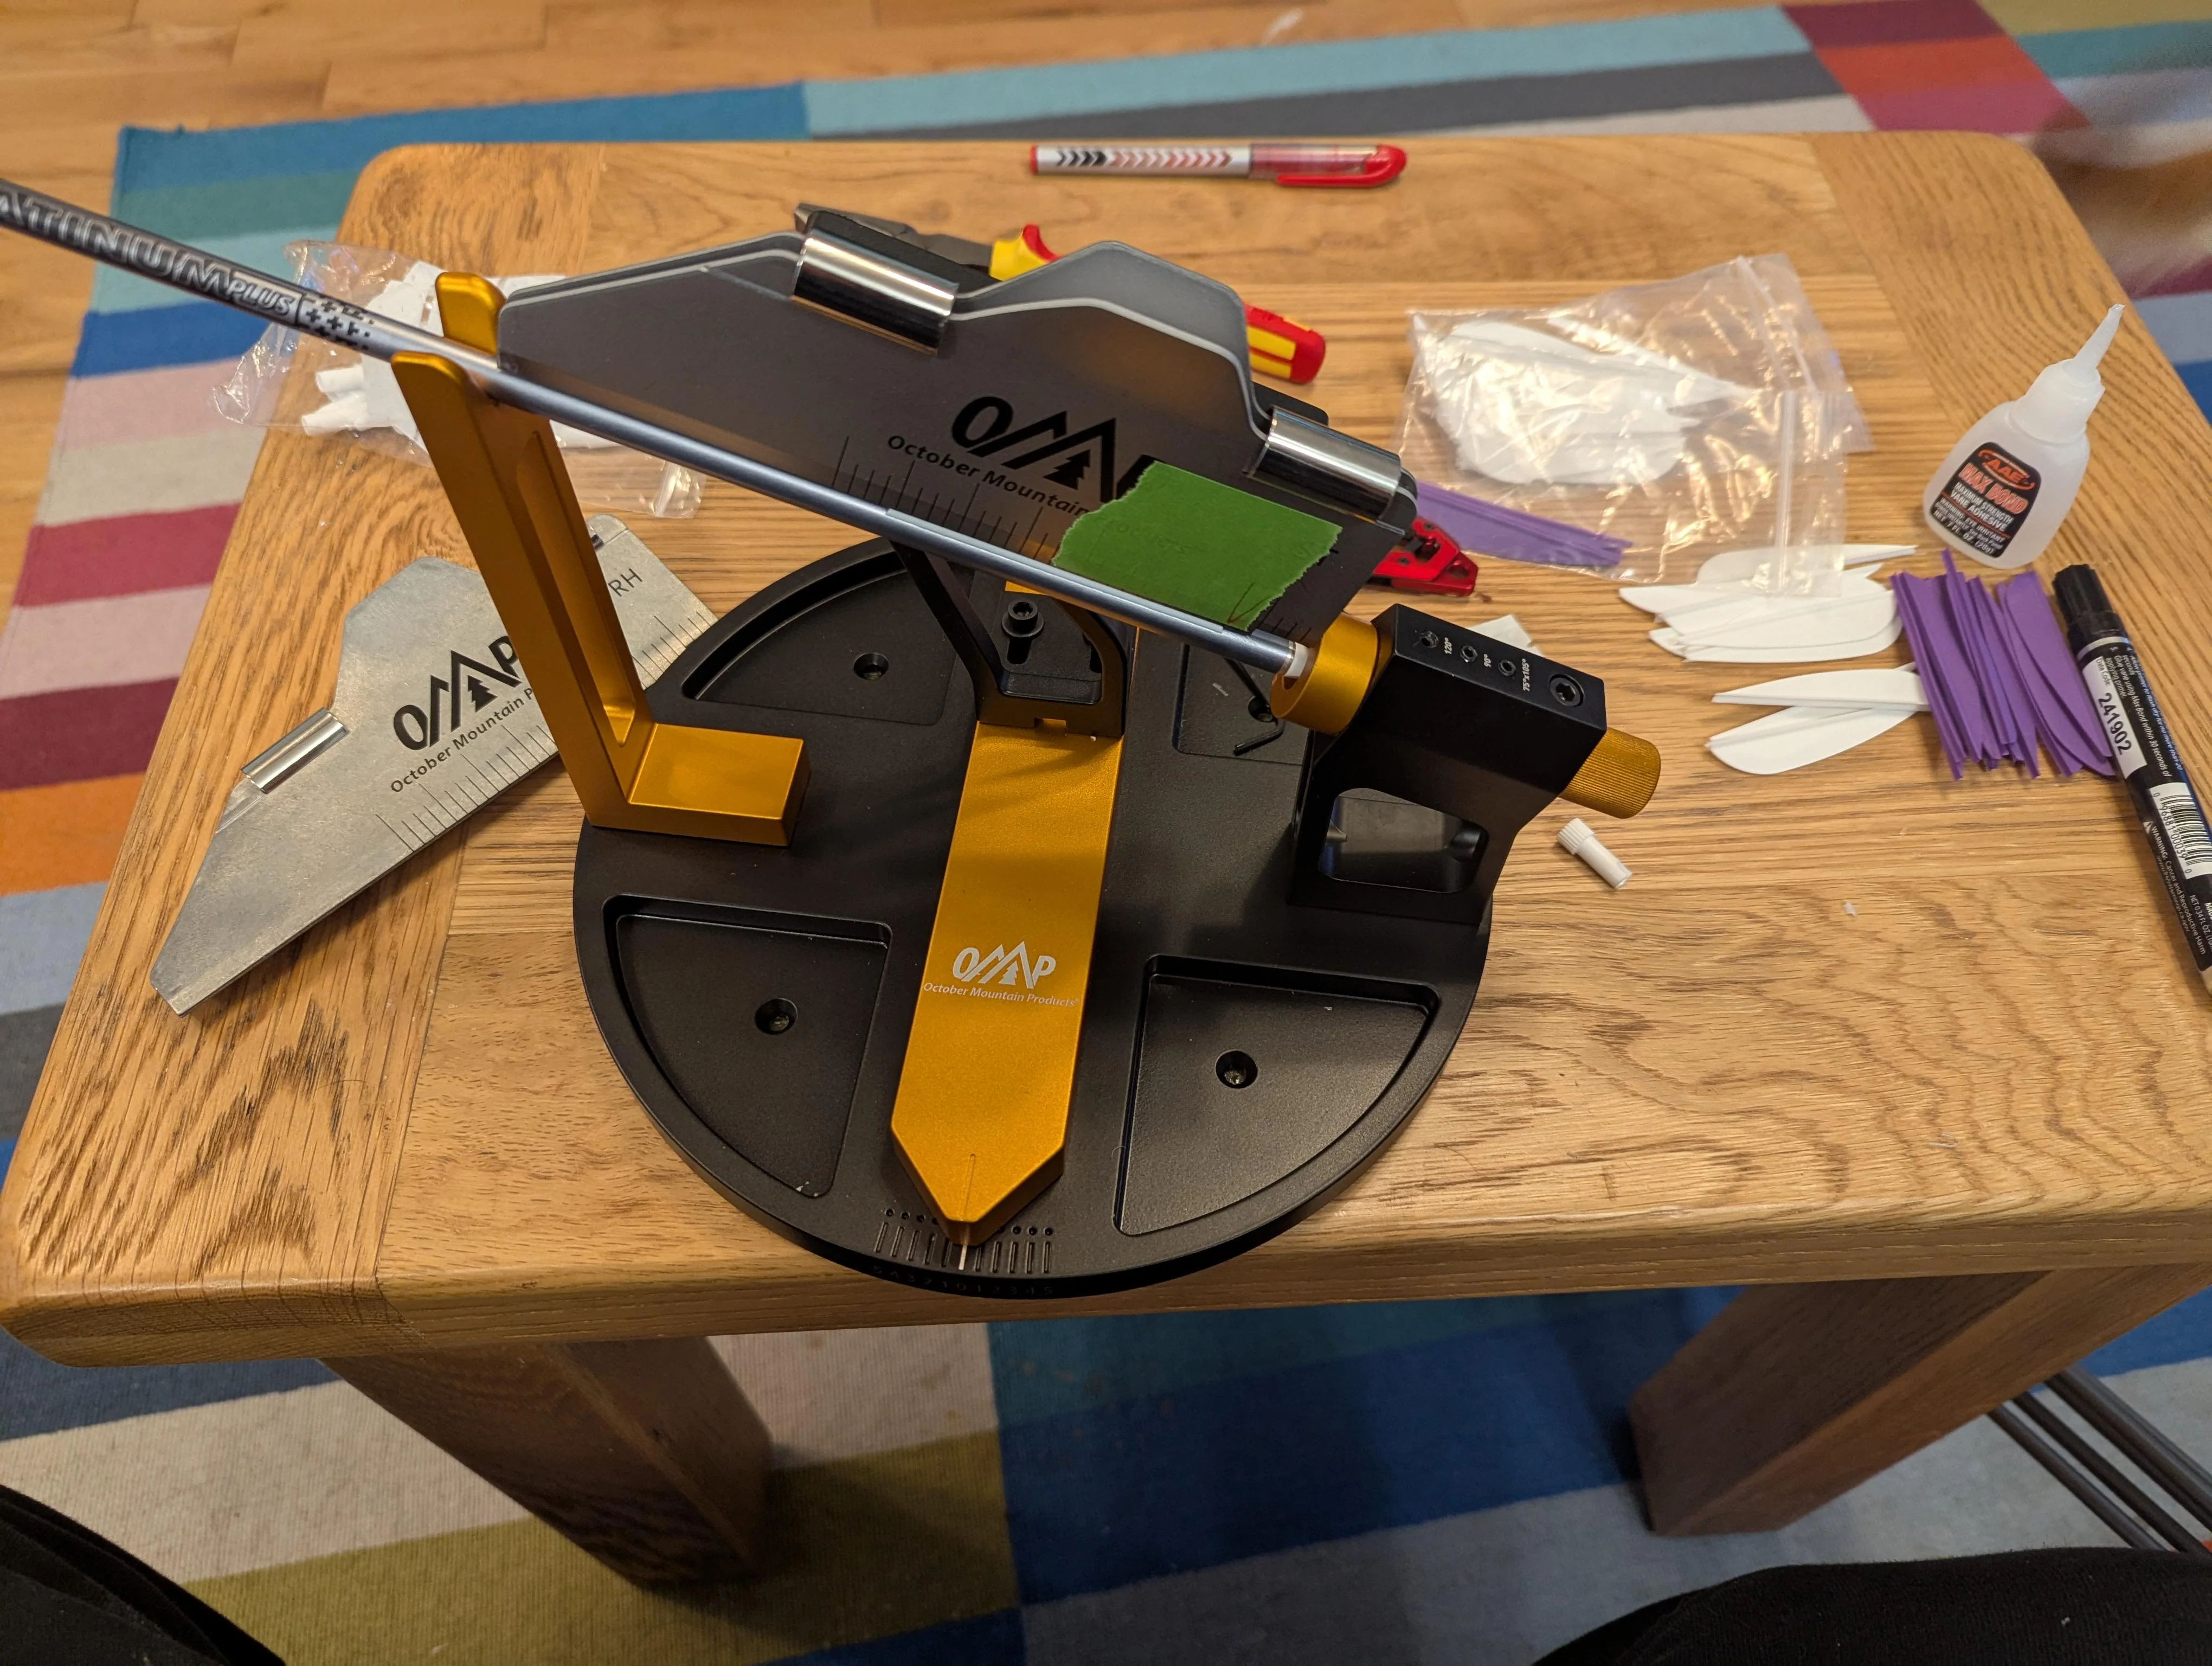
Mount your jig in a repeatable way. If you always want the jig in the same spot, use a small sacrificial mounting board you can clamp down, or install threaded inserts so the jig bolts on and off without chewing up the top. Repeatable setup is the difference between a hobby station and a chaos table.
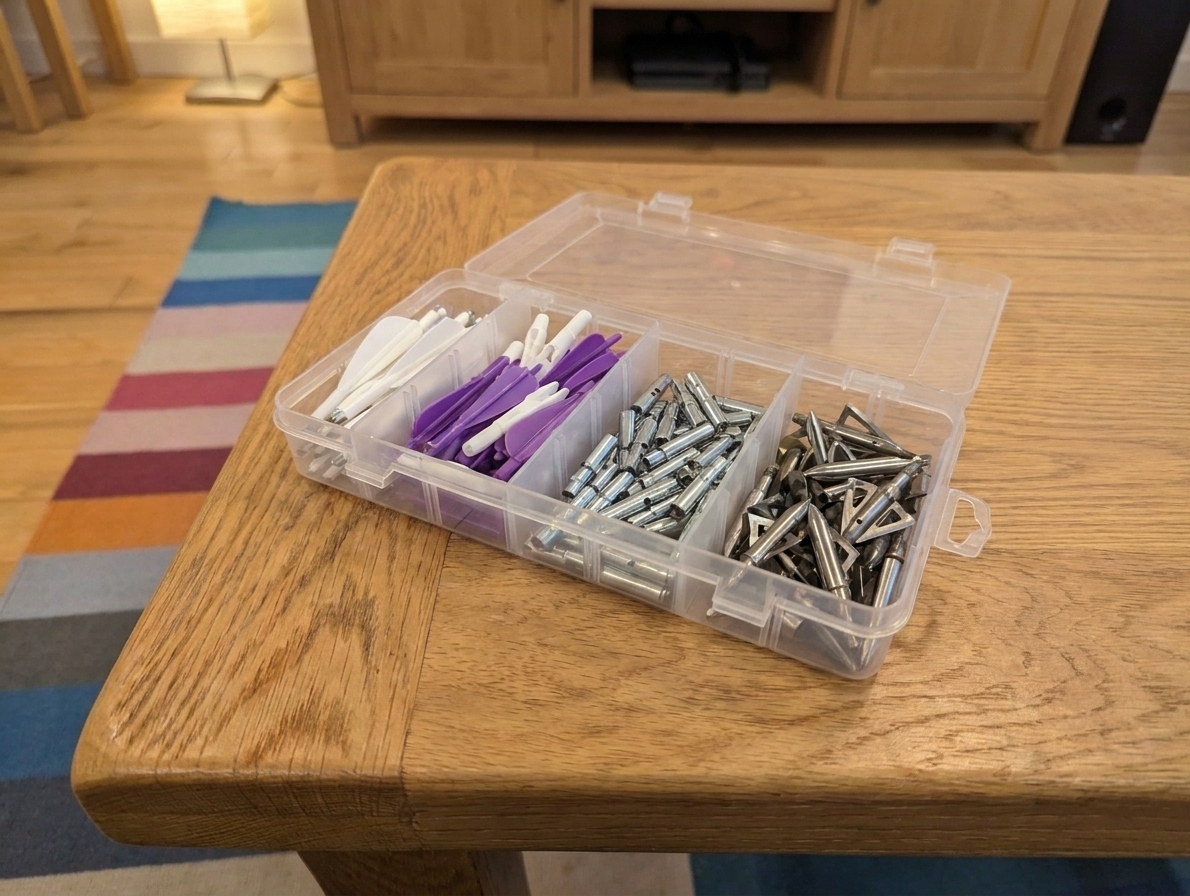
Add storage you will actually use. A small drawer unit or parts organizer on the back corner is enough. Keep the tabletop as clear as possible. Clutter is how you knock over glue.

Do a quick dry run. Before glue comes out, place an arrow in the jig, reach for your tools, and see what feels awkward. Move things now. Your table should feel like a smooth assembly line.
Optional upgrades if you want to get fancy. Add a pegboard for tools, a dowel rack for arrows, or a clamp strip along the front edge for securing jigs and lights.