Mom's Best Recipes
Recipe

Homemade Whole Grain Sandwich Bread

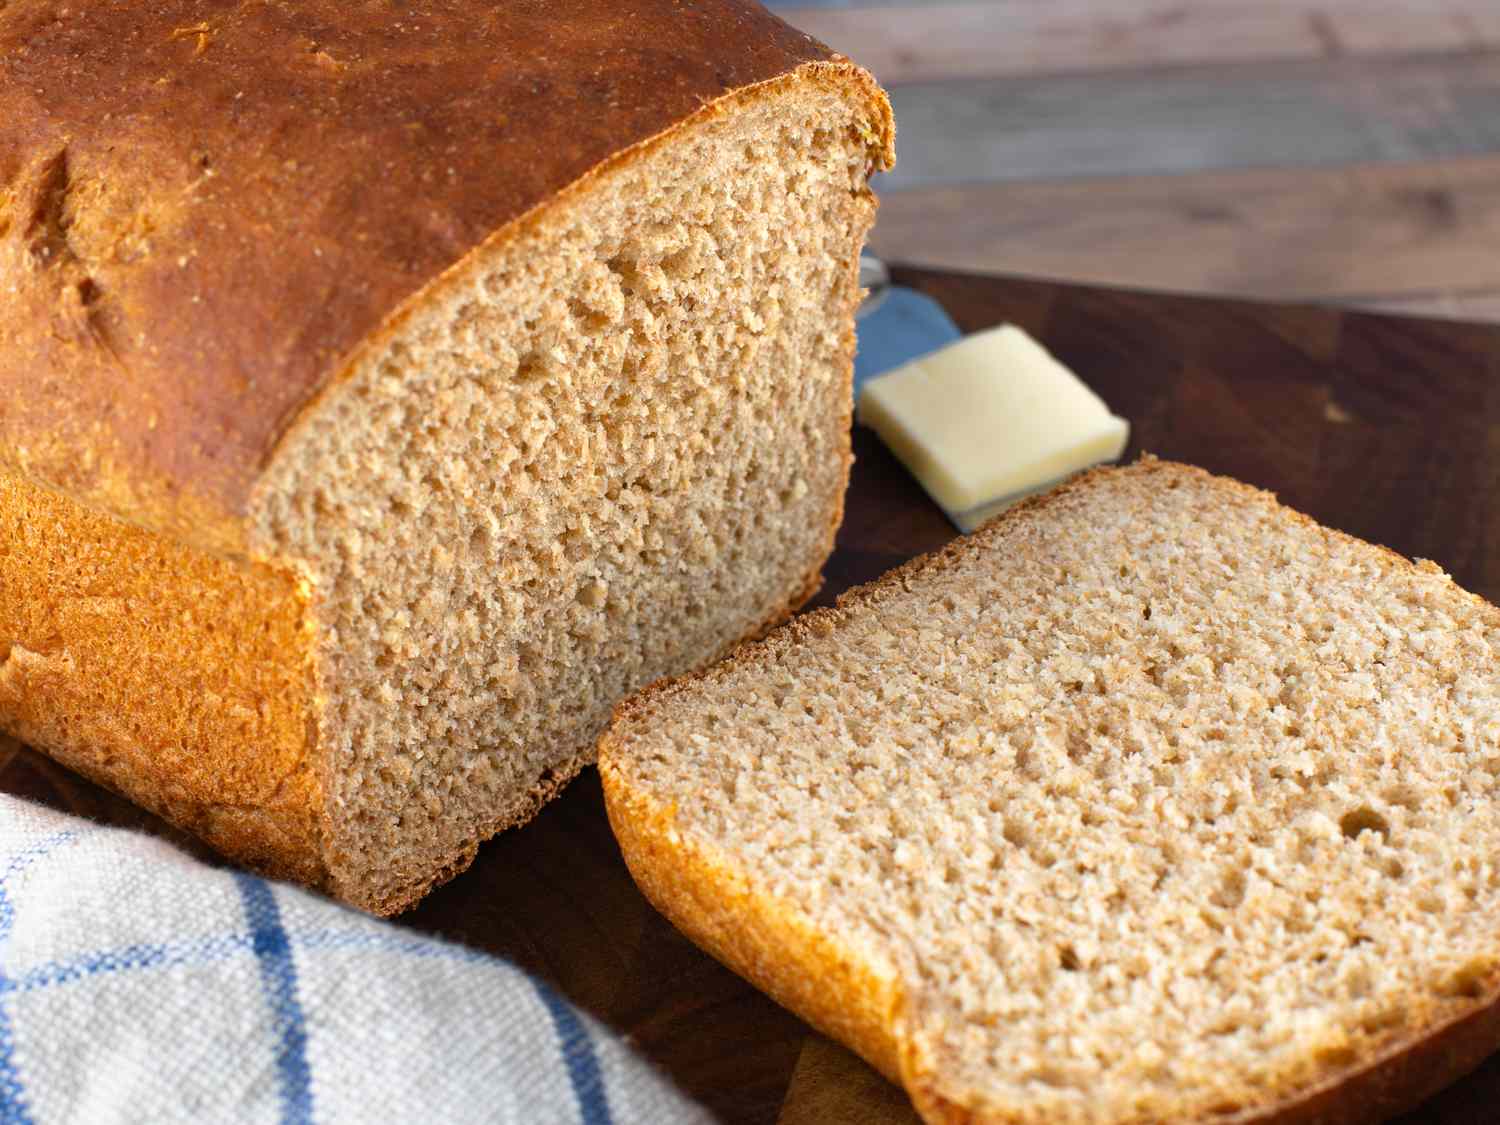
Soft, sliceable, lightly sweet whole grain bread with a tender crumb and that toasty crust you want for sandwiches and morning toast.

Author By Matt Campbell
4.8
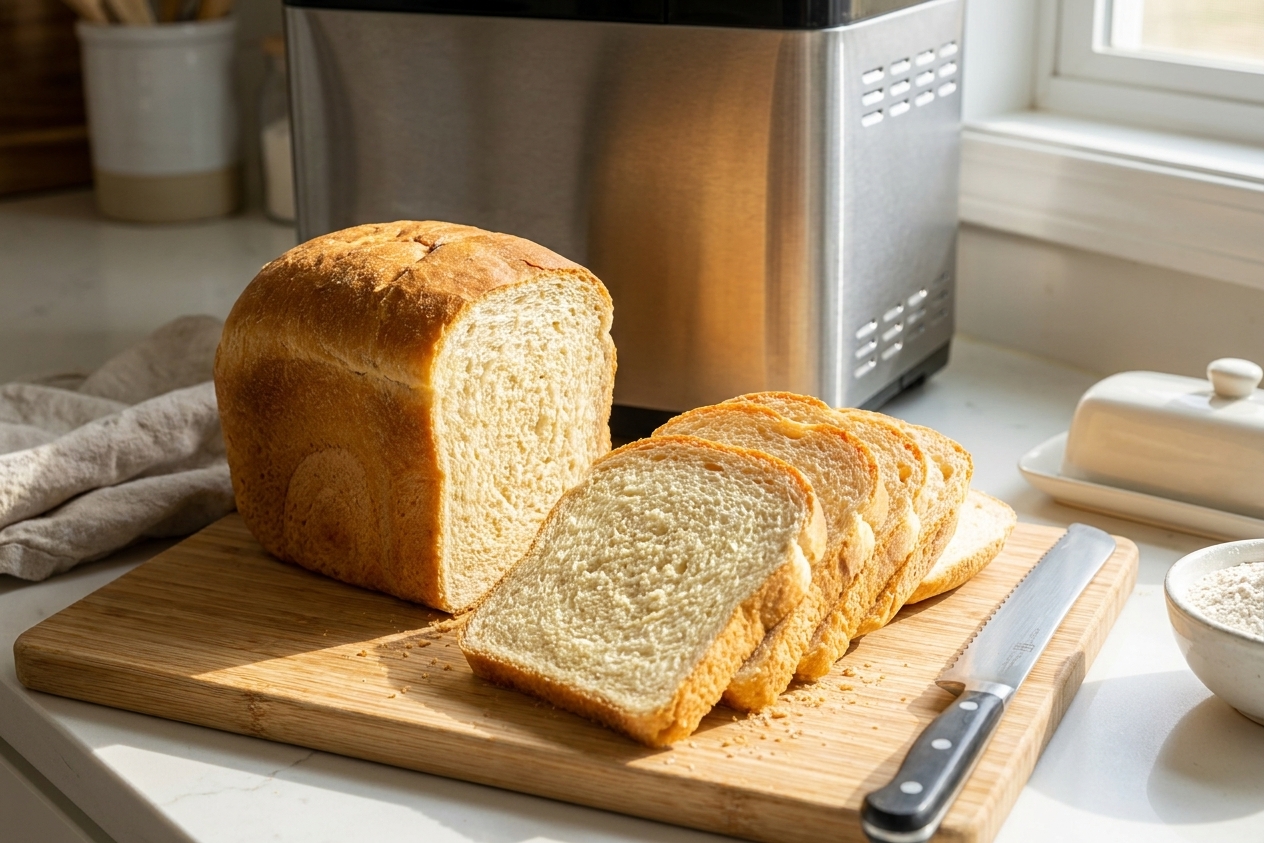
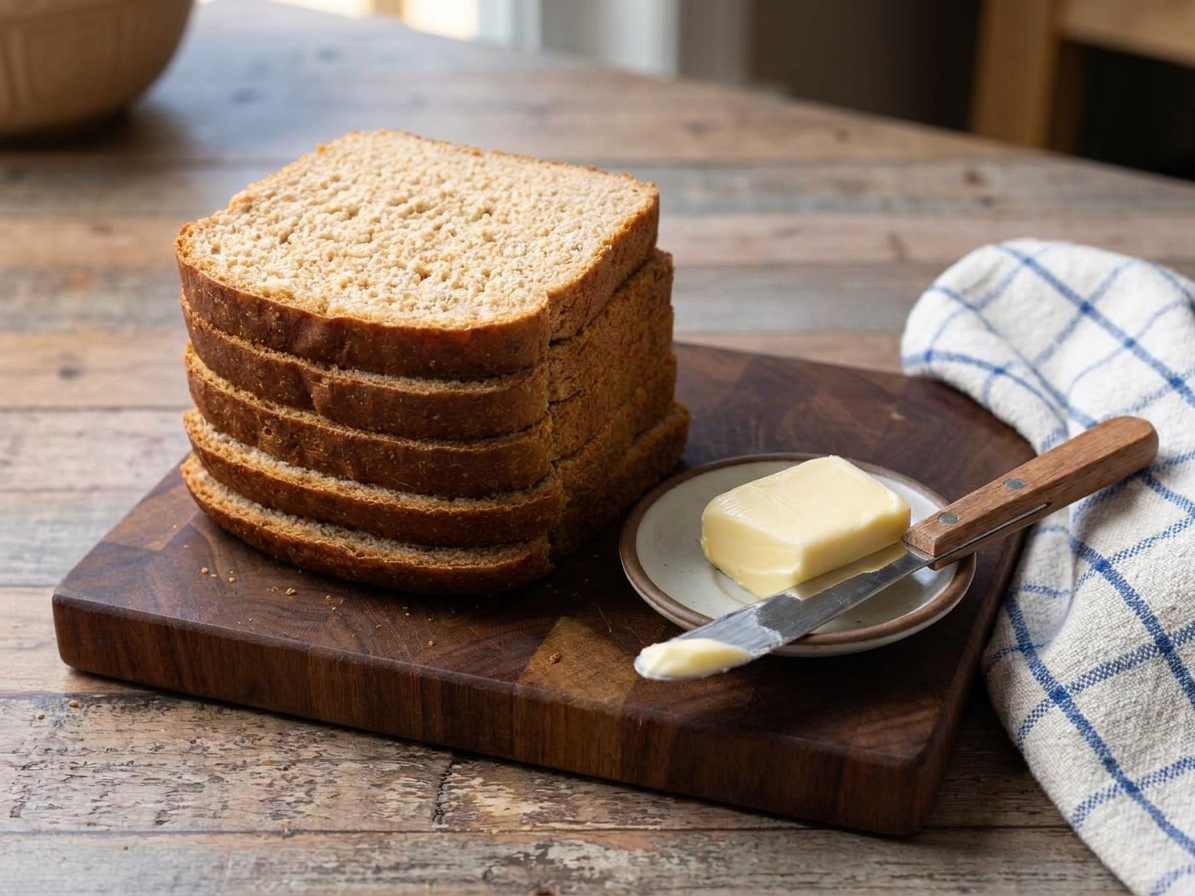
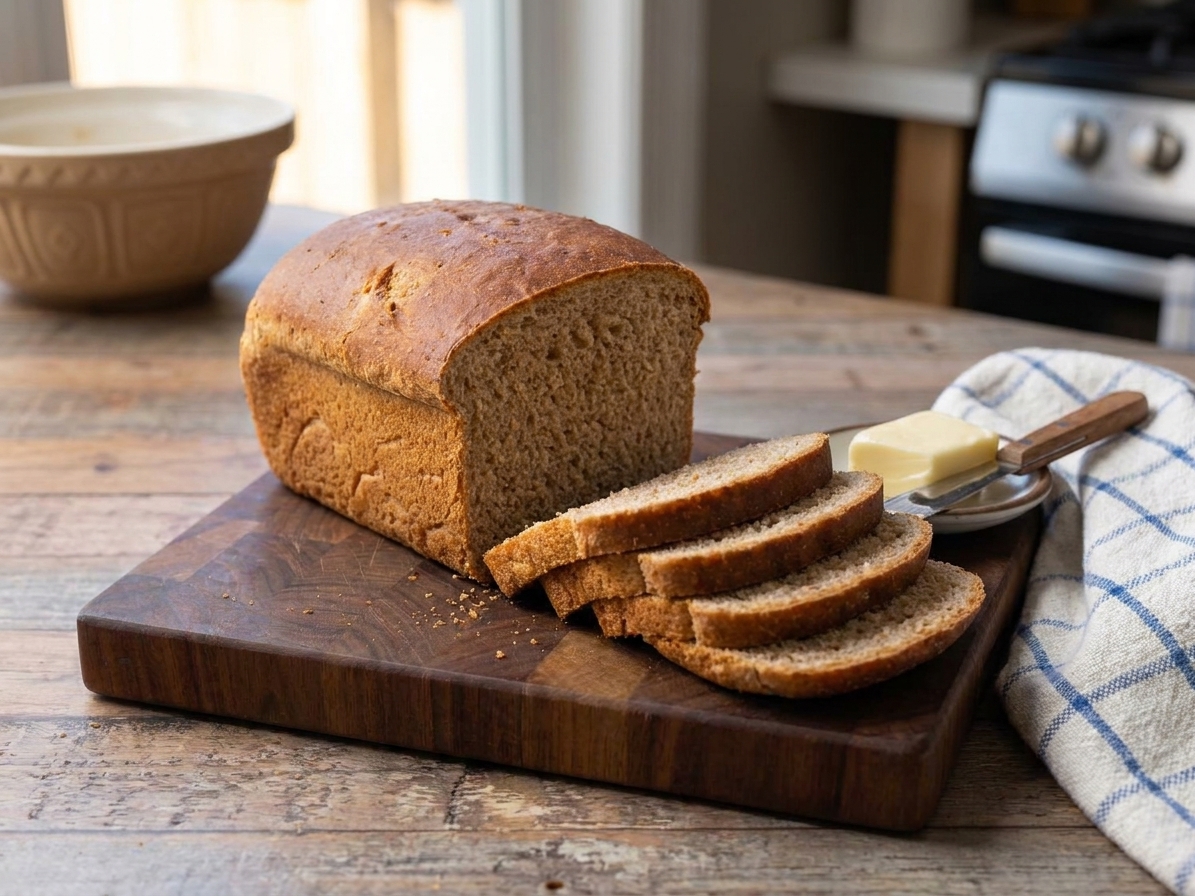
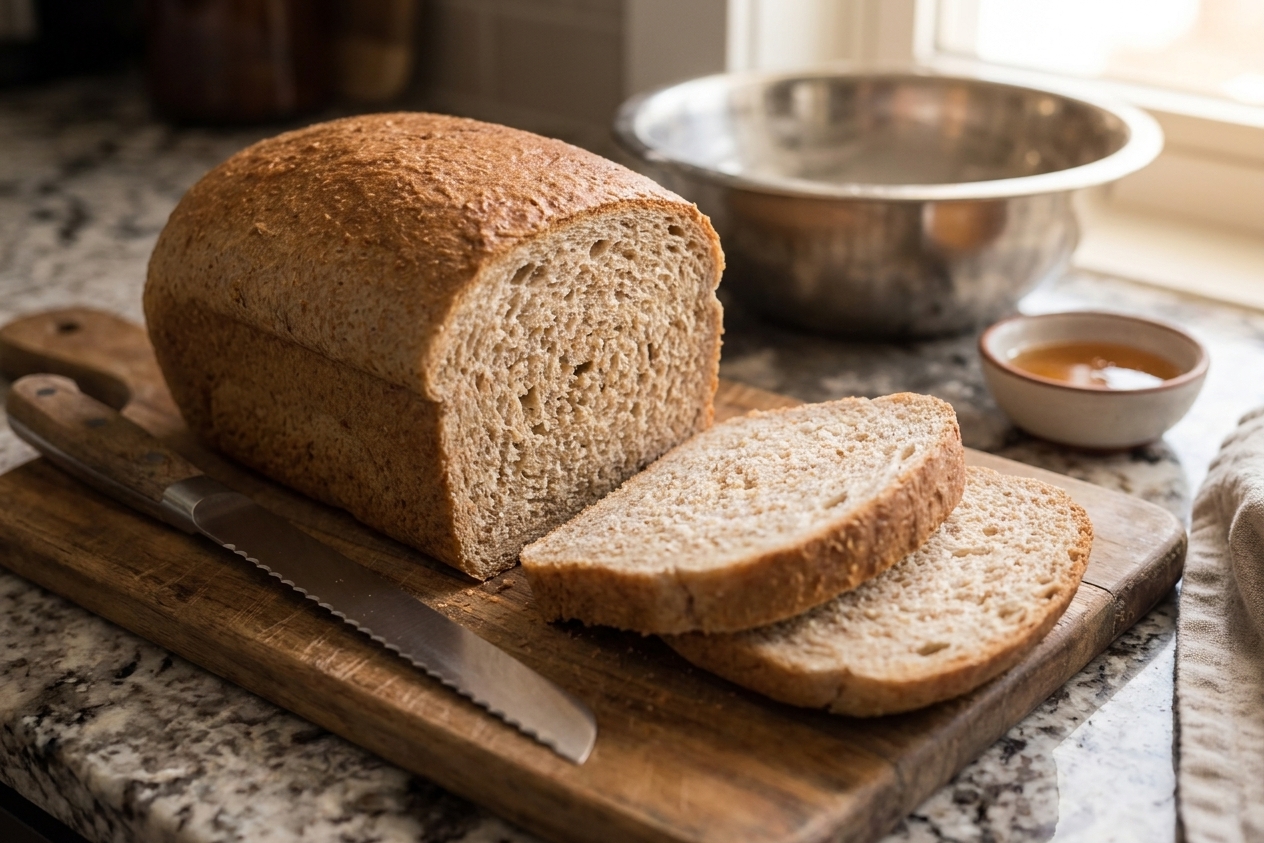
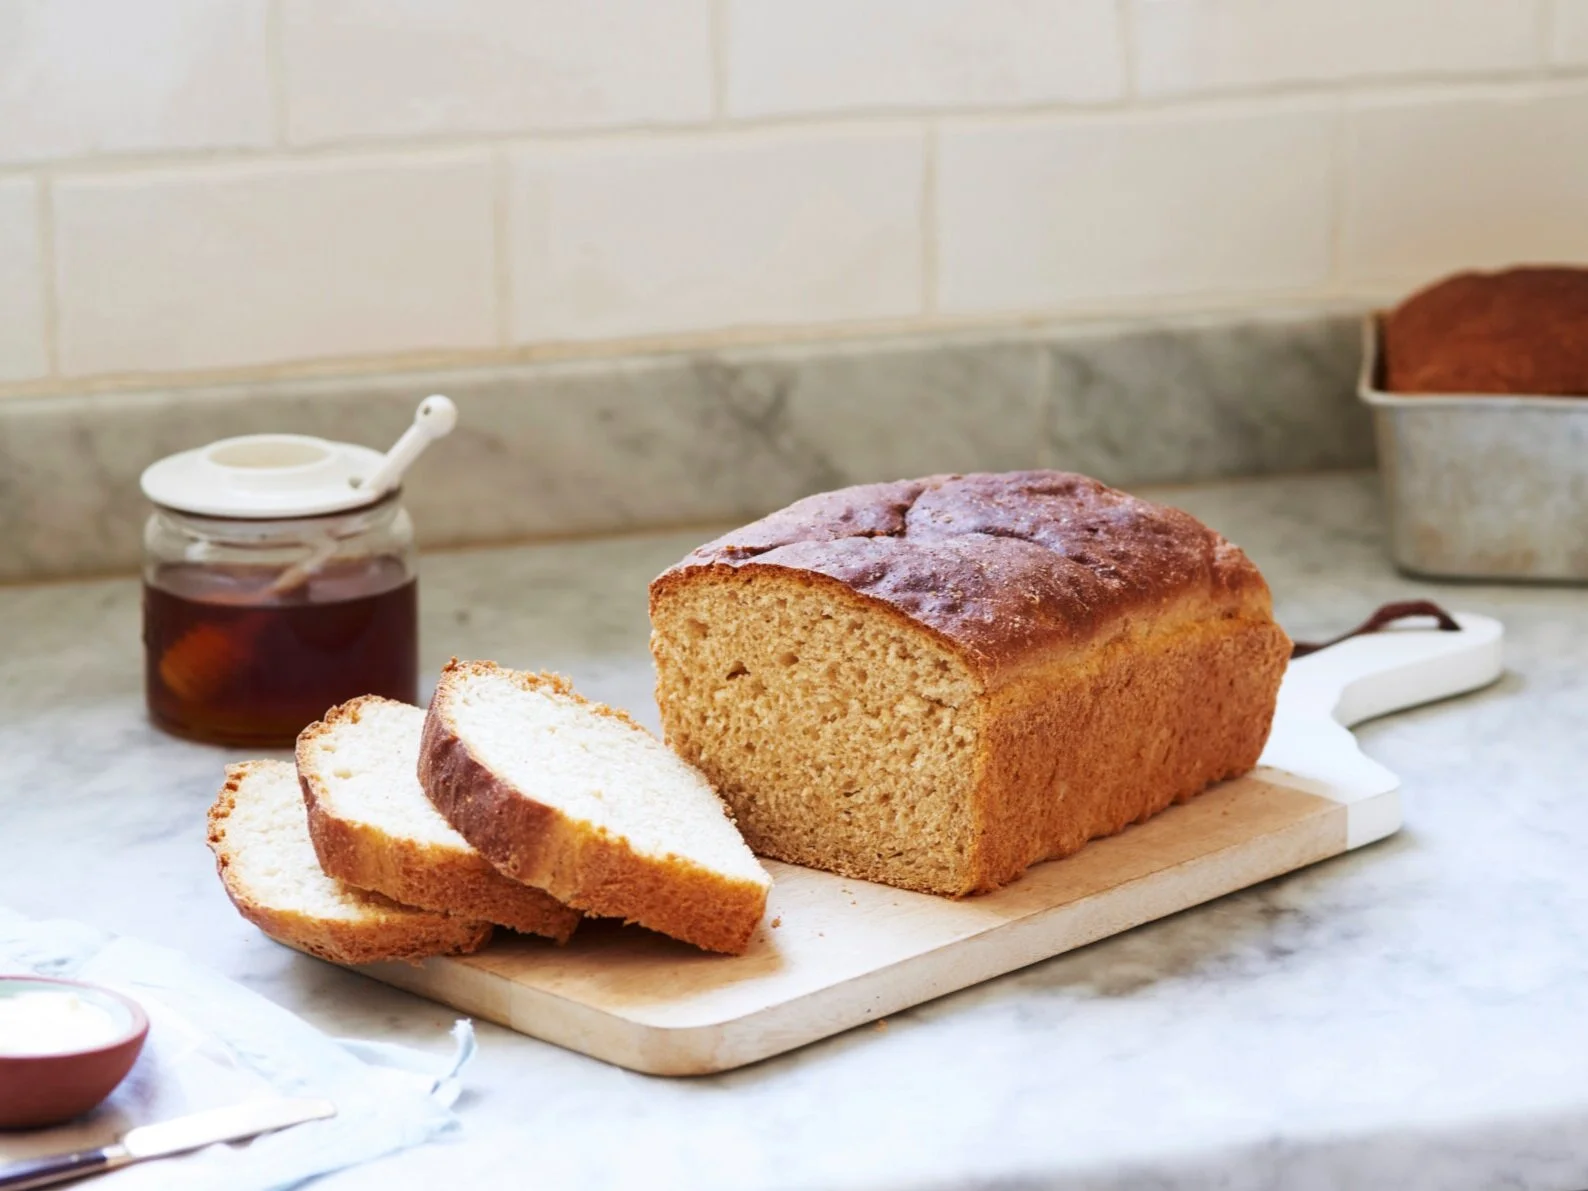
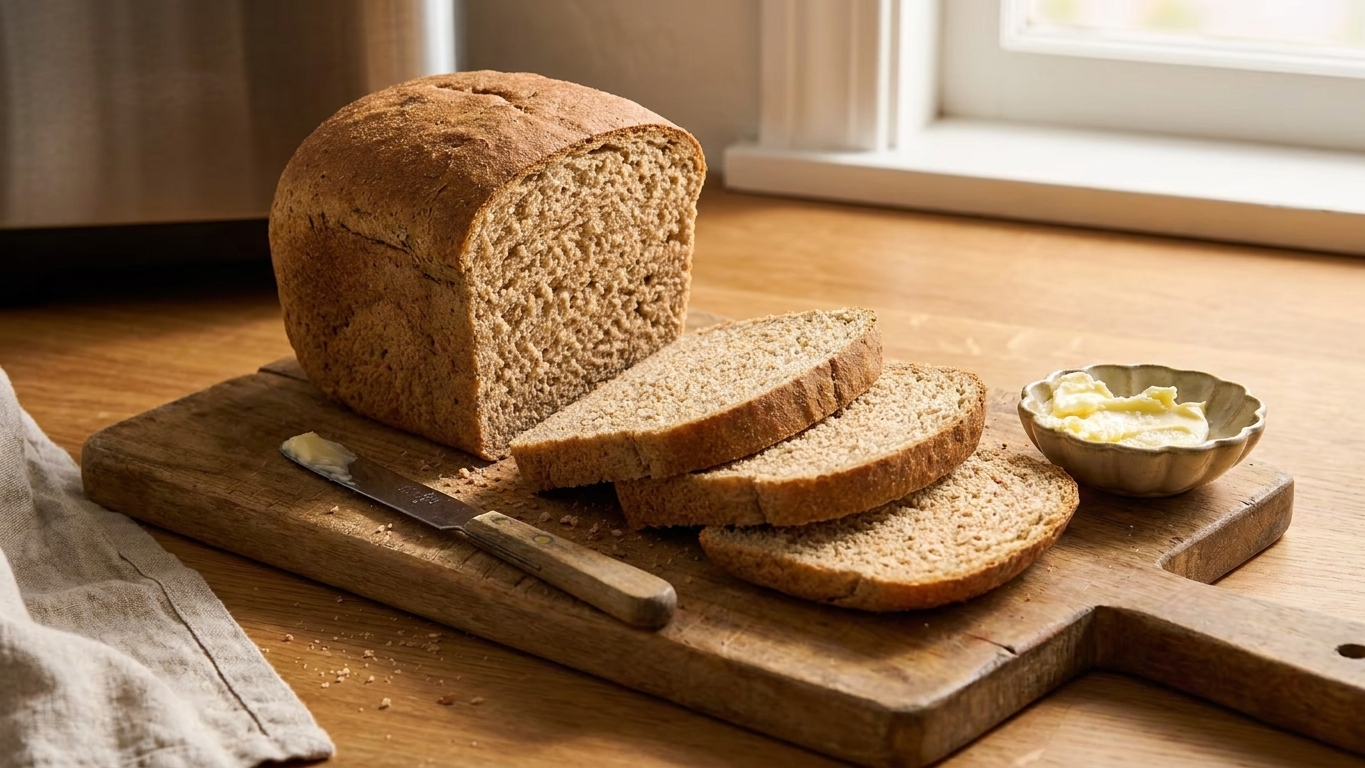
A golden brown whole grain sandwich bread loaf sliced on a wooden cutting board with a few slices fanned out, warm kitchen light, simple home table setting

Whole grain bread gets a bad rap for being dense, dry, or weirdly bitter. This loaf is not that. This is the kind of everyday bread that makes a peanut butter sandwich feel like a real lunch and makes buttered toast a legitimate personality trait.

The move here is balance. We use mostly whole wheat flour for that nutty, wheaty flavor, plus a little bread flour to keep the crumb soft and springy. Honey adds warmth, olive oil keeps it tender, and a quick rest gives the whole wheat time to hydrate so you do not end up chewing like you are training for something.
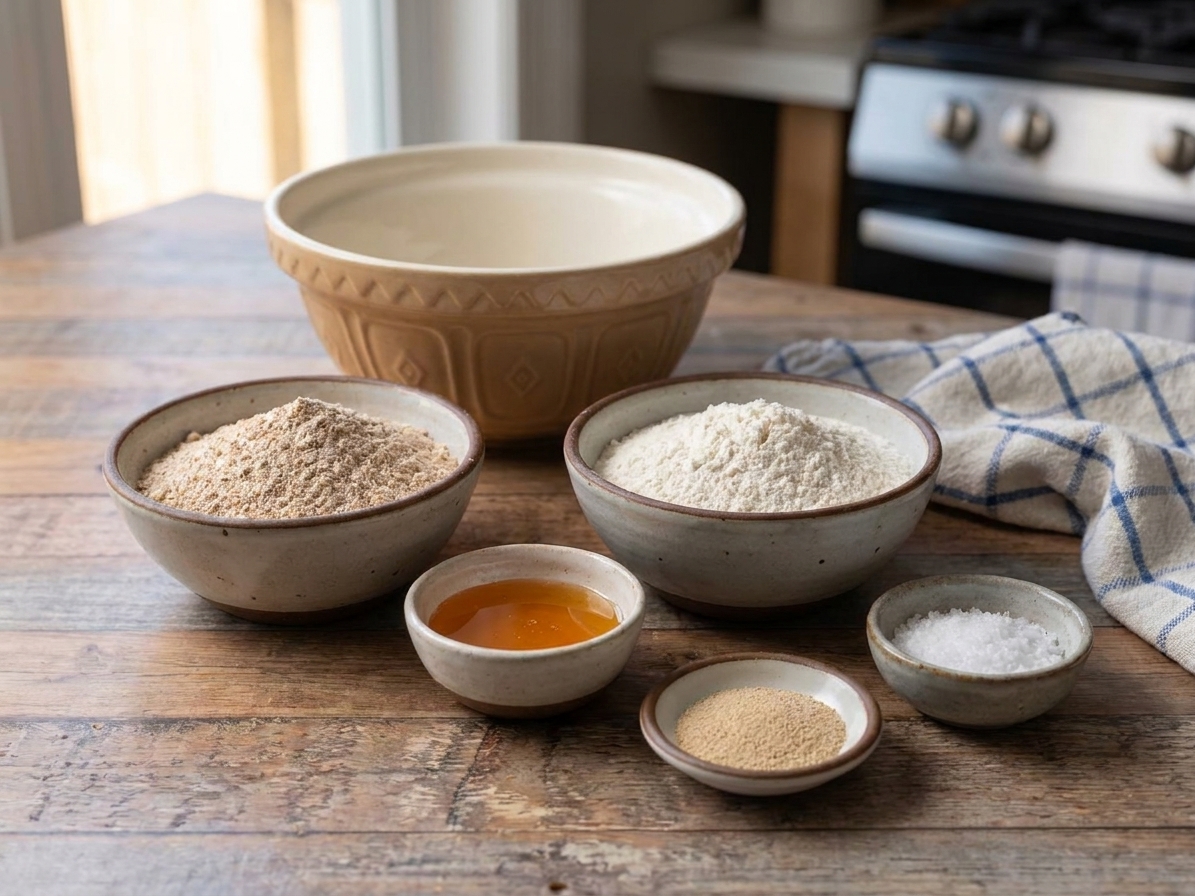
Whole wheat flour, bread flour, honey, yeast, and salt arranged in small bowls on a clean kitchen counter with a mixing bowl nearby

If you want a reliable loaf with personality and zero intimidation, you are in the right kitchen.
Why It Works

  • Soft sandwich crumb: A touch of bread flour plus oil keeps slices flexible, not crumbly.
  • Whole grain flavor without heaviness: A short hydration rest gives the bran time to soften so the loaf bakes up tender.
  • Great rise and even slices: Two proof stages build structure so it does not slump or bake up brick-like.
  • Stays fresh longer: Honey and oil help the loaf stay soft for days, which is exactly what you want for meal prep.

Pairs Well With

Storage Tips

Room temperature: Once fully cooled, keep the loaf in a bread bag or tightly wrapped on the counter for 3 to 4 days. If your kitchen is humid, slice it and toast as needed.

Freezer (best for keeping it perfect): Slice the loaf, then freeze slices in a zip-top bag with parchment between a few slices if you want easy grab-and-go. Freeze up to 3 months. Toast straight from frozen.

Do not refrigerate: The fridge speeds up staling and makes bread dry faster. Counter or freezer wins.

Common Questions

Can I make this 100 percent whole wheat?

Yes. The loaf will be a bit denser and more assertively wheaty. Plan to add extra water 1 tablespoon at a time if the dough looks dry, and consider extending the short rest to 15 to 20 minutes so the bran has more time to hydrate. You may also need a slightly longer first rise (an extra 15 to 30 minutes) depending on your kitchen.

Why did my whole grain bread turn out dense?

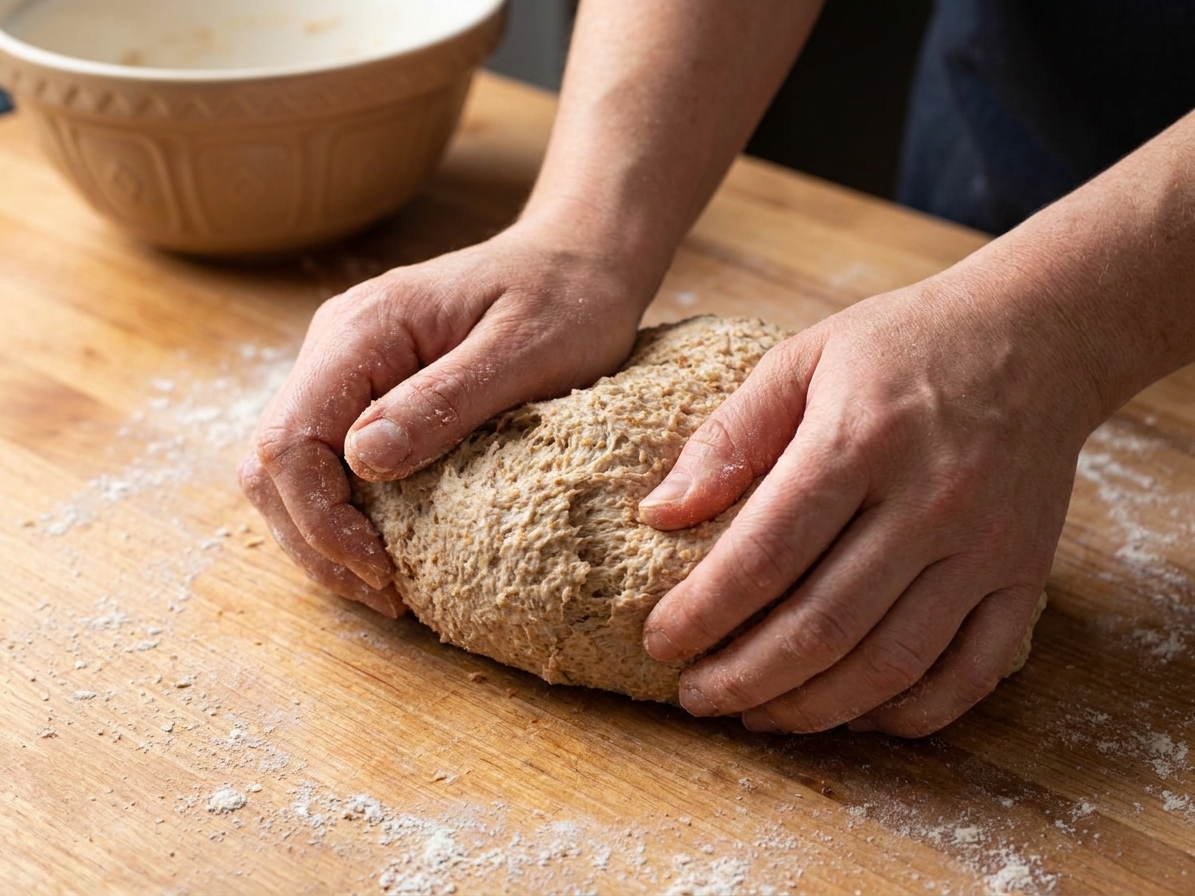
Usually one of three things: not enough kneading (gluten not developed), not enough proofing time (yeast did not finish its job), or too much flour added during kneading. This dough should feel slightly tacky, not dry.

Do I need a stand mixer?

Nope. It is very doable by hand. A stand mixer just makes it less messy and more weeknight-friendly.

Can I use instant yeast instead of active dry?

Yes. Use the same amount. You can skip blooming it in water and mix it right into the flour, but I still like dissolving it because it is a quick “is my yeast alive” check.

How do I know when it is proofed enough for baking?

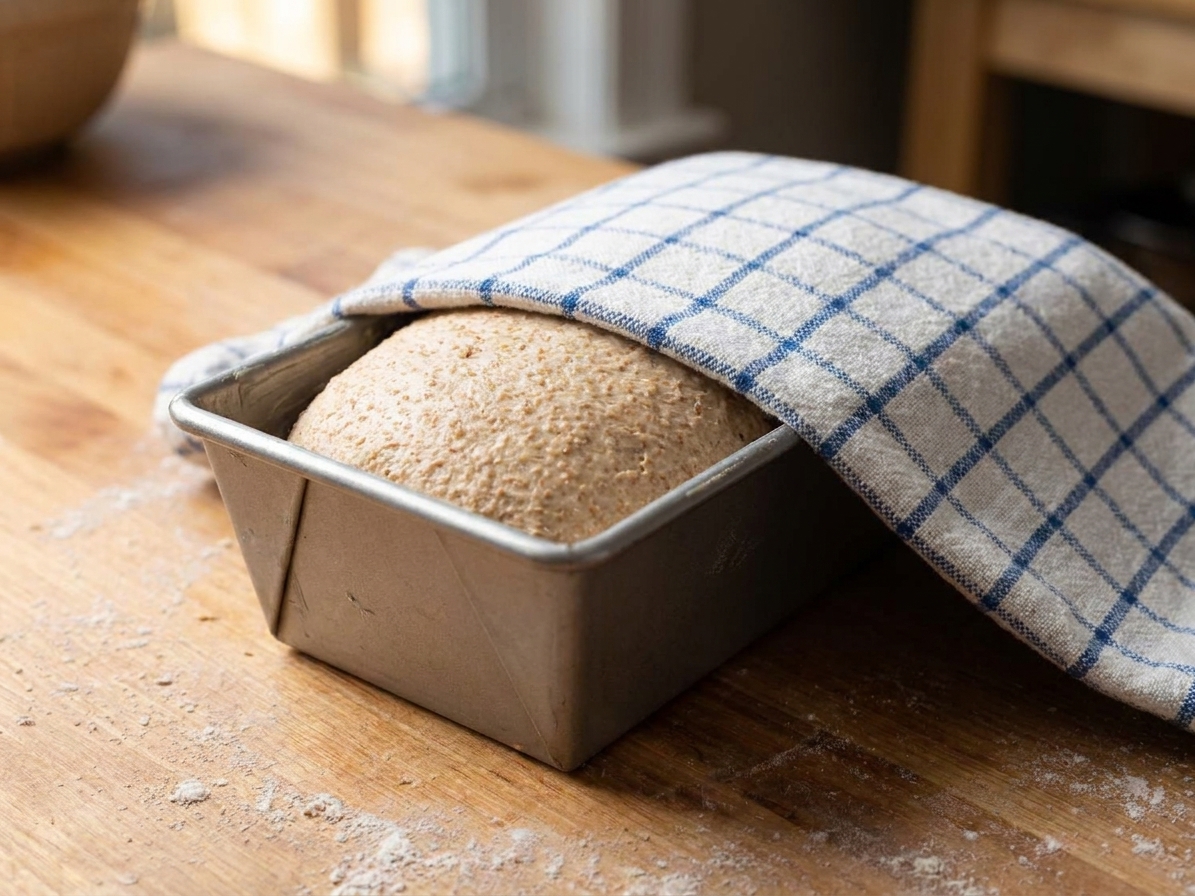
Do the poke test. Gently press a floured finger about 1/2 inch into the dough. If it springs back slowly and leaves a slight indentation, bake it. If it springs back fast, it needs more time. If it collapses, it over-proofed, so bake immediately and call it rustic.

I wanted to go to culinary school for the degree, but I ended up chasing the practical stuff instead. Bread is one of those skills that teaches you fast. You cannot bully dough into being ready. You can only set it up right, pay attention, and let time do its thing.

This loaf is my “friend you actually want in your kitchen” bread. It is forgiving, it smells incredible, and it makes you feel like you have your life together, even if the sink is full of dishes. Slice it thick, toast it hard, and do not be shy with the butter.